window Mercury Villager 1999 Owner's Manuals
[x] Cancel search | Manufacturer: MERCURY, Model Year: 1999, Model line: Villager, Model: Mercury Villager 1999Pages: 264, PDF Size: 2.19 MB
Page 25 of 264
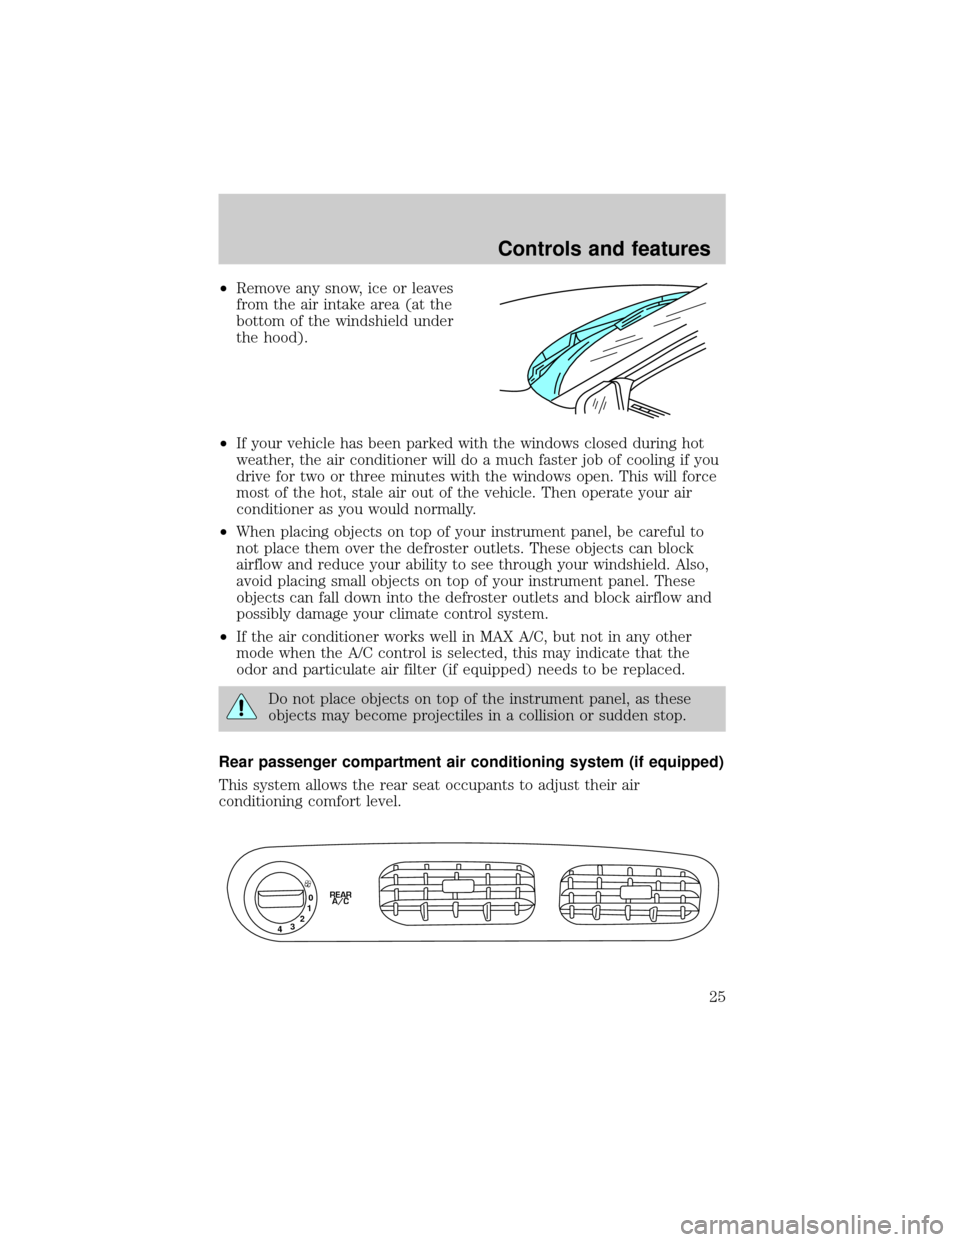
²Remove any snow, ice or leaves
from the air intake area (at the
bottom of the windshield under
the hood).
²If your vehicle has been parked with the windows closed during hot
weather, the air conditioner will do a much faster job of cooling if you
drive for two or three minutes with the windows open. This will force
most of the hot, stale air out of the vehicle. Then operate your air
conditioner as you would normally.
²When placing objects on top of your instrument panel, be careful to
not place them over the defroster outlets. These objects can block
airflow and reduce your ability to see through your windshield. Also,
avoid placing small objects on top of your instrument panel. These
objects can fall down into the defroster outlets and block airflow and
possibly damage your climate control system.
²If the air conditioner works well in MAX A/C, but not in any other
mode when the A/C control is selected, this may indicate that the
odor and particulate air filter (if equipped) needs to be replaced.
Do not place objects on top of the instrument panel, as these
objects may become projectiles in a collision or sudden stop.
Rear passenger compartment air conditioning system (if equipped)
This system allows the rear seat occupants to adjust their air
conditioning comfort level.
0
1
2
3
4REAR
A/C
Controls and features
25
Page 30 of 264
Turning the EATC off
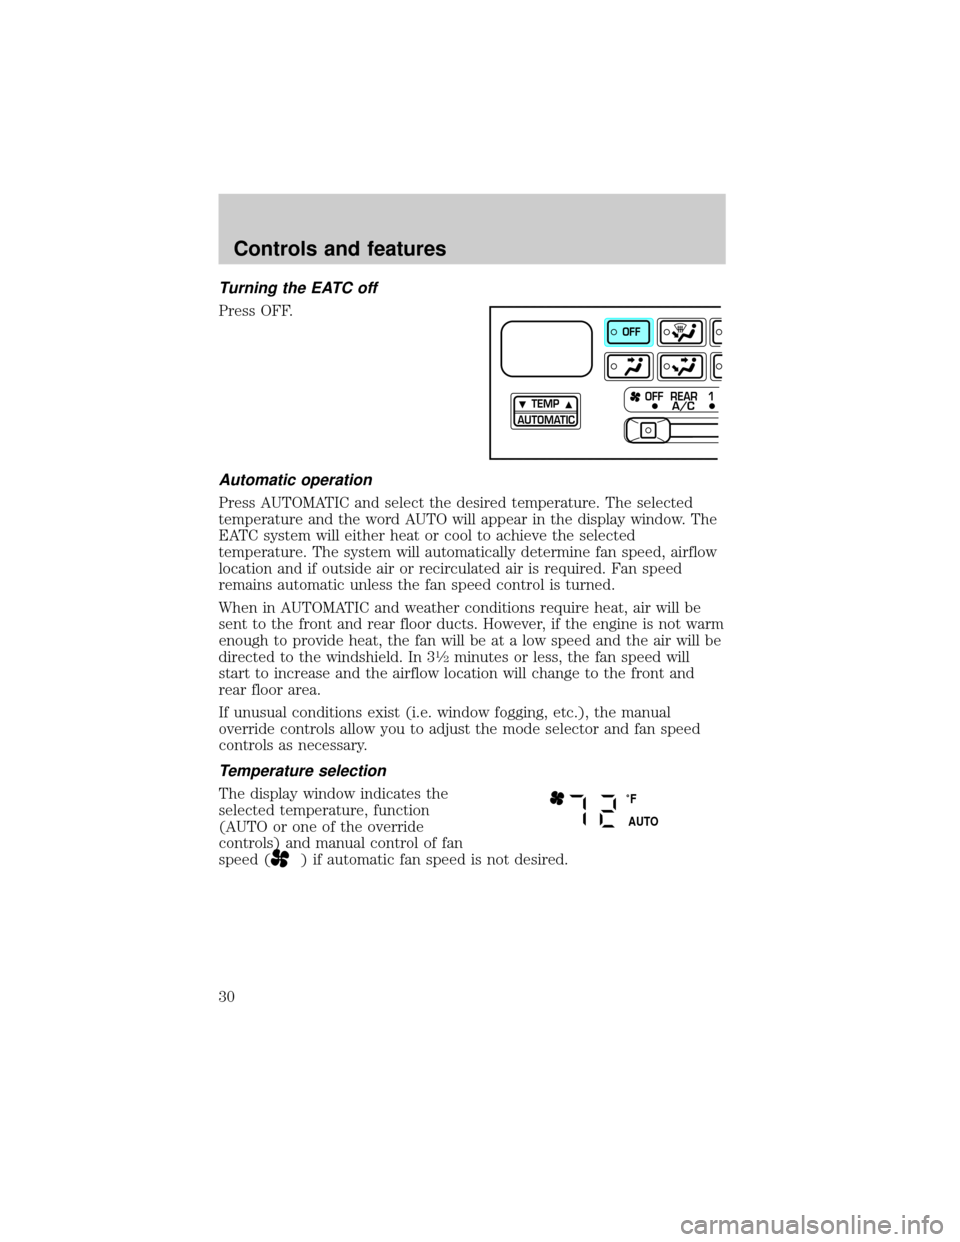
Press OFF.
Automatic operation
Press AUTOMATIC and select the desired temperature. The selected
temperature and the word AUTO will appear in the display window. The
EATC system will either heat or cool to achieve the selected
temperature. The system will automatically determine fan speed, airflow
location and if outside air or recirculated air is required. Fan speed
remains automatic unless the fan speed control is turned.
When in AUTOMATIC and weather conditions require heat, air will be
sent to the front and rear floor ducts. However, if the engine is not warm
enough to provide heat, the fan will be at a low speed and the air will be
directed to the windshield. In 3
1¤2minutes or less, the fan speed will
start to increase and the airflow location will change to the front and
rear floor area.
If unusual conditions exist (i.e. window fogging, etc.), the manual
override controls allow you to adjust the mode selector and fan speed
controls as necessary.
Temperature selection
The display window indicates the
selected temperature, function
(AUTO or one of the override
controls) and manual control of fan
speed (
) if automatic fan speed is not desired.
TEMP
AUTOMATICOFF REAR 1
OFF
A/C
˚F
AUTO
Controls and features
30
Page 31 of 264

To control the temperature, select
any temperature between 15ÉC
(60ÉF) and 32ÉC (90ÉF) by pressing
the temperature controls.
For continuous maximum cooling, push the temperature control until
15ÉC (60ÉF) is shown in the display window. The EATC will continue
maximum cooling (disregarding the displayed temperature) until a
warmer temperature is selected by pressing the temperature controls.
For continuous maximum heating, push the temperature controls until
32ÉC (90ÉF) is shown in the display window. The EATC will continue
maximum heating (disregarding the displayed temperature) until a
cooler temperature is selected by pressing the temperature control.
Temperature conversion
Press theA/C(A/C) and(DEF) simultaneously for one second while
rotating the fan speed dial upward until it stops moving, to switch
between Fahrenheit and Celsius.
TEMP
AUTOMATICOFF REAR 1
OFF
A/C
TEMP
AUTOMATICOFF REAR 1 2 3 4
OFFA/C
A/CMAXHI
LO
Controls and features
31
Page 36 of 264
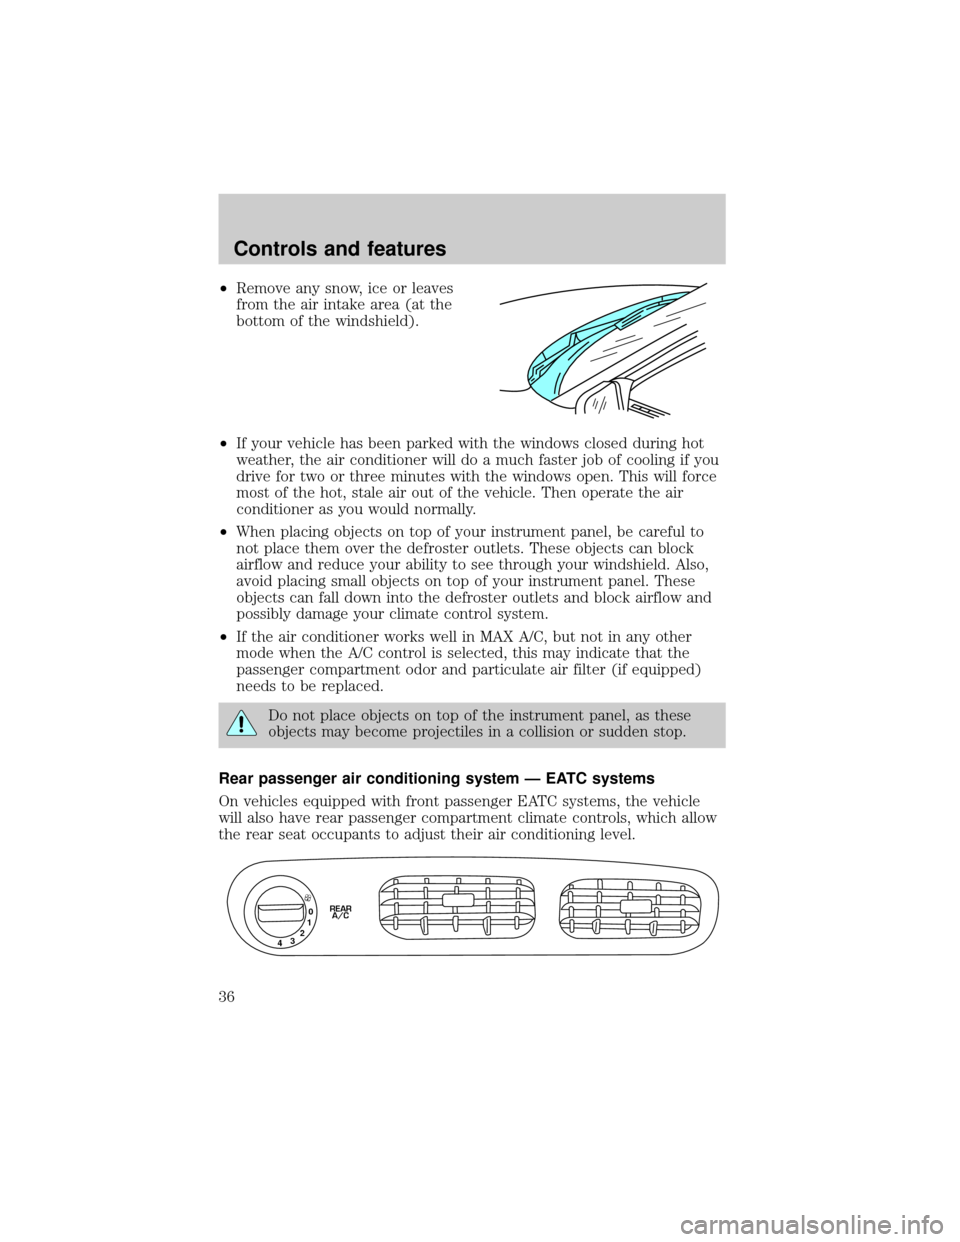
²Remove any snow, ice or leaves
from the air intake area (at the
bottom of the windshield).
²If your vehicle has been parked with the windows closed during hot
weather, the air conditioner will do a much faster job of cooling if you
drive for two or three minutes with the windows open. This will force
most of the hot, stale air out of the vehicle. Then operate the air
conditioner as you would normally.
²When placing objects on top of your instrument panel, be careful to
not place them over the defroster outlets. These objects can block
airflow and reduce your ability to see through your windshield. Also,
avoid placing small objects on top of your instrument panel. These
objects can fall down into the defroster outlets and block airflow and
possibly damage your climate control system.
²If the air conditioner works well in MAX A/C, but not in any other
mode when the A/C control is selected, this may indicate that the
passenger compartment odor and particulate air filter (if equipped)
needs to be replaced.
Do not place objects on top of the instrument panel, as these
objects may become projectiles in a collision or sudden stop.
Rear passenger air conditioning system Ð EATC systems
On vehicles equipped with front passenger EATC systems, the vehicle
will also have rear passenger compartment climate controls, which allow
the rear seat occupants to adjust their air conditioning level.
0
1
2
3
4REAR
A/C
Controls and features
36
Page 39 of 264

turn the Rear Fan Control on the main climate control system to Rear
A/C and turn the Rear A/C Fan Control to 0.
For maximum cooling for the front seat passengers, set the rear fan
switch to the OFF (0) position.
Please note that the rear passenger air conditioning system is
designed for air conditioning purposes only, and does not heat the
rear compartment. Rear compartment heating is provided by the
underseat ducts. Refer to Rear Seat Heating.
REAR WINDOW DEFROSTER
The rear defroster control is located
on the instrument panel.
Press the rear defroster control to
clear the rear window of thin ice
and fog.
²The small LED will illuminate
when the rear defroster is
activated.
OFF REAR A/C 1 2 3 4
A/C
0
1
2
3
4REAR
A/C
SECURITYHAZARD
RR DEFOGRR WIPER
RR WASH
Controls and features
39
Page 40 of 264
The ignition must be in the ON position to operate the rear window
defroster.
The defroster turns off automatically after 15 minutes or when the
ignition is turned to the OFF position. To manually turn off the defroster
before 15 minutes have passed, push the control again.
USING YOUR AUDIO SYSTEM
AM/FM Stereo/Cassette (CD changer compatible)
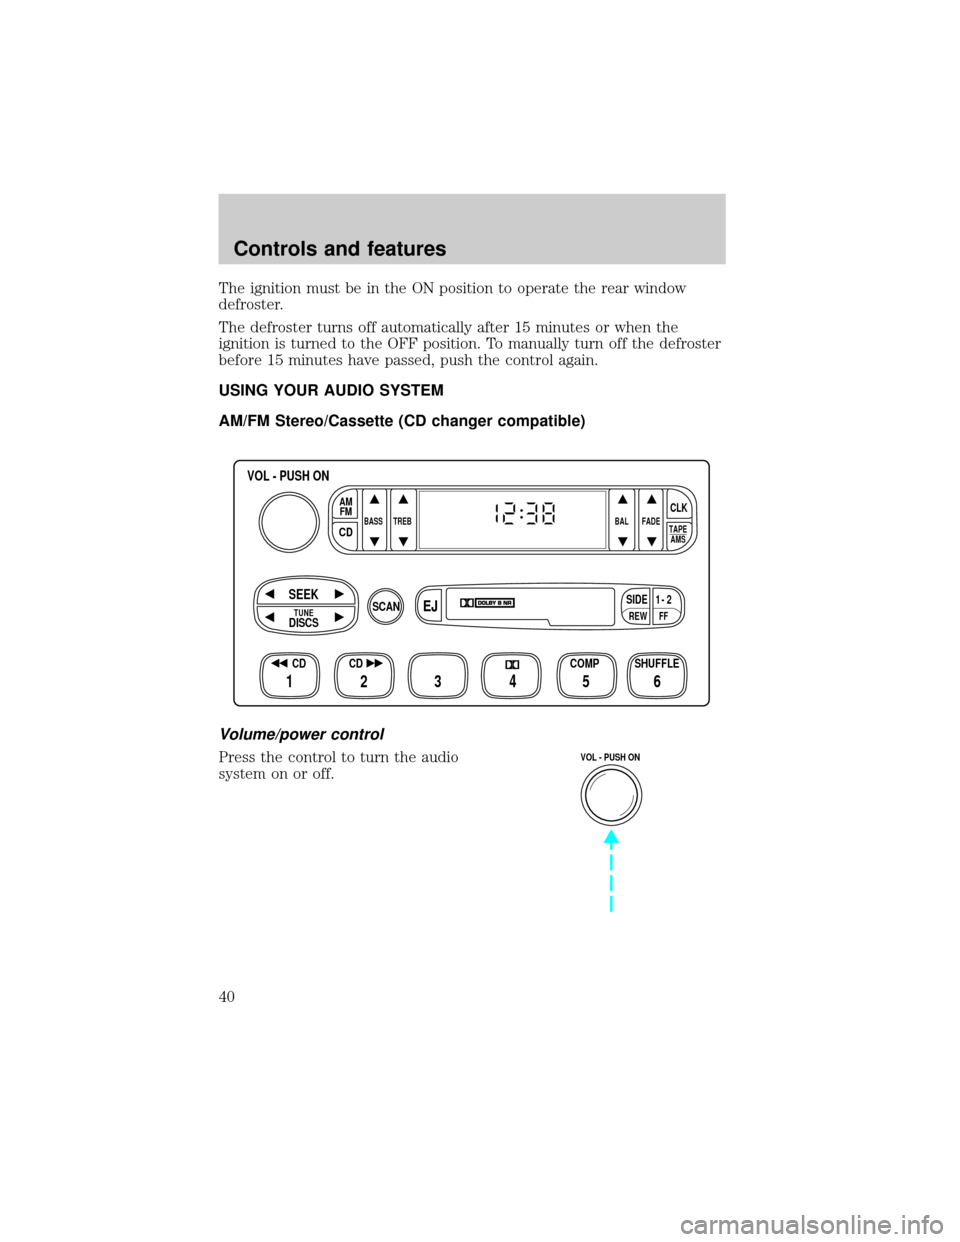
Volume/power control
Press the control to turn the audio
system on or off.
FFREW
SIDE1 - 2
BASS TREB BAL FADE
TAPE
AMS
AM
FM
CD
CLK
VOL - PUSH ON
SHUFFLE COMP CD
EJ
CDSCAN
DISCS
TUNE
SEEK
3 2 1456
VOL - PUSH ON
Controls and features
40
Page 87 of 264

Rear window wiper and washer
Press the wiper control to activate
the rear wiper. Press again to turn
off the wiper. The wiper operates at
a pre-set interval.
Press the washer control to activate
the rear washer. The wiper will
come on when the washer control is
pressed, if it is not already on.
HAZARD FLASHER
For information on the hazard flasher control, refer toHazard flasherin
theRoadside emergencieschapter.
OVERDRIVE CONTROL
Activating overdrive
D (Overdrive) is the normal drive position for the best fuel economy.
The overdrive function allows automatic upshifts from third to fourth gear.
SECURITY HAZARD
RR DEFOGRR WIPER RR WASH
SECURITYHAZARD
RR DEFOGRR WIPER RR WASH
Controls and features
87
Page 89 of 264

POWER WINDOWS
²Press and hold the switch to
open.
²Pull up and hold the switch to
close.
Power vent windows (if equipped)
Your vehicle may be equipped with
rear power vent windows which are
operated the same as the front
power windows.
One touch down
²Press AUTO completely down and
release quickly. The driver's
window will open fully. Depress
again to stop window operation.
The window lock feature allows only
the driver to operate the power
windows.
To lock out all the window controls
except for the driver's press the
control. Press the control again to
restore the window controls.
AUTO
AUTO
AUTO
Controls and features
89
Page 90 of 264
Accessory delay
With accessory delay, the window and moonroof switches may be used
for up to 15 minutes after the ignition switch is turned to the OFF
position or until either of the front doors are opened.
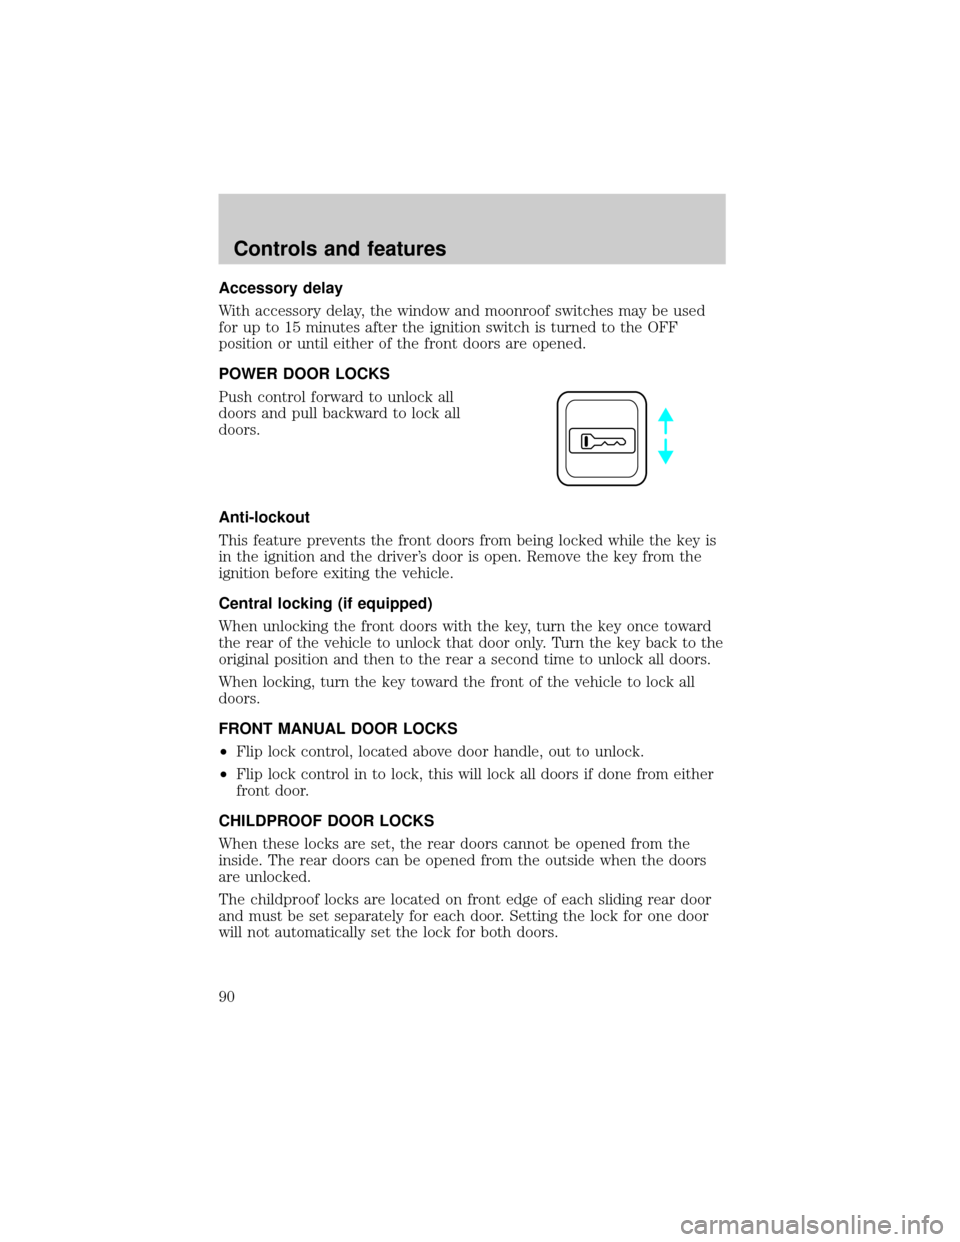
POWER DOOR LOCKS
Push control forward to unlock all
doors and pull backward to lock all
doors.
Anti-lockout
This feature prevents the front doors from being locked while the key is
in the ignition and the driver's door is open. Remove the key from the
ignition before exiting the vehicle.
Central locking (if equipped)
When unlocking the front doors with the key, turn the key once toward
the rear of the vehicle to unlock that door only. Turn the key back to the
original position and then to the rear a second time to unlock all doors.
When locking, turn the key toward the front of the vehicle to lock all
doors.
FRONT MANUAL DOOR LOCKS
²Flip lock control, located above door handle, out to unlock.
²Flip lock control in to lock, this will lock all doors if done from either
front door.
CHILDPROOF DOOR LOCKS
When these locks are set, the rear doors cannot be opened from the
inside. The rear doors can be opened from the outside when the doors
are unlocked.
The childproof locks are located on front edge of each sliding rear door
and must be set separately for each door. Setting the lock for one door
will not automatically set the lock for both doors.
Controls and features
90
Page 92 of 264
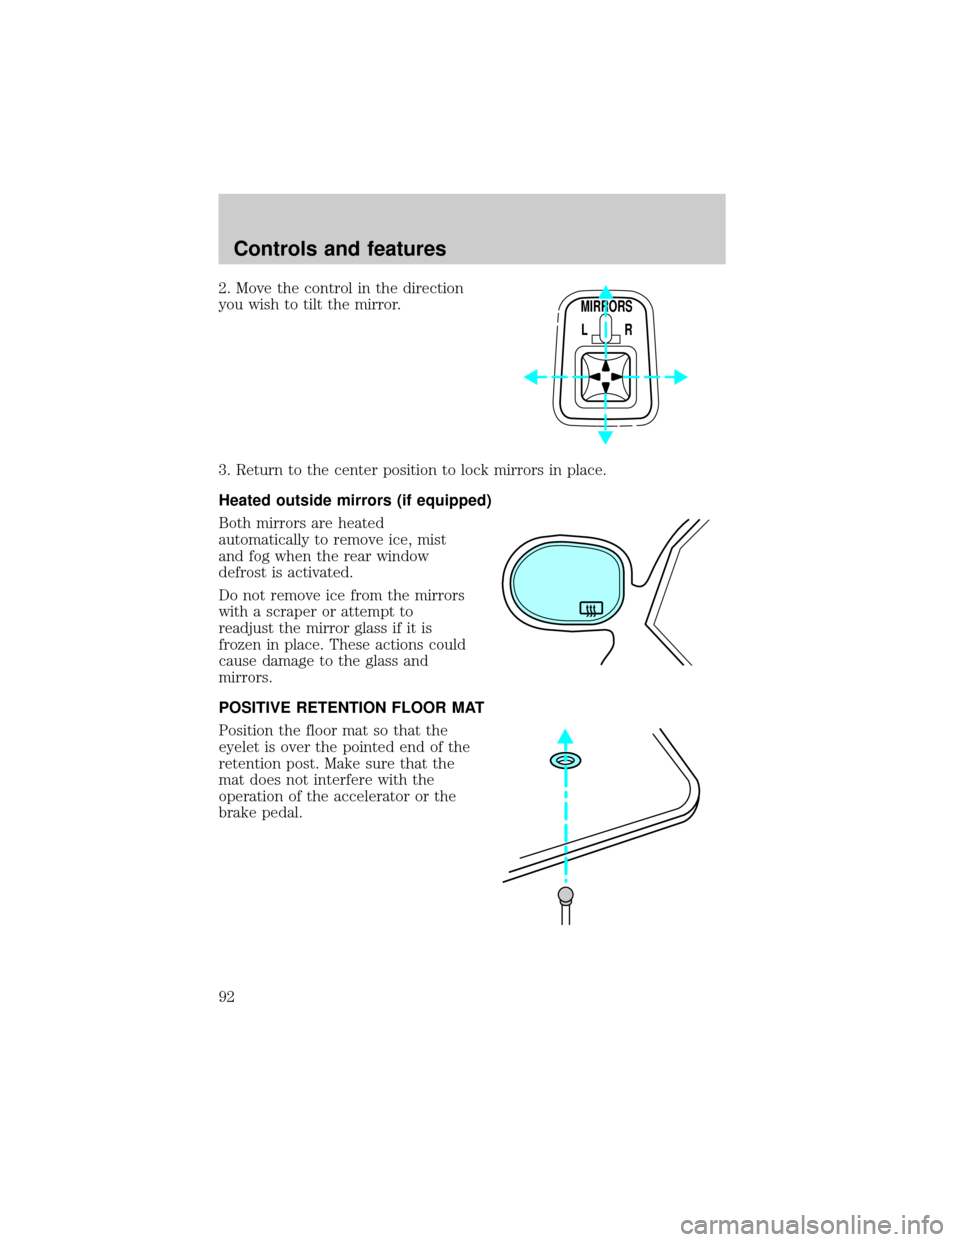
2. Move the control in the direction
you wish to tilt the mirror.
3. Return to the center position to lock mirrors in place.
Heated outside mirrors (if equipped)
Both mirrors are heated
automatically to remove ice, mist
and fog when the rear window
defrost is activated.
Do not remove ice from the mirrors
with a scraper or attempt to
readjust the mirror glass if it is
frozen in place. These actions could
cause damage to the glass and
mirrors.
POSITIVE RETENTION FLOOR MAT
Position the floor mat so that the
eyelet is over the pointed end of the
retention post. Make sure that the
mat does not interfere with the
operation of the accelerator or the
brake pedal.
MIRRORS
L R
Controls and features
92