key Mercury Villager 2000 Owner's Manuals
[x] Cancel search | Manufacturer: MERCURY, Model Year: 2000, Model line: Villager, Model: Mercury Villager 2000Pages: 256, PDF Size: 2.21 MB
Page 12 of 256
Light is blinking:
Engine misfire is occurring which could damage your catalytic converter.
You should drive in a moderate fashion (avoid heavy acceleration and
deceleration) and have your vehicle serviced at the first available
opportunity.
Under engine misfire conditions, excessive exhaust temperatures
could damage the catalytic converter, the fuel system, interior
floor coverings or other vehicle components, possibly causing a fire.
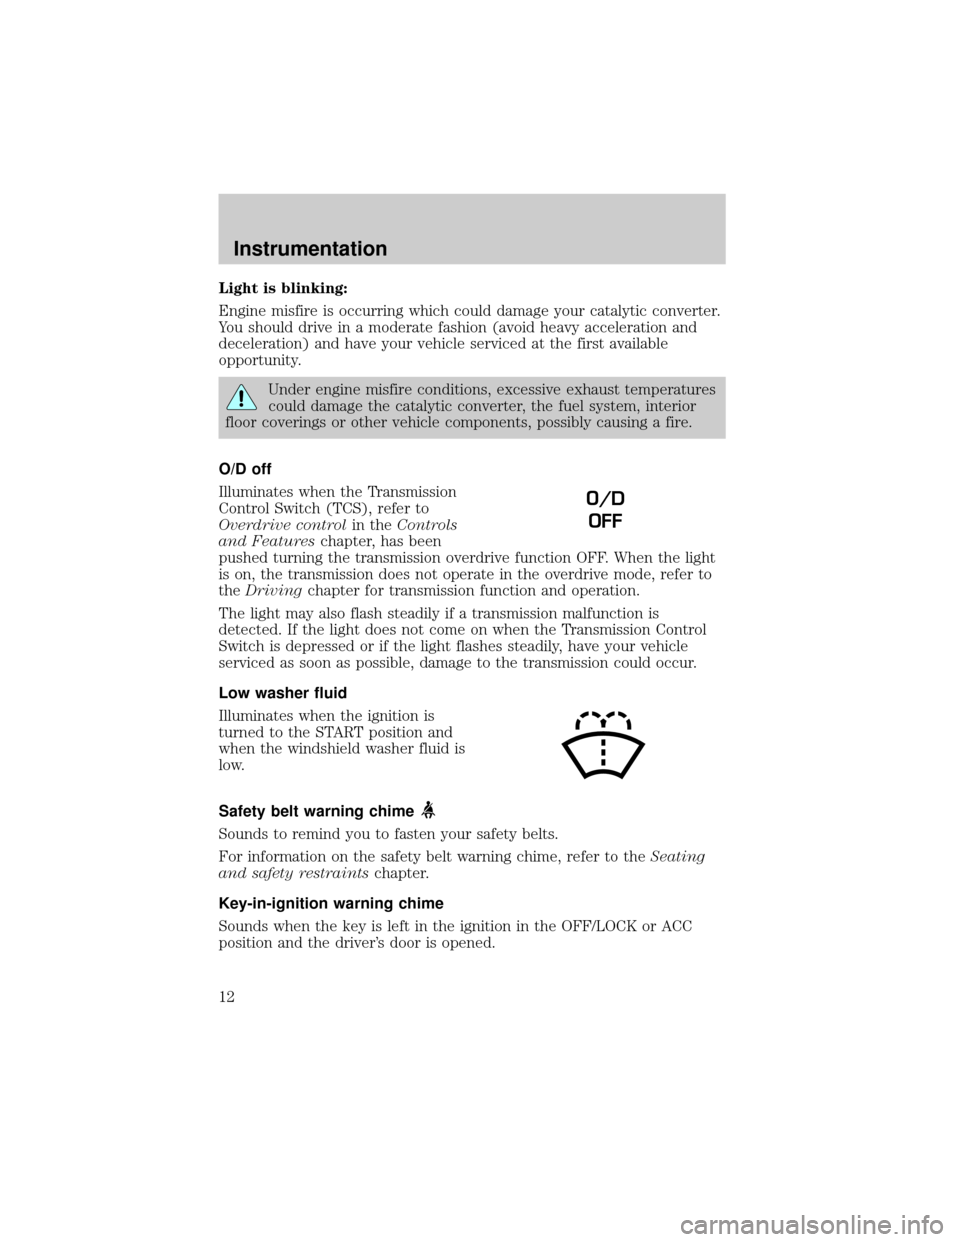
O/D off
Illuminates when the Transmission
Control Switch (TCS), refer to
Overdrive controlin theControls
and Featureschapter, has been
pushed turning the transmission overdrive function OFF. When the light
is on, the transmission does not operate in the overdrive mode, refer to
theDrivingchapter for transmission function and operation.
The light may also flash steadily if a transmission malfunction is
detected. If the light does not come on when the Transmission Control
Switch is depressed or if the light flashes steadily, have your vehicle
serviced as soon as possible, damage to the transmission could occur.
Low washer fluid
Illuminates when the ignition is
turned to the START position and
when the windshield washer fluid is
low.
Safety belt warning chime
Sounds to remind you to fasten your safety belts.
For information on the safety belt warning chime, refer to theSeating
and safety restraintschapter.
Key-in-ignition warning chime
Sounds when the key is left in the ignition in the OFF/LOCK or ACC
position and the driver's door is opened.
O/D
OFF
Instrumentation
12
Page 13 of 256
Headlamps on warning chime
Sounds when the headlamps or parking lamps are on, the ignition is off
(and the key is not in the ignition) and the driver's door is opened.
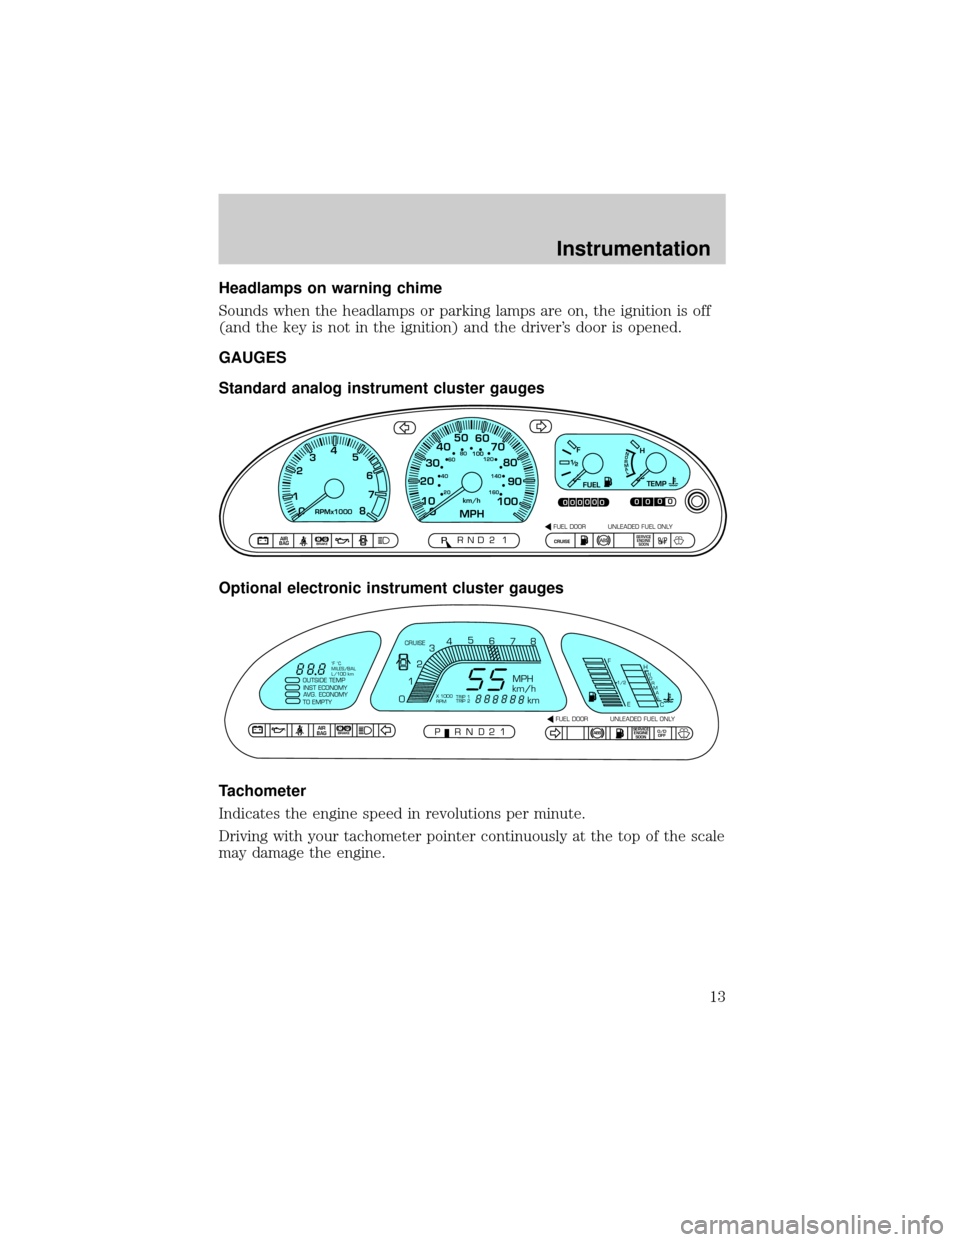
GAUGES
Standard analog instrument cluster gauges
Optional electronic instrument cluster gauges
Tachometer
Indicates the engine speed in revolutions per minute.
Driving with your tachometer pointer continuously at the top of the scale
may damage the engine.
CE
F
H
FUELTEMPNORMAL
0
PRND2P1P!
BRAKEAIR
BAGSERVICE
ENGINE
SOONCRUISEO/D
OFF
00000
00000MPHkm/h10 20304050
60
70
80
90
10020 406080
100120
140
160
0 234
5
6
7
8RPMx10001
FUEL DOOR UNLEADED FUEL ONLY
ABSAIR
BAGSERVICE
ENGINE
SOONABSO/D
OFF
OUTSIDE TEMP
INST ECONOMY
AVG. ECONOMY
TO EMPTY
PRND21FUEL DOOR UNLEADED FUEL ONLY CRUISE
MPH
km/h
km
F
EH
C
1/2N
O
R
M
A
L
012345
6
78
P!BRAKE
X 1000
RPMTRIP 1
TRIP 2 ˚F ˚C
MILES/BAL
L/100 km
Instrumentation
13
Page 16 of 256
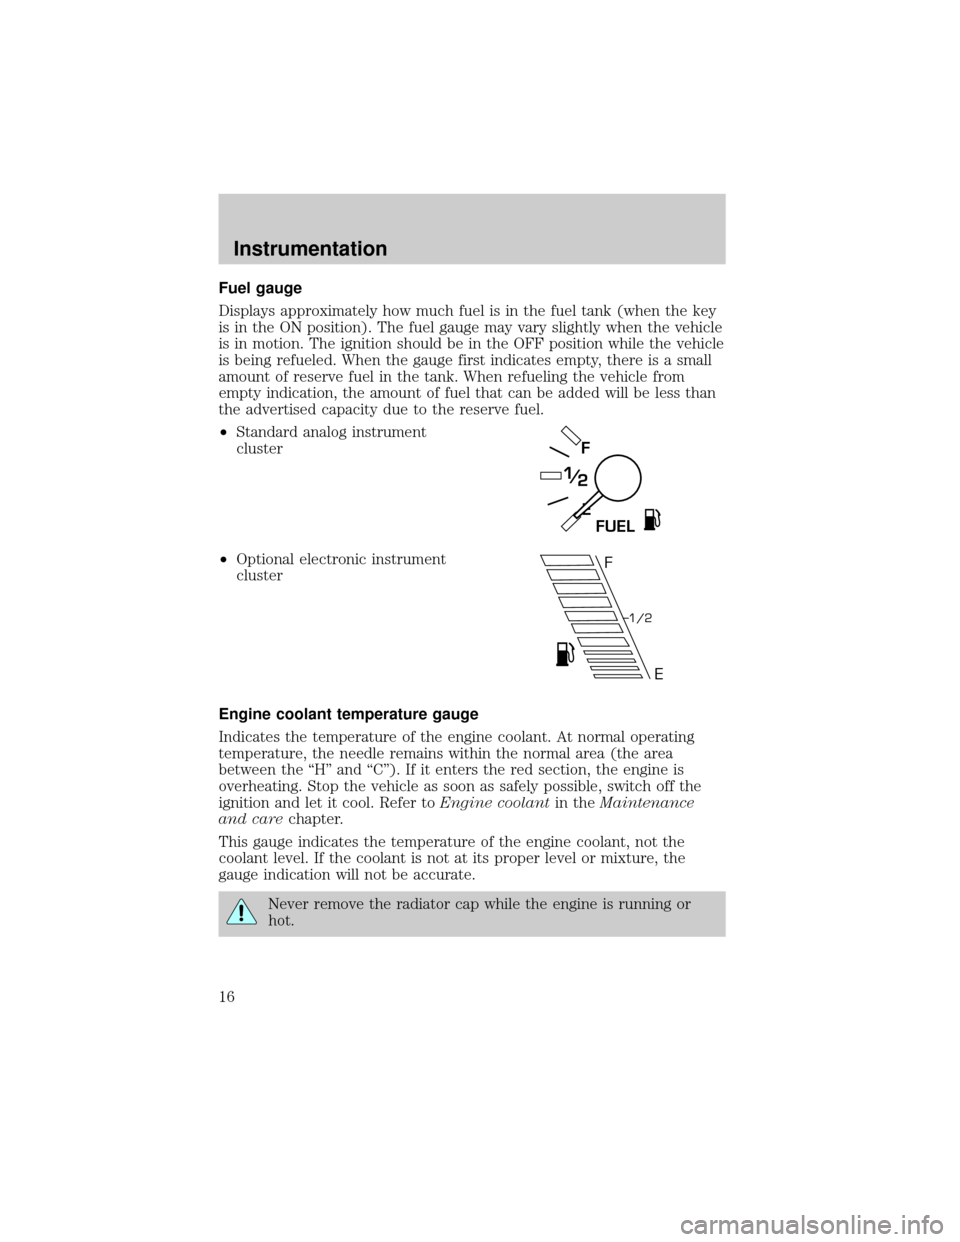
Fuel gauge
Displays approximately how much fuel is in the fuel tank (when the key
is in the ON position). The fuel gauge may vary slightly when the vehicle
is in motion. The ignition should be in the OFF position while the vehicle
is being refueled. When the gauge first indicates empty, there is a small
amount of reserve fuel in the tank. When refueling the vehicle from
empty indication, the amount of fuel that can be added will be less than
the advertised capacity due to the reserve fuel.
²Standard analog instrument
cluster
²Optional electronic instrument
cluster
Engine coolant temperature gauge
Indicates the temperature of the engine coolant. At normal operating
temperature, the needle remains within the normal area (the area
between the ªHº and ªCº). If it enters the red section, the engine is
overheating. Stop the vehicle as soon as safely possible, switch off the
ignition and let it cool. Refer toEngine coolantin theMaintenance
and carechapter.
This gauge indicates the temperature of the engine coolant, not the
coolant level. If the coolant is not at its proper level or mixture, the
gauge indication will not be accurate.
Never remove the radiator cap while the engine is running or
hot.
E
F
FUEL
F
E
1/2
Instrumentation
16
Page 82 of 256
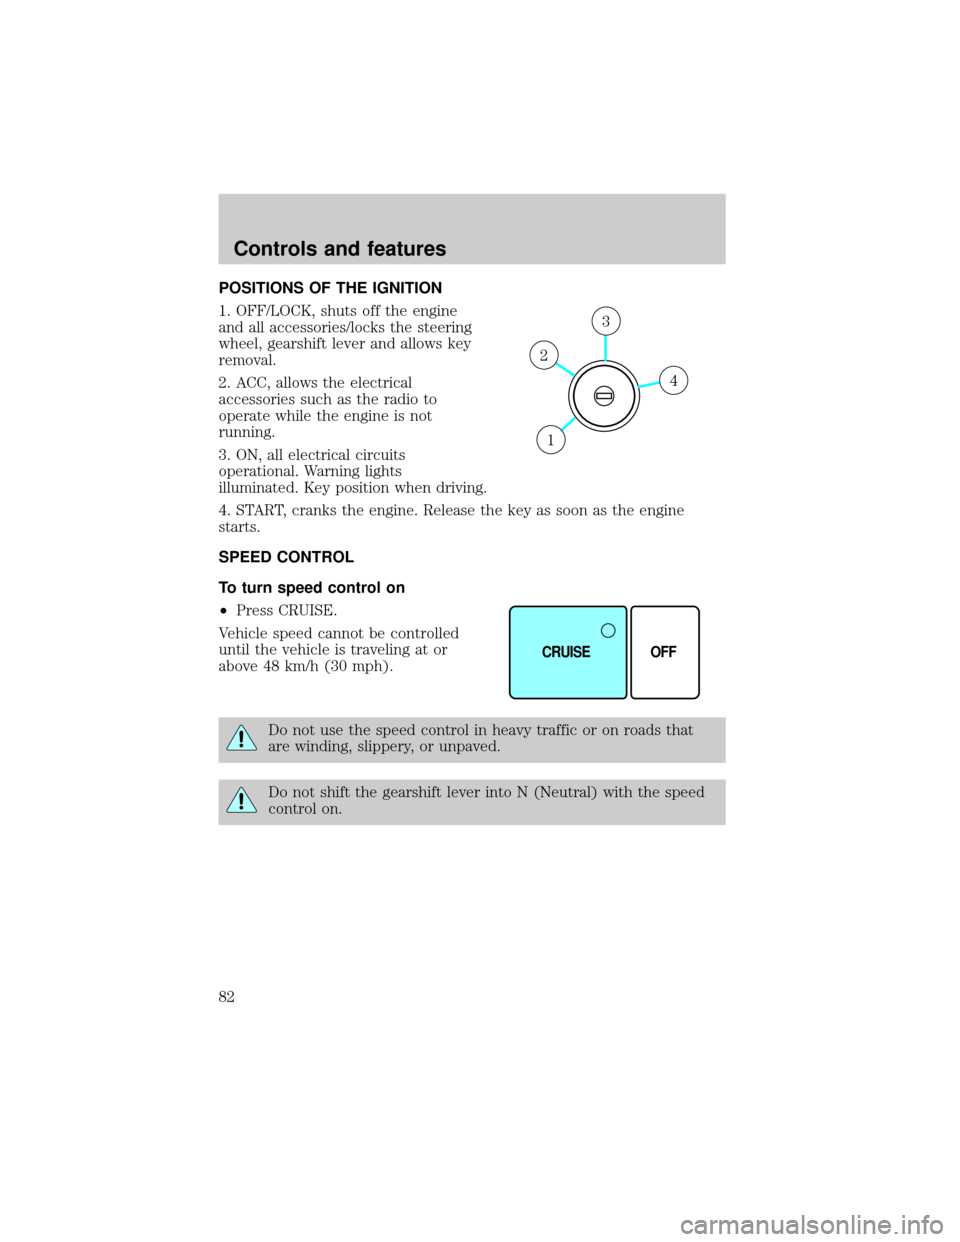
POSITIONS OF THE IGNITION
1. OFF/LOCK, shuts off the engine
and all accessories/locks the steering
wheel, gearshift lever and allows key
removal.
2. ACC, allows the electrical
accessories such as the radio to
operate while the engine is not
running.
3. ON, all electrical circuits
operational. Warning lights
illuminated. Key position when driving.
4. START, cranks the engine. Release the key as soon as the engine
starts.
SPEED CONTROL
To turn speed control on
²Press CRUISE.
Vehicle speed cannot be controlled
until the vehicle is traveling at or
above 48 km/h (30 mph).
Do not use the speed control in heavy traffic or on roads that
are winding, slippery, or unpaved.
Do not shift the gearshift lever into N (Neutral) with the speed
control on.
4
3
2
1
CRUISE OFF
Controls and features
82
Page 91 of 256
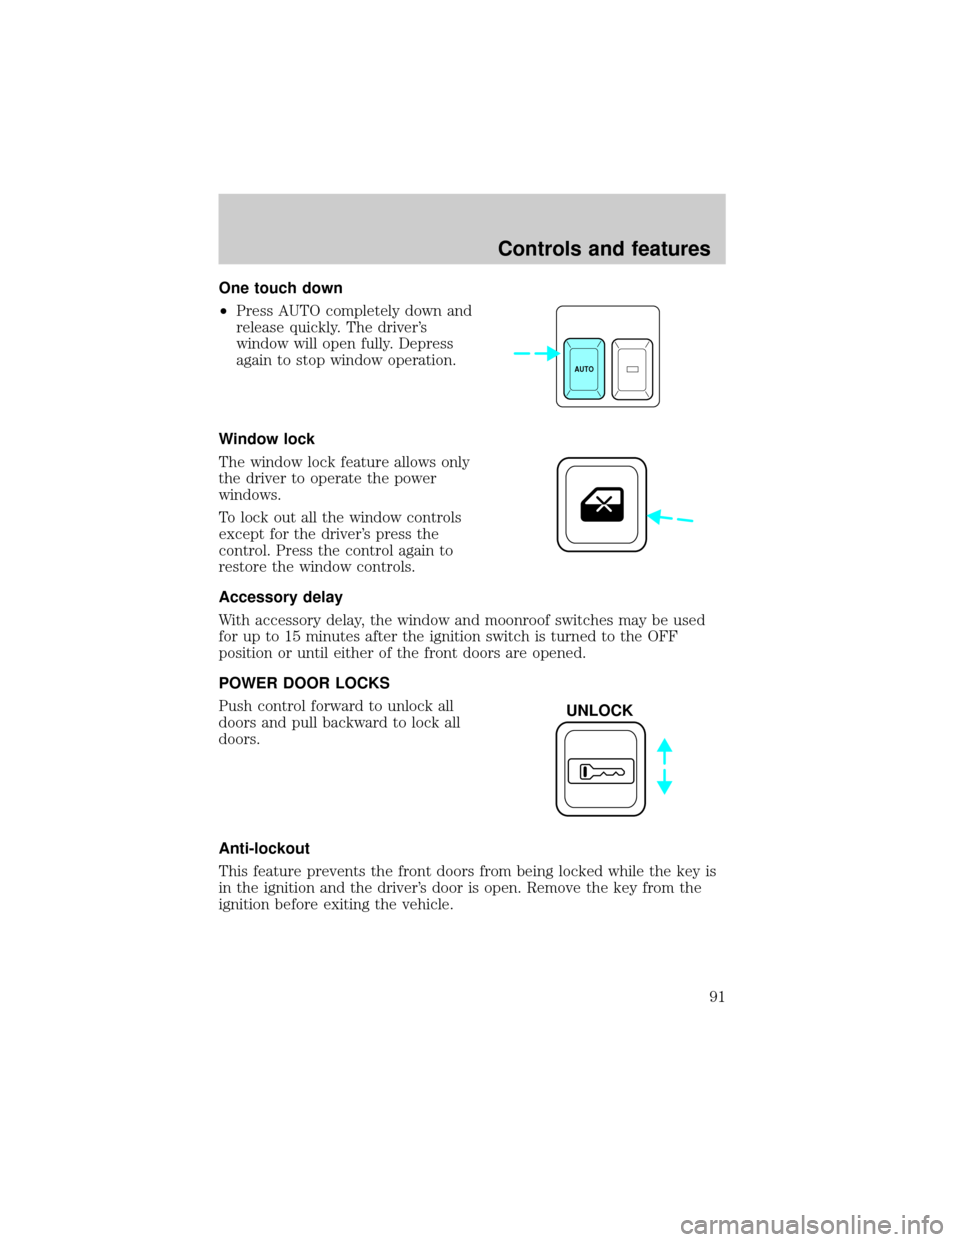
One touch down
²Press AUTO completely down and
release quickly. The driver's
window will open fully. Depress
again to stop window operation.
Window lock
The window lock feature allows only
the driver to operate the power
windows.
To lock out all the window controls
except for the driver's press the
control. Press the control again to
restore the window controls.
Accessory delay
With accessory delay, the window and moonroof switches may be used
for up to 15 minutes after the ignition switch is turned to the OFF
position or until either of the front doors are opened.
POWER DOOR LOCKS
Push control forward to unlock all
doors and pull backward to lock all
doors.
Anti-lockout
This feature prevents the front doors from being locked while the key is
in the ignition and the driver's door is open. Remove the key from the
ignition before exiting the vehicle.
AUTO
UNLOCK
Controls and features
91
Page 92 of 256
Central locking
When unlocking the front doors with the key, turn the key once toward
the rear of the vehicle to unlock that door only. Turn the key back to the
original position and then to the rear a second time to unlock all doors.
When locking, turn the key toward the front of the vehicle to lock all
doors.
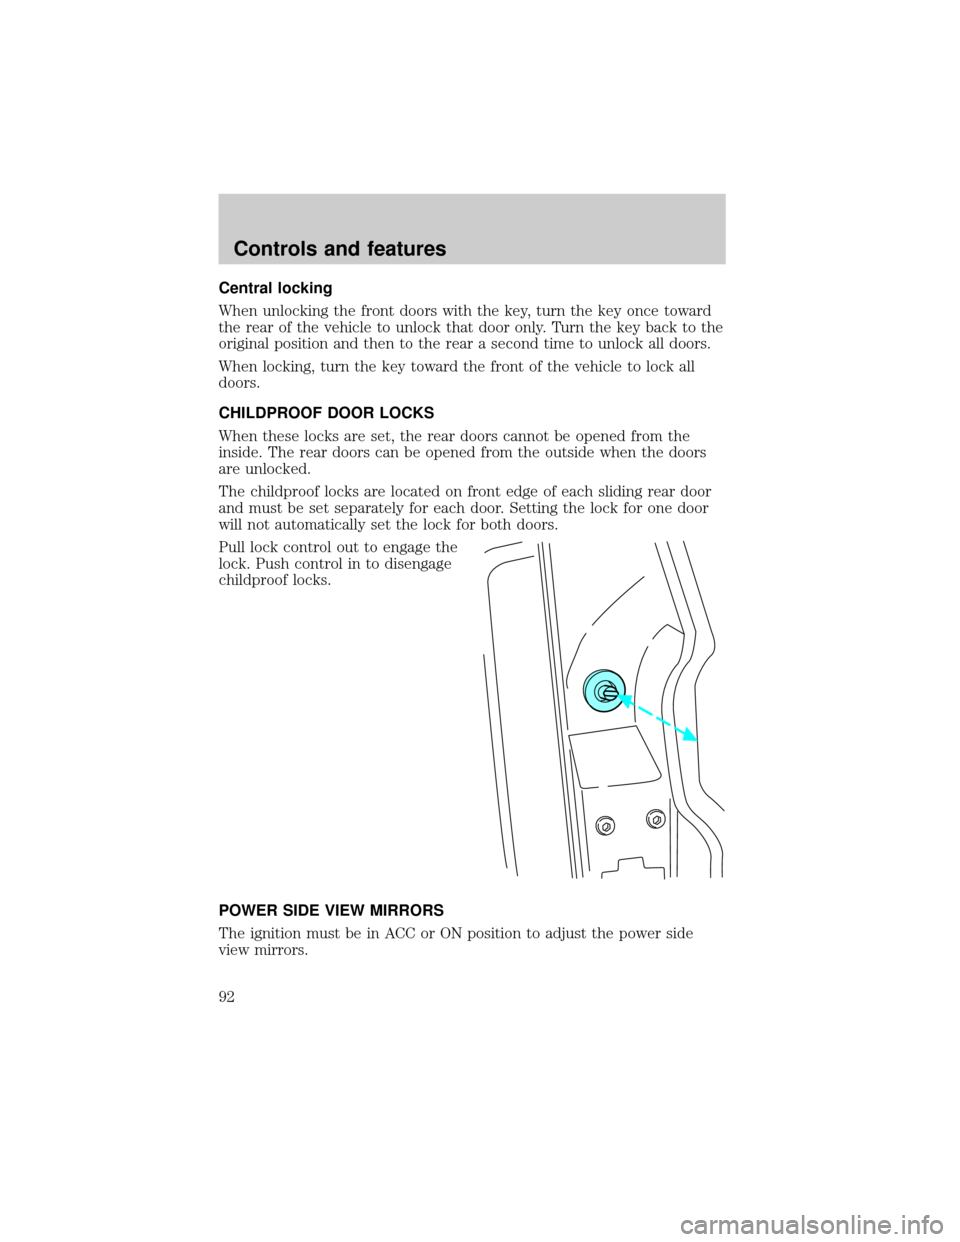
CHILDPROOF DOOR LOCKS
When these locks are set, the rear doors cannot be opened from the
inside. The rear doors can be opened from the outside when the doors
are unlocked.
The childproof locks are located on front edge of each sliding rear door
and must be set separately for each door. Setting the lock for one door
will not automatically set the lock for both doors.
Pull lock control out to engage the
lock. Push control in to disengage
childproof locks.
POWER SIDE VIEW MIRRORS
The ignition must be in ACC or ON position to adjust the power side
view mirrors.
Controls and features
92
Page 102 of 256

POSITIVE RETENTION FLOOR MAT
Position the floor mat so that the
eyelet is over the pointed end of the
retention post. Make sure that the
mat does not interfere with the
operation of the accelerator or the
brake pedal.
REMOTE ENTRY SYSTEM
The remote entry system allows you to:
²lock or unlock all vehicle doors without a key.
²activate the panic alarm.
If there is any potential remote keyless entry problem with your vehicle,
ensureALL key fobs(remote entry transmitters) are brought to the
dealership, to aid in troubleshooting.
Unlocking the doors
Press this control to unlock the
driver's door. The interior lamps will
illuminate and the parking and tail
lamps will flash once.
Press the control a second time
within five seconds to unlock all
doors.
Controls and features
102
Page 104 of 256
The system automatically turns off after 15 seconds or when the ignition
is turned to the RUN position.
The inside lights will not turn off if:
²they have been turned on with the headlamp control or
²any door is open.
The battery saver will shut off the interior lamps after 30 minutes if the
front door is left open or after 60 minutes if the liftgate is left open.
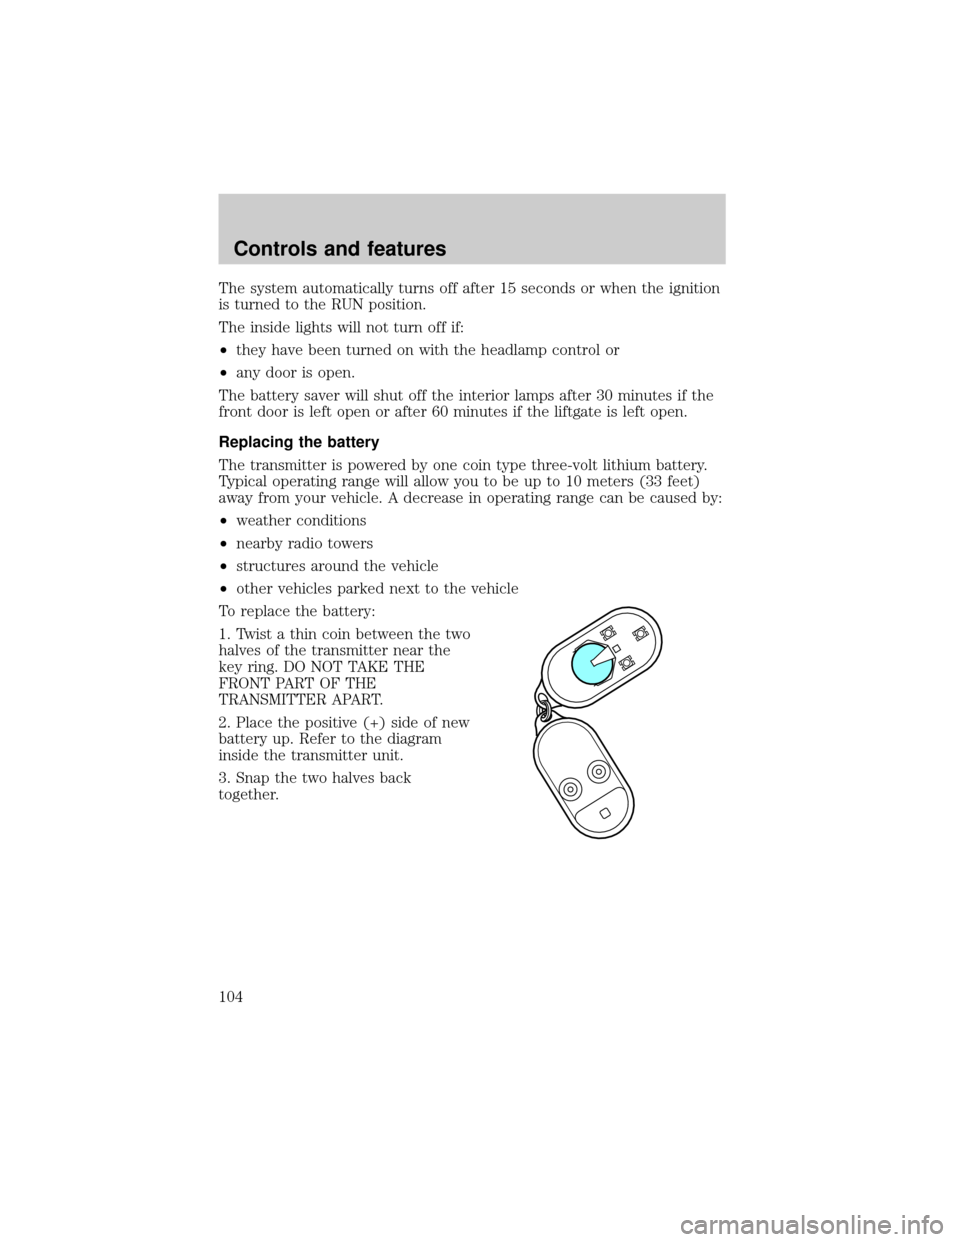
Replacing the battery
The transmitter is powered by one coin type three-volt lithium battery.
Typical operating range will allow you to be up to 10 meters (33 feet)
away from your vehicle. A decrease in operating range can be caused by:
²weather conditions
²nearby radio towers
²structures around the vehicle
²other vehicles parked next to the vehicle
To replace the battery:
1. Twist a thin coin between the two
halves of the transmitter near the
key ring. DO NOT TAKE THE
FRONT PART OF THE
TRANSMITTER APART.
2. Place the positive (+) side of new
battery up. Refer to the diagram
inside the transmitter unit.
3. Snap the two halves back
together.
Controls and features
104
Page 105 of 256

Replacing lost transmitters
Take all your vehicle's transmitters
to your dealer if service is required.
If you purchase additional
transmitters (up to four may be
programmed into memory), perform
the following procedure:
With all doors closed and locked,
insert and remove the key from the
ignition six times within ten
seconds. The park lamps will flash
twice to confirm the programming mode has been entered.
Re-insert the key and turn to the ON position. Press any control on the
first transmitter. The park lamps will flash twice to confirm the
programming.
To program additional (up to four) transmitters yourself:
²Unlock, then lock the driver's door using the power door lock switch.
²Press any control on the next transmitter to be programmed. The park
lamps will flash twice to confirm the acceptance of registration.
Repeat this step for additional transmitters.
When programming is complete, open the driver's door. The park lamps
will flash twice to confirm the end of programming.
All transmittersmustbe programmed at the same time.
ANTI-THEFT SYSTEM
When armed, the anti-theft system will help prevent your vehicle from
unauthorized entry.
If there is any potential perimeter anti-theft problem with your vehicle,
ensureALL key fobs(remote entry transmitters) are brought to the
dealership, to aid in troubleshooting.
Arming the system
When unauthorized entry occurs, the system will flash headlamp lamps,
tail lamps and the security indicator lamp, chirp the horn and disable the
starting system.
The system is ready to arm whenever the ignition is turned OFF. Any of
the following actions will prearm the alarm system:
Controls and features
105
Page 107 of 256

Disarming the anti-theft system
Disarming an untriggered anti-theft system
You can disarm the system by any of the following actions:
²Unlock the doors by using your
remote entry transmitter.
²Unlock the doors with a key. Turn
the key full travel (toward the
rear of the vehicle) to make sure
the alarm disarms.
²Turn ignition to ACC or ON.
Triggering the anti-theft system
The armed system will be triggered if:
²Any door or liftgate is opened without using the door key or the
remote entry transmitter. (if the vehicle is armed while in side the
vehicle, inserting the key into the ignition will also trigger system.)
²The hood is forced opened.
Disarming a triggered anti-theft system
You can disarm the system by any of
the following actions:
²Press the unlock control using
your remote entry transmitter.
²Unlock the doors with a key.
Controls and features
107