remote control Mercury Villager 2000 Owner's Manuals
[x] Cancel search | Manufacturer: MERCURY, Model Year: 2000, Model line: Villager, Model: Mercury Villager 2000Pages: 256, PDF Size: 2.21 MB
Page 102 of 256

POSITIVE RETENTION FLOOR MAT
Position the floor mat so that the
eyelet is over the pointed end of the
retention post. Make sure that the
mat does not interfere with the
operation of the accelerator or the
brake pedal.
REMOTE ENTRY SYSTEM
The remote entry system allows you to:
²lock or unlock all vehicle doors without a key.
²activate the panic alarm.
If there is any potential remote keyless entry problem with your vehicle,
ensureALL key fobs(remote entry transmitters) are brought to the
dealership, to aid in troubleshooting.
Unlocking the doors
Press this control to unlock the
driver's door. The interior lamps will
illuminate and the parking and tail
lamps will flash once.
Press the control a second time
within five seconds to unlock all
doors.
Controls and features
102
Page 103 of 256

Locking the doors
Press this control to lock all doors.
To confirm all doors are closed and
locked, the horn will chirp and the
lamps will flash. The horn chirp
feature can be turned on/off by
holding the LOCK and UNLOCK
controls on the transmitter
simultaneously for two seconds. The
hazard lights will flash three times
each time the system is toggled
between active and non-active
modes.
If any of the doors are ajar, the horn will not chirp and the lights will not
flash.
Sounding a panic alarm
To activate the alarm, press and
hold the PANIC control for longer
than 1.5 seconds. The horn will
sound and the headlamps and tail
lights will flash for thirty (30)
seconds.
To deactivate the alarm, press the
LOCK or UNLOCK or hold the
PANIC control down for longer than
1.5 seconds.
This device complies with part 15 of the FCC rules and with RS-210 of
Industry Canada. Operation is subject to the following two conditions:
(1) This device may not cause harmful interference, and (2) This device
must accept any interference received, including interference that may
cause undesired operation.
Changes or modifications not expressly approved by the party
responsible for compliance could void the user's authority to
operate the equipment.
Illuminated entry
The interior lamps illuminate when the remote entry system is used to
unlock the door(s) or sound the panic alarm.
Controls and features
103
Page 105 of 256

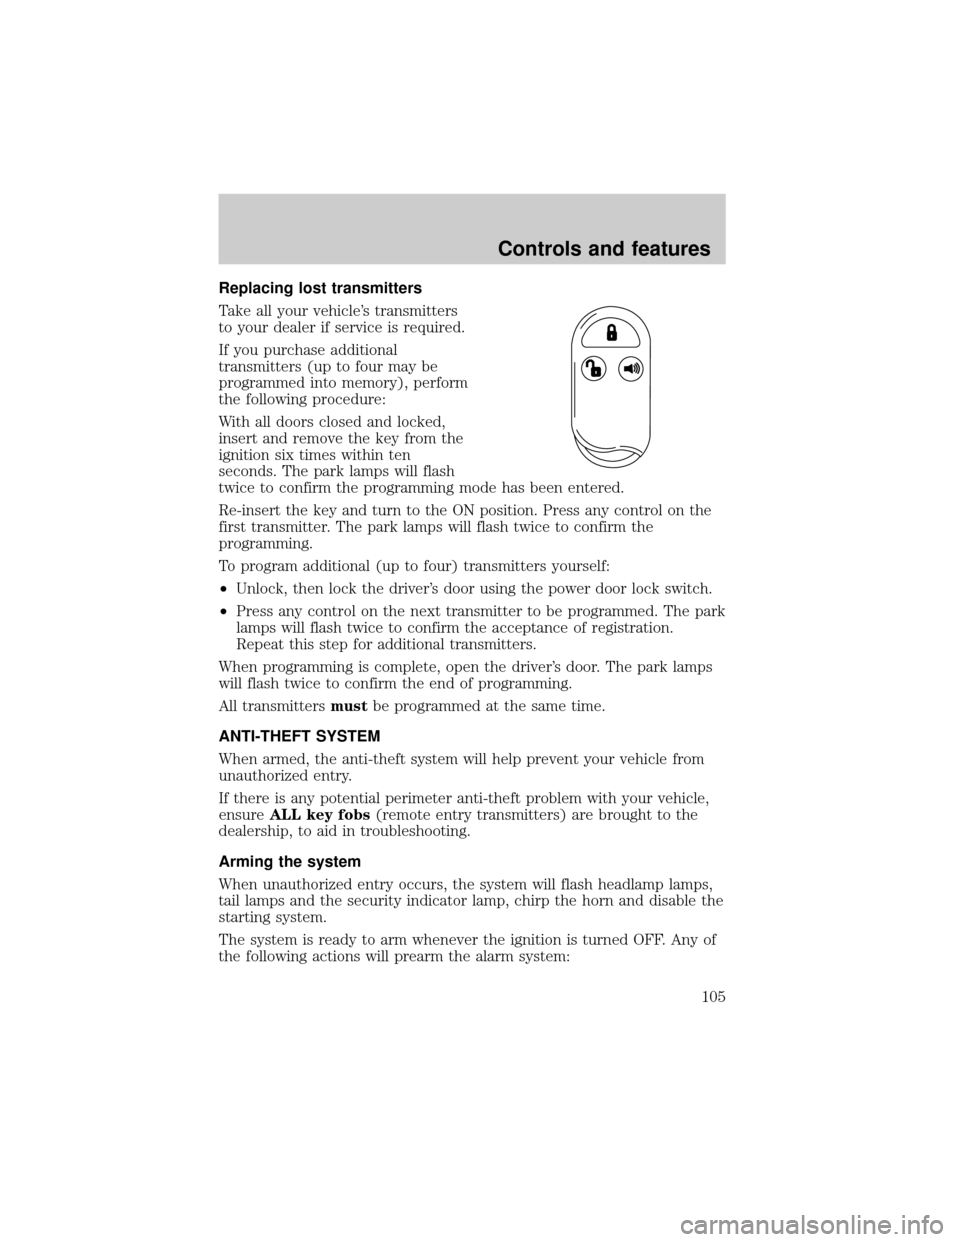
Replacing lost transmitters
Take all your vehicle's transmitters
to your dealer if service is required.
If you purchase additional
transmitters (up to four may be
programmed into memory), perform
the following procedure:
With all doors closed and locked,
insert and remove the key from the
ignition six times within ten
seconds. The park lamps will flash
twice to confirm the programming mode has been entered.
Re-insert the key and turn to the ON position. Press any control on the
first transmitter. The park lamps will flash twice to confirm the
programming.
To program additional (up to four) transmitters yourself:
²Unlock, then lock the driver's door using the power door lock switch.
²Press any control on the next transmitter to be programmed. The park
lamps will flash twice to confirm the acceptance of registration.
Repeat this step for additional transmitters.
When programming is complete, open the driver's door. The park lamps
will flash twice to confirm the end of programming.
All transmittersmustbe programmed at the same time.
ANTI-THEFT SYSTEM
When armed, the anti-theft system will help prevent your vehicle from
unauthorized entry.
If there is any potential perimeter anti-theft problem with your vehicle,
ensureALL key fobs(remote entry transmitters) are brought to the
dealership, to aid in troubleshooting.
Arming the system
When unauthorized entry occurs, the system will flash headlamp lamps,
tail lamps and the security indicator lamp, chirp the horn and disable the
starting system.
The system is ready to arm whenever the ignition is turned OFF. Any of
the following actions will prearm the alarm system:
Controls and features
105
Page 106 of 256

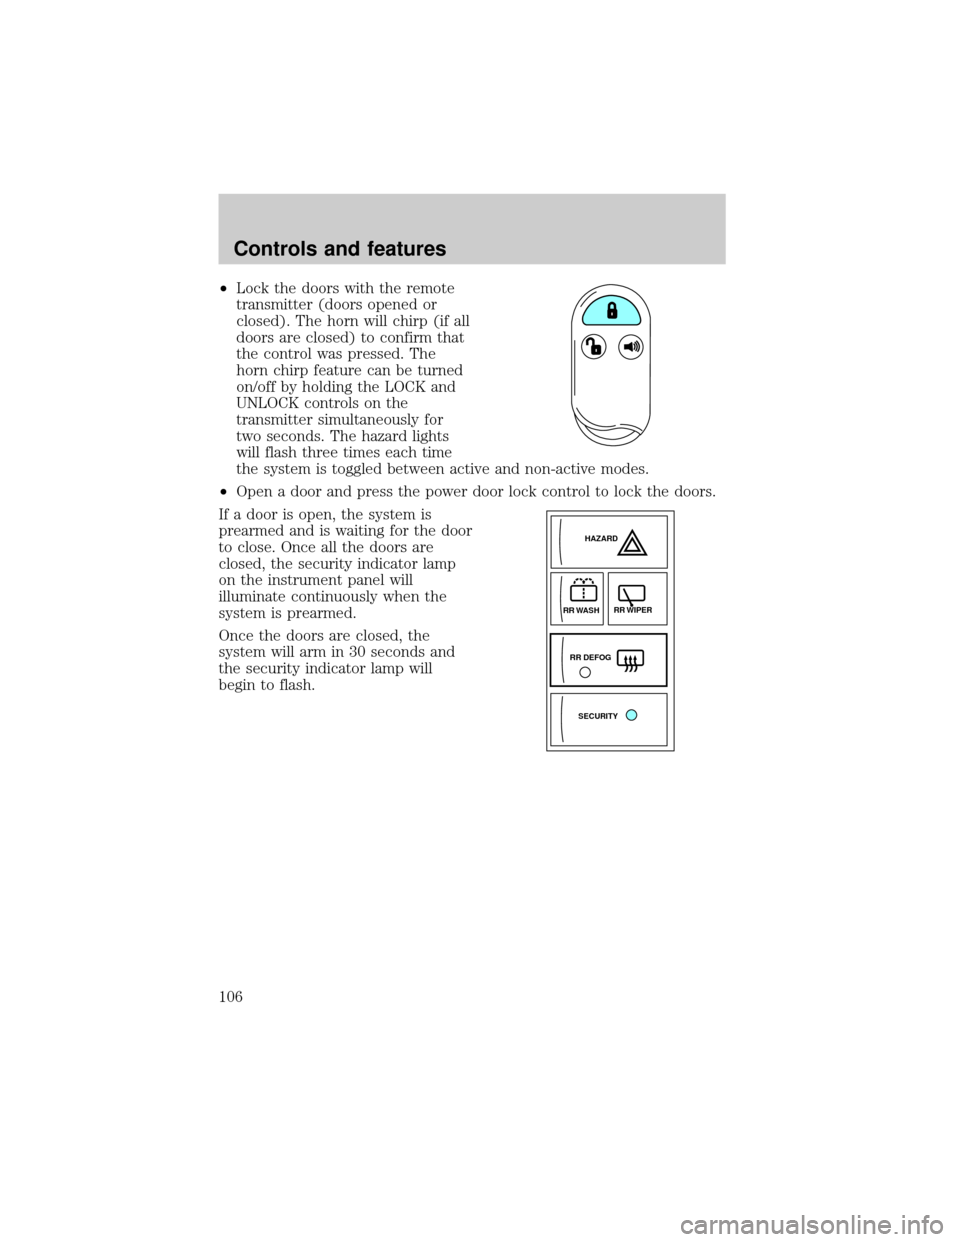
²Lock the doors with the remote
transmitter (doors opened or
closed). The horn will chirp (if all
doors are closed) to confirm that
the control was pressed. The
horn chirp feature can be turned
on/off by holding the LOCK and
UNLOCK controls on the
transmitter simultaneously for
two seconds. The hazard lights
will flash three times each time
the system is toggled between active and non-active modes.
²Open a door and press the power door lock control to lock the doors.
If a door is open, the system is
prearmed and is waiting for the door
to close. Once all the doors are
closed, the security indicator lamp
on the instrument panel will
illuminate continuously when the
system is prearmed.
Once the doors are closed, the
system will arm in 30 seconds and
the security indicator lamp will
begin to flash.
SECURITYHAZARD
RR DEFOGRR WIPER
RR WASH
Controls and features
106
Page 107 of 256

Disarming the anti-theft system
Disarming an untriggered anti-theft system
You can disarm the system by any of the following actions:
²Unlock the doors by using your
remote entry transmitter.
²Unlock the doors with a key. Turn
the key full travel (toward the
rear of the vehicle) to make sure
the alarm disarms.
²Turn ignition to ACC or ON.
Triggering the anti-theft system
The armed system will be triggered if:
²Any door or liftgate is opened without using the door key or the
remote entry transmitter. (if the vehicle is armed while in side the
vehicle, inserting the key into the ignition will also trigger system.)
²The hood is forced opened.
Disarming a triggered anti-theft system
You can disarm the system by any of
the following actions:
²Press the unlock control using
your remote entry transmitter.
²Unlock the doors with a key.
Controls and features
107
Page 115 of 256

Using the manual lumbar support
The lumbar control is located on the
inboard side of the driver's seat.
Move the control up or down to
adjust lumbar support.
Memory seats and mirrors (if equipped)
Some vehicles may only have the
memory feature available for the
seats.
The memory seat control is located
on the driver's door panel. The
control operates with the ignition in
the OFF position or the ignition is in
the ON position and the vehicle is in
P (Park) or N (Neutral).
The two buttons provide three
memory positions, one individual position for each button and a third
position obtained by pressing buttons 1 and 2 simultaneously.
Position three (pressing 1 and 2 simultaneously) is always full rearward
and downward for exit mode, but is not programmable.
To record the memory positions:
1. Move the seat and mirror to the desired position using the manual
controls.
2. Press button 1 or 2 and hold for at least two seconds. The indicator
light will stay on until the position is programmed. When the position has
been programmed, the indicator light will flash three times. Repeat
procedure for second position.
To record a remote entry transmitter:
1. Program a desired position to a memory switch as indicated above.
2 1
MEMORY
SEAT
Seating and safety restraints
115
Page 254 of 256

low washer fluid .......................12
oil pressure .................................9
overdrive off ..............................12
safety belt ...................................9
service engine soon ..................11
speed control ............................86
turn signal indicator .................10
Load limits .................................160
GAWR ......................................160
GVWR ......................................160
trailer towing ..........................160
Locks
childproof ..................................92
doors ..........................................91
Lubricant specifications ....234,235
Lumbar support, seats .............115
Message center .................17,18,19
Mirrors .........................................98
cleaning ...................................229
heated ........................................93
side view mirrors (power) .......92
Moon roof ..................................101
Motorcraft parts .................217,233
Octane rating ............................216
Odometer .....................................15
Oil (see Engine oil) ..................189
Overdrive ..............................89,159
Panic alarm feature, remote
entry system ..............................103
Parking brake ............................153
Parts (see Motorcraft parts) ....233
Power distribution box
(see Fuses) ...............................172
Power door locks ........................91
Power steering ..........................154
fluid, checking and adding ....198
fluid, refill capacity ................233
fluid, specifications ..........234,235
Radio ............................................40
Relays .................................168,175
Remote entry system ........102,103
illuminated entry ....................103locking/unlocking doors ..102,103
panic alarm .............................103
replacement/additional
transmitters .............................105
replacing the batteries ...........104
Roof rack ...................................165
Safety belts (see Safety
restraints) ......126,127,128,129,130
Safety defects, reporting ..........250
Safety
restraints .......126,127,128,129,130
cleaning the
safety belts .......................132,232
extension assembly ................131
for adults ...................127,128,129
for children .............................137
lap belt ....................................130
warning light
and chime ........................9,12,131
Safety seats for children ..........138
Seat belts
(see Safety restraints) .............126
Seats ..........................................112
child safety seats ....................138
cleaning ............................231,232
memory seat ...........................115
Servicing your vehicle ..............186
Spark plugs,
specifications ......................233,235
Specification chart,
lubricants ............................234,235
Speed control ..............................82
Speedometer ...............................14
Starting your vehicle ..147,148,149
jump starting ..........................180
Steering wheel
controls ......................................86
tilting .........................................89
Tachometer .................................13
Tires ......................175,208,209,210
changing ....................175,176,178
checking the pressure ............210
Index
254