service indicator Mercury Villager 2000 Owner's Manuals
[x] Cancel search | Manufacturer: MERCURY, Model Year: 2000, Model line: Villager, Model: Mercury Villager 2000Pages: 256, PDF Size: 2.21 MB
Page 10 of 256
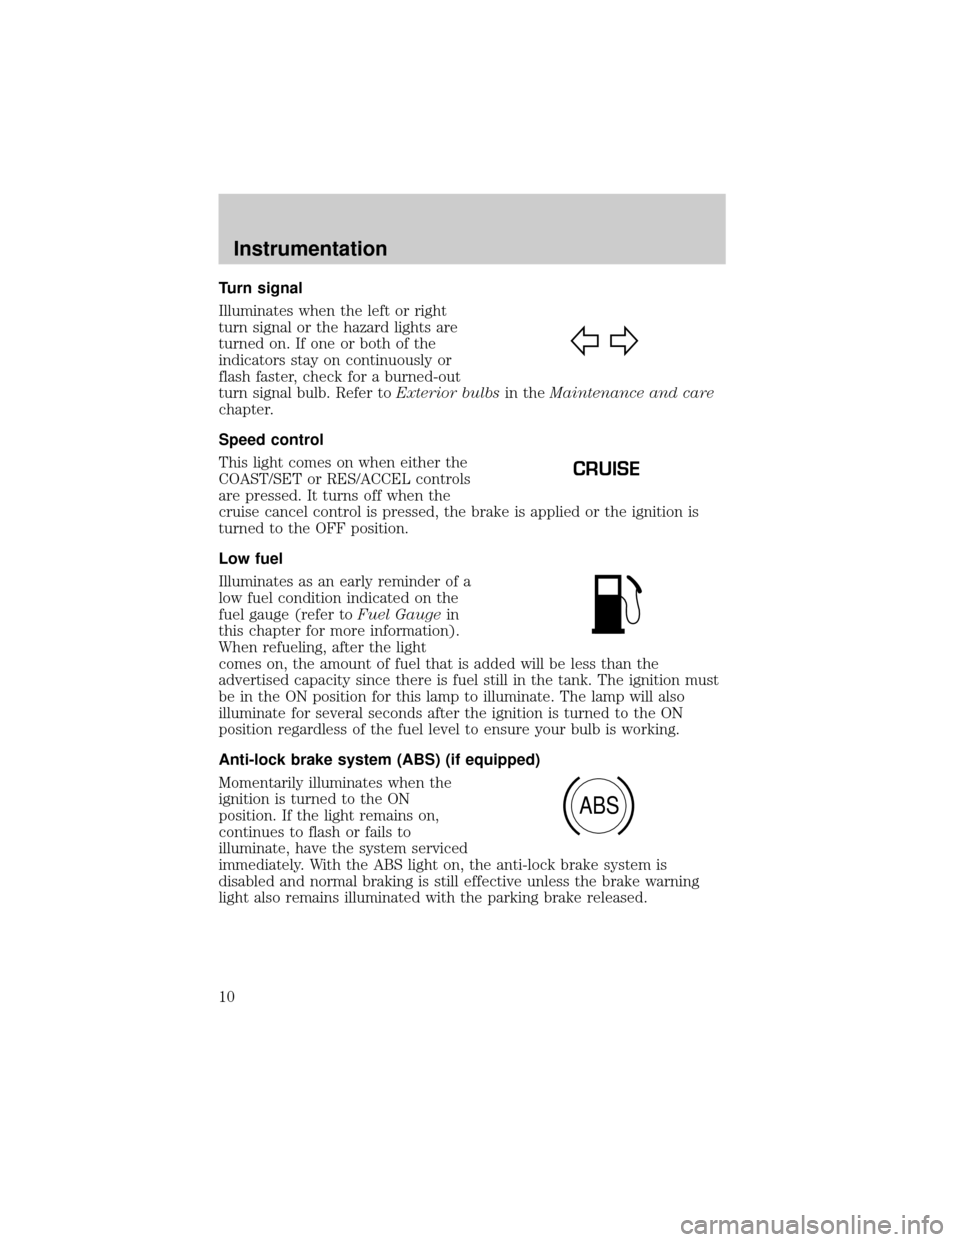
Turn signal
Illuminates when the left or right
turn signal or the hazard lights are
turned on. If one or both of the
indicators stay on continuously or
flash faster, check for a burned-out
turn signal bulb. Refer toExterior bulbsin theMaintenance and care
chapter.
Speed control
This light comes on when either the
COAST/SET or RES/ACCEL controls
are pressed. It turns off when the
cruise cancel control is pressed, the brake is applied or the ignition is
turned to the OFF position.
Low fuel
Illuminates as an early reminder of a
low fuel condition indicated on the
fuel gauge (refer toFuel Gaugein
this chapter for more information).
When refueling, after the light
comes on, the amount of fuel that is added will be less than the
advertised capacity since there is fuel still in the tank. The ignition must
be in the ON position for this lamp to illuminate. The lamp will also
illuminate for several seconds after the ignition is turned to the ON
position regardless of the fuel level to ensure your bulb is working.
Anti-lock brake system (ABS) (if equipped)
Momentarily illuminates when the
ignition is turned to the ON
position. If the light remains on,
continues to flash or fails to
illuminate, have the system serviced
immediately. With the ABS light on, the anti-lock brake system is
disabled and normal braking is still effective unless the brake warning
light also remains illuminated with the parking brake released.
CRUISE
ABS
Instrumentation
10
Page 11 of 256

Service engine soon
Your vehicle is equipped with a
computer that monitors the engine's
emission control system. This
system is commonly known as the
On Board Diagnostics System (OBD
II). The OBD II system protects the
environment by ensuring that your vehicle continues to meet
government emission standards. The OBD II system also assists the
service technician in properly servicing your vehicle.
TheService Engine Soonindicator light illuminates when the ignition is
first turned to the ON position to check the bulb. If it comes on after the
engine is started, one of the engine's emission control systems may be
malfunctioning. The light may illuminate without a driveability concern
being noted. The vehicle will usually be drivable and will not require
towing.
What you should do if the Service Engine Soon light illuminates
Light turns on solid:
This means that the OBD II system has detected a malfunction.
Temporary malfunctions may cause yourService Engine Soonlight to
illuminate. Examples are:
1. The vehicle has run out of fuel. (The engine may misfire or run
poorly.)
2. Poor fuel quality or water in the fuel.
3. The fuel cap may not have been properly installed and securely
tightened.
These temporary malfunctions can be corrected by filling the fuel tank
with high quality fuel of the recommended octane and/or properly
installing and securely tightening the gas cap. After three driving cycles
without these or any other temporary malfunctions present, theService
Engine Soonlight should turn off. (A driving cycle consists of a cold
engine startup followed by mixed city/highway driving.) No additional
vehicle service is required.
If theService Engine Soonlight remains on, have your vehicle serviced
at the first available opportunity.
SERVICE
ENGINE
SOON
Instrumentation
11
Page 105 of 256
Replacing lost transmitters
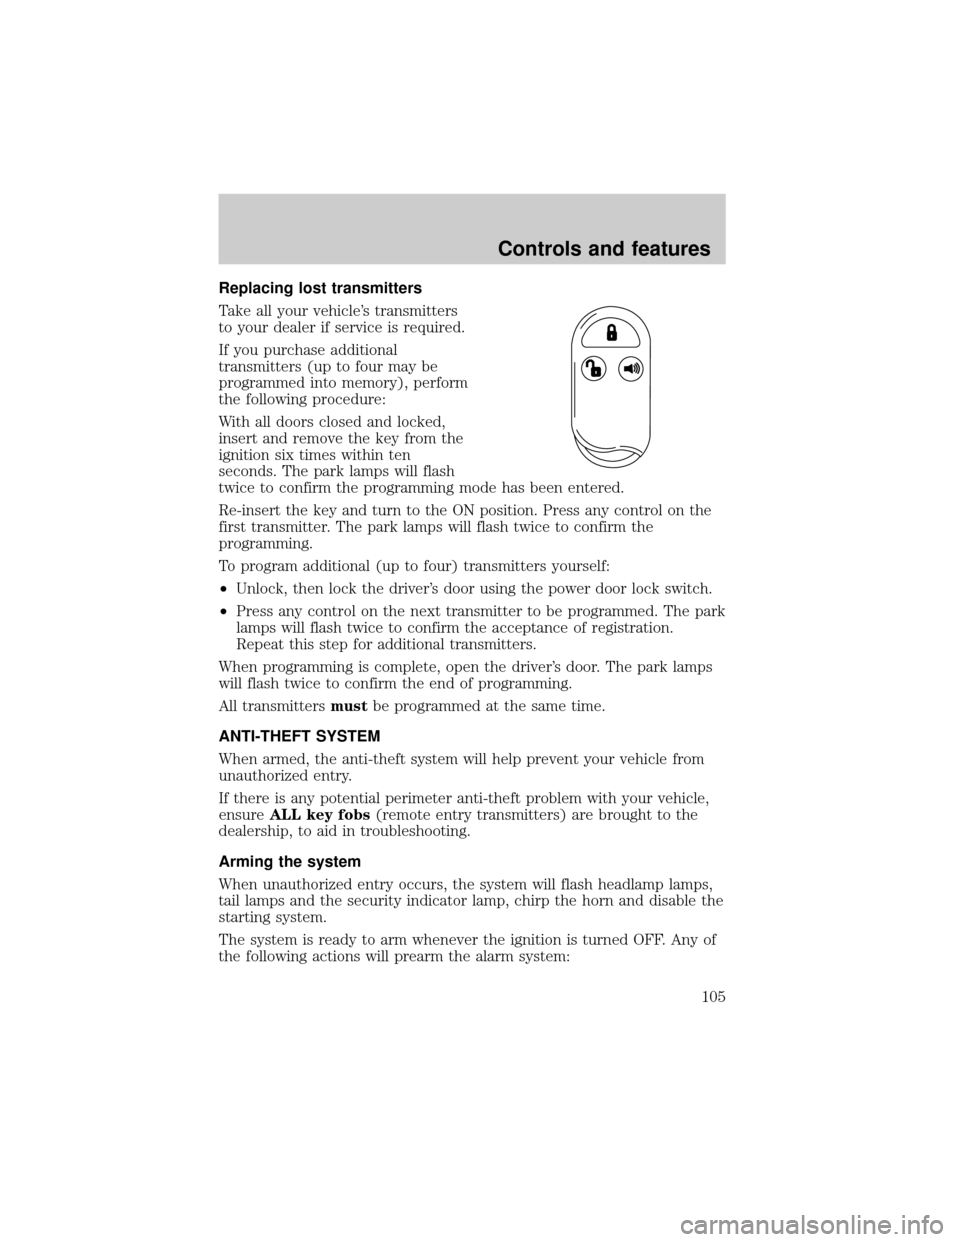
Take all your vehicle's transmitters
to your dealer if service is required.
If you purchase additional
transmitters (up to four may be
programmed into memory), perform
the following procedure:
With all doors closed and locked,
insert and remove the key from the
ignition six times within ten
seconds. The park lamps will flash
twice to confirm the programming mode has been entered.
Re-insert the key and turn to the ON position. Press any control on the
first transmitter. The park lamps will flash twice to confirm the
programming.
To program additional (up to four) transmitters yourself:
²Unlock, then lock the driver's door using the power door lock switch.
²Press any control on the next transmitter to be programmed. The park
lamps will flash twice to confirm the acceptance of registration.
Repeat this step for additional transmitters.
When programming is complete, open the driver's door. The park lamps
will flash twice to confirm the end of programming.
All transmittersmustbe programmed at the same time.
ANTI-THEFT SYSTEM
When armed, the anti-theft system will help prevent your vehicle from
unauthorized entry.
If there is any potential perimeter anti-theft problem with your vehicle,
ensureALL key fobs(remote entry transmitters) are brought to the
dealership, to aid in troubleshooting.
Arming the system
When unauthorized entry occurs, the system will flash headlamp lamps,
tail lamps and the security indicator lamp, chirp the horn and disable the
starting system.
The system is ready to arm whenever the ignition is turned OFF. Any of
the following actions will prearm the alarm system:
Controls and features
105
Page 190 of 256
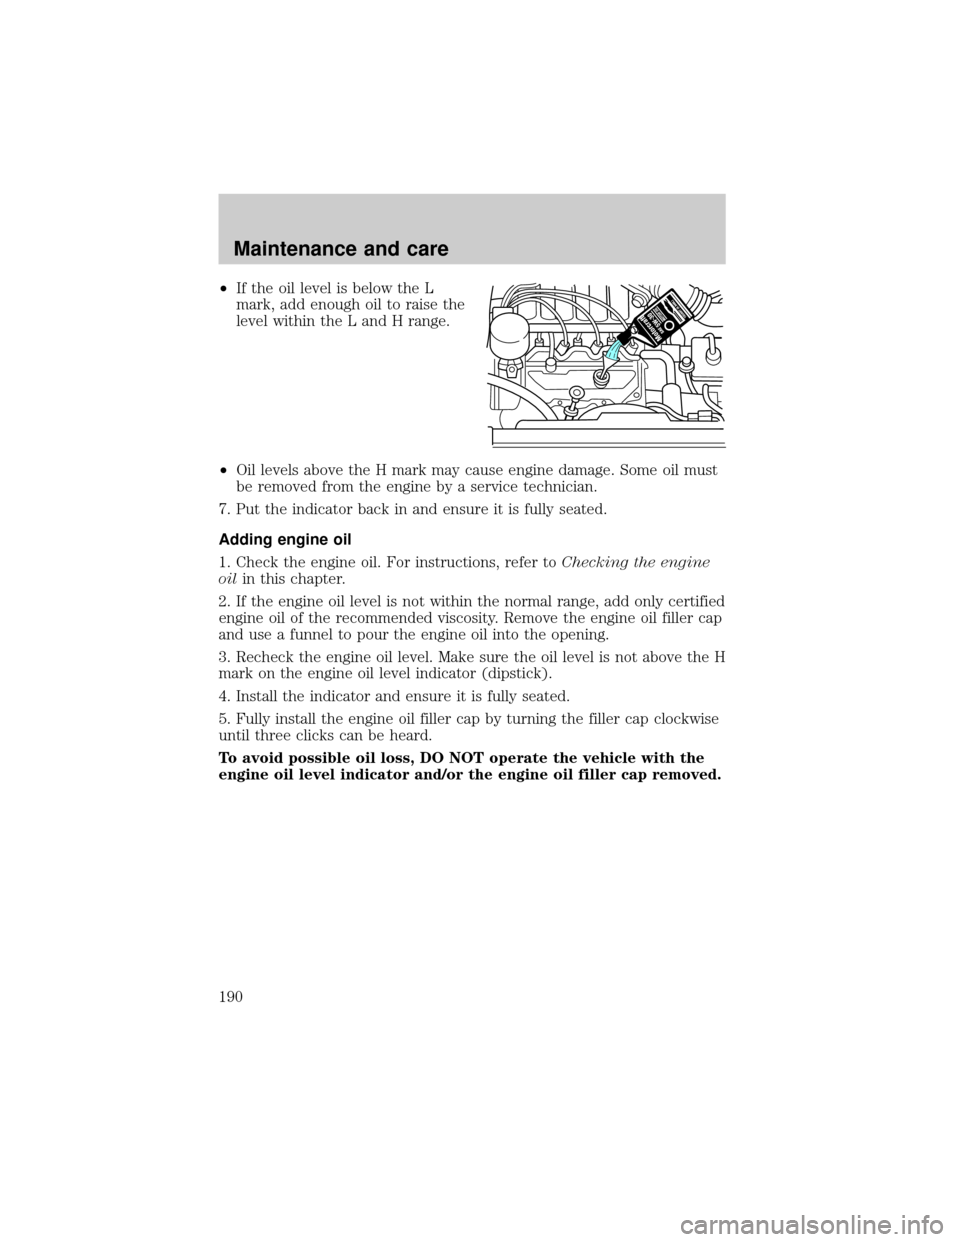
²If the oil level is below the L
mark, add enough oil to raise the
level within the L and H range.
²Oil levels above the H mark may cause engine damage. Some oil must
be removed from the engine by a service technician.
7. Put the indicator back in and ensure it is fully seated.
Adding engine oil
1. Check the engine oil. For instructions, refer toChecking the engine
oilin this chapter.
2. If the engine oil level is not within the normal range, add only certified
engine oil of the recommended viscosity. Remove the engine oil filler cap
and use a funnel to pour the engine oil into the opening.
3. Recheck the engine oil level. Make sure the oil level is not above the H
mark on the engine oil level indicator (dipstick).
4. Install the indicator and ensure it is fully seated.
5. Fully install the engine oil filler cap by turning the filler cap clockwise
until three clicks can be heard.
To avoid possible oil loss, DO NOT operate the vehicle with the
engine oil level indicator and/or the engine oil filler cap removed.
Maintenance and care
190
Page 198 of 256
²refer to the chart on the coolant container to ensure the
coolant concentration in your vehicle will provide adequate
protection at the temperatures in which you drive.
Vehicles driven year-round in non-extreme climates should use a 50/50
mixture of engine coolant and distilled water for optimum cooling system
and engine protection.
CHECKING AND ADDING POWER STEERING FLUID
Check the power steering fluid. Refer to the Scheduled Maintenance
Guide for the service interval schedules. If adding fluid is necessary, use
only MERCONtAT F.
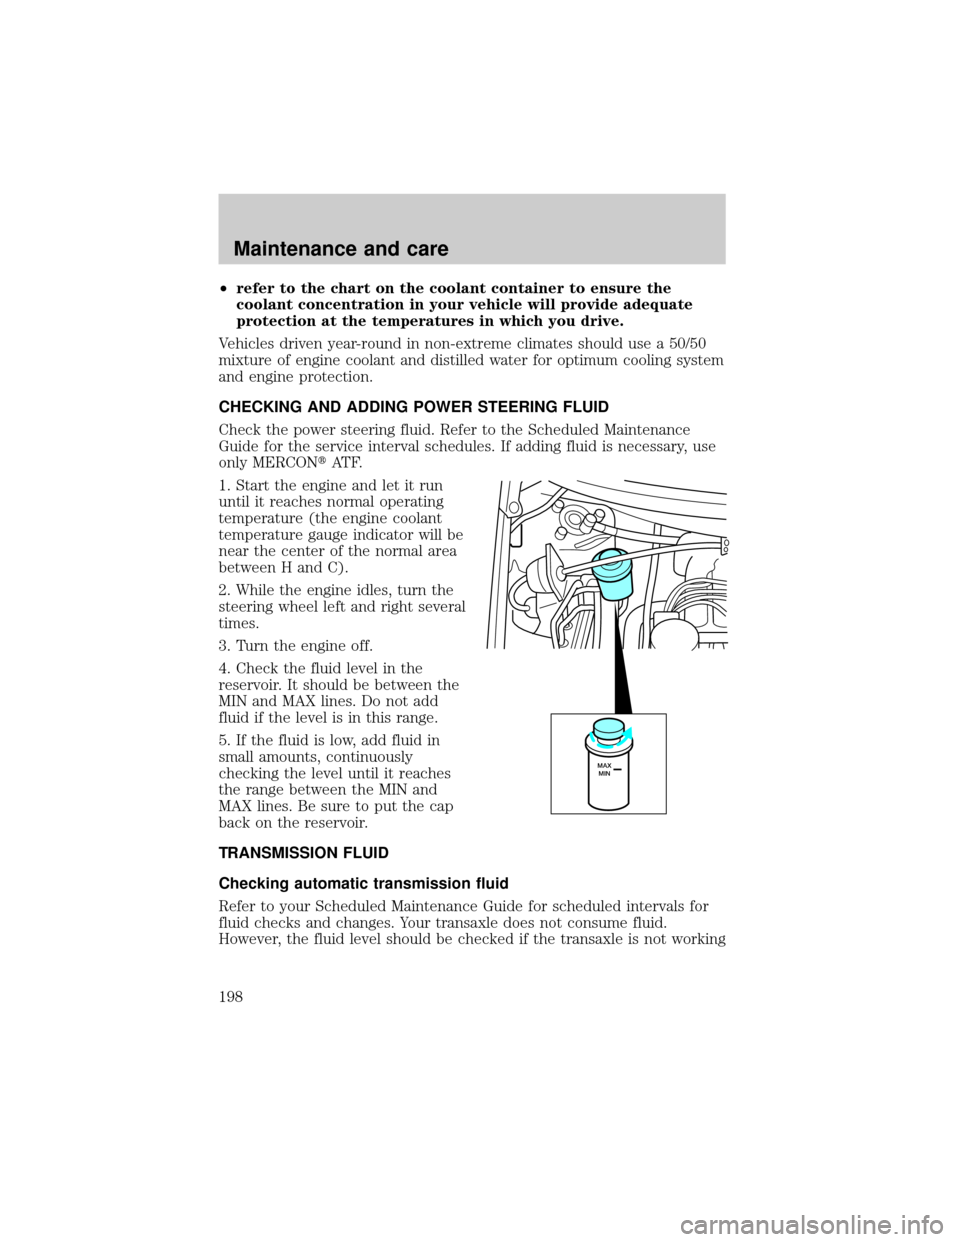
1. Start the engine and let it run
until it reaches normal operating
temperature (the engine coolant
temperature gauge indicator will be
near the center of the normal area
between H and C).
2. While the engine idles, turn the
steering wheel left and right several
times.
3. Turn the engine off.
4. Check the fluid level in the
reservoir. It should be between the
MIN and MAX lines. Do not add
fluid if the level is in this range.
5. If the fluid is low, add fluid in
small amounts, continuously
checking the level until it reaches
the range between the MIN and
MAX lines. Be sure to put the cap
back on the reservoir.
TRANSMISSION FLUID
Checking automatic transmission fluid
Refer to your Scheduled Maintenance Guide for scheduled intervals for
fluid checks and changes. Your transaxle does not consume fluid.
However, the fluid level should be checked if the transaxle is not working
MAX
MIN
Maintenance and care
198
Page 202 of 256
However, for severe usage or in high temperature climates, check the
battery electrolyte level. Refer to the Scheduled Maintenance Guide for
the service interval schedules.
Keep the electrolyte level in each cell up to the ªlevel indicatorº.
Do not overfill the battery cells.
If the electrolyte level in the battery is low, you can add plain tap water
to the battery, as long as you do not use hard water (water with a high
mineral or alkali content). If possible, however, try to only fill the battery
cells with distilled water. If the battery needs water often, have the
charging system checked.
If your battery has a cover/shield, make sure it is reinstalled
after the battery has been cleaned or replaced.
For longer, trouble-free operation, keep the top of the battery clean and
dry. Also, make certain the battery cables are always tightly fastened to
the battery terminals.
If you see any corrosion on the battery or terminals, remove the cables
from the terminals and clean with a wire brush. You can neutralize the
acid with a solution of baking soda and water.
Batteries normally produce explosive gases which can cause
personal injury. Therefore, do not allow flames, sparks or lighted
substances to come near the battery. When working near the battery,
always shield your face and protect your eyes. Always provide proper
ventilation.
When lifting a plastic-cased battery, excessive pressure on the
end walls could cause acid to flow through the vent caps,
resulting in personal injury and/or damage to the vehicle or battery.
Lift the battery with a battery carrier or with your hands on opposite
corners.
Keep batteries out of reach of children. Batteries contain sulfuric
acid. Avoid contact with skin, eyes or clothing. Shield your eyes
when working near the battery to protect against possible splashing of
acid solution. In case of acid contact with skin or eyes, flush
immediately with water for a minimum of 15 minutes and get prompt
medical attention. If acid is swallowed, call a physician immediately.
Maintenance and care
202
Page 215 of 256

When the fuel filler door is open, the left hand sliding door will
not open.
When fueling your vehicle:
1. Turn the engine off.
2. Carefully turn the filler cap counterclockwise 1/4 of a turn until it
stops.
3. Pull to remove the cap from the fuel filler pipe.
4. To install the cap, align the tabs on the cap with the notches on the
filler pipe.
5. Turn the filler cap clockwise 1/4 of a turn until it stops.
If the ªService Engine Soonº indicator comes on and stays on when you
start the engine, the fuel filler cap may not be properly installed. Turn
off the engine, remove the cap, align the cap properly and reinstall it.
If you must replace the fuel filler cap, replace it with a fuel filler
cap that is designed for your vehicle. The customer warranty may
be void for any damage to the fuel tank or fuel system if the
correct genuine Ford or Motorcraft fuel filler cap is not used.
The fuel system may be under pressure. If the fuel filler cap is
venting vapor or if you hear a hissing sound, wait until it stops
before completely removing the fuel filler cap. Otherwise, fuel may
spray out and injure you or others.
If you do not use the proper fuel filler cap, excessive pressure or
vacuum in the fuel tank may damage the fuel system or cause
the fuel system to work improperly in a collision, which may result in
possible personal injury.
Choosing the right fuel
Use only UNLEADED FUEL. The use of leaded fuel is prohibited by law
and could damage your vehicle.
Do not use fuel containing methanol. It can damage critical fuel system
components.
Your vehicle was not designed to use fuel or fuel additives with metallic
compounds, including manganese-based compounds containing MMT.
Maintenance and care
215
Page 217 of 256

Running out of fuel
Avoid running out of fuel because this situation may have an adverse
affect on powertrain components.
If you have run out of fuel:
²You may need to cycle the ignition from OFF to ON several times after
refueling, to allow the fuel system to pump the fuel from the tank to
the engine.
²Your ªService Engine Soonº indicator may come on. For more
information on the ªService Engine Soonº indicator, refer to the
Instrumentationchapter.
Fuel Filter
For fuel filter replacement, see your dealer or a qualified service
technician. Refer to the Scheduled Maintenance Guide for the
appropriate intervals for changing the fuel filter.
Replace the fuel filter with an authorized Motorcraft part. The
customer warranty may be void for any damage to the fuel system
if an authorized Motorcraft fuel filter is not used.
ESSENTIALS OF GOOD FUEL ECONOMY
Measuring techniques
Your best source of information about actual fuel economy is you, the
driver. You must gather information as accurately and consistently as
possible. Fuel expense, frequency of fillups or fuel gauge readings are
NOT accurate as a measure of fuel economy. We do not recommend
taking fuel economy measurements during the first 1 600 km (1 000
miles) of driving (engine break-in period). You will get a more accurate
measurement after 3 000 km±5 000 km (2 000 miles-3 000 miles).
Filling the tank
The advertised fuel capacity of the fuel tank on your vehicle is equal to
the rated refill capacity of the fuel tank as listed in theRefill Capacities
section of theCapacities and specificationschapter.
The advertised capacity is the amount of the indicated capacity and the
empty reserve combined. Indicated capacity is the difference in the
amount of fuel in a full tank and a tank when the fuel gauge indicates
empty. Empty reserve is the small amount of usable fuel remaining in the
fuel tank after the fuel gauge indicates empty.
Maintenance and care
217
Page 222 of 256

If the vehicle's powertrain system or its battery has just been serviced,
the on-board diagnostics system is reset to a ªnot ready for I/M testº
condition. To ready the on-board diagnostics system for I/M testing,
follow the procedure described below:
1. Allow the engine to cool to ambient temperature (the engine coolant
temperature gauge indicator will point to C).
2. Start the engine and let it run until it reaches normal operating
temperature (the engine coolant temperature gauge indicator will be
near the center of the normal area between H and C).
3. Accelerate the vehicle to 88 km/h (55 mph), then quickly release the
accelerator pedal completely for at least six seconds.
4. Quickly depress the accelerator pedal for a moment, then drive the
vehicle at a speed of 86 to 96 km/h (53 to 60 mph) for at least five
minutes.
5. Bring the vehicle to a complete stop.
6. Accelerate the vehicle to 55 km/h (35 mph), and maintain the speed
for 20 seconds.
7. Repeat steps five and six at least three times.
8. Accelerate the vehicle to 88 km/h (55 mph), and maintain the speed
for at least three minutes.
9. Bring the vehicle to a complete stop and turn the engine off.
10. Repeat steps one through nine at least one more time.
If step one through eight are interrupted, repeat the preceding step. Any
safe driving mode is acceptable between steps. Once started, do not turn
off the engine until step seven is completed.
BULBS
Replacing exterior bulbs
It is a good idea to check the operation of the following lights frequently:
²Headlamps
²Turn signals
²Cornering lamps
²High-mount brakelamp
²Tail lamps
Maintenance and care
222
Page 254 of 256

low washer fluid .......................12
oil pressure .................................9
overdrive off ..............................12
safety belt ...................................9
service engine soon ..................11
speed control ............................86
turn signal indicator .................10
Load limits .................................160
GAWR ......................................160
GVWR ......................................160
trailer towing ..........................160
Locks
childproof ..................................92
doors ..........................................91
Lubricant specifications ....234,235
Lumbar support, seats .............115
Message center .................17,18,19
Mirrors .........................................98
cleaning ...................................229
heated ........................................93
side view mirrors (power) .......92
Moon roof ..................................101
Motorcraft parts .................217,233
Octane rating ............................216
Odometer .....................................15
Oil (see Engine oil) ..................189
Overdrive ..............................89,159
Panic alarm feature, remote
entry system ..............................103
Parking brake ............................153
Parts (see Motorcraft parts) ....233
Power distribution box
(see Fuses) ...............................172
Power door locks ........................91
Power steering ..........................154
fluid, checking and adding ....198
fluid, refill capacity ................233
fluid, specifications ..........234,235
Radio ............................................40
Relays .................................168,175
Remote entry system ........102,103
illuminated entry ....................103locking/unlocking doors ..102,103
panic alarm .............................103
replacement/additional
transmitters .............................105
replacing the batteries ...........104
Roof rack ...................................165
Safety belts (see Safety
restraints) ......126,127,128,129,130
Safety defects, reporting ..........250
Safety
restraints .......126,127,128,129,130
cleaning the
safety belts .......................132,232
extension assembly ................131
for adults ...................127,128,129
for children .............................137
lap belt ....................................130
warning light
and chime ........................9,12,131
Safety seats for children ..........138
Seat belts
(see Safety restraints) .............126
Seats ..........................................112
child safety seats ....................138
cleaning ............................231,232
memory seat ...........................115
Servicing your vehicle ..............186
Spark plugs,
specifications ......................233,235
Specification chart,
lubricants ............................234,235
Speed control ..............................82
Speedometer ...............................14
Starting your vehicle ..147,148,149
jump starting ..........................180
Steering wheel
controls ......................................86
tilting .........................................89
Tachometer .................................13
Tires ......................175,208,209,210
changing ....................175,176,178
checking the pressure ............210
Index
254