headlamp Mercury Villager 2001 Owner's Manuals
[x] Cancel search | Manufacturer: MERCURY, Model Year: 2001, Model line: Villager, Model: Mercury Villager 2001Pages: 256, PDF Size: 2.35 MB
Page 6 of 256

OFFAUTO
1
AUTO
2
PUSH INTERIOR
CANCELRES
ACCEL
COAST
SETVOL
NEXT
VOL
DIM
km/h1020304050
60
70
80
90
100MPHTRIP A
RPM x 100020406080
100
120
140
1600 1234
5
6
7
8F
H
CE
SERVICE
ENGINE
SOON
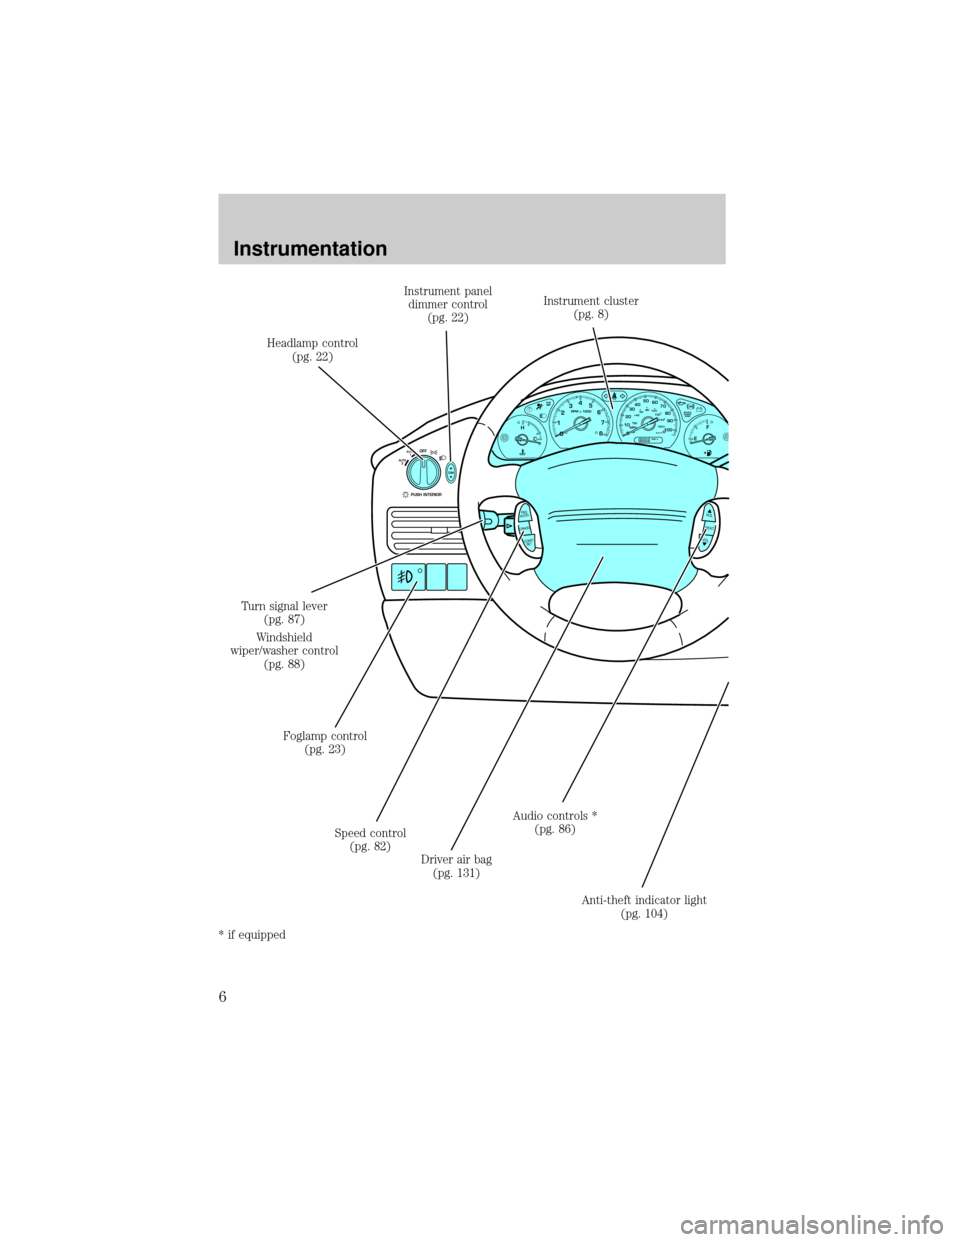
Headlamp control
(pg. 22)Instrument panel
dimmer control
(pg. 22)Instrument cluster
(pg. 8)
Anti-theft indicator light
(pg. 104) Audio controls *
(pg. 86)
Driver air bag
(pg. 131) Speed control
(pg. 82) Foglamp control
(pg. 23) Turn signal lever
(pg. 87)
Windshield
wiper/washer control
(pg. 88)
* if equipped
Instrumentation
6
Page 10 of 256

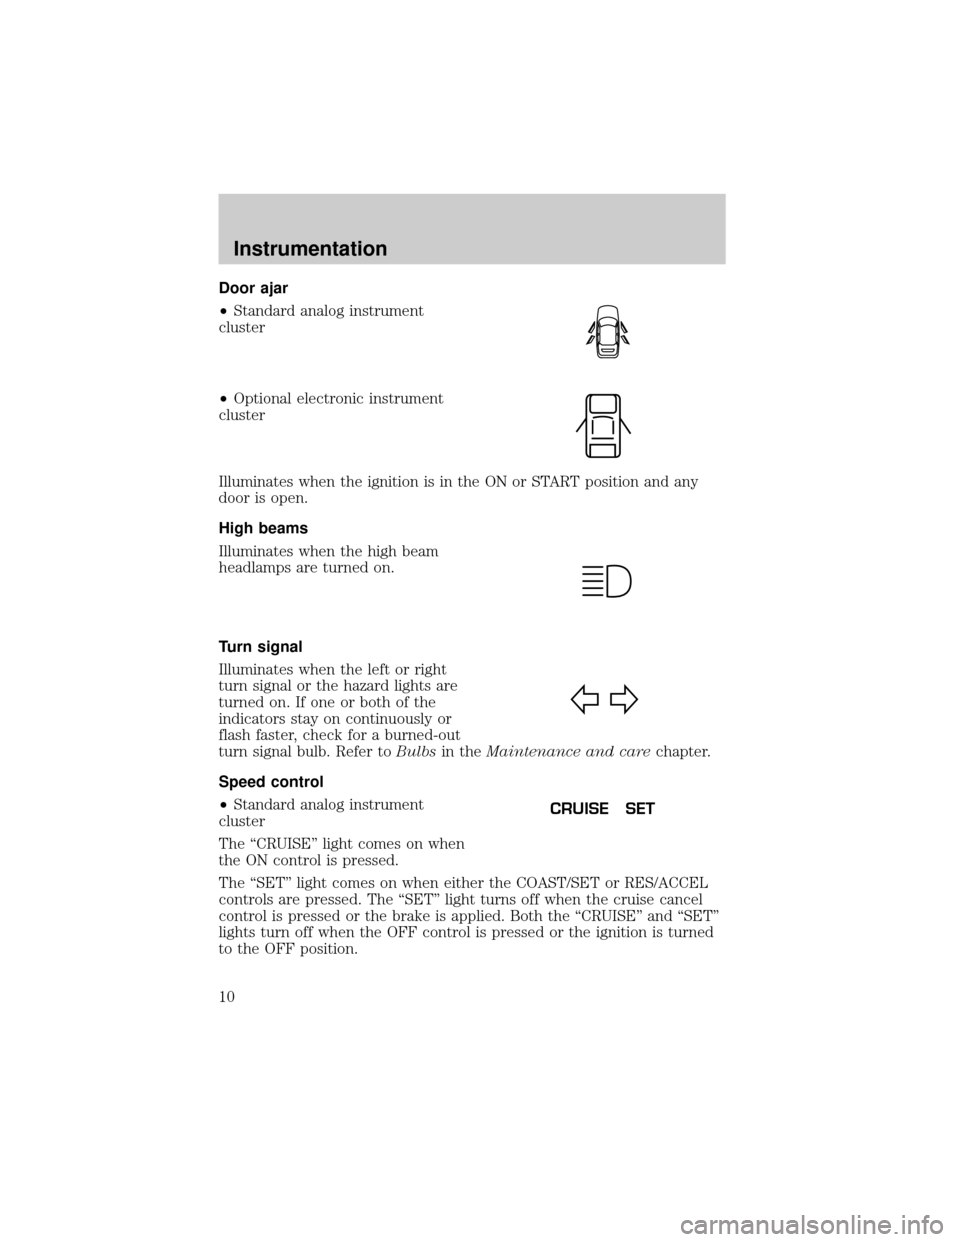
Door ajar
²Standard analog instrument
cluster
²Optional electronic instrument
cluster
Illuminates when the ignition is in the ON or START position and any
door is open.
High beams
Illuminates when the high beam
headlamps are turned on.
Turn signal
Illuminates when the left or right
turn signal or the hazard lights are
turned on. If one or both of the
indicators stay on continuously or
flash faster, check for a burned-out
turn signal bulb. Refer toBulbsin theMaintenance and carechapter.
Speed control
²Standard analog instrument
cluster
The ªCRUISEº light comes on when
the ON control is pressed.
The ªSETº light comes on when either the COAST/SET or RES/ACCEL
controls are pressed. The ªSETº light turns off when the cruise cancel
control is pressed or the brake is applied. Both the ªCRUISEº and ªSETº
lights turn off when the OFF control is pressed or the ignition is turned
to the OFF position.
CRUISE SET
Instrumentation
10
Page 13 of 256

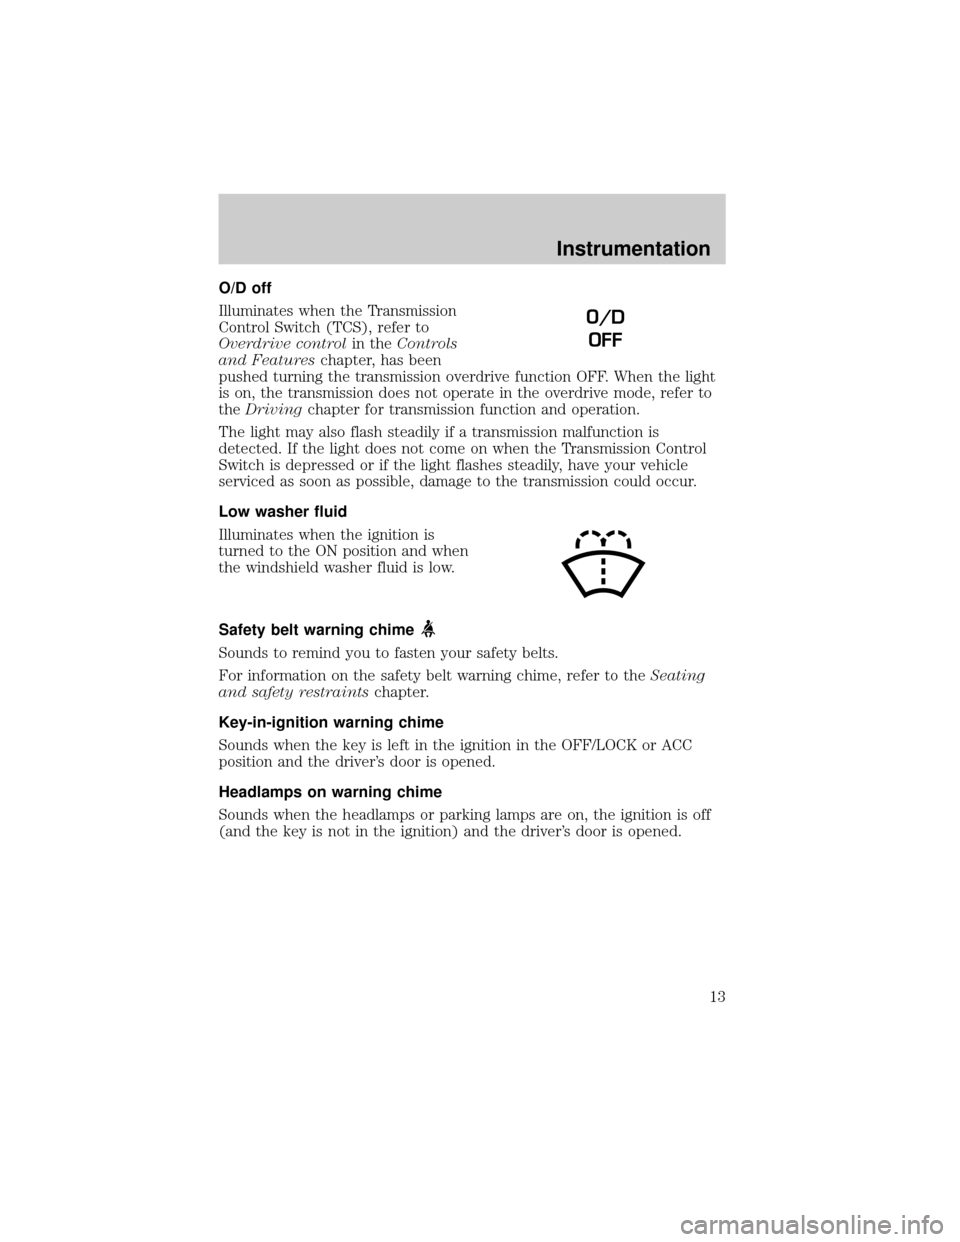
O/D off
Illuminates when the Transmission
Control Switch (TCS), refer to
Overdrive controlin theControls
and Featureschapter, has been
pushed turning the transmission overdrive function OFF. When the light
is on, the transmission does not operate in the overdrive mode, refer to
theDrivingchapter for transmission function and operation.
The light may also flash steadily if a transmission malfunction is
detected. If the light does not come on when the Transmission Control
Switch is depressed or if the light flashes steadily, have your vehicle
serviced as soon as possible, damage to the transmission could occur.
Low washer fluid
Illuminates when the ignition is
turned to the ON position and when
the windshield washer fluid is low.
Safety belt warning chime
Sounds to remind you to fasten your safety belts.
For information on the safety belt warning chime, refer to theSeating
and safety restraintschapter.
Key-in-ignition warning chime
Sounds when the key is left in the ignition in the OFF/LOCK or ACC
position and the driver's door is opened.
Headlamps on warning chime
Sounds when the headlamps or parking lamps are on, the ignition is off
(and the key is not in the ignition) and the driver's door is opened.
O/D
OFF
Instrumentation
13
Page 22 of 256

PANEL DIMMER CONTROL
Use to adjust the brightness of the
instrument panel.
²Push and hold top of control to
brighten.
²Push and hold bottom of control to dim.
The dome lamp will not illuminate if the control switch is in the OFF
position.
HEADLAMP CONTROL
Rotate the headlamp control
clockwise to the first position to
turn on the parking lamps. Rotate
clockwise to the second position to
also turn on the headlamps.
Push the control to turn on the
interior lamps. Push control again to
turn off the interior lamps.
High beams
Push forward to activate.
Pull toward you to deactivate.
Flash to pass
Pull toward you to activate and
release to deactivate.
DIM
OFFAUTO
1
AUTO
2
PUSH INTERIOR
HI
LO
F
S
OFF
HI
LO
F
S
OFF
Controls and features
22
Page 23 of 256

Foglamp control
Turn on the low-beam headlamps
and press the foglamp control to
activate the foglamps. The foglamp
control will illuminate when the
foglamps are on.
Press the foglamp control a second
time to deactivate the foglamps.
AUTOLAMP CONTROL (IF EQUIPPED)
The autolamp system provides light
sensitive automatic on-off control of
the low-beam exterior lights
normally controlled by the headlamp
control.
The autolamp system also keeps the
lights on for a preselected period of
time after the ignition switch is
turned to OFF.
²To turn autolamps on, rotate the
headlamp control counter clockwise to one of the two settings. The
AUTO 1 position has a preselected time lapse of approximately 25
seconds. The AUTO 2 position has a preselected time lapse of
approximately 2
1¤2minutes.
²To turn autolamps off, rotate the headlamp control clockwise to the
OFF position.
OFFAUTO
1
AUTO
2
PUSH INTERIOR
Controls and features
23
Page 53 of 256

Premium AM/FM Cassette (CD changer compatible)
Your audio system is equipped with selective lighting, a unique lighting
strategy. This lighting feature is operable when the headlamps are
illuminated. During the operation of any selected mode, lighting for the
individual function controls will either illuminate or turn off. Those
controls which have a function for the specific mode of operation
selected will be lit, while the controls which have no function for that
mode will be turned off.
Volume/power control
Press the control to turn the audio
system on or off.
Turn the control to raise or lower
volume.
SCAN
VOL
PUSH ON
REW
1
FF
2
SIDE 1.
2
34
COMP
5
SHUFF
6
AUTO TUNE
SEEK
SEL
BAL
FADE
MUTE
FM AM
EJ
RDS / CLK
BASS
TREB
CD TAPE
VOL
PUSH ON
VOL
PUSH ON
Controls and features
53
Page 64 of 256

In tape mode, use the SEEK function to access the nextor
previous
selection.
Super Sound AM/FM Stereo/Cassette/Single CD Player
(CD Changer Compatible)
Your audio system is equipped with selective lighting, a unique lighting
strategy. This lighting feature is operable when the headlamps are
illuminated. During the operation of any selected mode, lighting for the
individual function controls will either illuminate or turn off. Those
controls which have a function for the specific mode of operation
selected will be lit, while the controls which have no function for that
mode will be turned off.
Volume/power control
Press the control to turn the audio
system on or off.
FM1ST
REW FFSCAN
BASS TREB SEL BALTAPE DISC
EJ CD
FADEAUTO
RDS
CLK
SIDE 1-2 COMP SHUFFLEEJ
MUTE
VOL - PUSH ON
SEEK
TUNE AM FM
12 3456
DOLBY B NR
VOL - PUSH ON
Controls and features
64
Page 102 of 256

Locking the doors
Press this control to lock all doors.
To confirm all doors are closed and
locked, the horn will chirp and the
lamps will flash. The horn chirp
feature can be turned on/off by
holding the LOCK and UNLOCK
controls on the transmitter
simultaneously for two seconds. The
hazard lights will flash three times
each time the system is toggled
between active and non-active
modes.
If any of the doors are ajar, the horn will not chirp and the lights will not
flash.
Sounding a panic alarm
To activate the alarm, press and
hold the PANIC control for longer
than 1.5 seconds. The horn will
sound and the headlamps and tail
lights will flash for thirty (30)
seconds.
To deactivate the alarm, press the
LOCK or UNLOCK or hold the
PANIC control down for longer than
1.5 seconds.
Illuminated entry
The interior lamps illuminate when the remote entry system is used to
unlock the door(s) or sound the panic alarm.
The system automatically turns off after 15 seconds or when the ignition
is turned to the RUN position.
The inside lights will not turn off if:
²they have been turned on with the headlamp control or
²any door is open.
Controls and features
102
Page 104 of 256

Re-insert the key and turn to the ON position. Press any control on the
first transmitter. The park lamps will flash twice to confirm the
programming.
To program additional (up to four) transmitters yourself:
²Unlock, then lock the driver's door using the power door lock switch.
²Press any control on the next transmitter to be programmed. The park
lamps will flash twice to confirm the acceptance of registration.
Repeat this step for additional transmitters.
When programming is complete, open the driver's door. The park lamps
will flash twice to confirm the end of programming.
All transmittersmustbe programmed at the same time.
ANTI-THEFT SYSTEM
When armed, the anti-theft system will help prevent your vehicle from
unauthorized entry.
If there is any potential perimeter anti-theft problem with your vehicle,
ensureALL key fobs(remote entry transmitters) are brought to the
dealership, to aid in troubleshooting.
Arming the system
When unauthorized entry occurs, the system will flash headlamp lamps,
tail lamps and the security indicator lamp, chirp the horn and disable the
starting system.
The system is ready to arm whenever the key is removed from the
ignition. Any of the following actions will prearm the alarm system:
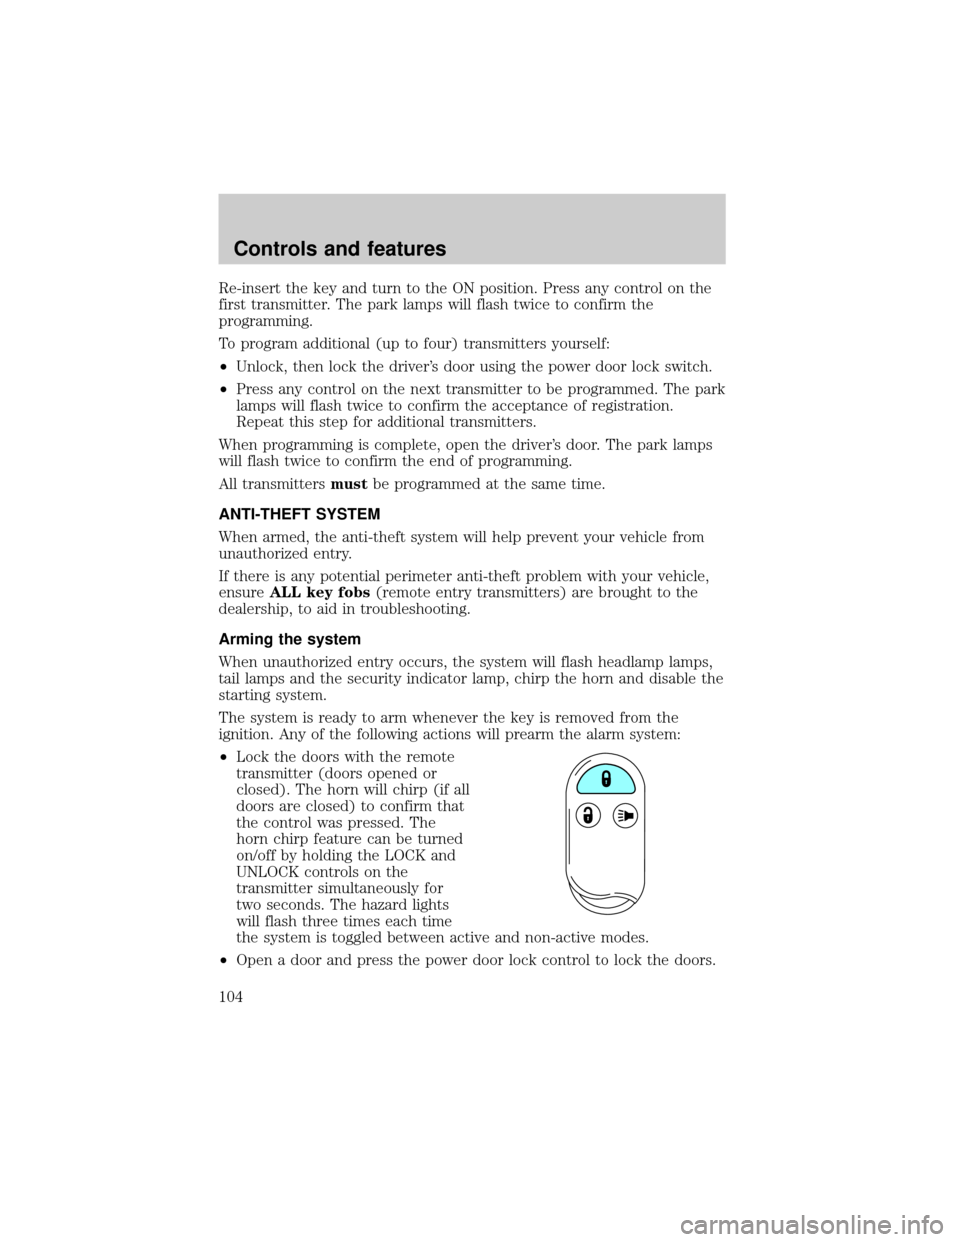
²Lock the doors with the remote
transmitter (doors opened or
closed). The horn will chirp (if all
doors are closed) to confirm that
the control was pressed. The
horn chirp feature can be turned
on/off by holding the LOCK and
UNLOCK controls on the
transmitter simultaneously for
two seconds. The hazard lights
will flash three times each time
the system is toggled between active and non-active modes.
²Open a door and press the power door lock control to lock the doors.
Controls and features
104
Page 148 of 256

PREPARING TO START YOUR VEHICLE
Engine starting is controlled by the powertrain control system. This
system meets all Canadian Interference-Causing Equipment standard
requirements regulating the impulse electrical field strength of radio noise.
When starting a fuel-injected engine, avoid pressing the accelerator
before or during starting. Only use the accelerator when you have
difficulty starting the engine. For more information on starting the
vehicle, refer toStarting the enginein this chapter.
Extended idling at high engine speeds can produce very high
temperatures in the engine and exhaust system, creating the risk
of fire or other damage.
Do not park, idle, or drive your vehicle in dry grass or other dry
ground cover. The emission system heats up the engine
compartment and exhaust system, which can start a fire.
Do not start your vehicle in a closed garage or in other enclosed
areas. Exhaust fumes can be toxic. Always open the garage door
before you start the engine. SeeGuarding against exhaust fumesin
this chapter for more instructions.
If you smell exhaust fumes inside your vehicle, have your dealer
inspect your vehicle immediately. Do not drive if you smell
exhaust fumes.
Important safety precautions
A computer system controls the engine's idle revolutions per minute
(RPM). When the engine starts, the idle RPM runs faster to warm the
engine. If the engine idle speed does not slow down automatically, have
the vehicle checked. Do not allow the vehicle to idle for more than 10
minutes at the higher engine RPM.
Before starting the vehicle:
1. Make sure all vehicle occupants have buckled their safety belts. For
more information on safety belts and their proper usage, refer to the
Seating and safety restraintschapter.
2. Make sure the headlamps and vehicle accessories are off.
Starting
148