display MINI 3 door 2013 Owner's Manual
[x] Cancel search | Manufacturer: MINI, Model Year: 2013, Model line: 3 door, Model: MINI 3 door 2013Pages: 233, PDF Size: 17.19 MB
Page 8 of 233
Addendum
Use of recommended vehicle
batteries
The manufacturer of your vehicle
recommends that you use vehicle
batteries that it has tested and
recommends for use in your vehicle;
otherwise the vehicle could be
damaged and systems or functions
may not be fully available.
After a battery replacement, the
manufacturer of your vehicle
recommends that you have the
battery registered on your vehicle
by a service center to ensure that all
comfort functions are fully available,
and that any “check control”
messages of these comfort
functions are no longer displayed.
Page 9 of 233
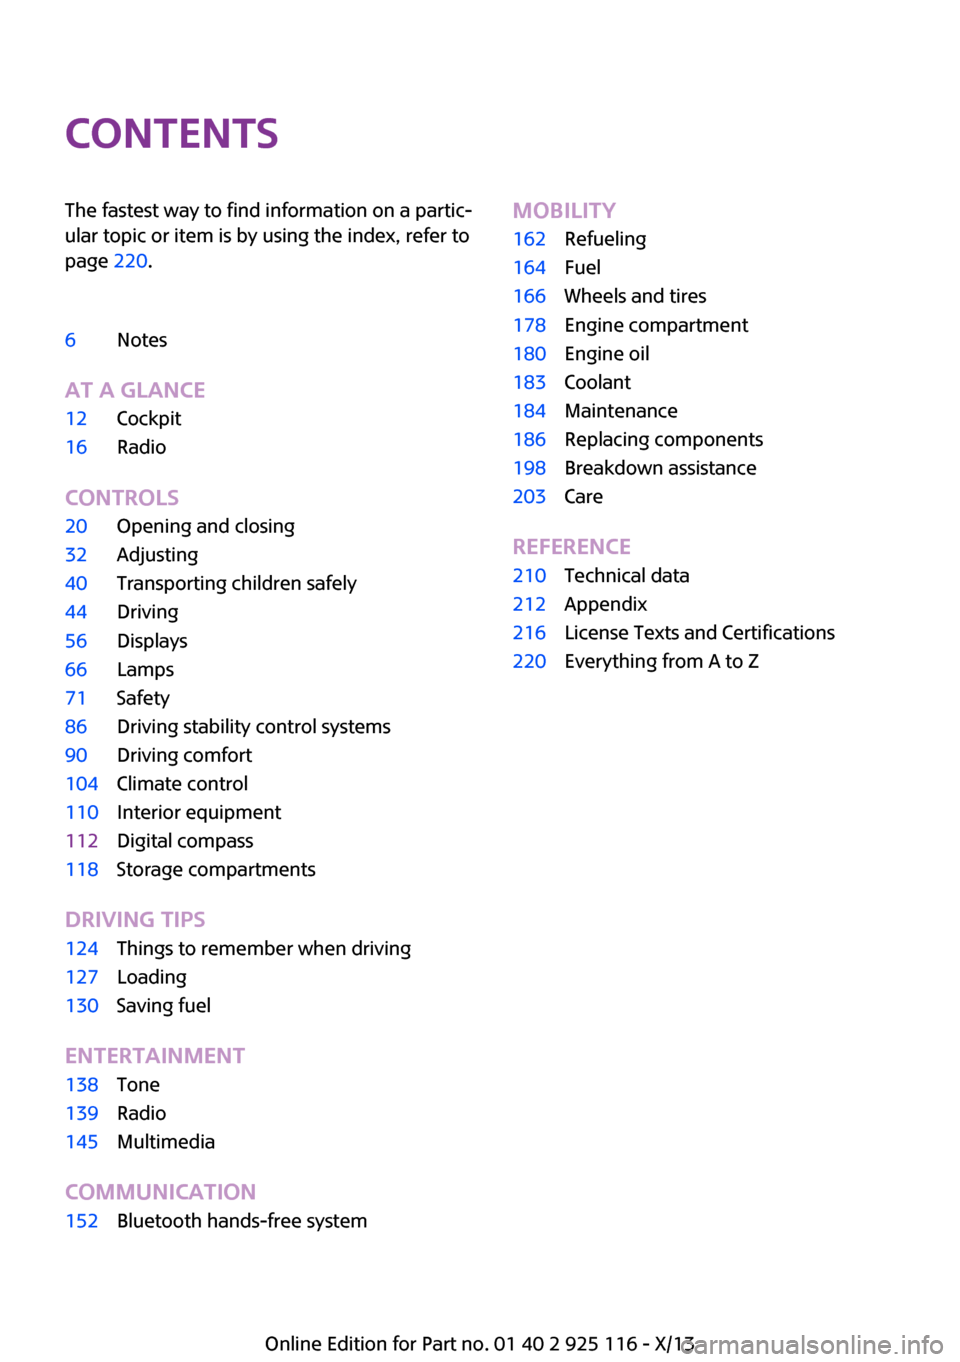
ContentsThe fastest way to find information on a partic‐
ular topic or item is by using the index, refer to
page 220.6Notes
At a glance
12Cockpit16Radio
Controls
20Opening and closing32Adjusting40Transporting children safely44Driving56Displays66Lamps71Safety86Driving stability control systems90Driving comfort104Climate control110Interior equipment112Digital compass118Storage compartments
Driving tips
124Things to remember when driving127Loading130Saving fuel
Entertainment
138Tone139Radio145Multimedia
Communication
152Bluetooth hands-free systemMobility162Refueling164Fuel166Wheels and tires178Engine compartment180Engine oil183Coolant184Maintenance186Replacing components198Breakdown assistance203Care
Reference
210Technical data212Appendix216License Texts and Certifications220Everything from A to Z
Online Edition for Part no. 01 40 2 925 116 - X/13
Page 20 of 233
RadioVehicle equipment
All standard, country-specific and optional
equipment that is offered in the model series is
described in this chapter. Therefore, equipmentis also described that is not available in a vehi‐
cle, e. g., because of the selected optional
equipment or country variant. This also applies
for safety-related functions and systems.
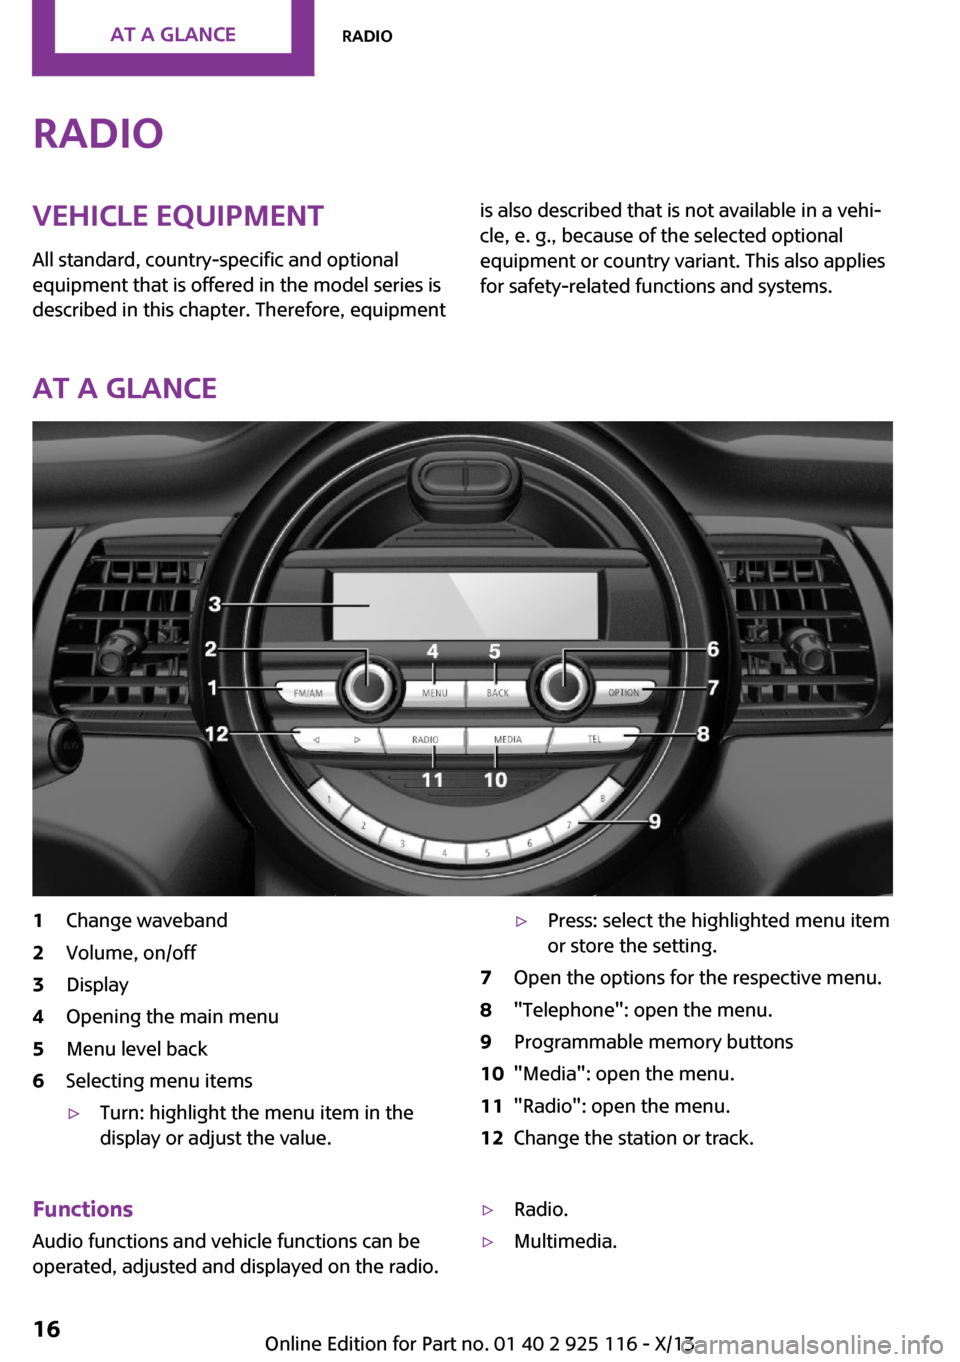
At a glance
1Change waveband2Volume, on/off3Display4Opening the main menu5Menu level back6Selecting menu items▷Turn: highlight the menu item in the
display or adjust the value.▷Press: select the highlighted menu item
or store the setting.7Open the options for the respective menu.8"Telephone": open the menu.9Programmable memory buttons10"Media": open the menu.11"Radio": open the menu.12Change the station or track.Functions
Audio functions and vehicle functions can be
operated, adjusted and displayed on the radio.▷Radio.▷Multimedia.Seite 16At a glanceRadio16
Online Edition for Part no. 01 40 2 925 116 - X/13
Page 25 of 233
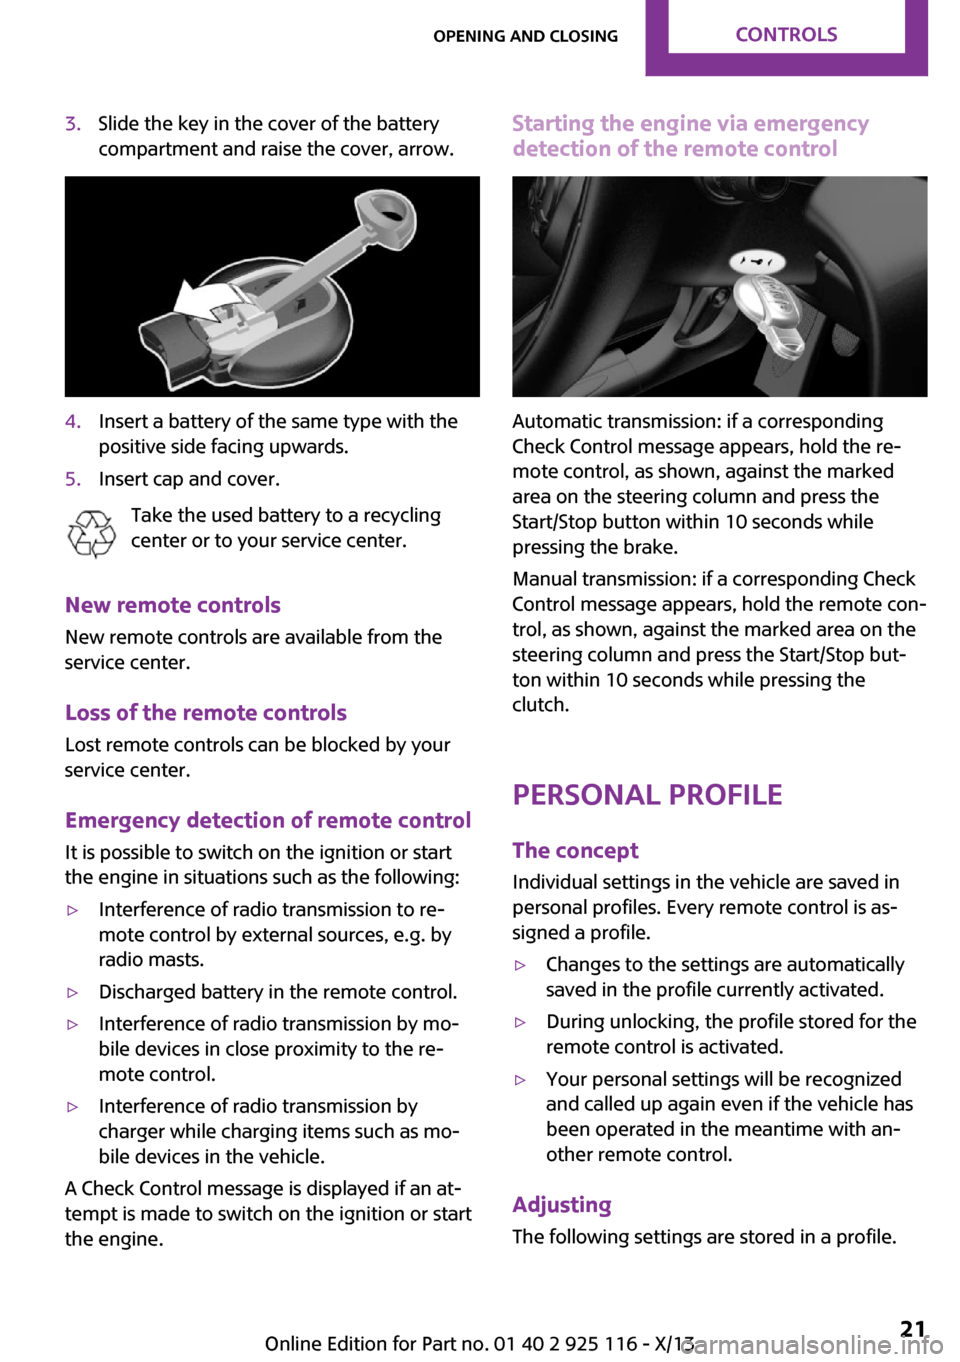
3.Slide the key in the cover of the battery
compartment and raise the cover, arrow.4.Insert a battery of the same type with the
positive side facing upwards.5.Insert cap and cover.
Take the used battery to a recycling
center or to your service center.
New remote controls
New remote controls are available from the
service center.
Loss of the remote controls Lost remote controls can be blocked by your
service center.
Emergency detection of remote control
It is possible to switch on the ignition or start
the engine in situations such as the following:
▷Interference of radio transmission to re‐
mote control by external sources, e.g. by
radio masts.▷Discharged battery in the remote control.▷Interference of radio transmission by mo‐
bile devices in close proximity to the re‐
mote control.▷Interference of radio transmission by
charger while charging items such as mo‐
bile devices in the vehicle.
A Check Control message is displayed if an at‐
tempt is made to switch on the ignition or start
the engine.
Starting the engine via emergency detection of the remote control
Automatic transmission: if a corresponding
Check Control message appears, hold the re‐
mote control, as shown, against the marked
area on the steering column and press the
Start/Stop button within 10 seconds while
pressing the brake.
Manual transmission: if a corresponding Check
Control message appears, hold the remote con‐
trol, as shown, against the marked area on the
steering column and press the Start/Stop but‐
ton within 10 seconds while pressing the
clutch.
Personal Profile The concept
Individual settings in the vehicle are saved in
personal profiles. Every remote control is as‐
signed a profile.
▷Changes to the settings are automatically
saved in the profile currently activated.▷During unlocking, the profile stored for the
remote control is activated.▷Your personal settings will be recognized
and called up again even if the vehicle has
been operated in the meantime with an‐
other remote control.
Adjusting
The following settings are stored in a profile.
Seite 21Opening and closingControls21
Online Edition for Part no. 01 40 2 925 116 - X/13
Page 26 of 233
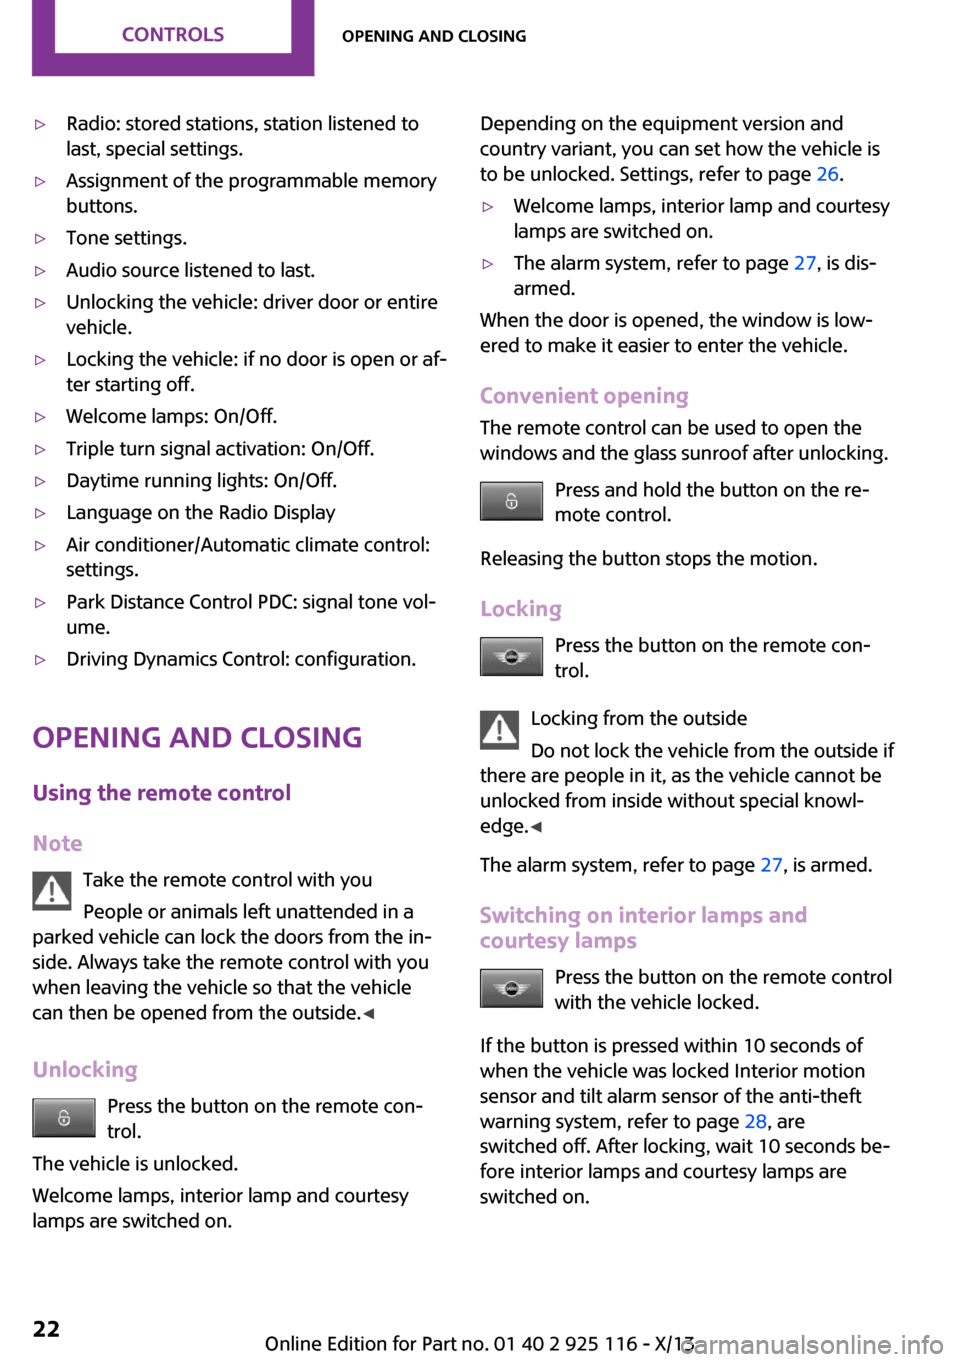
▷Radio: stored stations, station listened to
last, special settings.▷Assignment of the programmable memory
buttons.▷Tone settings.▷Audio source listened to last.▷Unlocking the vehicle: driver door or entire
vehicle.▷Locking the vehicle: if no door is open or af‐
ter starting off.▷Welcome lamps: On/Off.▷Triple turn signal activation: On/Off.▷Daytime running lights: On/Off.▷Language on the Radio Display▷Air conditioner/Automatic climate control:
settings.▷Park Distance Control PDC: signal tone vol‐
ume.▷Driving Dynamics Control: configuration.
Opening and closing
Using the remote control
Note Take the remote control with you
People or animals left unattended in a
parked vehicle can lock the doors from the in‐
side. Always take the remote control with you
when leaving the vehicle so that the vehicle
can then be opened from the outside. ◀
Unlocking Press the button on the remote con‐
trol.
The vehicle is unlocked.
Welcome lamps, interior lamp and courtesy
lamps are switched on.
Depending on the equipment version and
country variant, you can set how the vehicle is
to be unlocked. Settings, refer to page 26.▷Welcome lamps, interior lamp and courtesy
lamps are switched on.▷The alarm system, refer to page 27, is dis‐
armed.
When the door is opened, the window is low‐
ered to make it easier to enter the vehicle.
Convenient opening
The remote control can be used to open the
windows and the glass sunroof after unlocking.
Press and hold the button on the re‐
mote control.
Releasing the button stops the motion.
Locking Press the button on the remote con‐
trol.
Locking from the outside
Do not lock the vehicle from the outside if
there are people in it, as the vehicle cannot be
unlocked from inside without special knowl‐
edge. ◀
The alarm system, refer to page 27, is armed.
Switching on interior lamps and
courtesy lamps
Press the button on the remote control
with the vehicle locked.
If the button is pressed within 10 seconds of
when the vehicle was locked Interior motion
sensor and tilt alarm sensor of the anti-theft
warning system, refer to page 28, are
switched off. After locking, wait 10 seconds be‐
fore interior lamps and courtesy lamps are
switched on.
Seite 22ControlsOpening and closing22
Online Edition for Part no. 01 40 2 925 116 - X/13
Page 49 of 233
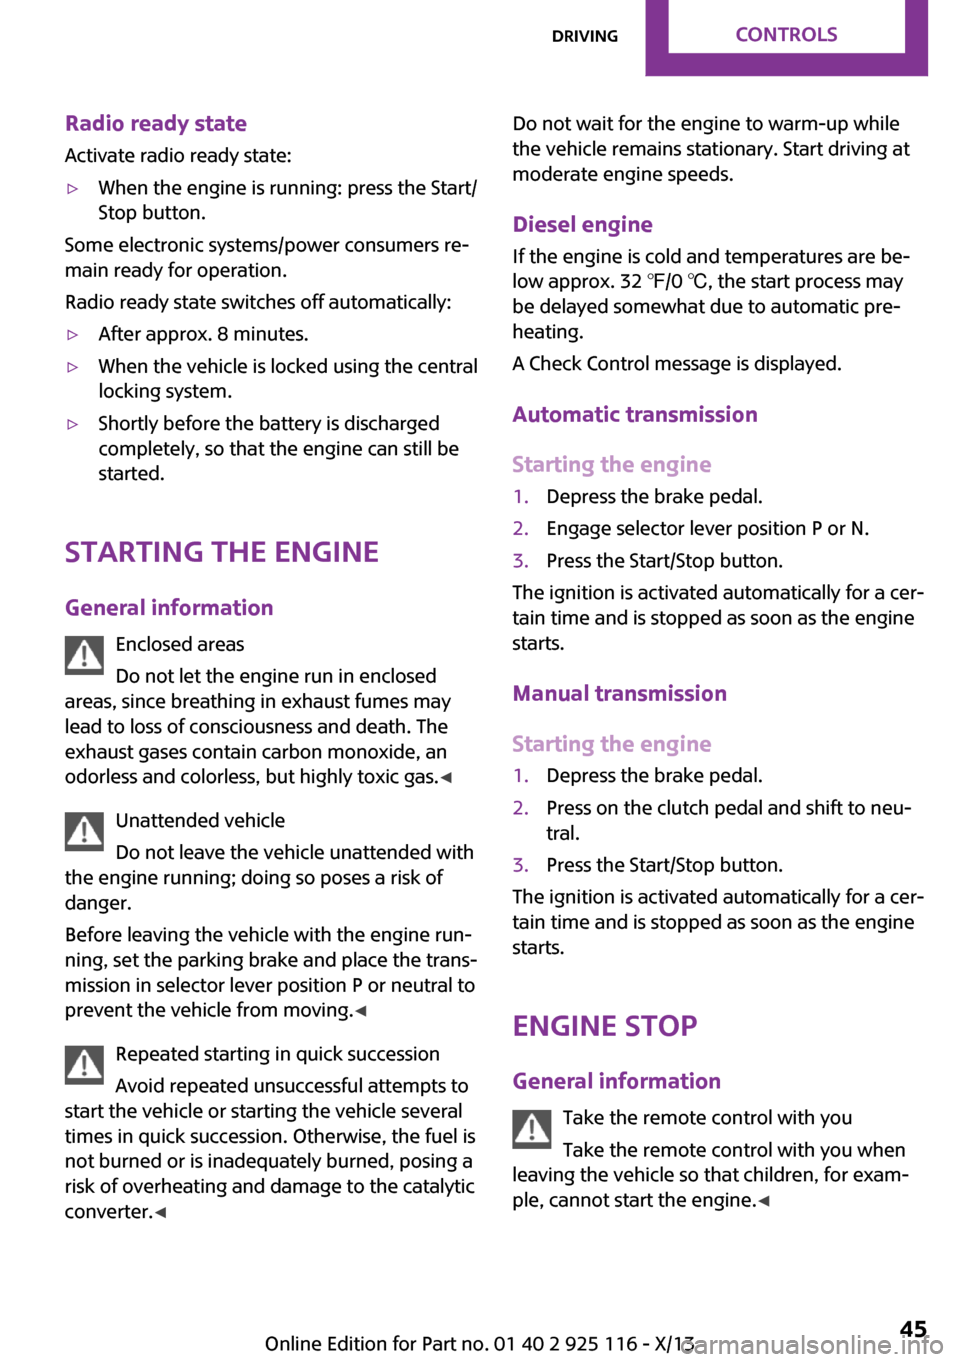
Radio ready state
Activate radio ready state:▷When the engine is running: press the Start/
Stop button.
Some electronic systems/power consumers re‐
main ready for operation.
Radio ready state switches off automatically:
▷After approx. 8 minutes.▷When the vehicle is locked using the central
locking system.▷Shortly before the battery is discharged
completely, so that the engine can still be
started.
Starting the engine
General information Enclosed areas
Do not let the engine run in enclosed
areas, since breathing in exhaust fumes may
lead to loss of consciousness and death. The
exhaust gases contain carbon monoxide, an
odorless and colorless, but highly toxic gas. ◀
Unattended vehicle
Do not leave the vehicle unattended with
the engine running; doing so poses a risk of
danger.
Before leaving the vehicle with the engine run‐
ning, set the parking brake and place the trans‐
mission in selector lever position P or neutral to
prevent the vehicle from moving. ◀
Repeated starting in quick succession
Avoid repeated unsuccessful attempts to
start the vehicle or starting the vehicle several
times in quick succession. Otherwise, the fuel is
not burned or is inadequately burned, posing a
risk of overheating and damage to the catalytic
converter. ◀
Do not wait for the engine to warm-up while
the vehicle remains stationary. Start driving at
moderate engine speeds.
Diesel engine If the engine is cold and temperatures are be‐
low approx. 32 ℉/0 ℃, the start process may
be delayed somewhat due to automatic pre‐
heating.
A Check Control message is displayed.
Automatic transmission
Starting the engine1.Depress the brake pedal.2.Engage selector lever position P or N.3.Press the Start/Stop button.
The ignition is activated automatically for a cer‐
tain time and is stopped as soon as the engine
starts.
Manual transmission
Starting the engine
1.Depress the brake pedal.2.Press on the clutch pedal and shift to neu‐
tral.3.Press the Start/Stop button.
The ignition is activated automatically for a cer‐
tain time and is stopped as soon as the engine
starts.
Engine stop
General information Take the remote control with you
Take the remote control with you when
leaving the vehicle so that children, for exam‐
ple, cannot start the engine. ◀
Seite 45DrivingControls45
Online Edition for Part no. 01 40 2 925 116 - X/13
Page 50 of 233
Set the parking brake and further secure
the vehicle as required
Set the parking brake firmly when parking; oth‐
erwise, the vehicle could roll. On steep upward
and downward inclines, further secure the ve‐
hicle, for example, by turning the steering
wheel in the direction of the curb. ◀
Before driving into a car wash In order for the vehicle to be able to roll into a
car wash, pay attention to the information re‐
garding Washing in automatic car washes, refer
to page 203.
Automatic transmission
Switching off the engine1.Engage selector lever position P with the
vehicle stopped.2.Press the Start/Stop button.
The engine is switched off.
The radio ready state is switched on.3.Set the parking brake.
Manual transmission
Switching off the engine
1.With the vehicle at a standstill, press the
Start/Stop button.
The engine is switched off.
The radio ready state is switched on.2.Shift into first gear or reverse.3.Set the parking brake.
Auto Start/Stop function
The concept
The Auto Start/Stop function helps save fuel.
The system switches off the engine during a
stop, e.g., in traffic congestion or at traffic
lights. The ignition remains switched on. The
engine starts again automatically for driving off.
Automatic operation
After each engine start, the Auto Start/Stop
function is ready and is activated at speeds
faster than about 3 mph, approx. 5 km/h.
Engine stop The engine is switched off automatically during
a stop under the following conditions:
Manual transmission:▷Neutral is engaged and the clutch pedal is
not pressed.▷The driver's safety belt is buckled or the
driver's door is closed.
Automatic transmission:
▷Gear selector lever in drive mode D.▷Brake pedal remains depressed while the
vehicle is stopped.▷The driver's safety belt is buckled or the
driver's door is closed.
In order to be able to release the brake pedal,
engage selector lever position P. The engine re‐
mains off.
To continue driving depress the brake pedal.
When a drive mode is engaged, the engine
starts automatically.
The air flow of the air conditioner is reduced
when the engine is switched off.
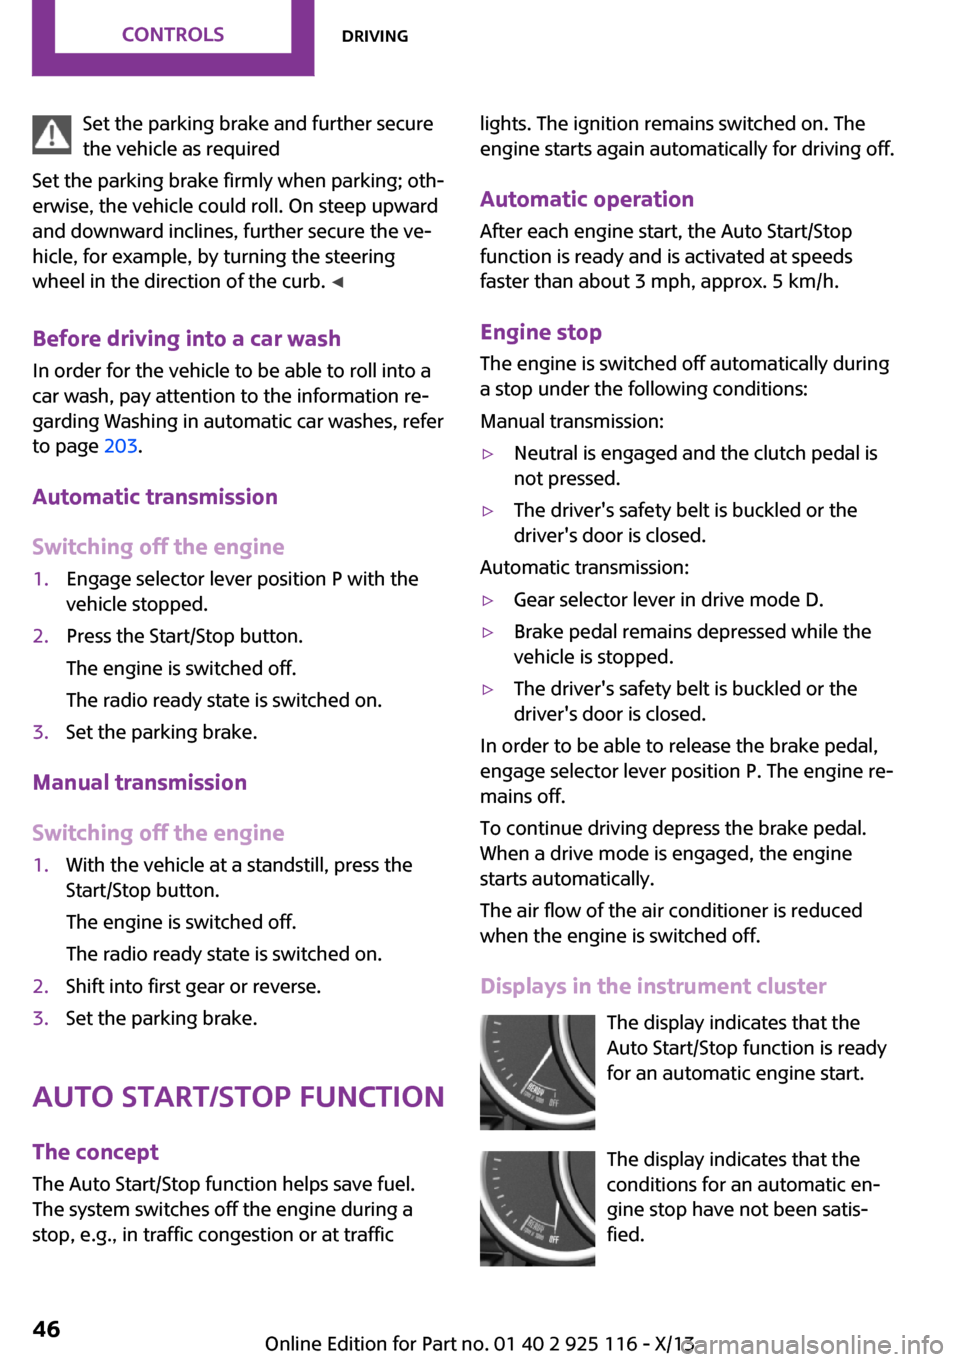
Displays in the instrument cluster The display indicates that the
Auto Start/Stop function is ready
for an automatic engine start.
The display indicates that the
conditions for an automatic en‐
gine stop have not been satis‐
fied.
Seite 46ControlsDriving46
Online Edition for Part no. 01 40 2 925 116 - X/13
Page 52 of 233
Press the button.▷LED comes on: Auto Start Stop function is
deactivated.
The engine is started during an automatic
engine stop.
The engine can only be stopped or started
via the Start/Stop button.▷LED goes out: Auto Start Stop function is ac‐
tivated.
Switching off the vehicle during an automatic engine stop
During an automatic engine stop, the vehicle
can be switched off permanently, e.g., when
leaving it.
1.Press the Start/Stop button. The ignition is
switched off. The Auto Start/Stop function is
deactivated.2.Set the parking brake.
Engine start as usual via Start/Stop button.
Automatic deactivation
In certain situations, the Auto Start/Stop func‐
tion is deactivated automatically for safety rea‐
sons, such as when the driver is detected to be
absent.
Malfunction
The Auto Start/Stop function no longer switches
of the engine automatically. A Check Control
message is displayed. It is possible to continue
driving. Have the system checked.
Parking brakeApplying
The lever automatically engages after being
pulled up.
The indicator lamp lights up red. The
parking brake is set.
Lower lamp: indicator lamp in Canadian
models
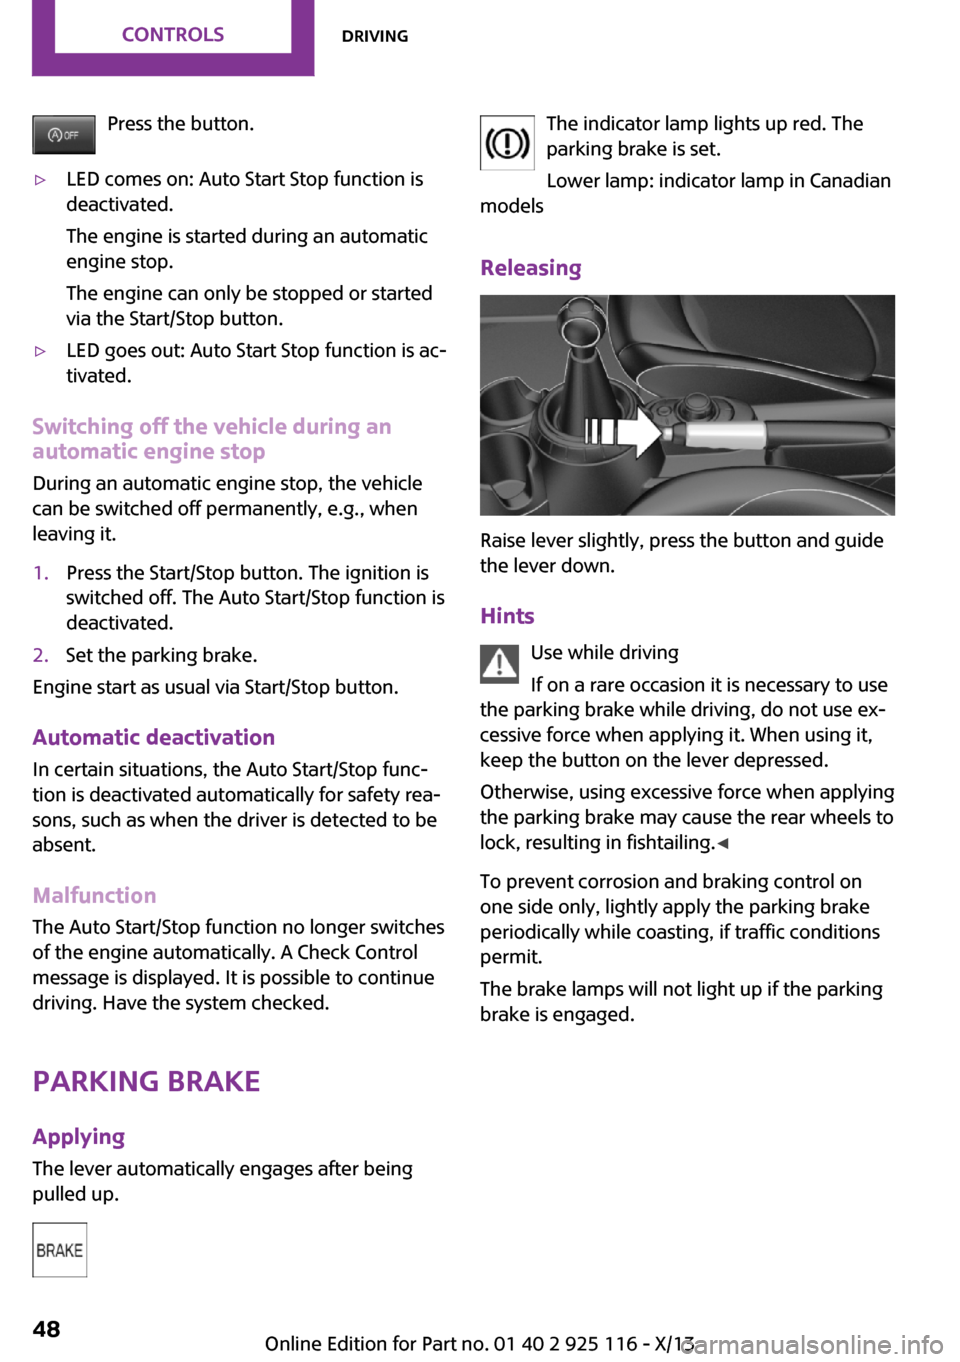
Releasing
Raise lever slightly, press the button and guide
the lever down.
Hints Use while driving
If on a rare occasion it is necessary to use
the parking brake while driving, do not use ex‐
cessive force when applying it. When using it,
keep the button on the lever depressed.
Otherwise, using excessive force when applying
the parking brake may cause the rear wheels to
lock, resulting in fishtailing. ◀
To prevent corrosion and braking control on
one side only, lightly apply the parking brake
periodically while coasting, if traffic conditions
permit.
The brake lamps will not light up if the parking
brake is engaged.
Seite 48ControlsDriving48
Online Edition for Part no. 01 40 2 925 116 - X/13
Page 57 of 233
P Park
Select only when the vehicle is stationary. The
drive wheels are blocked.
Before exiting the vehicle, make sure that se‐
lector lever position P of the automatic trans‐
mission is engaged. Otherwise, the vehicle may
begin to roll.
Kickdown Kickdown is used to achieve maximum driving
performance. Press on the accelerator pedal
beyond the resistance point at the full throttle
position.
Selecting drive mode Depress the brake until you start driving
To prevent the vehicle from creeping af‐
ter you select a driving position, maintain pres‐
sure on the brake pedal until you are ready to
start. ◀
The gear selector lever can only taken out of
position P if the ignition is on or the engine is
running.
With the vehicle stationary, press on the brake
pedal before shifting out of P or N; otherwise,
the gear selector lever is blocked: shift lock.
A lock prevents inadvertent shifting into drive
mode R or selector lever position P.
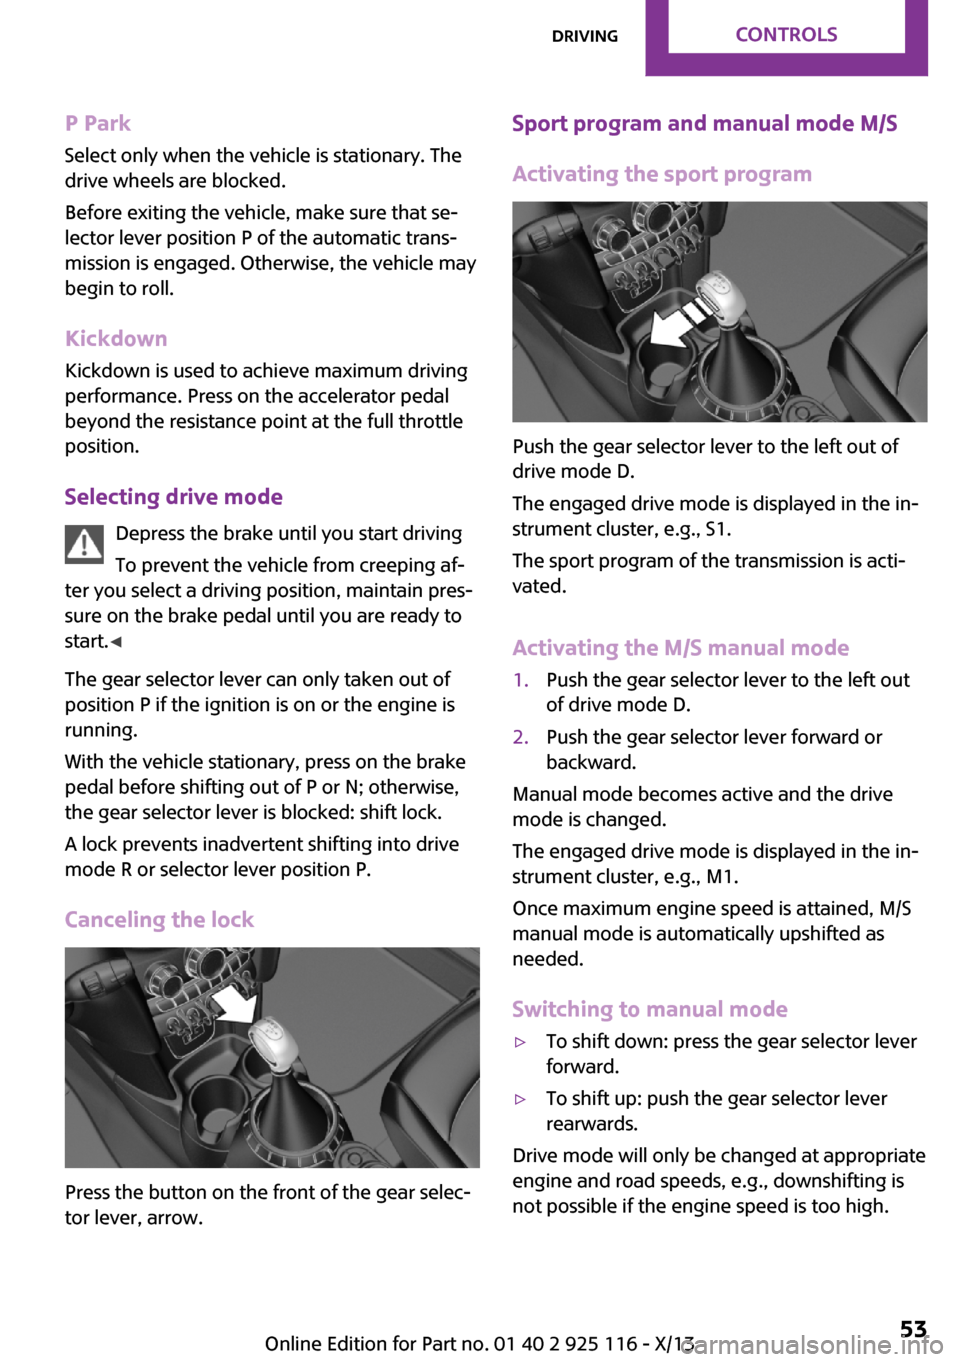
Canceling the lock
Press the button on the front of the gear selec‐
tor lever, arrow.
Sport program and manual mode M/S
Activating the sport program
Push the gear selector lever to the left out of
drive mode D.
The engaged drive mode is displayed in the in‐
strument cluster, e.g., S1.
The sport program of the transmission is acti‐
vated.
Activating the M/S manual mode
1.Push the gear selector lever to the left out
of drive mode D.2.Push the gear selector lever forward or
backward.
Manual mode becomes active and the drive
mode is changed.
The engaged drive mode is displayed in the in‐
strument cluster, e.g., M1.
Once maximum engine speed is attained, M/S
manual mode is automatically upshifted as
needed.
Switching to manual mode
▷To shift down: press the gear selector lever
forward.▷To shift up: push the gear selector lever
rearwards.
Drive mode will only be changed at appropriate
engine and road speeds, e.g., downshifting is
not possible if the engine speed is too high.
Seite 53DrivingControls53
Online Edition for Part no. 01 40 2 925 116 - X/13
Page 58 of 233
The selected drive mode is briefly displayed in
the instrument cluster, followed by the current
one.
Manual mode M/S: prevent automatic upshifting
Once maximum engine speed is attained, M/S
manual mode is automatically upshifted as
needed.
For vehicles with Sport automatic transmission,
automatic shift operations are not performed if
one of the following conditions is met:▷DSC is deactivated.▷TRACTION is activated.
In addition, the kickdown is deactivated.
Ending the sport program/manual
mode
Push the gear selector lever to the right.
D is displayed in the instrument cluster.
Shift paddles for Sport automatic
transmission
The shift paddles on the steering wheel allow
you to shift drive modes quickly while keeping
both hands on the steering wheel.
If the shift paddles on the steering wheel are
used to shift gears in automatic mode, the
transmission temporarily switches to manual
mode.
If the shift paddles are not used and the vehicle
is not accelerated for a certain time, the system
switches back into automatic mode if the gear
selector lever is in drive mode D.
▷Shift up: pull right shift paddle.▷Shift down: pull left shift paddle.
The vehicle only shifts up or down at appropri‐
ate engine and road speeds, e.g., it does not
shift down if the engine speed is too high.
The selected drive mode is briefly displayed in
the instrument cluster, followed by the current
one.
Displays in the instrument cluster The selector lever position is dis‐
played, e.g.: P.
Drive mode lock, manually unlocking Should the gear selector lever be blocked in se‐
lector lever position P despite the ignition being
turned on, the brake being depressed and the
unlock button being pressed, the drive mode
lock can be manually canceled:
Before the manual unlocking of the drive mode
block, engage the parking brake forcefully to
prevent the vehicle from rolling away.
1.Unclip the sleeve of the gear selector lever.2.Pull the sleeve over the gear selector lever.
Unplug the cable connector if necessary.3.Using the screwdriver from the onboard ve‐
hicle tool kit, refer to page 186, press the
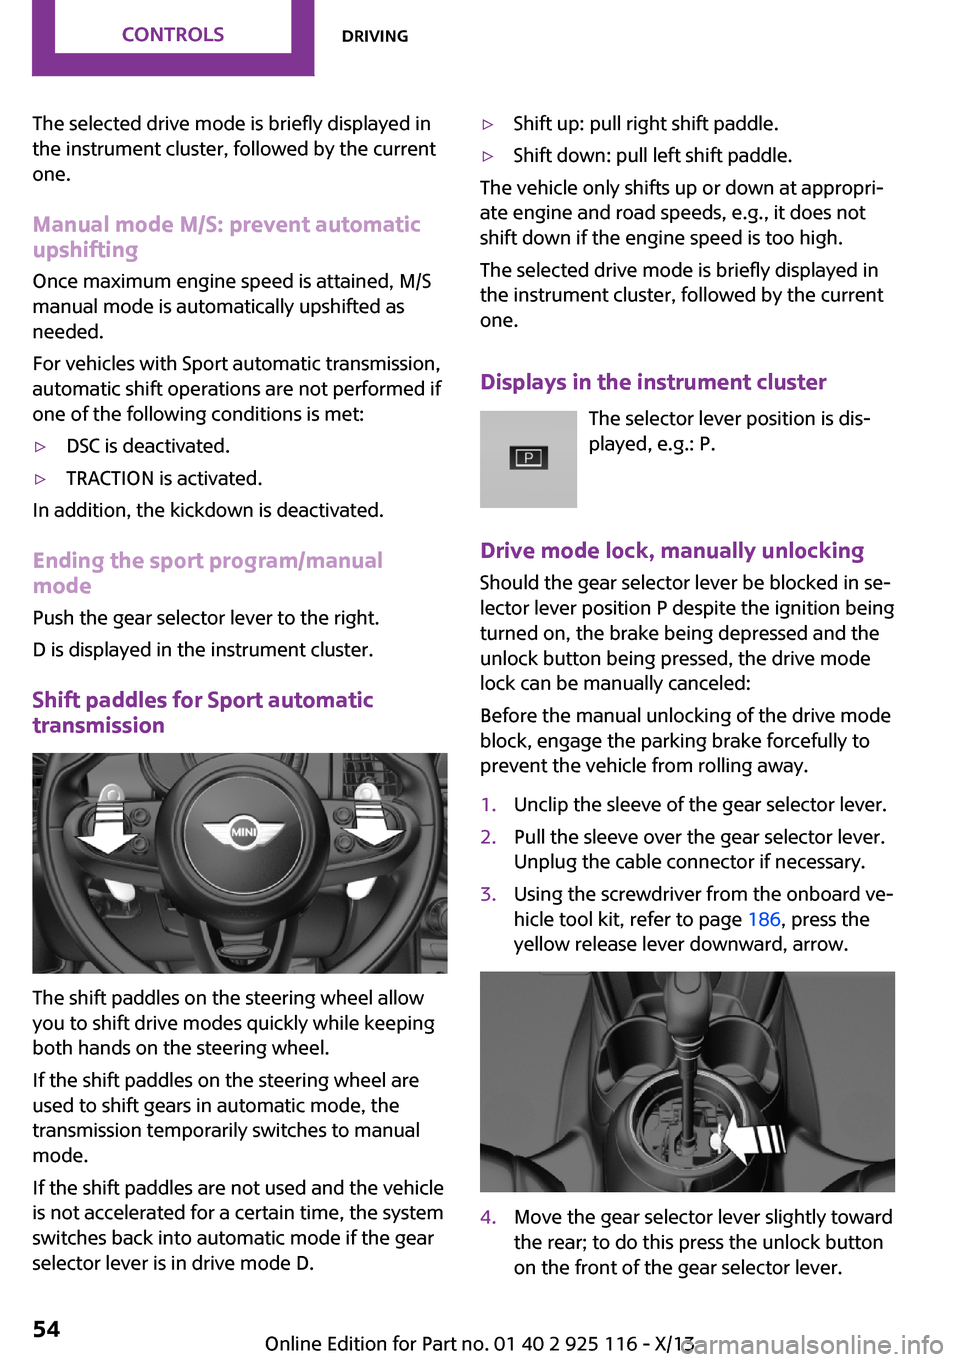
yellow release lever downward, arrow.4.Move the gear selector lever slightly toward
the rear; to do this press the unlock button
on the front of the gear selector lever.Seite 54ControlsDriving54
Online Edition for Part no. 01 40 2 925 116 - X/13