key MINI Clubman 2009 Owner's Manual
[x] Cancel search | Manufacturer: MINI, Model Year: 2009, Model line: Clubman, Model: MINI Clubman 2009Pages: 158, PDF Size: 2.51 MB
Page 20 of 158
Opening and closing
18
Opening and closing
Keys/remote controls
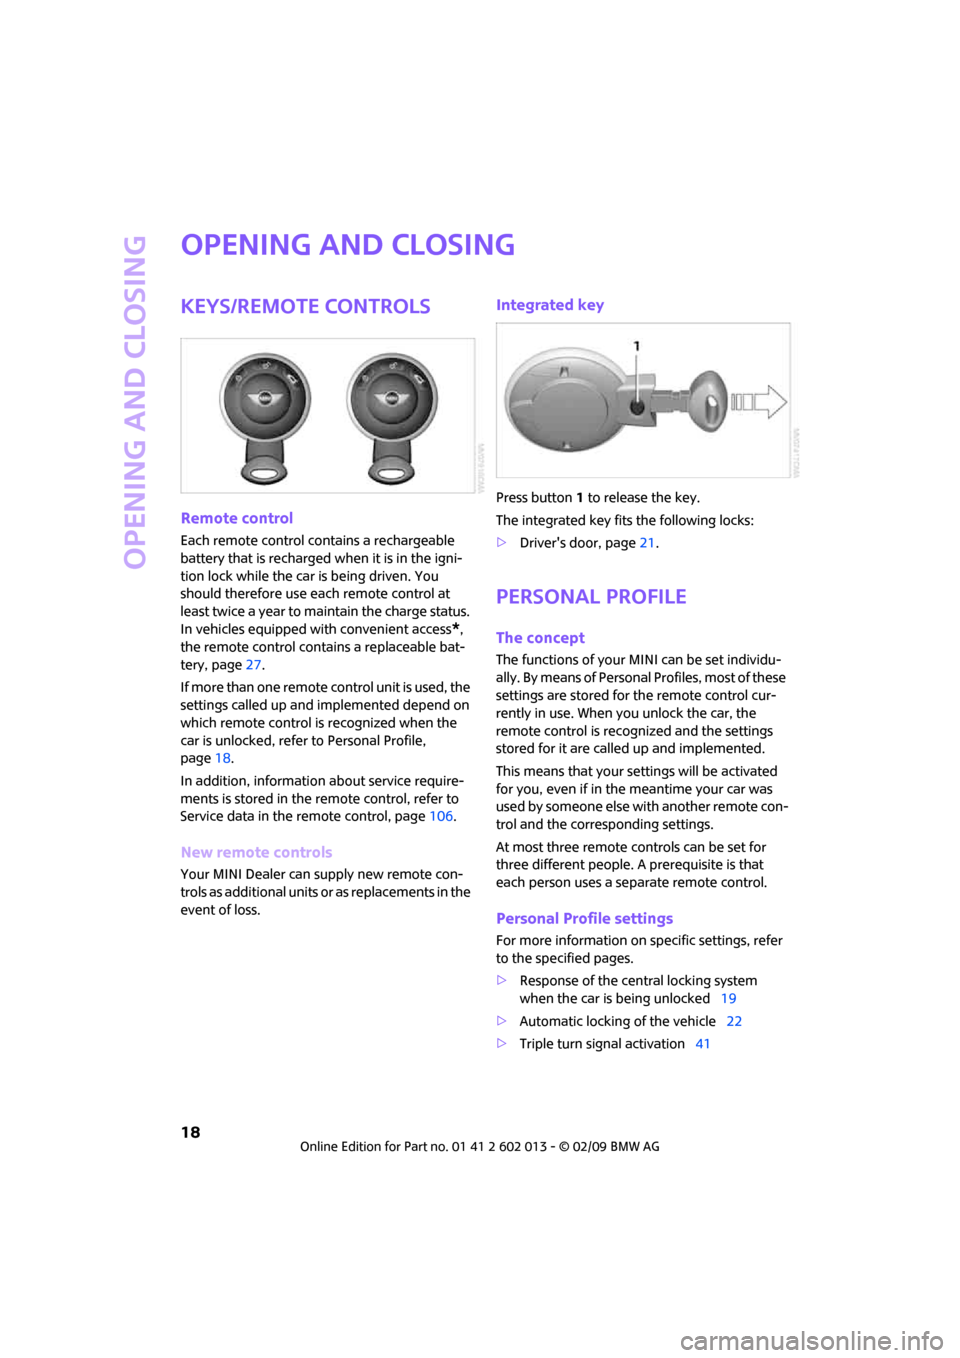
Remote control
Each remote control contains a rechargeable
battery that is recharged when it is in the igni-
tion lock while the car is being driven. You
should therefore use each remote control at
least twice a year to maintain the charge status.
In vehicles equipped with convenient access
*,
the remote control contains a replaceable bat-
tery, page27.
If more than one remote control unit is used, the
settings called up and implemented depend on
which remote control is recognized when the
car is unlocked, refer to Personal Profile,
page18.
In addition, information about service require-
ments is stored in the remote control, refer to
Service data in the remote control, page106.
New remote controls
Your MINI Dealer can supply new remote con-
trols as additional units or as replacements in the
event of loss.
Integrated key
Press button1 to release the key.
The integrated key fits the following locks:
>Driver's door, page21.
Personal Profile
The concept
The functions of your MINI can be set individu-
ally. By means of Personal Profiles, most of these
settings are stored for the remote control cur-
rently in use. When you unlock the car, the
remote control is recognized and the settings
stored for it are called up and implemented.
This means that your settings will be activated
for you, even if in the meantime your car was
used by someone else with another remote con-
trol and the corresponding settings.
At most three remote controls can be set for
three different people. A prerequisite is that
each person uses a separate remote control.
Personal Profile settings
For more information on specific settings, refer
to the specified pages.
>Response of the central locking system
when the car is being unlocked19
>Automatic locking of the vehicle22
>Triple turn signal activation41
Page 21 of 158
REFERENCEAT A GLANCE CONTROLS DRIVING TIPS MOBILITY
19
>Settings for the displays in the speedometer
and tachometer:
>12h/24h mode of the clock, refer to
Formats and units of measure49
>Date format, refer to Formats and units
of measure49
>Units of measure for fuel consumption,
distance covered/remaining distances
and temperature, refer to Formats and
units of measure49
>Light settings:
>Pathway lighting65
>Daytime running lamps66
>Automatic climate control
*: activating/
deactivating the AUTO program, setting the
temperature, air volume and air
distribution72
>Entertainment:
>Audio volume, refer to separate Owner's
Manual
>Speed-dependent volume, refer to sepa-
rate Owner's Manual
Central locking system
The concept
The central locking system is ready for operation
whenever the driver's door is closed.
The system simultaneously engages and
releases the locks on the following:
>Doors
>Splitdoor
>Fuel filler door
Operating from outside
>Via the remote control
>Via the door lock
*
>In cars with convenient access*, via the
door handles on the driver's and passen-
ger's sides.
The anti-theft system is also operated at the
same time. It prevents the doors from being unlocked using the lock buttons or door han-
dles. The remote control can also be used to
switch on/off the welcome lamps and interior
lamps. The alarm system
* is also activated or
deactivated, page24.
Operating from inside
Button for central locking system, page22.
In the event of a sufficiently severe accident, the
central locking system unlocks automatically. In
addition, the hazard warning flashers and inte-
rior lamps come on.
Opening and closing:
from outside
Persons or animals in a parked vehicle
could lock the doors from the inside.
Take the key with you when you leave the vehi-
cle so that the vehicle can be opened from the
outside.<
Using the remote control
Unlocking
Press the button.
The welcome lamps and interior lamps come on.
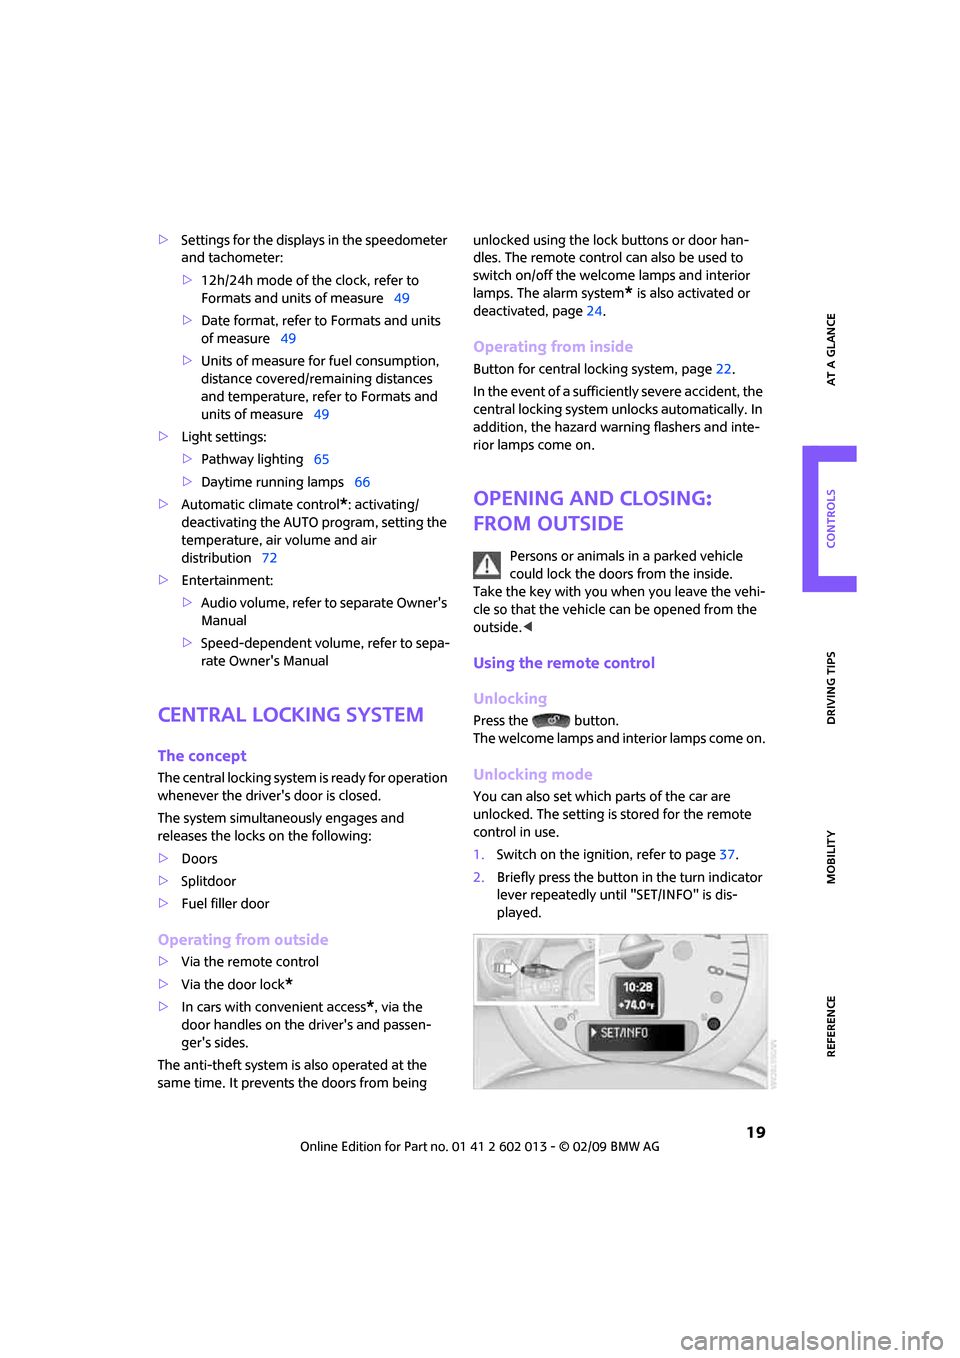
Unlocking mode
You can also set which parts of the car are
unlocked. The setting is stored for the remote
control in use.
1.Switch on the ignition, refer to page37.
2.Briefly press the button in the turn indicator
lever repeatedly until "SET/INFO" is dis-
played.
Page 23 of 158
REFERENCEAT A GLANCE CONTROLS DRIVING TIPS MOBILITY
21
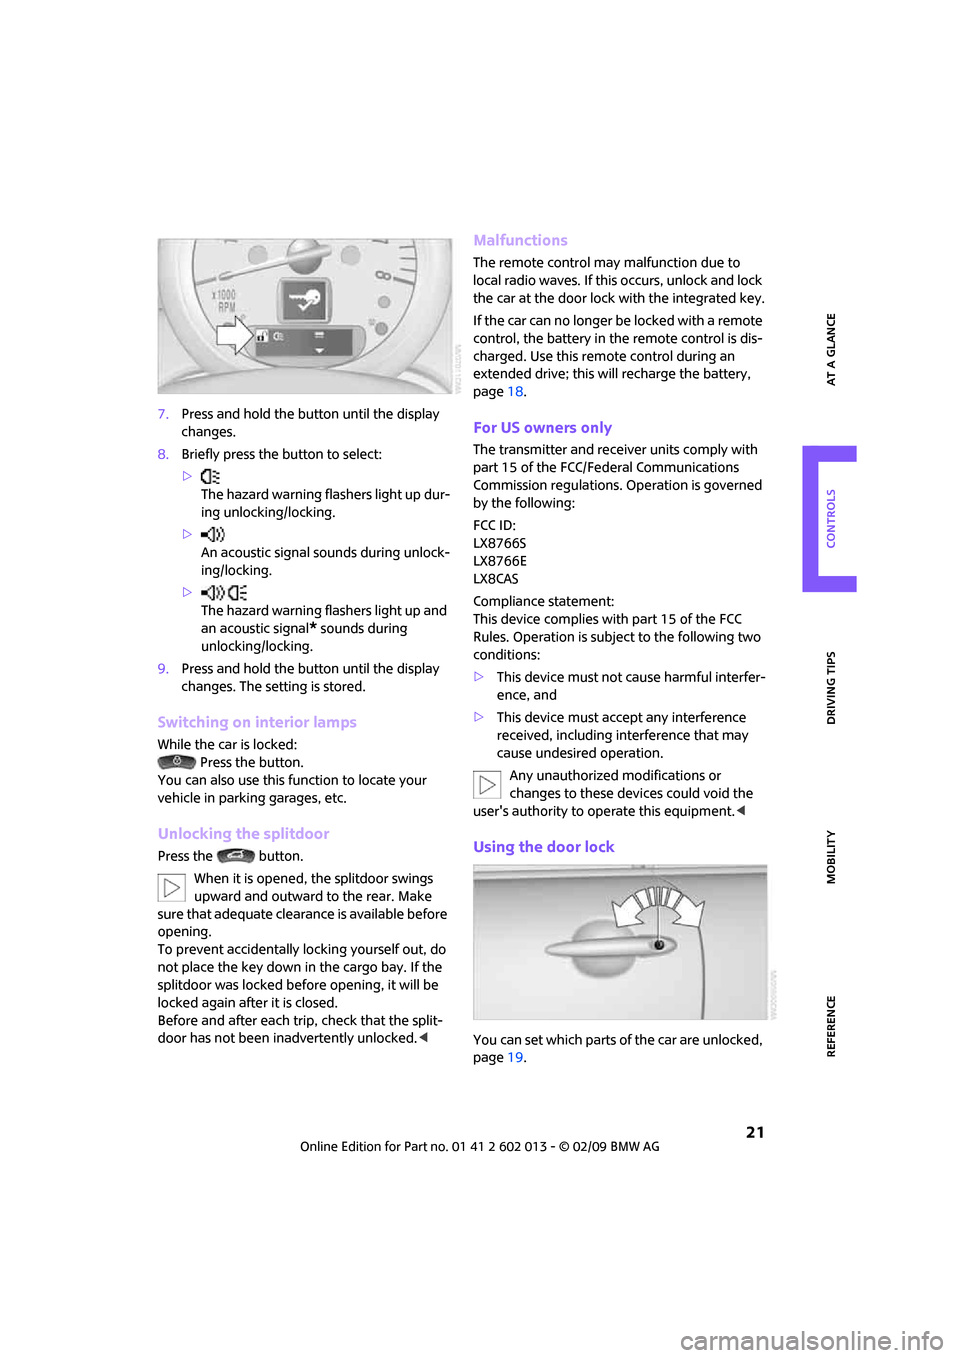
7.Press and hold the button until the display
changes.
8.Briefly press the button to select:
>
The hazard warning flashers light up dur-
ing unlocking/locking.
>
An acoustic signal sounds during unlock-
ing/locking.
>
The hazard warning flashers light up and
an acoustic signal
* sounds during
unlocking/locking.
9.Press and hold the button until the display
changes. The setting is stored.
Switching on interior lamps
While the car is locked:
Press the button.
You can also use this function to locate your
vehicle in parking garages, etc.
Unlocking the splitdoor
Press the button.
When it is opened, the splitdoor swings
upward and outward to the rear. Make
sure that adequate clearance is available before
opening.
To prevent accidentally locking yourself out, do
not place the key down in the cargo bay. If the
splitdoor was locked before opening, it will be
locked again after it is closed.
Before and after each trip, check that the split-
door has not been inadvertently unlocked.<
Malfunctions
The remote control may malfunction due to
local radio waves. If this occurs, unlock and lock
the car at the door lock with the integrated key.
If the car can no longer be locked with a remote
control, the battery in the remote control is dis-
charged. Use this remote control during an
extended drive; this will recharge the battery,
page18.
For US owners only
The transmitter and receiver units comply with
part 15 of the FCC/Federal Communications
Commission regulations. Operation is governed
by the following:
FCC ID:
LX8766S
LX8766E
LX8CAS
Compliance statement:
This device complies with part 15 of the FCC
Rules. Operation is subject to the following two
conditions:
>This device must not cause harmful interfer-
ence, and
>This device must accept any interference
received, including interference that may
cause undesired operation.
Any unauthorized modifications or
changes to these devices could void the
user's authority to operate this equipment.<
Using the door lock
You can set which parts of the car are unlocked,
page19.
Page 24 of 158
Opening and closing
22
When there is no alarm system* or conve-
nient access
*, only the driver's door is
locked with the door lock.<
To lock all doors, the fuel filler door and splitdoor
together:
With the doors closed, press the interior central
locking button, page22 to lock the vehicle.
Unlocking and opening the driver or passenger
door, page22.
Locking the vehicle.
>Lock the driver's door with the integrated
key via the door lock, or
>press the safety lock button on the pas-
senger's door and close the door from
the outside.
Convenient operation
With an alarm system* or convenient access*,
the windows and glass sunroof
* can be oper-
ated via the door lock.
Hold the key in the position for unlocking or
locking.
Watch during the closing process to be
sure that no one is injured. Releasing the
key stops the operation.<
Manual operation
In the event of an electrical malfunction, the
driver's door can be unlocked or locked by turn-
ing the integrated key in the door lock to the end
positions.
Opening and closing:
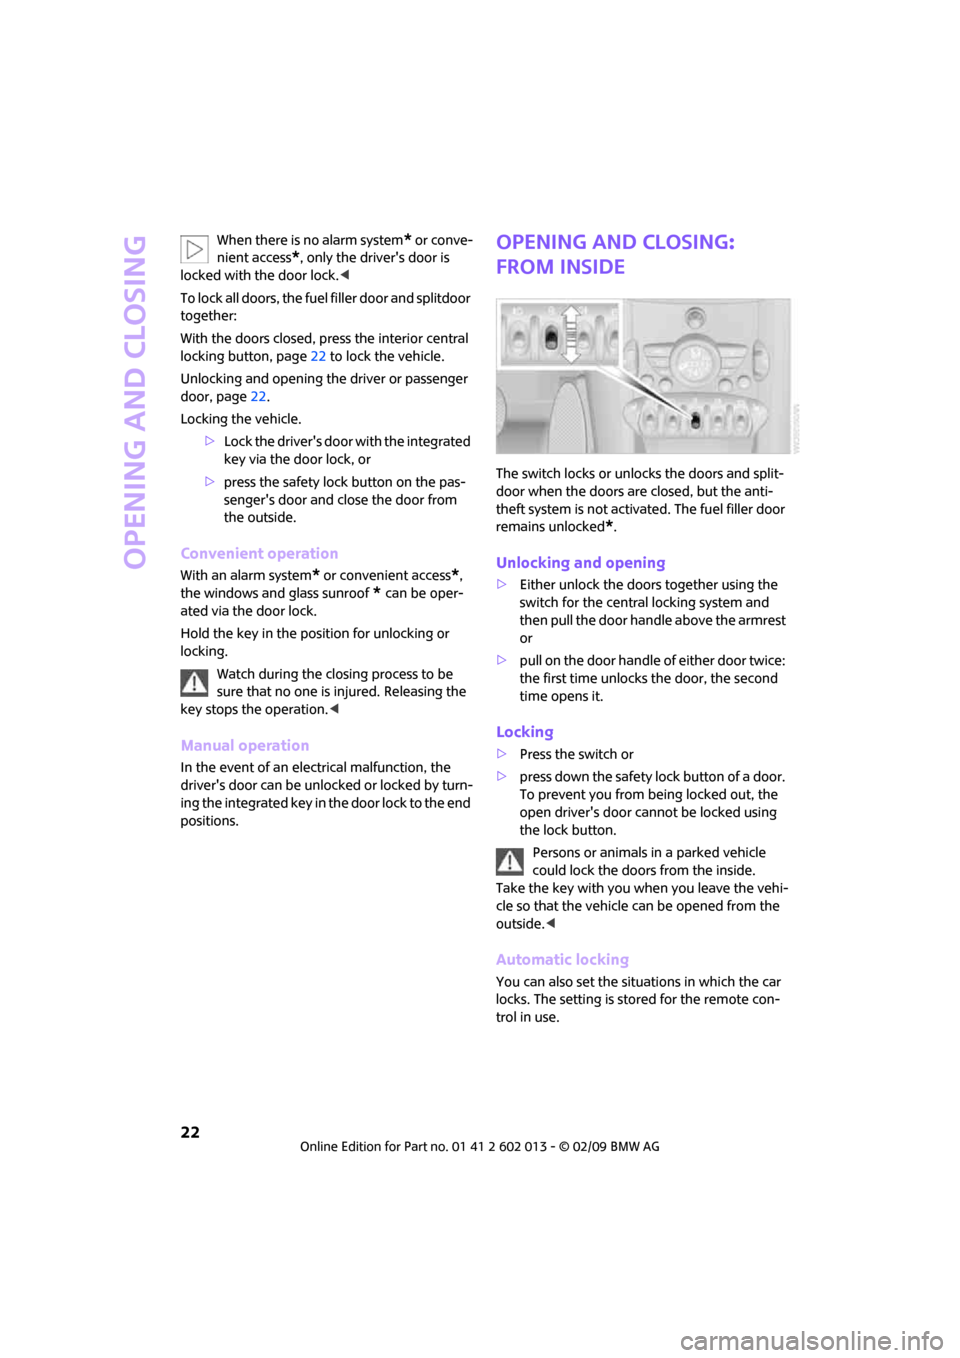
from inside
The switch locks or unlocks the doors and split-
door when the doors are closed, but the anti-
theft system is not activated. The fuel filler door
remains unlocked
*.
Unlocking and opening
>Either unlock the doors together using the
switch for the central locking system and
then pull the door handle above the armrest
or
>pull on the door handle of either door twice:
the first time unlocks the door, the second
time opens it.
Locking
>Press the switch or
>press down the safety lock button of a door.
To prevent you from being locked out, the
open driver's door cannot be locked using
the lock button.
Persons or animals in a parked vehicle
could lock the doors from the inside.
Take the key with you when you leave the vehi-
cle so that the vehicle can be opened from the
outside.<
Automatic locking
You can also set the situations in which the car
locks. The setting is stored for the remote con-
trol in use.
Page 26 of 158
Opening and closing
24
Opening
In some national-market versions, the
splitdoor cannot be unlocked using the
remote control unless the vehicle is unlocked
first.
Only drive with the splitdoor fully closed, other-
wise the tail lamps will be obscured and driving
safety will be compromised.<
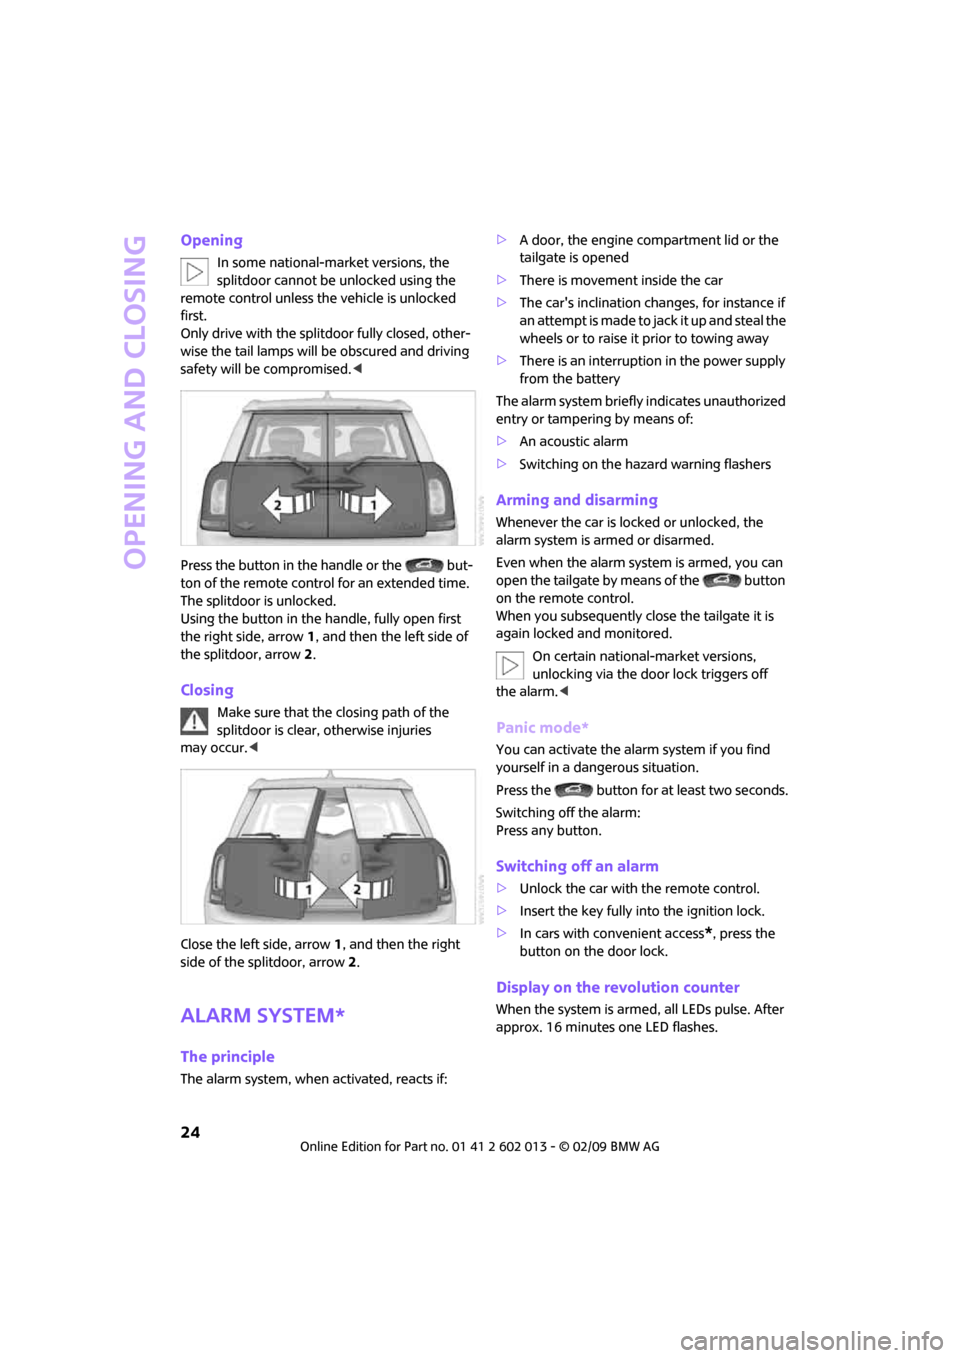
Press the button in the handle or the but-
ton of the remote control for an extended time.
The splitdoor is unlocked.
Using the button in the handle, fully open first
the right side, arrow1, and then the left side of
the splitdoor, arrow2.
Closing
Make sure that the closing path of the
splitdoor is clear, otherwise injuries
may occur.<
Close the left side, arrow1, and then the right
side of the splitdoor, arrow2.
Alarm system*
The principle
The alarm system, when activated, reacts if:>A door, the engine compartment lid or the
tailgate is opened
>There is movement inside the car
>The car's inclination changes, for instance if
an attempt is made to jack it up and steal the
wheels or to raise it prior to towing away
>There is an interruption in the power supply
from the battery
The alarm system briefly indicates unauthorized
entry or tampering by means of:
>An acoustic alarm
>Switching on the hazard warning flashers
Arming and disarming
Whenever the car is locked or unlocked, the
alarm system is armed or disarmed.
Even when the alarm system is armed, you can
open the tailgate by means of the button
on the remote control.
When you subsequently close the tailgate it is
again locked and monitored.
On certain national-market versions,
unlocking via the door lock triggers off
the alarm.<
Panic mode*
You can activate the alarm system if you find
yourself in a dangerous situation.
Press the button for at least two seconds.
Switching off the alarm:
Press any button.
Switching off an alarm
>Unlock the car with the remote control.
>Insert the key fully into the ignition lock.
>In cars with convenient access
*, press the
button on the door lock.
Display on the revolution counter
When the system is armed, all LEDs pulse. After
approx. 16 minutes one LED flashes.
Page 27 of 158
REFERENCEAT A GLANCE CONTROLS DRIVING TIPS MOBILITY
25
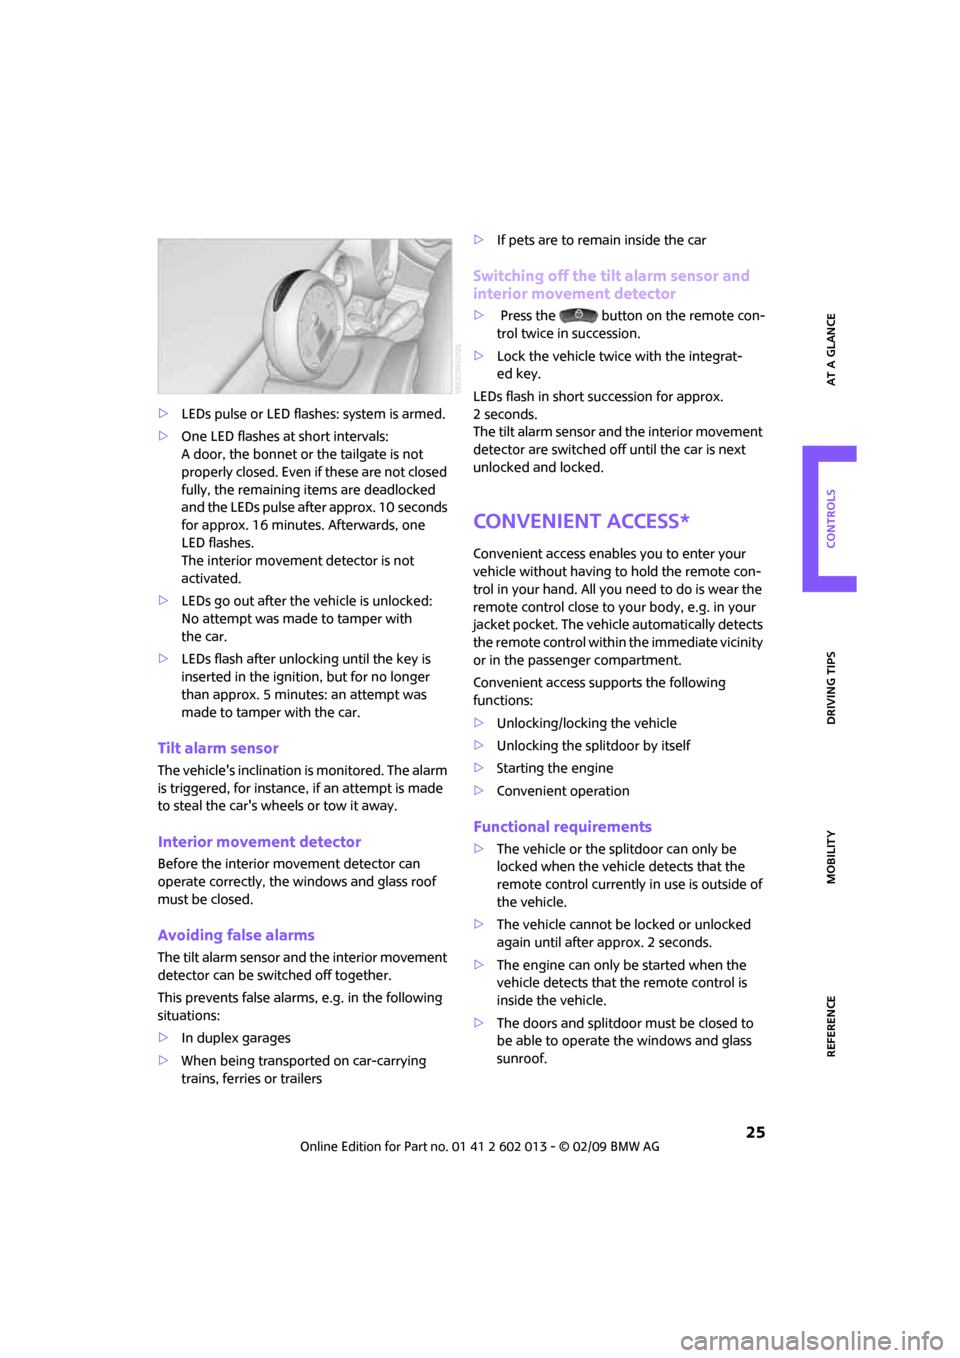
>LEDs pulse or LED flashes: system is armed.
>One LED flashes at short intervals:
A door, the bonnet or the tailgate is not
properly closed. Even if these are not closed
fully, the remaining items are deadlocked
and the LEDs pulse after approx. 10 seconds
for approx. 16 minutes. Afterwards, one
LED flashes.
The interior movement detector is not
activated.
>LEDs go out after the vehicle is unlocked:
No attempt was made to tamper with
the car.
>LEDs flash after unlocking until the key is
inserted in the ignition, but for no longer
than approx. 5 minutes: an attempt was
made to tamper with the car.
Tilt alarm sensor
The vehicle's inclination is monitored. The alarm
is triggered, for instance, if an attempt is made
to steal the car's wheels or tow it away.
Interior movement detector
Before the interior movement detector can
operate correctly, the windows and glass roof
must be closed.
Avoiding false alarms
The tilt alarm sensor and the interior movement
detector can be switched off together.
This prevents false alarms, e.g. in the following
situations:
>In duplex garages
>When being transported on car-carrying
trains, ferries or trailers>If pets are to remain inside the car
Switching off the tilt alarm sensor and
interior movement detector
>Press the button on the remote con-
trol twice in succession.
>Lock the vehicle twice with the integrat-
ed key.
LEDs flash in short succession for approx.
2 seconds.
The tilt alarm sensor and the interior movement
detector are switched off until the car is next
unlocked and locked.
Convenient access*
Convenient access enables you to enter your
vehicle without having to hold the remote con-
trol in your hand. All you need to do is wear the
remote control close to your body, e.g. in your
jacket pocket. The vehicle automatically detects
the remote control within the immediate vicinity
or in the passenger compartment.
Convenient access supports the following
functions:
>Unlocking/locking the vehicle
>Unlocking the splitdoor by itself
>Starting the engine
>Convenient operation
Functional requirements
>The vehicle or the splitdoor can only be
locked when the vehicle detects that the
remote control currently in use is outside of
the vehicle.
>The vehicle cannot be locked or unlocked
again until after approx. 2 seconds.
>The engine can only be started when the
vehicle detects that the remote control is
inside the vehicle.
>The doors and splitdoor must be closed to
be able to operate the windows and glass
sunroof.
Page 29 of 158
REFERENCEAT A GLANCE CONTROLS DRIVING TIPS MOBILITY
27
If this happens, open or close the vehicle via the
buttons on the remote control or using the inte-
grated key.
Insert the remote control into the ignition lock
and start the engine.
Warning lamps
The warning lamp comes on when an
attempt is made to start the engine: the
engine cannot be started. The remote
control is not inside the vehicle or is malfunc-
tioning. Take the remote control with you inside
the vehicle or have it checked. If necessary,
insert another remote control into the igni-
tion lock.
The warning lamp comes on when the
engine is running: the remote control is
no longer inside the vehicle. After the
engine is switched off, the engine can only be
restarted within approx. 10 seconds.
The indicator lamp comes on: replace
the battery in the remote control.
Replacing the battery
The remote control for convenient access con-
tains a battery that will need to be replaced from
time to time.
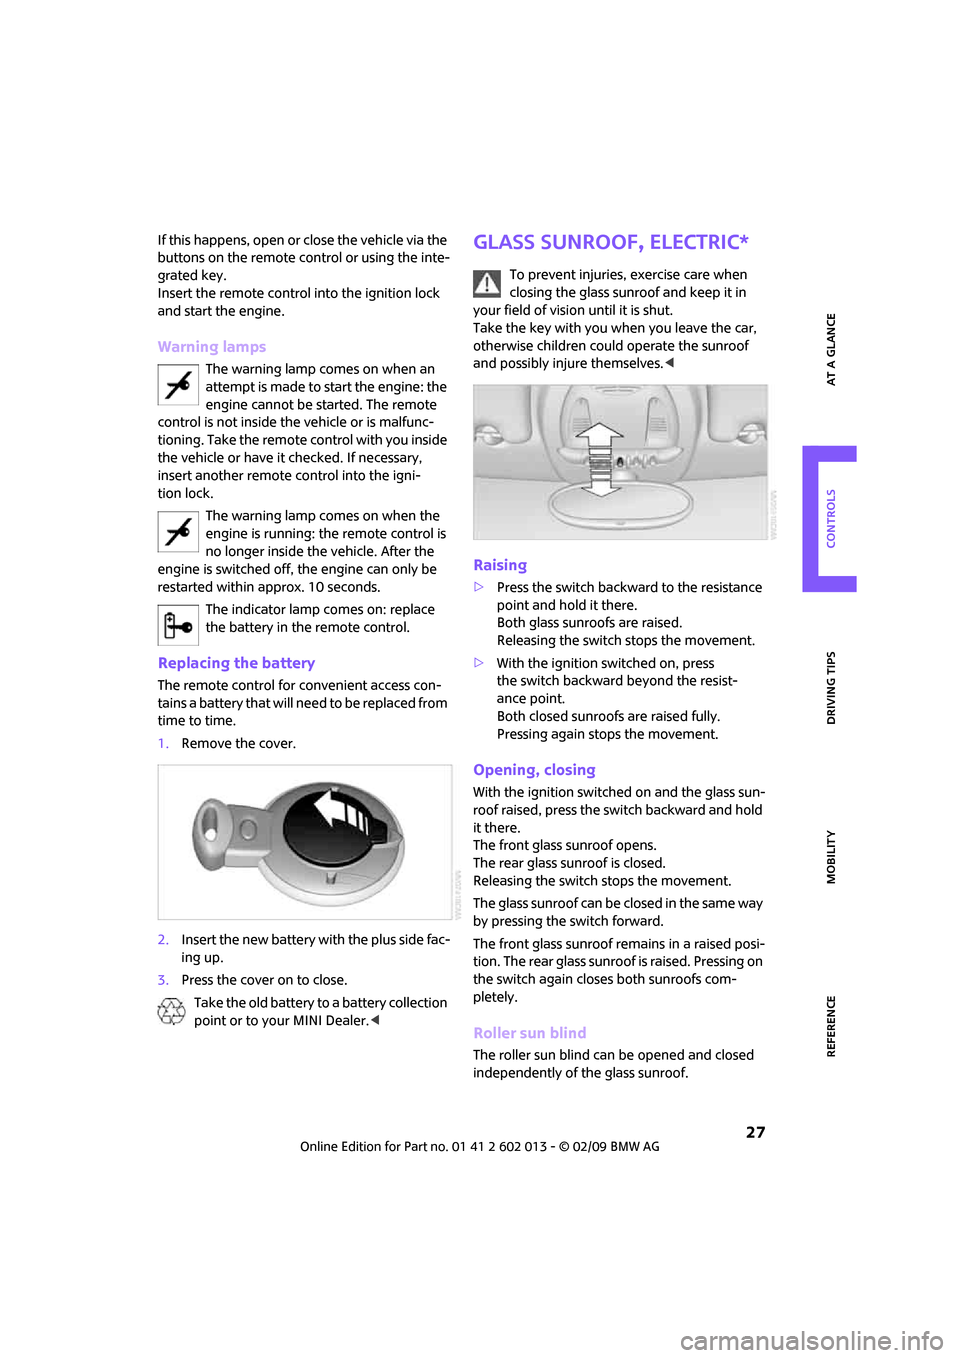
1.Remove the cover.
2.Insert the new battery with the plus side fac-
ing up.
3.Press the cover on to close.
Take the old battery to a battery collection
point or to your MINI Dealer.<
Glass sunroof, electric*
To prevent injuries, exercise care when
closing the glass sunroof and keep it in
your field of vision until it is shut.
Take the key with you when you leave the car,
otherwise children could operate the sunroof
and possibly injure themselves.<
Raising
>Press the switch backward to the resistance
point and hold it there.
Both glass sunroofs are raised.
Releasing the switch stops the movement.
>With the ignition switched on, press
the switch backward beyond the resist-
ance point.
Both closed sunroofs are raised fully.
Pressing again stops the movement.
Opening, closing
With the ignition switched on and the glass sun-
roof raised, press the switch backward and hold
it there.
The front glass sunroof opens.
The rear glass sunroof is closed.
Releasing the switch stops the movement.
The glass sunroof can be closed in the same way
by pressing the switch forward.
The front glass sunroof remains in a raised posi-
tion. The rear glass sunroof is raised. Pressing on
the switch again closes both sunroofs com-
pletely.
Roller sun blind
The roller sun blind can be opened and closed
independently of the glass sunroof.
Page 30 of 158
Opening and closing
28
Following interruptions in electrical
power supply
After a power failure, there is a possibility that
the glass sunroof can only be raised. In this case,
have the system initialized. The manufacturer of
your MINI recommends that you have this work
done by your MINI Dealer.
Windows
To prevent injuries, exercise care when
closing the windows.
Take the remote control with you when you
leave the car, otherwise children could operate
the electric windows and possibly injure them-
selves.<
If, after a window is opened and closed
several times in close succession, the win-
dow can only be closed and not opened, the sys-
tem is overheated. Let the system cool for sev-
eral minutes with the ignition switched on or the
engine running.<
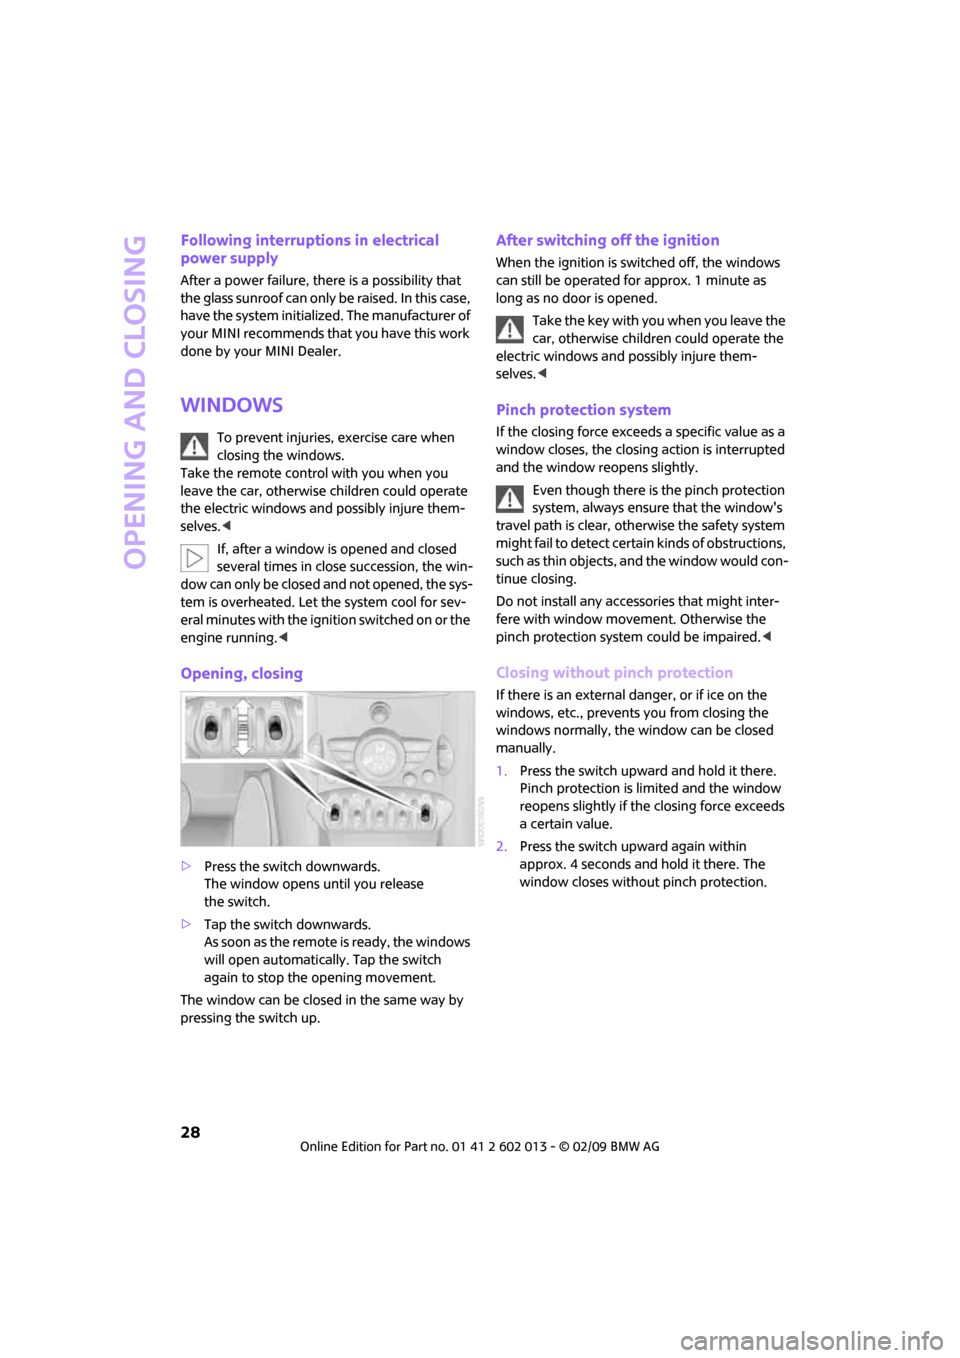
Opening, closing
>Press the switch downwards.
The window opens until you release
the switch.
>Tap the switch downwards.
A s s o o n a s t h e r e m o t e is r e a d y , t h e w i n d o w s
will open automatically. Tap the switch
again to stop the opening movement.
The window can be closed in the same way by
pressing the switch up.
After switching off the ignition
When the ignition is switched off, the windows
can still be operated for approx. 1 minute as
long as no door is opened.
Take the key with you when you leave the
car, otherwise children could operate the
electric windows and possibly injure them-
selves.<
Pinch protection system
If the closing force exceeds a specific value as a
window closes, the closing action is interrupted
and the window reopens slightly.
Even though there is the pinch protection
system, always ensure that the window's
travel path is clear, otherwise the safety system
might fail to detect certain kinds of obstructions,
such as thin objects, and the window would con-
tinue closing.
Do not install any accessories that might inter-
fere with window movement. Otherwise the
pinch protection system could be impaired.<
Closing without pinch protection
If there is an external danger, or if ice on the
windows, etc., prevents you from closing the
windows normally, the window can be closed
manually.
1.Press the switch upward and hold it there.
Pinch protection is limited and the window
reopens slightly if the closing force exceeds
a certain value.
2.Press the switch upward again within
approx. 4 seconds and hold it there. The
window closes without pinch protection.
Page 39 of 158
REFERENCEAT A GLANCE CONTROLS DRIVING TIPS MOBILITY
37
Driving
Ignition lock
Inserting the key into the ignition lock
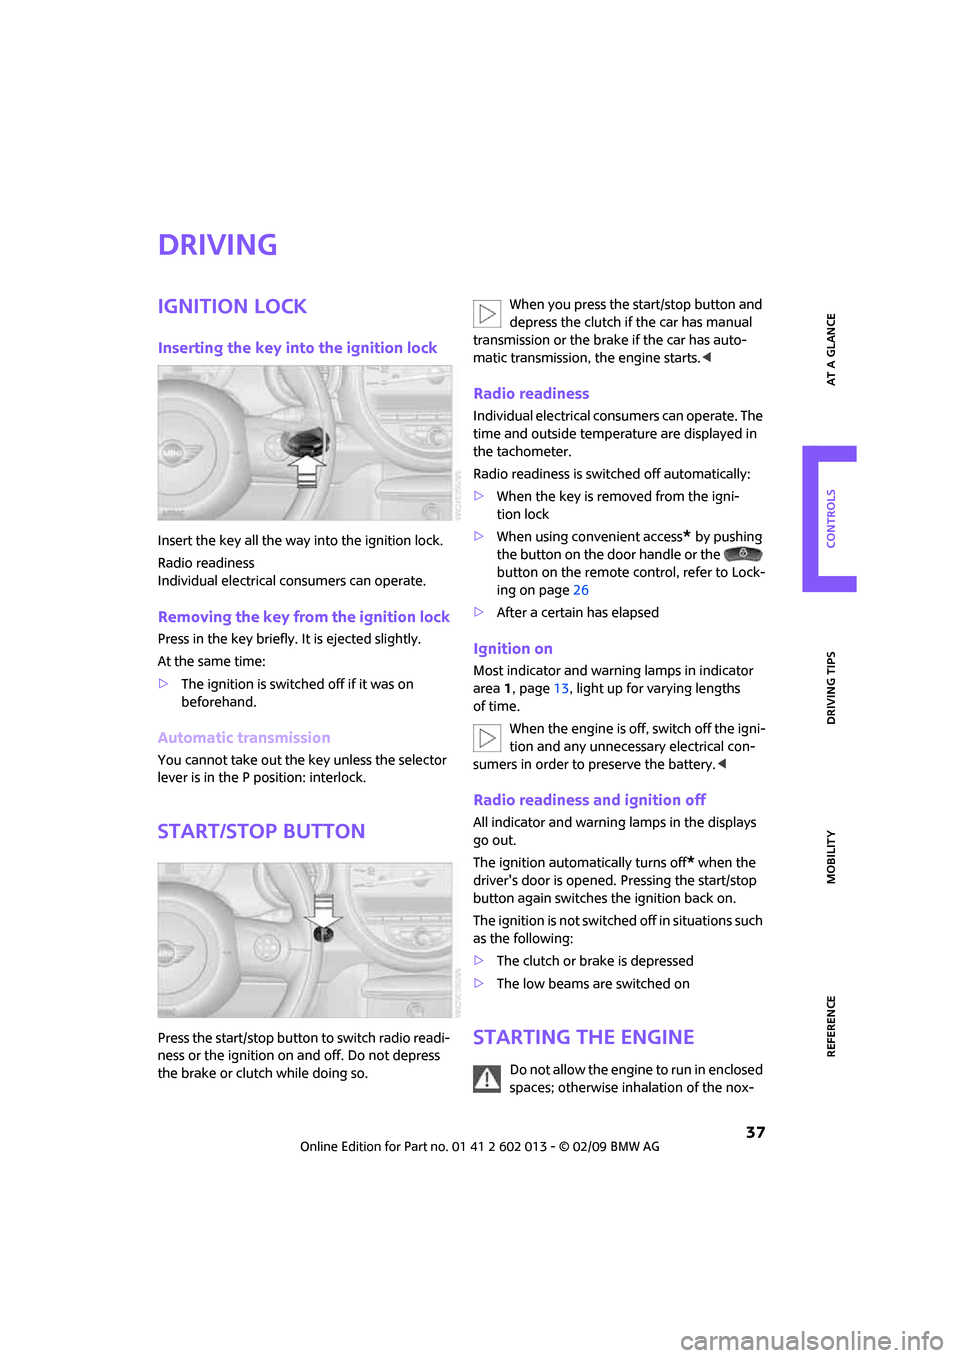
Insert the key all the way into the ignition lock.
Radio readiness
Individual electrical consumers can operate.
Removing the key from the ignition lock
Press in the key briefly. It is ejected slightly.
At the same time:
>The ignition is switched off if it was on
beforehand.
Automatic transmission
You cannot take out the key unless the selector
lever is in the P position: interlock.
Start/stop button
Press the start/stop button to switch radio readi-
ness or the ignition on and off. Do not depress
the brake or clutch while doing so.When you press the start/stop button and
depress the clutch if the car has manual
transmission or the brake if the car has auto-
matic transmission, the engine starts.<
Radio readiness
Individual electrical consumers can operate. The
time and outside temperature are displayed in
the tachometer.
Radio readiness is switched off automatically:
>When the key is removed from the igni-
tion lock
>When using convenient access
* by pushing
the button on the door handle or the
button on the remote control, refer to Lock-
ing on page26
>After a certain has elapsed
Ignition on
Most indicator and warning lamps in indicator
area 1, page13, light up for varying lengths
of time.
When the engine is off, switch off the igni-
tion and any unnecessary electrical con-
sumers in order to preserve the battery.<
Radio readiness and ignition off
All indicator and warning lamps in the displays
go out.
The ignition automatically turns off
* when the
driver's door is opened. Pressing the start/stop
button again switches the ignition back on.
The ignition is not switched off in situations such
as the following:
>The clutch or brake is depressed
>The low beams are switched on
Starting the engine
Do not allow the engine to run in enclosed
spaces; otherwise inhalation of the nox-
Page 40 of 158
Driving
38
ious exhaust gases can lead to unconsciousness
and death. Exhaust gases contain carbon mon-
oxide, an odorless and colorless, but highly toxic
gas. Never leave an unattended vehicle with the
engine running, otherwise such a vehicle repre-
sents a potential safety hazard.
Before leaving the car while the engine is run-
ning, place the transmission in neutral or move
the selector lever to position P and forcefully
apply the parking brake to prevent the car from
moving.<
Avoid frequent starting in quick succes-
sion or repeated start attempts in which
the engine does not start. Otherwise, the fuel is
not burned or inadequately burned and there is
a danger of overheating and damaging the cat-
alytic converter.<
Do not let the engine warm up with the vehicle
at a standstill. Move off immediately at a moder-
ate engine speed.
When starting the engine, do not depress the
accelerator pedal.
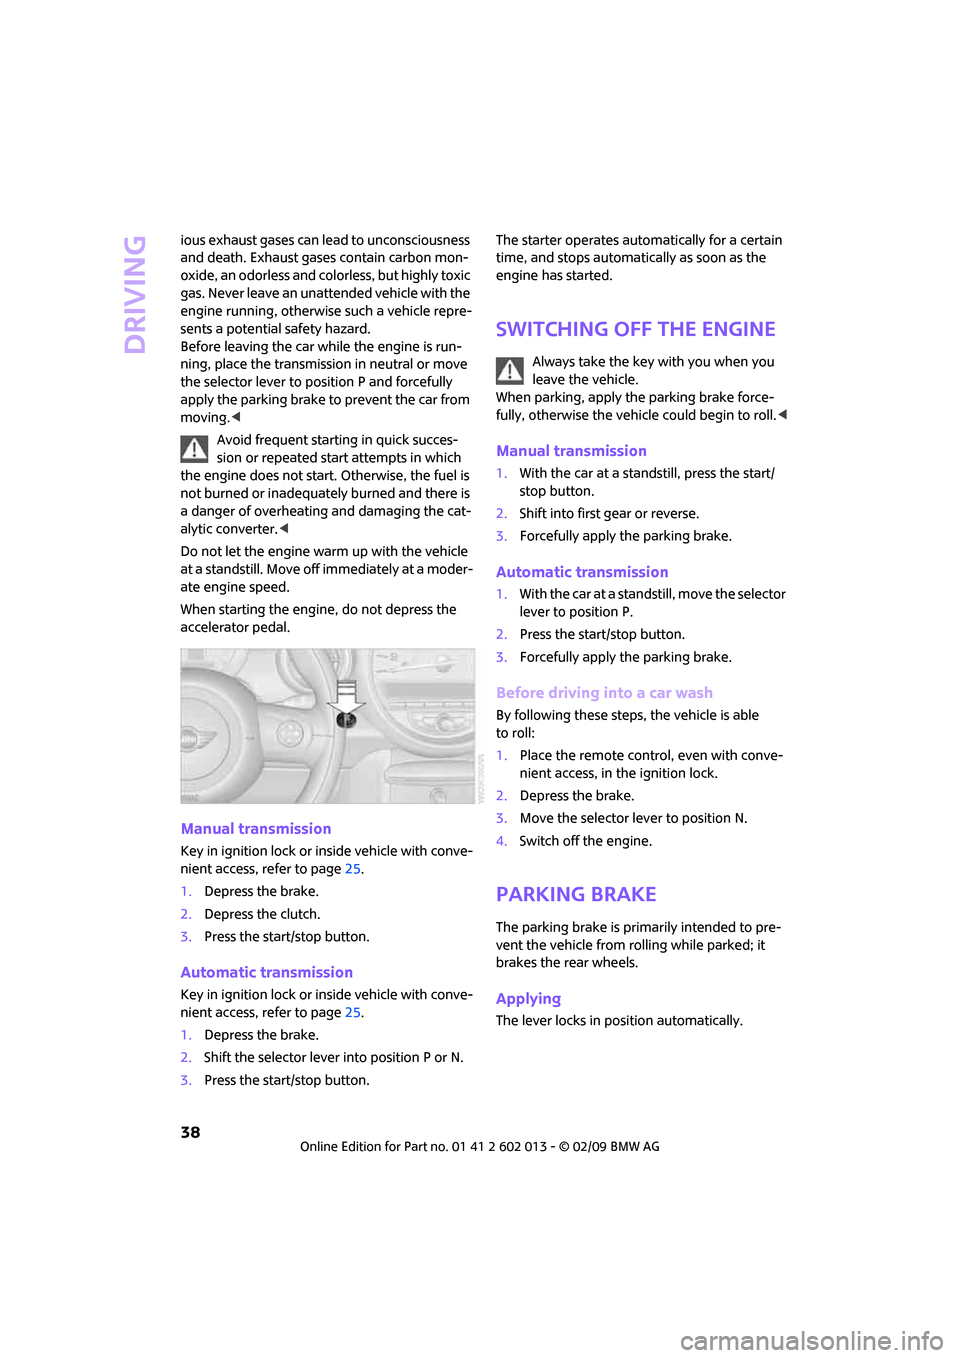
Manual transmission
Key in ignition lock or inside vehicle with conve-
nient access, refer to page25.
1.Depress the brake.
2.Depress the clutch.
3.Press the start/stop button.
Automatic transmission
Key in ignition lock or inside vehicle with conve-
nient access, refer to page25.
1.Depress the brake.
2.Shift the selector lever into position P or N.
3.Press the start/stop button.The starter operates automatically for a certain
time, and stops automatically as soon as the
engine has started.
Switching off the engine
Always take the key with you when you
leave the vehicle.
When parking, apply the parking brake force-
fully, otherwise the vehicle could begin to roll.<
Manual transmission
1.With the car at a standstill, press the start/
stop button.
2.Shift into first gear or reverse.
3.Forcefully apply the parking brake.
Automatic transmission
1.With the car at a standstill, move the selector
lever to position P.
2.Press the start/stop button.
3.Forcefully apply the parking brake.
Before driving into a car wash
By following these steps, the vehicle is able
to roll:
1.Place the remote control, even with conve-
nient access, in the ignition lock.
2.Depress the brake.
3.Move the selector lever to position N.
4.Switch off the engine.
Parking brake
The parking brake is primarily intended to pre-
vent the vehicle from rolling while parked; it
brakes the rear wheels.
Applying
The lever locks in position automatically.