navigation MINI Clubman 2011 (Mini Connected) User Guide
[x] Cancel search | Manufacturer: MINI, Model Year: 2011, Model line: Clubman, Model: MINI Clubman 2011Pages: 256, PDF Size: 3.75 MB
Page 110 of 256
NAVIGATIONNavigation system
108
Navigation system
General information
The navigation system can determine the pre-
cise position of the vehicle, with the aid of satel-
lites and vehicle sensors, and can reliably guide
you to every entered destination.
Enter data only with the vehicle station-
ary, and always give priority to the appli-
cable traffic regulations in the event of any con-
tradiction between traffic and road conditions
and the instructions issu ed by the navigation
system. Failure to take to this precaution can
place you in violation of the law and put vehicle
occupants and other ro ad users in danger.<
Navigation data
General information
Navigation data are stored in the vehicle and
can be updated.
You can obtain navigation data and an activa-
tion code from your MINI dealer.
Updating the data can take several hours,
depending on the volume of data.
> Update data while driving to reduce the
drain on the battery.
> The update is resumed automatically when
a trip is continued after an interruption.
> Only the main functions of the navigation
system are available during updating.
> You can inquire as to the status of the
update.
> The data are stored in the vehicle.
> After the updating process is complete, the
system restarts.
> The medium with the na vigation data can be
removed after the update.
Information on navigation data
1. "Navigation"
2. Open "Options".
3. "Navigation system version"
Information about the data version is displayed.
Updating the navigation data
1.Insert USB storage device with navigation
data
>Into the USB interface in the glove com-
partment
*
>Into the USB audio interface*.
2. Follow the instructions on the on-board
computer.
3. Enter the activation code of the USB storage
device.
4. Begin driving.
After you begin to drive, the system restarts and
updates the navigation data as you drive
*.
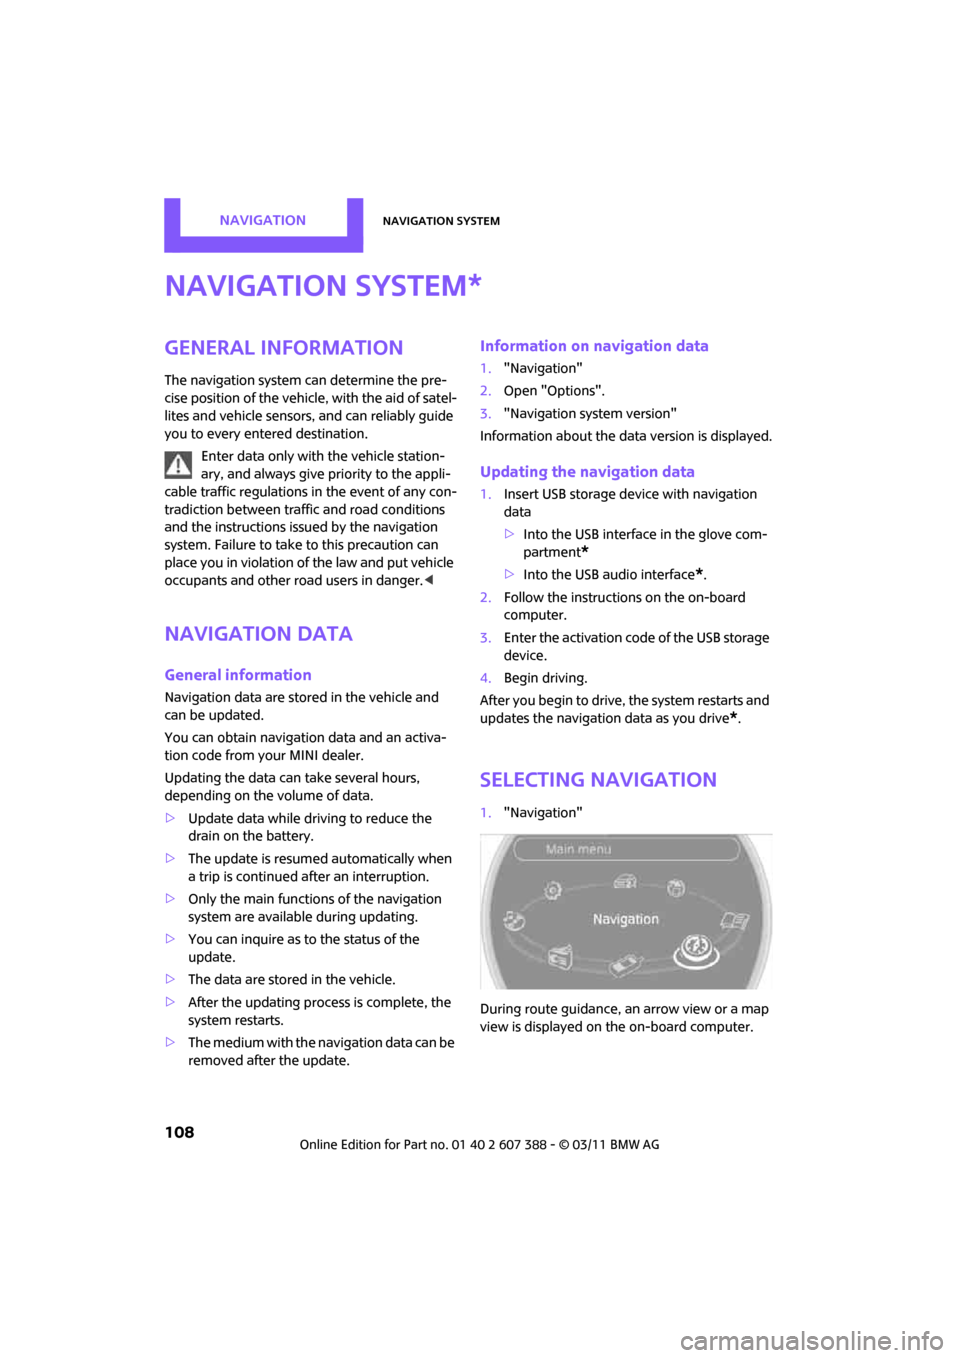
Selecting navigation
1. "Navigation"
During route guidance, an arrow view or a map
view is displayed on the on-board computer.
*
Page 111 of 256
Destination entryNAVIGATION
109
Destination entry
In entering your destination you can select from
among the following options:
> Manual destination entry, see below
> Selecting destination from address book,
page 111
> Last destinations, page 112
> Special destinations, refer to page 112
> Entering the destination via map, refer to
page 114
> Selecting home address, refer to page 112
> Entering destinatio n via voice*, page115
After selecting your destination you can proceed
to start the route guidance, page 118.
Manual destination
entry
To make it easier to enter town/city names and
street names, you are supported with the word-
match principle, refer to page 116. This makes it
possible to enter different spellings and com-
pletes your entry automatically so that stored
town/city names and st reet names can be
accessed quickly.
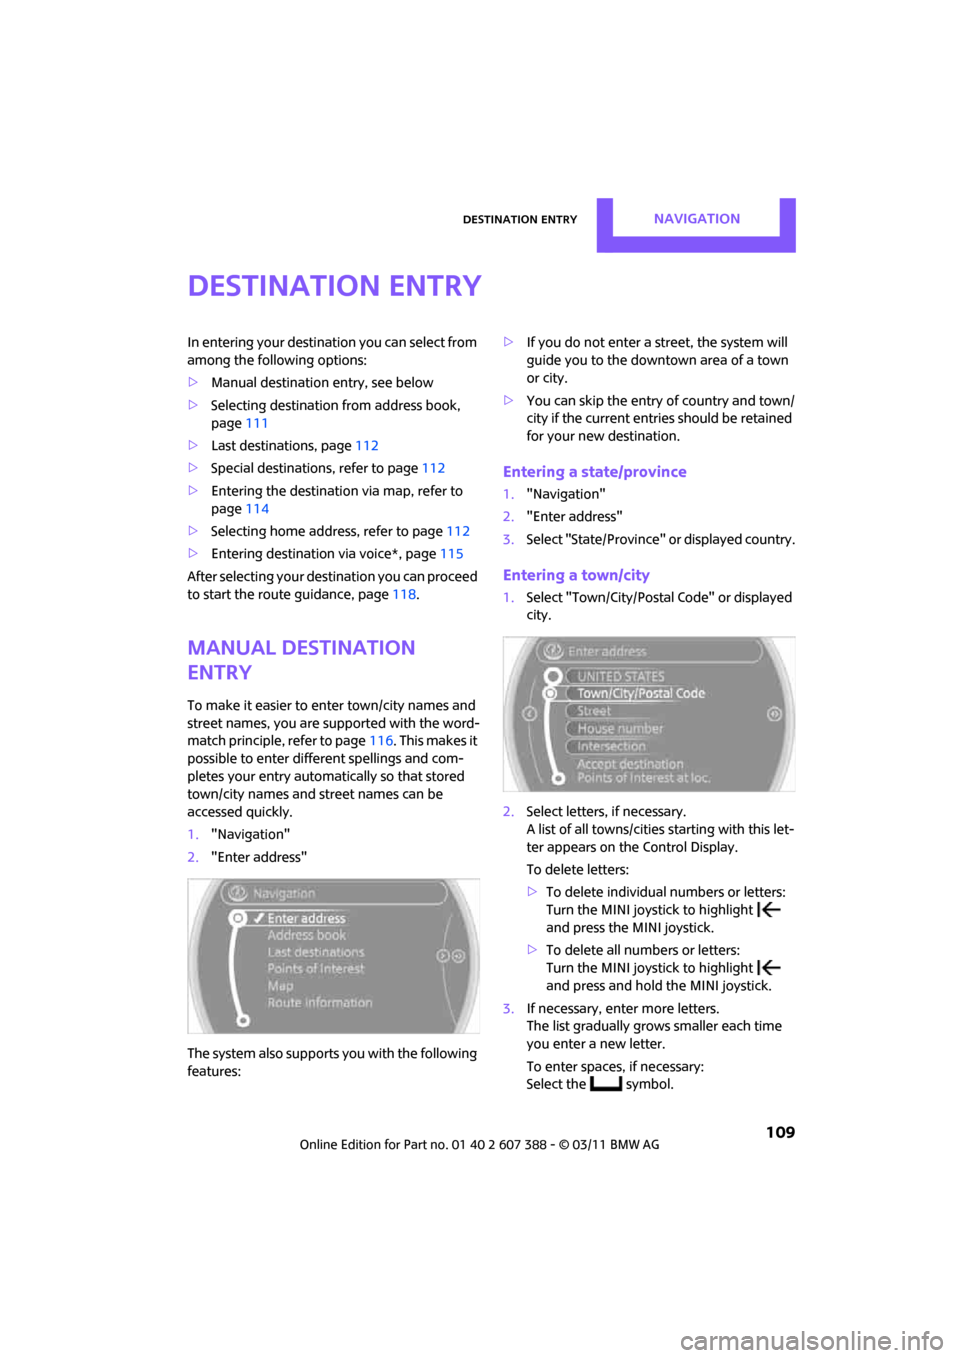
1. "Navigation"
2. "Enter address"
The system also supports you with the following
features: >
If you do not enter a street, the system will
guide you to the downtown area of a town
or city.
> You can skip the entry of country and town/
city if the current entries should be retained
for your new destination.
Entering a state/province
1."Navigation"
2. "Enter address"
3. Select "State/Province" or displayed country.
Entering a town/city
1.Select "Town/City/Postal Code" or displayed
city.
2. Select letters, if necessary.
A list of all towns/cities starting with this let-
ter appears on the Control Display.
To delete letters:
> To delete individual numbers or letters:
Turn the MINI joystick to highlight
and press the MINI joystick.
> To delete all numbers or letters:
Turn the MINI joystick to highlight
and press and hold the MINI joystick.
3. If necessary, enter more letters.
The list gradually grows smaller each time
you enter a new letter.
To enter spaces, if necessary:
Select the symbol.
Page 112 of 256
NAVIGATIONDestination entry
110
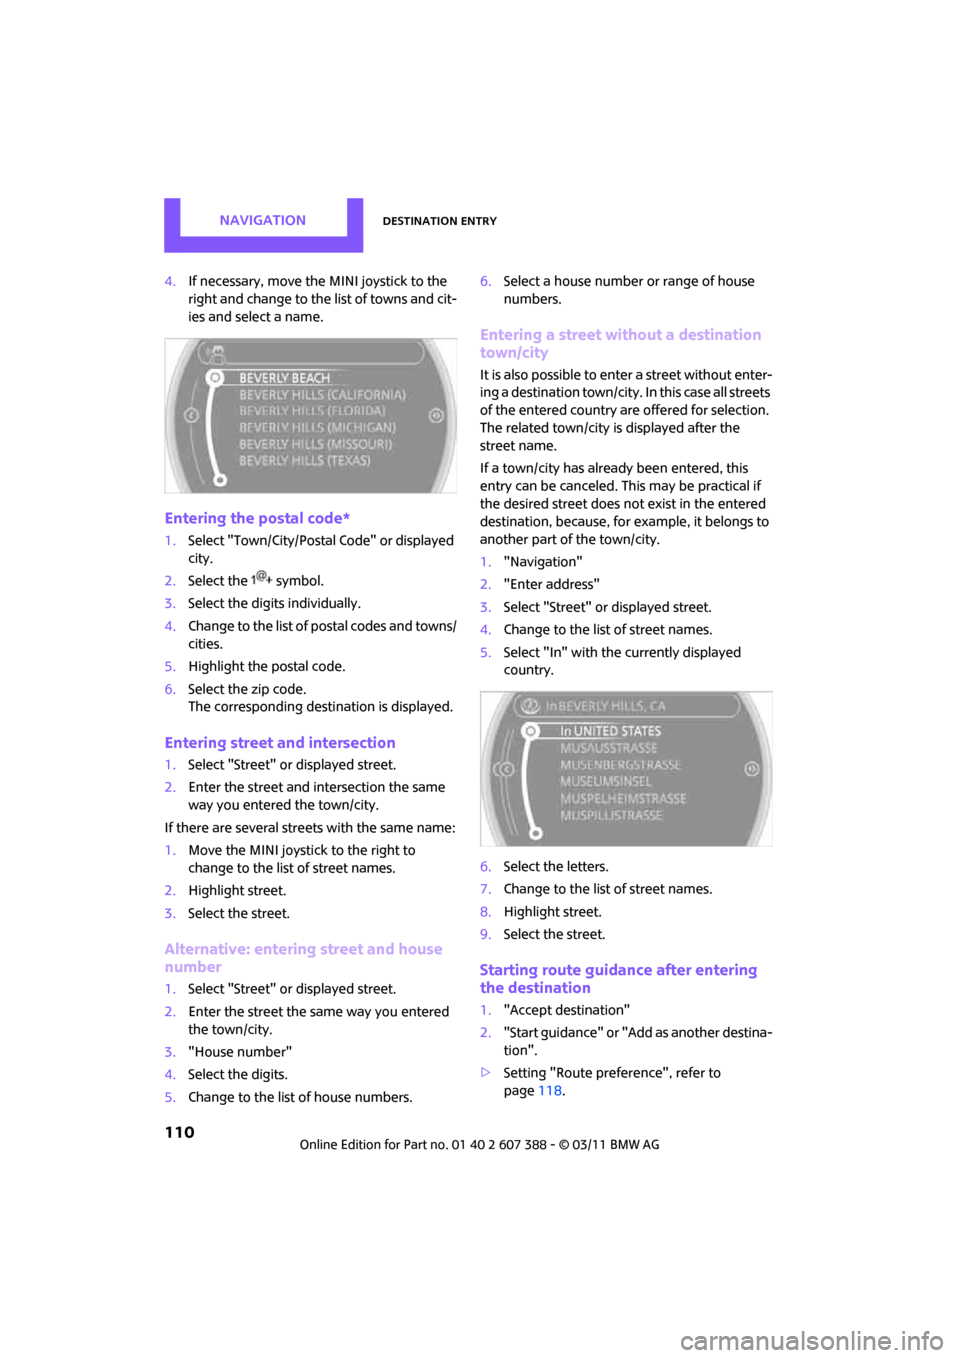
4.If necessary, move the MINI joystick to the
right and change to the list of towns and cit-
ies and select a name.
Entering the postal code*
1.Select "Town/City/Postal Code" or displayed
city.
2. Select the symbol.
3. Select the digits individually.
4. Change to the list of postal codes and towns/
cities.
5. Highlight the postal code.
6. Select the zip code.
The corresponding dest ination is displayed.
Entering street and intersection
1.Select "Street" or displayed street.
2. Enter the street and intersection the same
way you entered the town/city.
If there are several streets with the same name:
1. Move the MINI joystick to the right to
change to the list of street names.
2. Highlight street.
3. Select the street.
Alternative: entering street and house
number
1. Select "Street" or displayed street.
2. Enter the street the same way you entered
the town/city.
3. "House number"
4. Select the digits.
5. Change to the list of house numbers. 6.
Select a house number or range of house
numbers.
Entering a street without a destination
town/city
It is also possible to enter a street without enter-
ing a destination to wn/city. In this case all streets
of the entered country ar e offered for selection.
The related town/city is displayed after the
street name.
If a town/city has already been entered, this
entry can be canceled. This may be practical if
the desired street does not exist in the entered
destination, because, for example, it belongs to
another part of the town/city.
1. "Navigation"
2. "Enter address"
3. Select "Street" or displayed street.
4. Change to the list of street names.
5. Select "In" with the currently displayed
country.
6. Select the letters.
7. Change to the list of street names.
8. Highlight street.
9. Select the street.
Starting route guidance after entering
the destination
1."Accept destination"
2. "Start guidance" or "Add as another destina-
tion".
> Setting "Route preference", refer to
page 118.
Page 113 of 256
Destination entryNAVIGATION
111
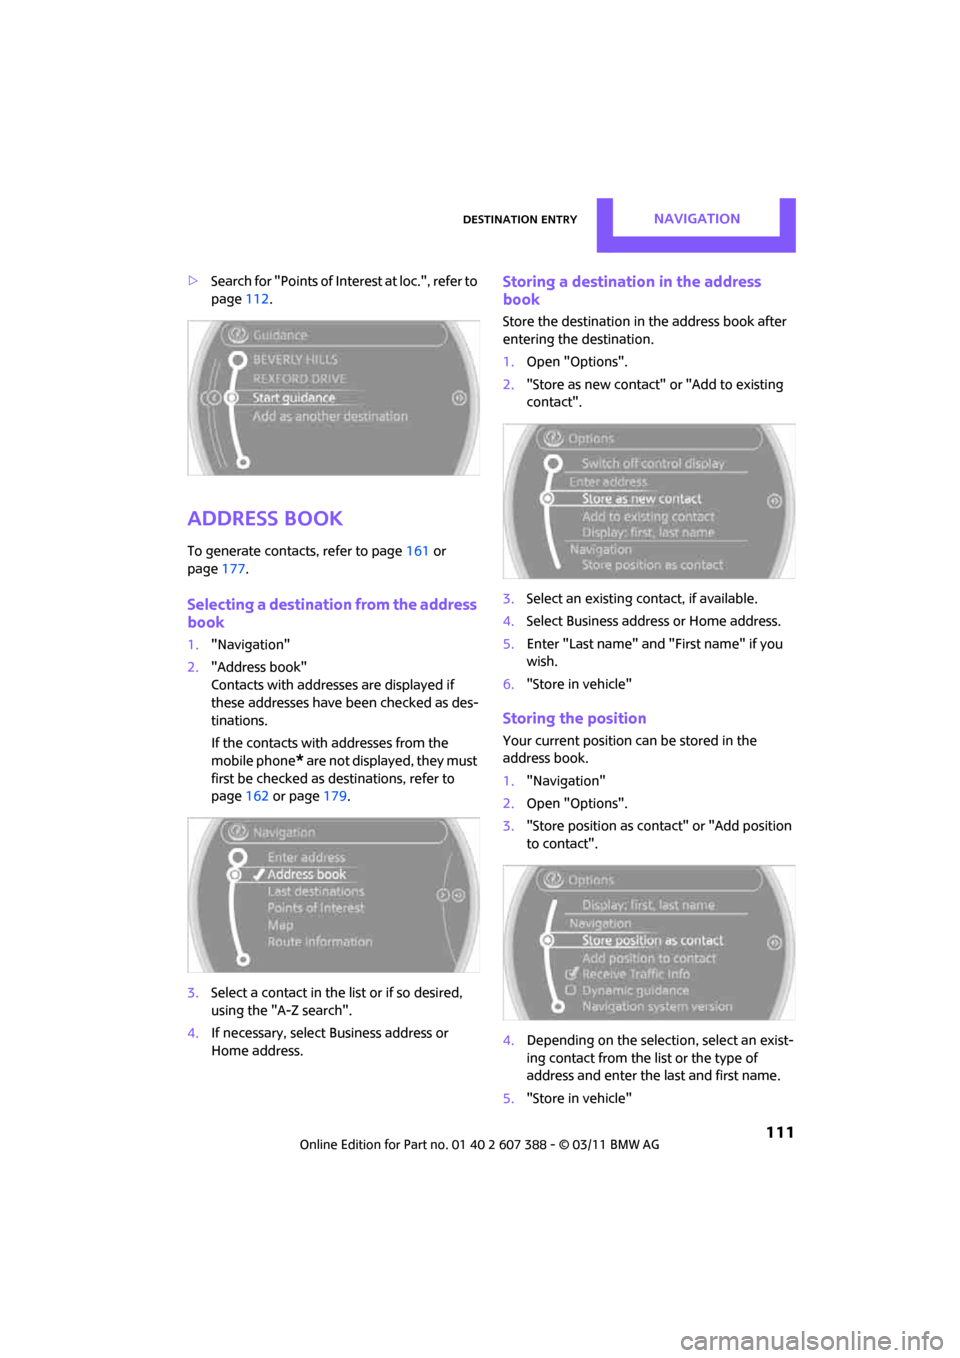
>Search for "Points of Inte rest at loc.", refer to
page 112.
Address book
To generate contacts, refer to page 161 or
page 177.
Selecting a destination from the address
book
1."Navigation"
2. "Address book"
Contacts with addresses are displayed if
these addresses have been checked as des-
tinations.
If the contacts with addresses from the
mobile phone
* are not displayed, they must
first be checked as destinations, refer to
page 162 or page 179.
3. Select a contact in the list or if so desired,
using the "A-Z search".
4. If necessary, select Business address or
Home address.
Storing a destination in the address
book
Store the destination in the address book after
entering the destination.
1. Open "Options".
2. "Store as new contact" or "Add to existing
contact".
3. Select an existing contact, if available.
4. Select Business address or Home address.
5. Enter "Last name" and "First name" if you
wish.
6. "Store in vehicle"
Storing the position
Your current position can be stored in the
address book.
1."Navigation"
2. Open "Options".
3. "Store position as cont act" or "Add position
to contact".
4. Depending on the selection, select an exist-
ing contact from the list or the type of
address and enter the last and first name.
5. "Store in vehicle"
Page 114 of 256
NAVIGATIONDestination entry
112
Editing or deleting an address
1."Navigation"
2. "Address book"
3. Highlight the entry.
4. Open "Options".
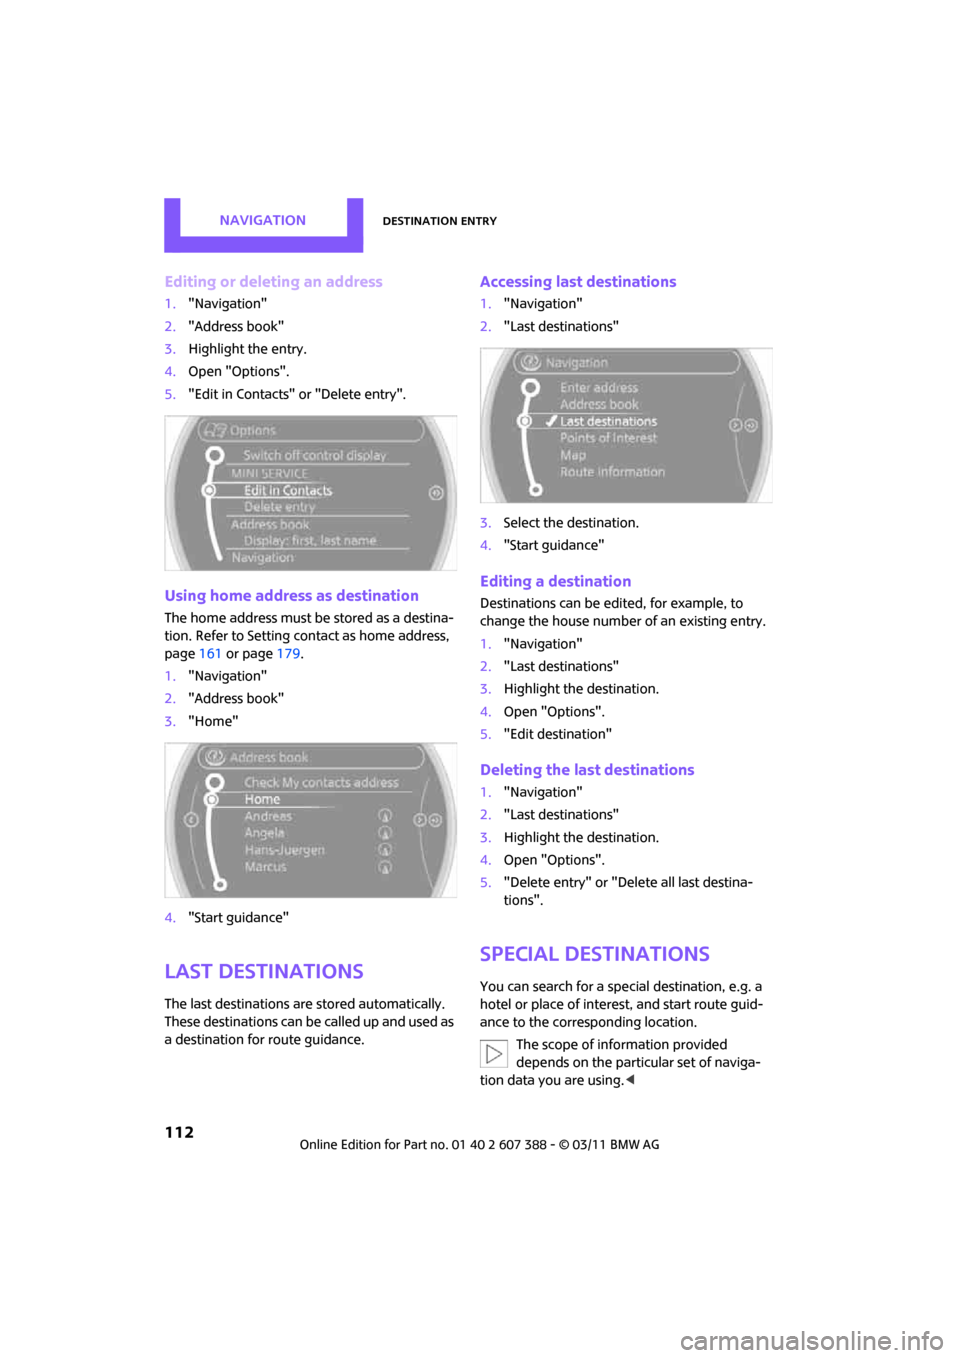
5. "Edit in Contacts" or "Delete entry".
Using home address as destination
The home address must be stored as a destina-
tion. Refer to Setting contact as home address,
page 161 or page 179.
1. "Navigation"
2. "Address book"
3. "Home"
4. "Start guidance"
Last destinations
The last destinations ar e stored automatically.
These destinations can be called up and used as
a destination for route guidance.
Accessing last destinations
1."Navigation"
2. "Last destinations"
3. Select the destination.
4. "Start guidance"
Editing a destination
Destinations can be edited, for example, to
change the house number of an existing entry.
1."Navigation"
2. "Last destinations"
3. Highlight the destination.
4. Open "Options".
5. "Edit destination"
Deleting the last destinations
1."Navigation"
2. "Last destinations"
3. Highlight the destination.
4. Open "Options".
5. "Delete entry" or "Delete all last destina-
tions".
Special destinations
You can search for a special destination, e.g. a
hotel or place of interest, and start route guid-
ance to the corresponding location.
The scope of information provided
depends on the particular set of naviga-
tion data you are using. <
Page 115 of 256
Destination entryNAVIGATION
113
Accessing search for special
destinations
1."Navigation"
2. Select "Points of Interest"
search.
A-Z search
1."A-Z search"
2. "Town/City"
3. "Category"
4. "Category details"
For some special destin ations, it is possible
to select several catego ry details. Move the
MINI joystick to the left to exit category
details.
or
5. "Keyword"
6. Enter keyword.
A list of the special destinations is displayed.
7. Select the special destination.
8. Select the symbol.
9. "Start guidance" or "Add as another destina-
tion".
If several details are stored, then you can
scroll through the pages.
If a phone number is available, a connection
can be established, if desired.
Category search
1."Category search"
2. "Search destination"
3. Select or enter town/city.
4. "Category"
5. Select category.
6. "Category details"
For some special destin ations, it is possible
to select several catego ry details. Move the
MINI joystick to the left to exit category
details. 7.
"Start search"
A list of the special destinations is displayed.
8. Select the special destination.
Details are displayed.
9. Select the symbol.
10. "Start guidance" or "Add as another destina-
tion".
If several details are stored, then you can scroll
through the pages. If a phone number is avail-
able, a connection can be established, if desired.
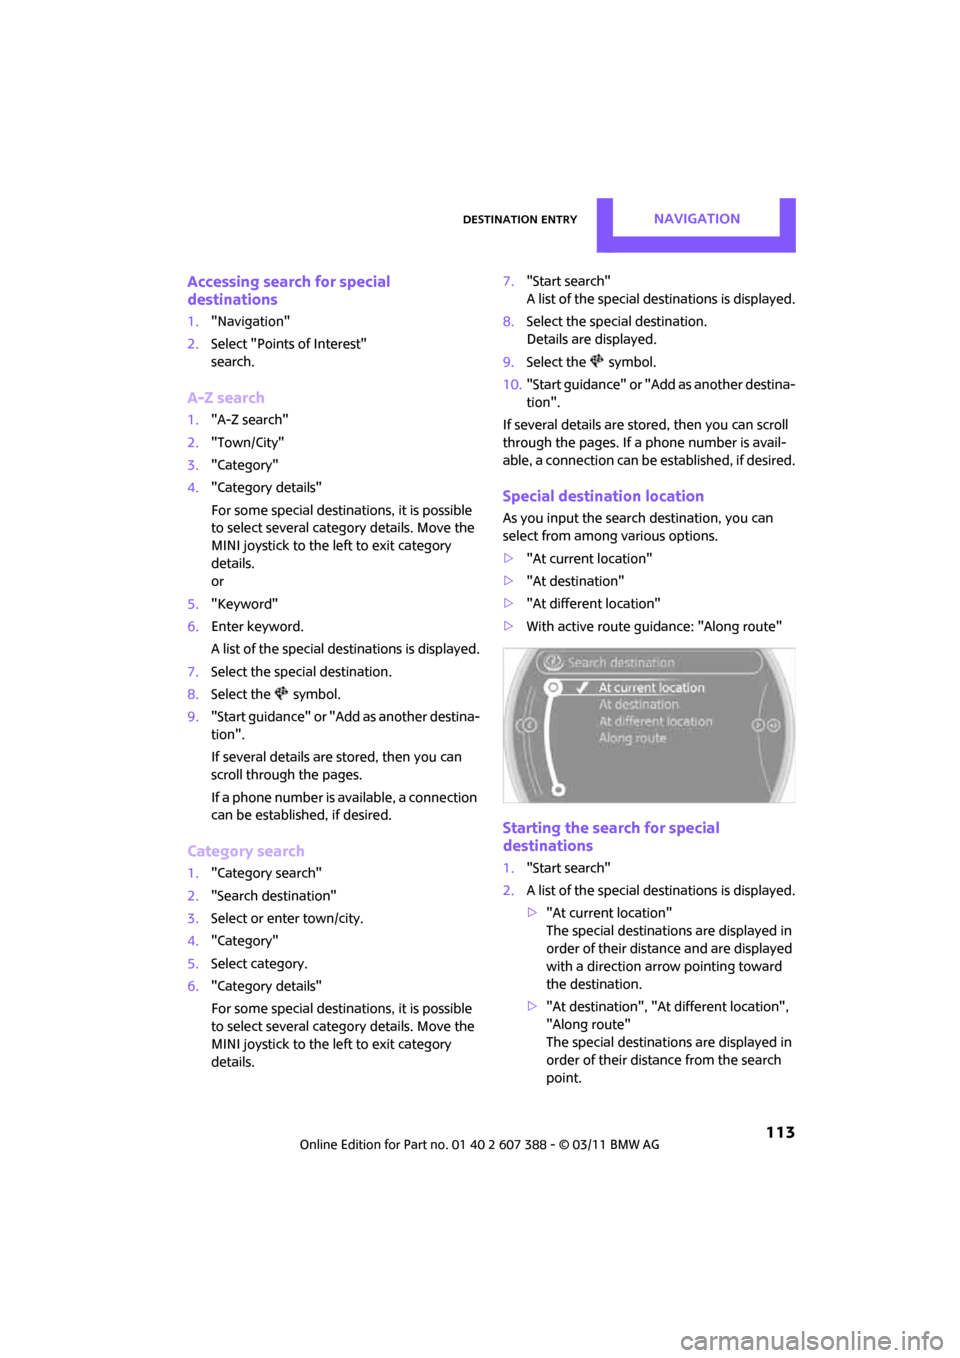
Special destination location
As you input the search destination, you can
select from among various options.
>"At current location"
> "At destination"
> "At different location"
> With active route gu idance: "Along route"
Starting the search for special
destinations
1."Start search"
2. A list of the special destinations is displayed.
>"At current location"
The special destinations are displayed in
order of their distance and are displayed
with a direction arro w pointing toward
the destination.
> "At destination", "At different location",
"Along route"
The special destinations are displayed in
order of their distance from the search
point.
Page 116 of 256
NAVIGATIONDestination entry
114
>Destinations of the selected category are
displayed in the map display as symbols.
The display depends on the map scale
and the category.
3. Highlight special destination.
4. Select the special destination.
5. Select the symbol.
6. "Start guidance" or "Add as another destina-
tion".
Displaying special destinations in the
map
To display symbols of the special destinations in
the map:
1. "Navigation"
2. "Map"
3. Open "Options".
4. "Display Points of Interest"
5. Select the settings.
Entering the destination
via map
If you only know the loca tion of a destination or
street, then you can enter the destination with
the aid of the map.
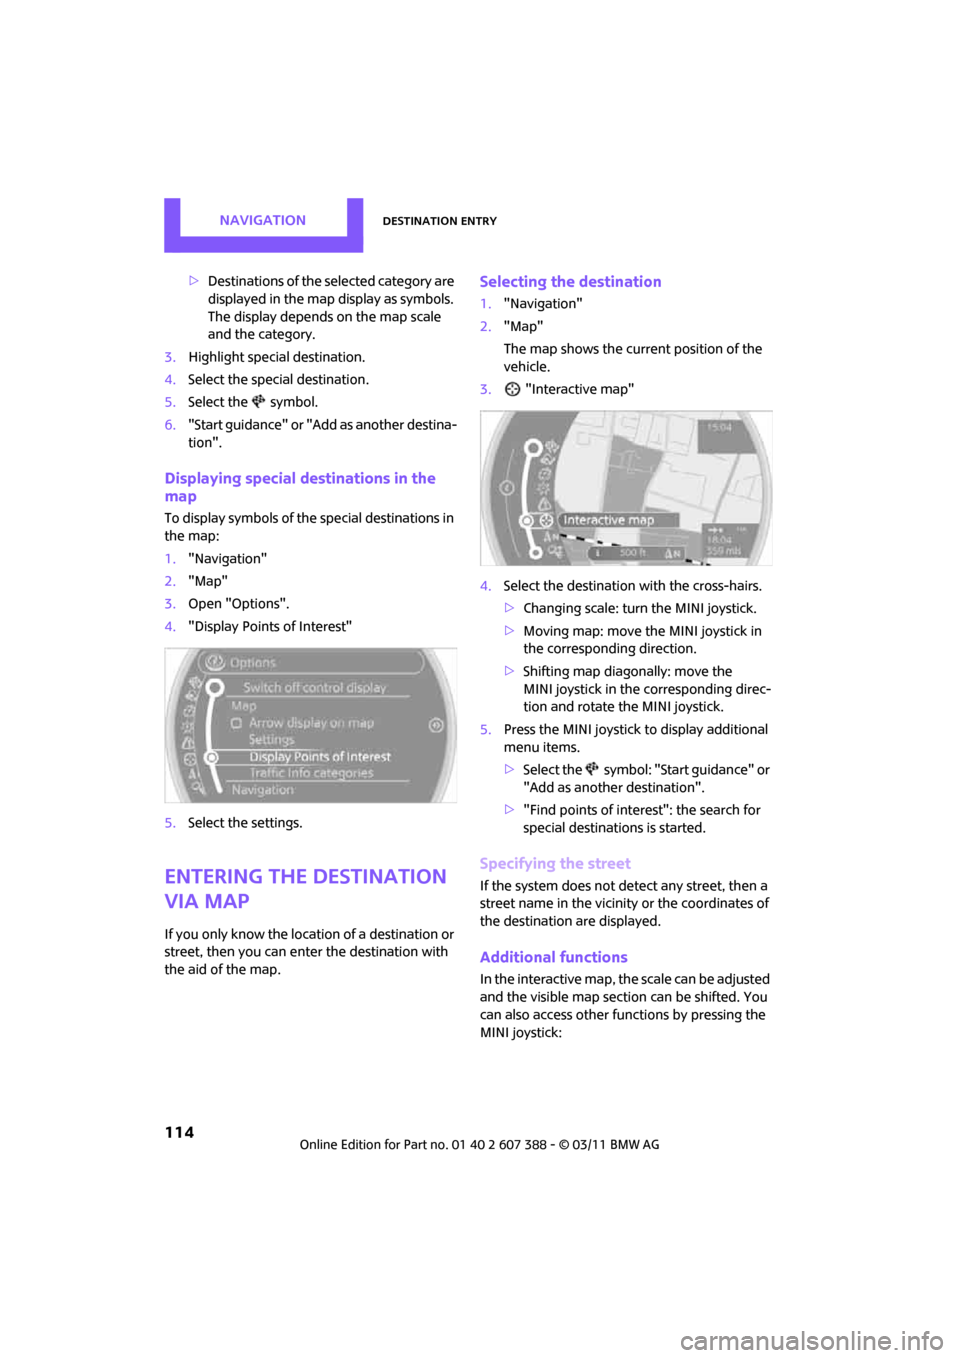
Selecting the destination
1. "Navigation"
2. "Map"
The map shows the curre nt position of the
vehicle.
3. "Interactive map"
4. Select the destination with the cross-hairs.
>Changing scale: turn the MINI joystick.
> Moving map: move the MINI joystick in
the corresponding direction.
> Shifting map diag onally: move the
MINI joystick in the corresponding direc-
tion and rotate the MINI joystick.
5. Press the MINI joystick to display additional
menu items.
>Select the symbol: "Start guidance" or
"Add as another destination".
> "Find points of interest": the search for
special destinations is started.
Specifying the street
If the system does not detect any street, then a
street name in the vicinity or the coordinates of
the destination are displayed.
Additional functions
In the interactive map, th e scale can be adjusted
and the visible map section can be shifted. You
can also access other func tions by pressing the
MINI joystick:
Page 117 of 256
Destination entryNAVIGATION
115
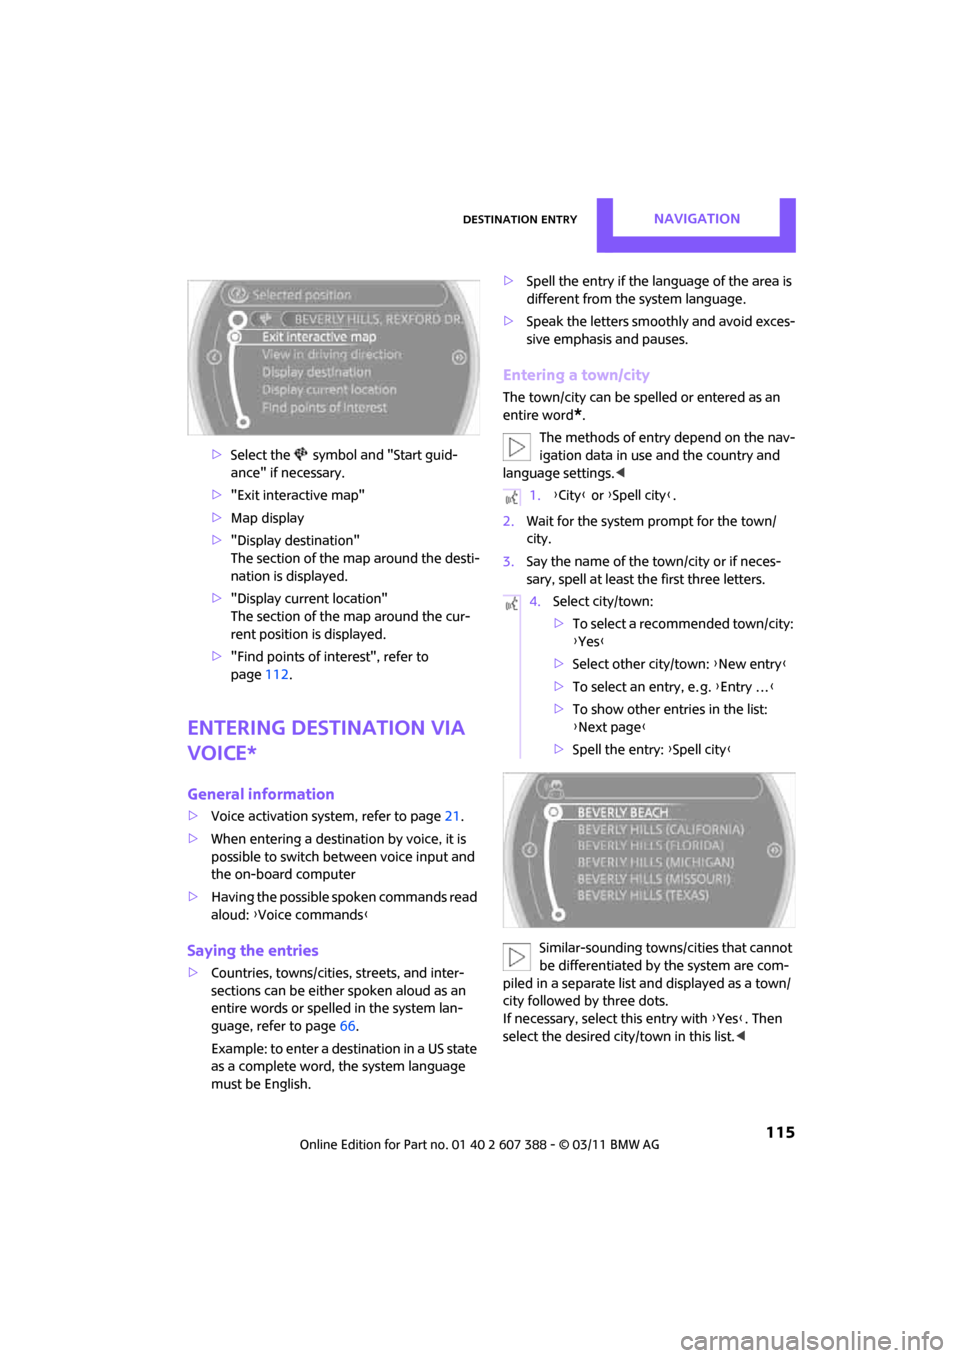
>Select the symbol and "Start guid-
ance" if necessary.
> "Exit interactive map"
> Map display
> "Display de stination"
The section of the map around the desti-
nation is displayed.
> "Display current location"
The section of the map around the cur-
rent position is displayed.
> "Find points of interest", refer to
page 112.
Entering destination via
voice*
General information
>Voice activation system, refer to page 21.
> When entering a destinat ion by voice, it is
possible to switch between voice input and
the on-board computer
> Having the possible spoken commands read
aloud: {Voice commands }
Saying the entries
>Countries, towns/cities, streets, and inter-
sections can be either spoken aloud as an
entire words or spelle d in the system lan-
guage, refer to page 66.
Example: to enter a destination in a US state
as a complete word, the system language
must be English. >
Spell the entry if the language of the area is
different from the system language.
> Speak the letters smoothly and avoid exces-
sive emphasis and pauses.
Entering a town/city
The town/city can be spelled or entered as an
entire word
*.
The methods of entry depend on the nav-
igation data in use and the country and
language settings. <
2. Wait for the system prompt for the town/
city.
3. Say the name of the town/city or if neces-
sary, spell at least the first three letters.
Similar-sounding town s/cities that cannot
be differentiated by the system are com-
piled in a separate list and displayed as a town/
city followed by three dots.
If necessary, select this entry with {Yes }. Then
select the desired city/town in this list. <
1.{City } or {Spell city }.
4. Select city/town:
>To select a recommended town/city:
{Yes }
> Select other city/town: {New entry }
> To select an entry, e. g. {Entry … }
> To show other entries in the list:
{Next page }
> Spell the entry: {Spell city }
Page 118 of 256
NAVIGATIONDestination entry
116
The town/city can also be selected from the list
via the on-board computer:
Turn the MINI joystick until the destination is
selected, and press the MINI joystick.
Entering a street or intersection
The street or intersection is entered in the same
way as the town/city.
Entering house number
Depending on the data in the navigation system,
house numbers up to the number 2,000 can be
entered:
Starting route guidance
Route guidance starts immediately.
Adding further intermediate
destinations
Further intermediate destinations can be added.
Saving destination
The destination is automati cally added to the list
of the last destinations.
Planning a trip with
intermediate
destinations
New trip
Various intermediate de stinations can be
entered for a trip. The tr ip destination must be
entered first, refer to Destinatio n input,
page 109.
Entering intermediate destinations
A maximum of 30 intermediate destinations can
be entered for one trip.
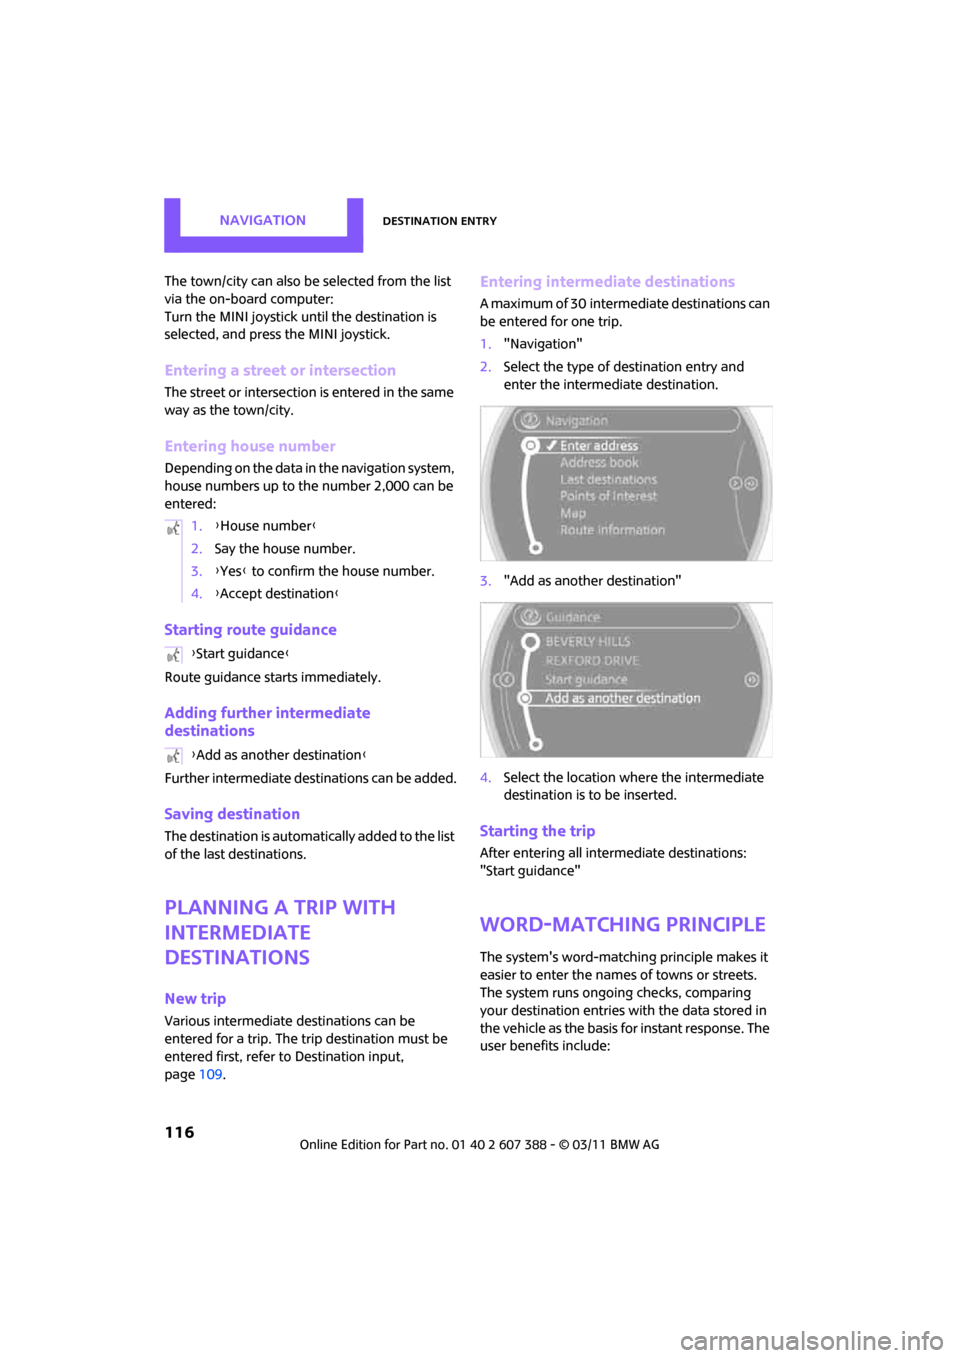
1."Navigation"
2. Select the type of destination entry and
enter the intermediate destination.
3. "Add as another destination"
4. Select the location where the intermediate
destination is to be inserted.
Starting the trip
After entering all inte rmediate destinations:
"Start guidance"
Word-matching principle
The system's word-matching principle makes it
easier to enter the name s of towns or streets.
The system runs ongoing checks, comparing
your destination entries with the data stored in
the vehicle as the basis for instant response. The
user benefits include:
1.
{House number }
2. Say the house number.
3. {Yes } to confirm the house number.
4. {Accept destination }
{ Start guidance }
{ Add as another destination }
Page 119 of 256
Destination entryNAVIGATION
117
>Town/city names can also be entered differ-
ently from the official names if you use a
form that is customar y in other countries.
Example:
Instead of "München", you can also enter
the English spelling "Munich" or the Italian
spelling "Monaco".
> When you are entering the names of towns/
cities and streets the system will complete
them automatically as soon as enough let-
ters are available to ensure unambiguous
identification.
> The system offers only those letters for
selection of name entries that are stored in
the vehicle. The system will not accept non
existent names and addresses.