navigation update MINI Clubman 2011 Owner's Manual (Mini Connected)
[x] Cancel search | Manufacturer: MINI, Model Year: 2011, Model line: Clubman, Model: MINI Clubman 2011Pages: 256, PDF Size: 3.75 MB
Page 110 of 256
NAVIGATIONNavigation system
108
Navigation system
General information
The navigation system can determine the pre-
cise position of the vehicle, with the aid of satel-
lites and vehicle sensors, and can reliably guide
you to every entered destination.
Enter data only with the vehicle station-
ary, and always give priority to the appli-
cable traffic regulations in the event of any con-
tradiction between traffic and road conditions
and the instructions issu ed by the navigation
system. Failure to take to this precaution can
place you in violation of the law and put vehicle
occupants and other ro ad users in danger.<
Navigation data
General information
Navigation data are stored in the vehicle and
can be updated.
You can obtain navigation data and an activa-
tion code from your MINI dealer.
Updating the data can take several hours,
depending on the volume of data.
> Update data while driving to reduce the
drain on the battery.
> The update is resumed automatically when
a trip is continued after an interruption.
> Only the main functions of the navigation
system are available during updating.
> You can inquire as to the status of the
update.
> The data are stored in the vehicle.
> After the updating process is complete, the
system restarts.
> The medium with the na vigation data can be
removed after the update.
Information on navigation data
1. "Navigation"
2. Open "Options".
3. "Navigation system version"
Information about the data version is displayed.
Updating the navigation data
1.Insert USB storage device with navigation
data
>Into the USB interface in the glove com-
partment
*
>Into the USB audio interface*.
2. Follow the instructions on the on-board
computer.
3. Enter the activation code of the USB storage
device.
4. Begin driving.
After you begin to drive, the system restarts and
updates the navigation data as you drive
*.
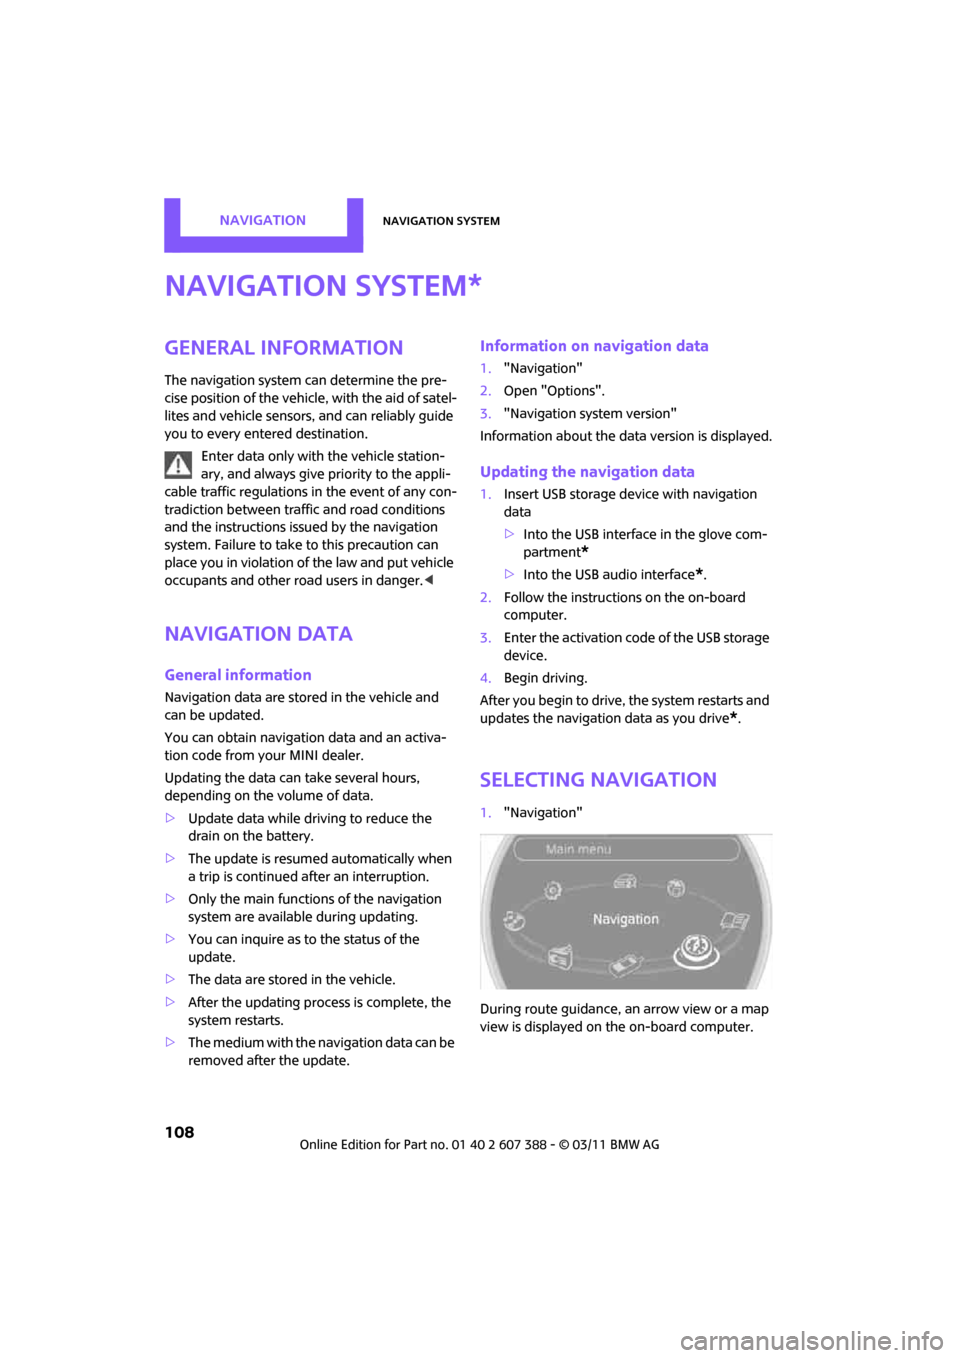
Selecting navigation
1. "Navigation"
During route guidance, an arrow view or a map
view is displayed on the on-board computer.
*
Page 124 of 256
NAVIGATIONRoute guidance
122
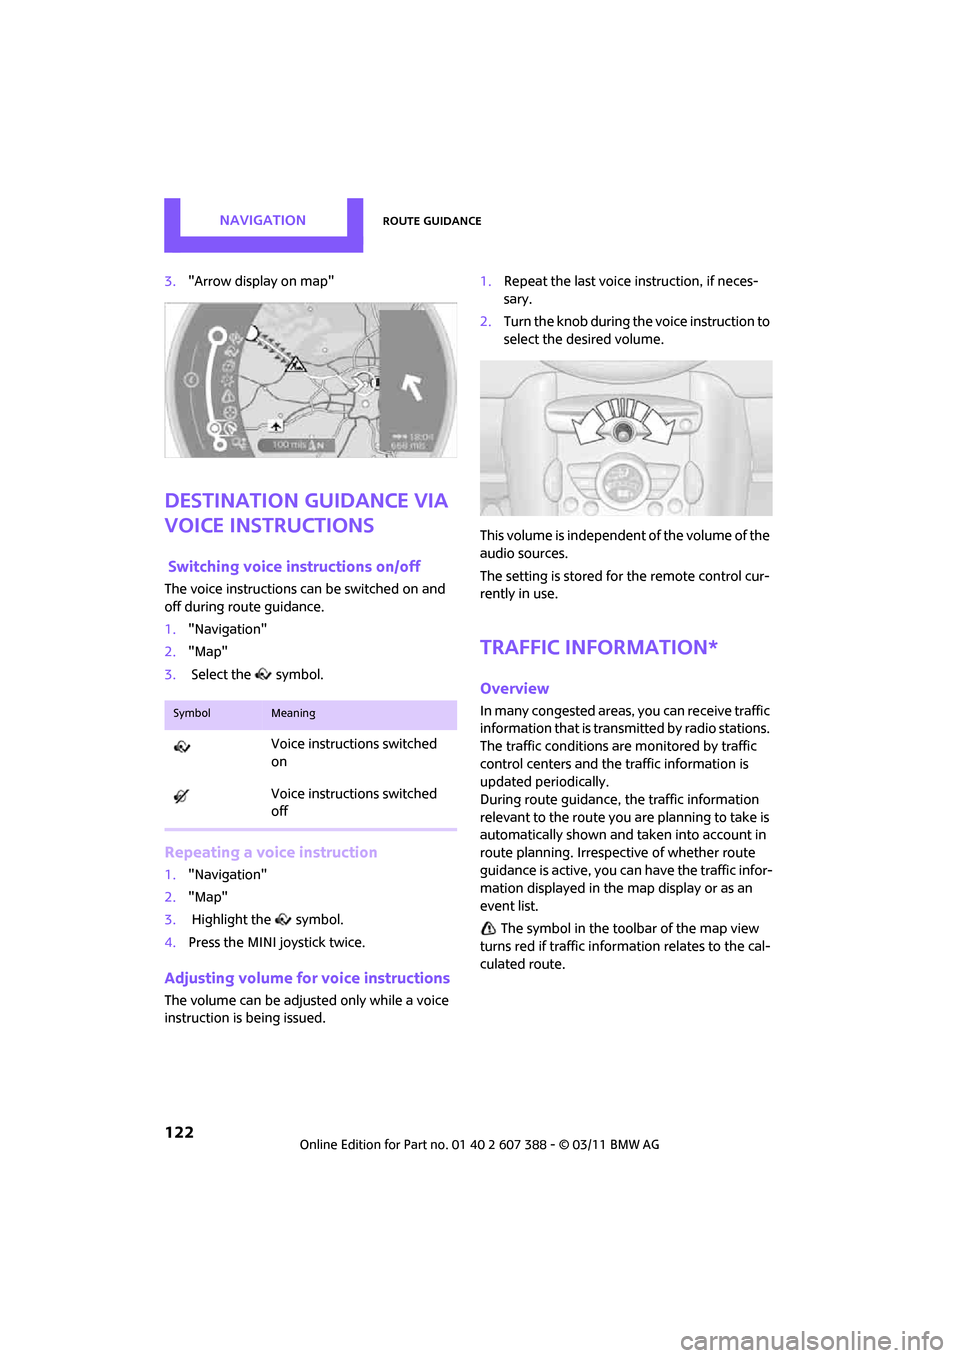
3."Arrow display on map"
Destination guidance via
voice instructions
Switching voice in structions on/off
The voice instructions can be switched on and
off during route guidance.
1. "Navigation"
2. "Map"
3. Select the symbol.
Repeating a voice instruction
1."Navigation"
2. "Map"
3. Highlight the symbol.
4. Press the MINI joystick twice.
Adjusting volume fo r voice instructions
The volume can be adjusted only while a voice
instruction is being issued. 1.
Repeat the last voice instruction, if neces-
sary.
2. Turn the knob during the voice instruction to
select the de sired volume.
This volume is independent of the volume of the
audio sources.
The setting is stored fo r the remote control cur-
rently in use.
Traffic information*
Overview
In many congested areas, you can receive traffic
information that is transmitted by radio stations.
The traffic conditions are monitored by traffic
control centers and the traffic information is
updated periodically.
During route guidance, the traffic information
relevant to the route you are planning to take is
automatically shown and taken into account in
route planning. Irrespective of whether route
guidance is active, you can have the traffic infor-
mation displayed in the map display or as an
event list.
The symbol in the toolbar of the map view
turns red if traffic inform ation relates to the cal-
culated route.SymbolMeaning
Voice instructions switched
on
Voice instructions switched
off
Page 179 of 256
OfficeCommunications
177
Office
Overview
General information
Contacts, appointments, tasks, notes, and text
messages can be displayed using the Control
Display if the mobile phone compatibly supports
these functions and the required Bluetooth
radio standards.
For information about which mobile phones and
functions are available, go to www.mini.com/
connectivity.
A limited number of compatible mobile phones
are available for Office.
Contents are only displayed completely when
the vehicle is stopped.
Only read access to the mobile phone is possi-
ble.Do not use Office while driving. Make
entries only when traffic and road condi-
tions permit; otherwise, you may endanger
vehicle occupants and other road users by being
distracted. <
Requirements
>A suitable mobile phon e is paired with the
vehicle and connected . In some mobile
phones, the data access to the mobile
phone must be confirmed.
> Time zones, time, and date, refer to
page 62, are correctly adju sted on the Con-
trol Display and on the mobile phone in
order, for example, to correctly display
appointments.
Updating
Every time that the mobile phone is connected
to the vehicle, data are updated. Deadlines,
tasks, notes and remind ers can be updated sep-
arately. 1.
"Office"
2. "Current office", "Calendar", "Tasks",
"Notes" or "Reminders"
3. Open "Options".
4. "Update data"
Data from the mobile phone are again trans-
ferred to the vehicle.
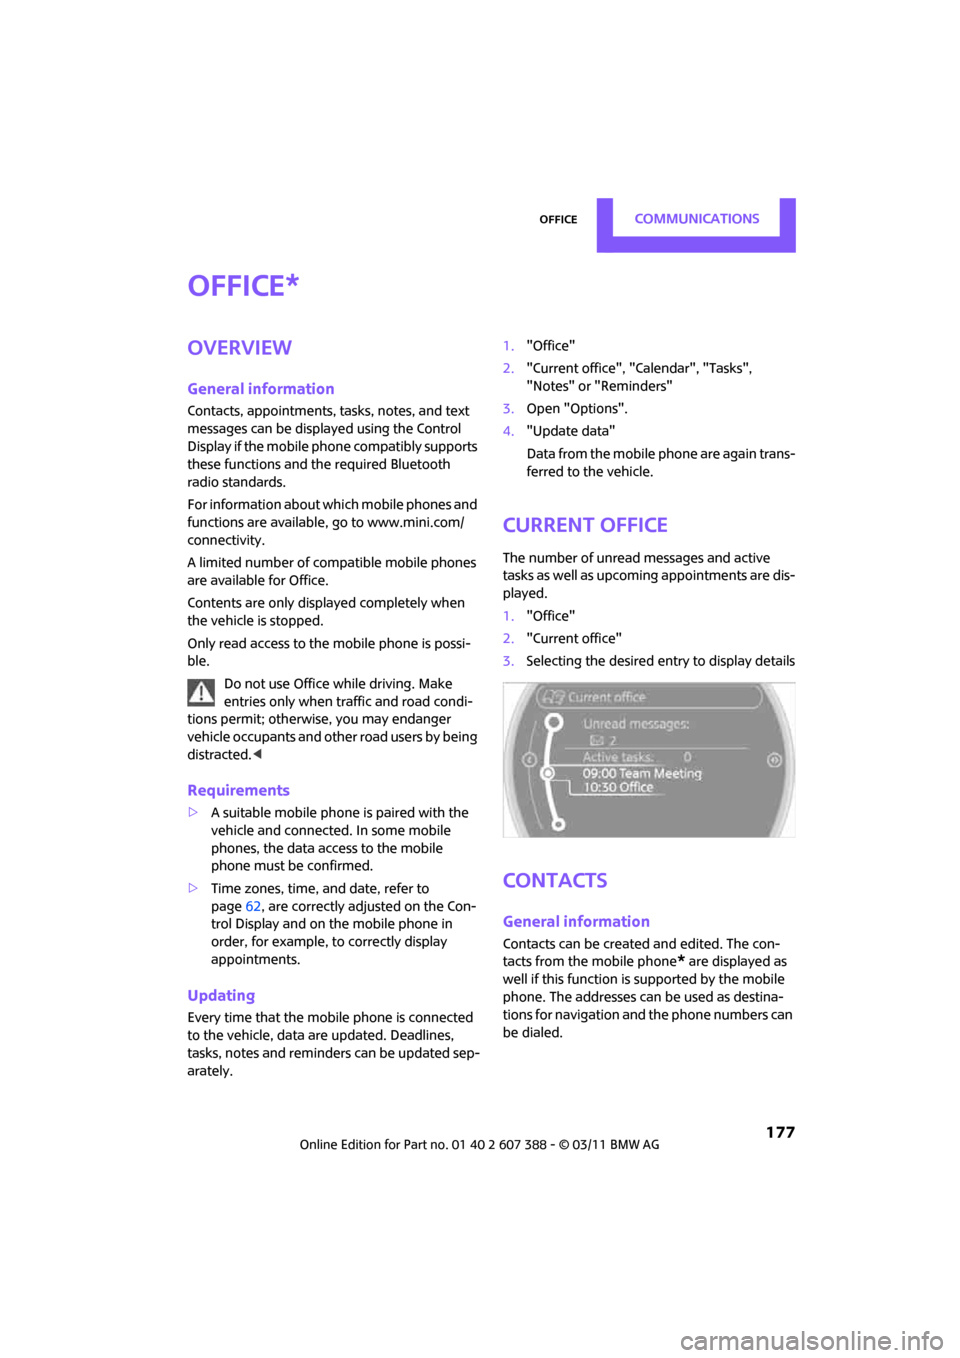
Current office
The number of unread messages and active
tasks as well as upcoming appointments are dis-
played.
1. "Office"
2. "Current office"
3. Selecting the desired entry to display details
Contacts
General information
Contacts can be created and edited. The con-
tacts from the mobile phone
* are displayed as
well if this function is supported by the mobile
phone. The addresses can be used as destina-
tions for navigation and the phone numbers can
be dialed.
*
Page 219 of 256
Replacing componentsMOBILITY
217
3.Jack the vehicle up until the wheel you are
changing is raised off the ground.
Mounting the space-saver spare tire
1.Unscrew the lug bolts and remove the
wheel.
2. Remove accumulations of mud or dirt from
the mounting surfaces of the wheel and
hub. Clean the lug bolts.
3. Lift the new wheel into place.
4. Screw at least two lug bolts finger-tight into
opposite bolt holes.
5. Screw in the remaining bolts.
6. Tighten all the lug bolts firmly in a diagonal
pattern.
7. Lower the vehicle.
8. Remove the jack.
Tightening the lug bolts
Tighten the lug bolts in a diagonal pattern.
Immediately have the wheels checked
with a calibrated torque wrench to ensure
that the lug bolts are firmly seated. Otherwise,
incorrectly tightened lug bolts can present a
safety hazard. <
Tightening torque: 103.3 lb ft or 140 Nm.
Replace the defective tire as soon as possible
and have the new wheel/tire assembly bal-
anced.
Vehicle battery
Maintenance
The battery is 100 % maintenance-free, the
electrolyte will last for the life of the battery
when the vehicle is operated in a temperate cli-
mate.
Battery replacement
Only use vehicle batteries that have been
approved for your vehicle by the manu-
facturer; otherwise, the vehicle could be dam-
aged and systems or func tions may not be fully
available. <
After a battery replacement, have the battery
registered on the vehicle by your dealer to
ensure that all comfort functions are fully avail-
able.
Charging the battery
Only charge the battery in the vehicle when the
engine is off. Connection s, refer to Jump-start-
ing on page 219.
Disposal
After replacing old batteries, return the
used batteries to your MINI dealer or to a
recycling center. Maintain the battery in an
upright position for transport and storage.
Always secure the battery against tipping over
during transport. <
Power failure
After a temporary power loss, some equipment
may not be fully functional and may require ini-
tialization. Individual se ttings are also lost and
must be reprogrammed:
> Time and date
These values must be updated, page 63.
> Navigation system
Operability must be waited for, page 108.
> Glass roof
*, electric
It may only be possible to raise the roof, if
applicable. The system must be initialized.
Contact your nearest MINI dealer.
Page 244 of 256
REFERENCEEverything from A to Z
242
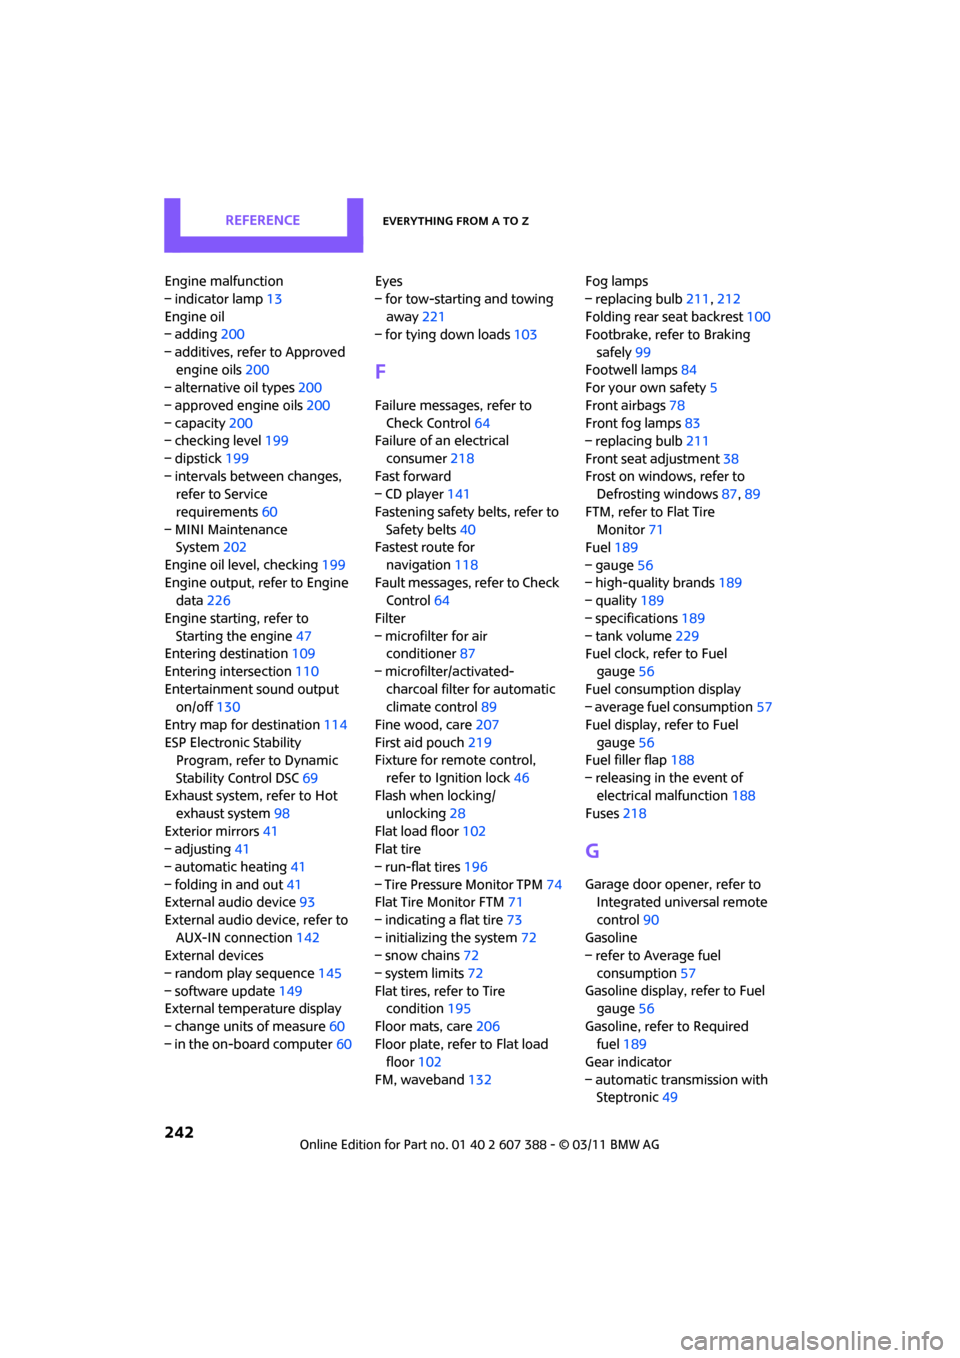
Engine malfunction
– indicator lamp13
Engine oil
– adding 200
– additives, refer to Approved engine oils 200
– alternative oil types 200
– approved engine oils 200
– capacity 200
– checking level 199
– dipstick 199
– intervals between changes, refer to Service
requirements 60
– MINI Maintenance System 202
Engine oil level, checking 199
Engine output, refer to Engine data 226
Engine starti ng, refer to
Starting the engine 47
Entering destination 109
Entering intersection 110
Entertainment sound output on/off 130
Entry map for destination 114
ESP Electronic Stability Program, refer to Dynamic
Stability Control DSC 69
Exhaust system, refer to Hot
exhaust system 98
Exterior mirrors 41
– adjusting 41
– automatic heating 41
– folding in and out 41
External audio device 93
External audio device, refer to AUX-IN connection 142
External devices
– random play sequence 145
– software update 149
External temperature display
– change units of measure 60
– in the on-board computer 60Eyes
– for tow-starting and towing
away 221
– for tying down loads 103
F
Failure messages, refer to
Check Control 64
Failure of an electrical
consumer 218
Fast forward
– CD player 141
Fastening safety belts, refer to Safety belts 40
Fastest route for
navigation 118
Fault messages, refer to Check Control 64
Filter
– microfilter for air conditioner 87
– microfilter/activated- charcoal filter for automatic
climate control 89
Fine wood, care 207
First aid pouch 219
Fixture for remote control,
refer to Ignition lock 46
Flash when locking/
unlocking 28
Flat load floor 102
Flat tire
– run-flat tires 196
– Tire Pressure Monitor TPM 74
Flat Tire Monitor FTM 71
– indicating a flat tire 73
– initializing the system 72
– snow chains 72
– system limits 72
Flat tires, refer to Tire condition 195
Floor mats, care 206
Floor plate, refer to Flat load floor 102
FM, waveband 132 Fog lamps
– replacing bulb
211,212
Folding rear seat backrest 100
Footbrake, refer to Braking
safely 99
Footwell lamps 84
For your own safety 5
Front airbags 78
Front fog lamps 83
– replacing bulb 211
Front seat adjustment 38
Frost on windows, refer to Defrosting windows 87,89
FTM, refer to Flat Tire Monitor 71
Fuel 189
– gauge 56
– high-quality brands 189
– quality 189
– specifications 189
– tank volume 229
F
uel clock, refer to Fuel
gauge 56
Fuel consumption display
– average fuel consumption 57
Fuel display, refer to Fuel gauge 56
Fuel filler flap 188
– releasing in the event of electrical malfunction 188
Fuses 218
G
Garage door opener, refer to
Integrated universal remote
control 90
Gasoline
– refer to Average fuel
consumption 57
Gasoline display, refer to Fuel gauge 56
Gasoline, refer to Required fuel 189
Gear indicator
– automatic transmission with Steptronic 49
Page 250 of 256
REFERENCEEverything from A to Z
248
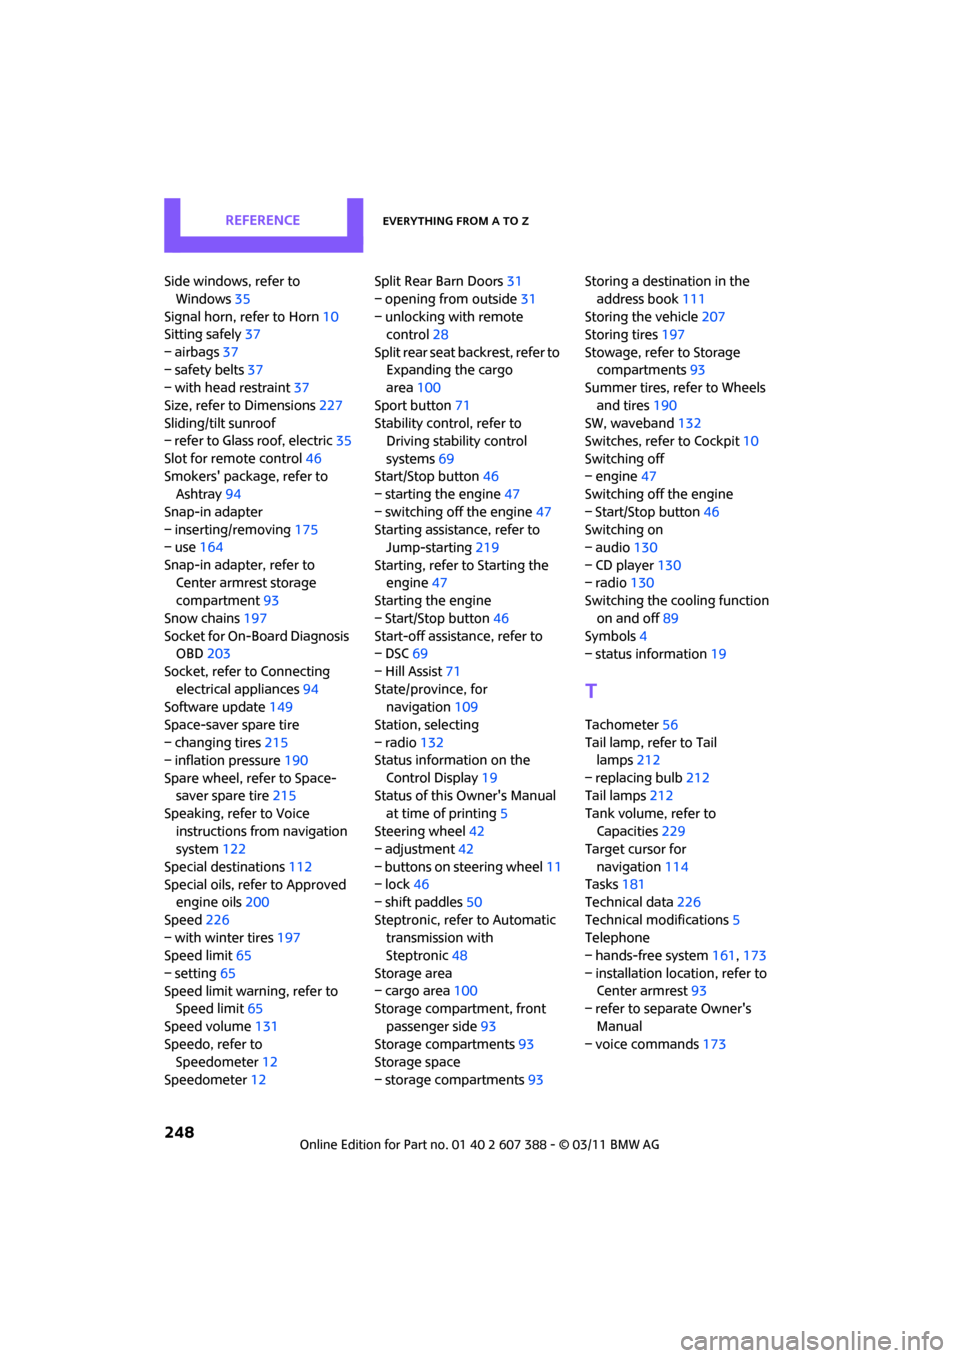
Side windows, refer to Windows 35
Signal horn, refer to Horn 10
Sitting safely 37
– airbags 37
– safety belts 37
– with head restraint 37
Size, refer to Dimensions 227
Sliding/tilt sunroof
– refer to Glass roof, electric 35
Slot for remote control 46
Smokers' package, refer to Ashtray 94
Snap-in adapter
– inserting/removing 175
– use 164
Snap-in adapter, refer to Center armrest storage
compartment 93
Snow chains 197
Socket for On-Board Diagnosis OBD 203
Socket, refer to Connecting electrical appliances 94
Software update 149
Space-saver spare tire
– changing tires 215
– inflation pressure 190
Spare wheel, refer to Space- saver spare tire 215
Speaking, refer to Voice instructions from navigation
system 122
Special destinations 112
Special oils, refer to Approved engine oils 200
Speed 226
– with winter tires 197
Speed limit 65
– setting 65
Speed limit warning, refer to Speed limit 65
Speed volume 131
Speedo, refer to Speedometer 12
Speedometer 12 Split Rear Barn Doors
31
– opening from outside 31
– unlocking with remote control 28
Split rear seat backrest, refer to Expanding the cargo
area 100
Sport button 71
Stability contro l, refer to
Driving stability control
systems 69
Start/Stop button 46
– starting the engine 47
– switching off the engine 47
Starting assistance, refer to Jump-starting 219
Starting, refer to Starting the engine 47
Sta
rting the engine
– Start/Stop button 46
Start-off assistance, refer to
– DSC 69
– Hill Assist 71
State/province, for navigation 109
Station, selecting
– radio 132
Status information on the
Control Display 19
Status of this Owner's Manual
at time of printing 5
Steering wheel 42
– adjustment 42
– buttons on steering wheel 11
– lock 46
– shift paddles 50
Steptronic, refer to Automatic transmission with
Steptronic 48
Storage area
– cargo area 100
Storage compartment, front
passenger side 93
Storage compartments 93
Storage space
– storage compartments 93Storing a destination in the
address book 111
Storing the vehicle 207
Storing tires 197
Stowage, refer to Storage compartments 93
Summer tires, refer to Wheels
and tires 190
SW, waveband 132
Switches, refer to Cockpit 10
Switching off
– engine 47
Switching off the engine
– Start/Stop button 46
Switching on
– audio 130
– CD player 130
– radio 130
Switching the cooling function
on and off 89
Symbols 4
– status information 19
T
Tachometer56
Tail lamp, refer to Tail lamps 212
– replacing bulb 212
Tail lamps 212
Tank volume, refer to Capacities 229
Target cursor for
navigation 114
Tasks 181
Technical data 226
Technical modifications 5
Telephone
– hands-free system 161,173
– installation lo cation, refer to
Center armrest 93
– refer to sepa rate Owner's
Manual
– voice commands 173