radio controls MINI Clubman 2011 Owner's Manual (Mini Connected)
[x] Cancel search | Manufacturer: MINI, Model Year: 2011, Model line: Clubman, Model: MINI Clubman 2011Pages: 256, PDF Size: 3.75 MB
Page 5 of 256
CONTENTS
The fastest way to find information on a particu-
lar topic or item is by using the index, refer to
page238.
Using this Owner's Manual
4 Notes
6 Reporting safety defects
AT A GLANCE
10Cockpit
16 On-board computer
20 Letters and numbers
21 Voice activation system
CONTROLS
26Opening and closing
37 Adjustments
43 Transporting children safely
46 Driving
56 Controls overview
68 Technology for drivin g comfort and safety
81 Lamps
85 Climate
90 Practical interior accessories
DRIVING TIPS
98Things to remember when driving
NAVIGATION
108Navigation system
109 Destination entry
118 Route guidance
126 What to do if…
ENTERTAINMENT
130On/off and tone
132 Radio
140 CD player
142 External devices
Communications
154Hands-free device Bluetooth
164 Mobile phone preparation Bluetooth
177 Office
184 MINI Connected
MOBILITY
188Refueling
190 Wheels and tires
198 Under the hood
202 Maintenance
204 Care
208 Replacing components
219 Giving and receiving assistance
REFERENCE
226Technical data
230 Short commands for the voice activation
system
238 Everything from A to Z
Page 31 of 256
Opening and closingCONTROLS
29
Malfunctions
The remote control may malfunction due to
local radio waves. If this occurs, unlock and lock
the car at the door lock with the integrated key.
If the car can no longer be locked with a remote
control, the battery in the remote control is dis-
charged. Use this remote control during an
extended drive; this wi ll recharge the battery,
page 26.
For US owners only
The transmitter and receiv er units comply with
part 15 of the FCC/Federal Communications
Commission regulations. Operation is governed
by the following:
FCC ID:
LX8766S
LX8766E
LX8CAS
Compliance statement:
This device complies with part 15 of the FCC
Rules. Operation is subj ect to the following two
conditions:
> This device must not cause harmful interfer-
ence, and
> this device must accept any interference
received, including in terference that may
cause undesired operation.
Any unauthorized modifications or
changes to these devices could void the
user's authority to op erate this equipment. <
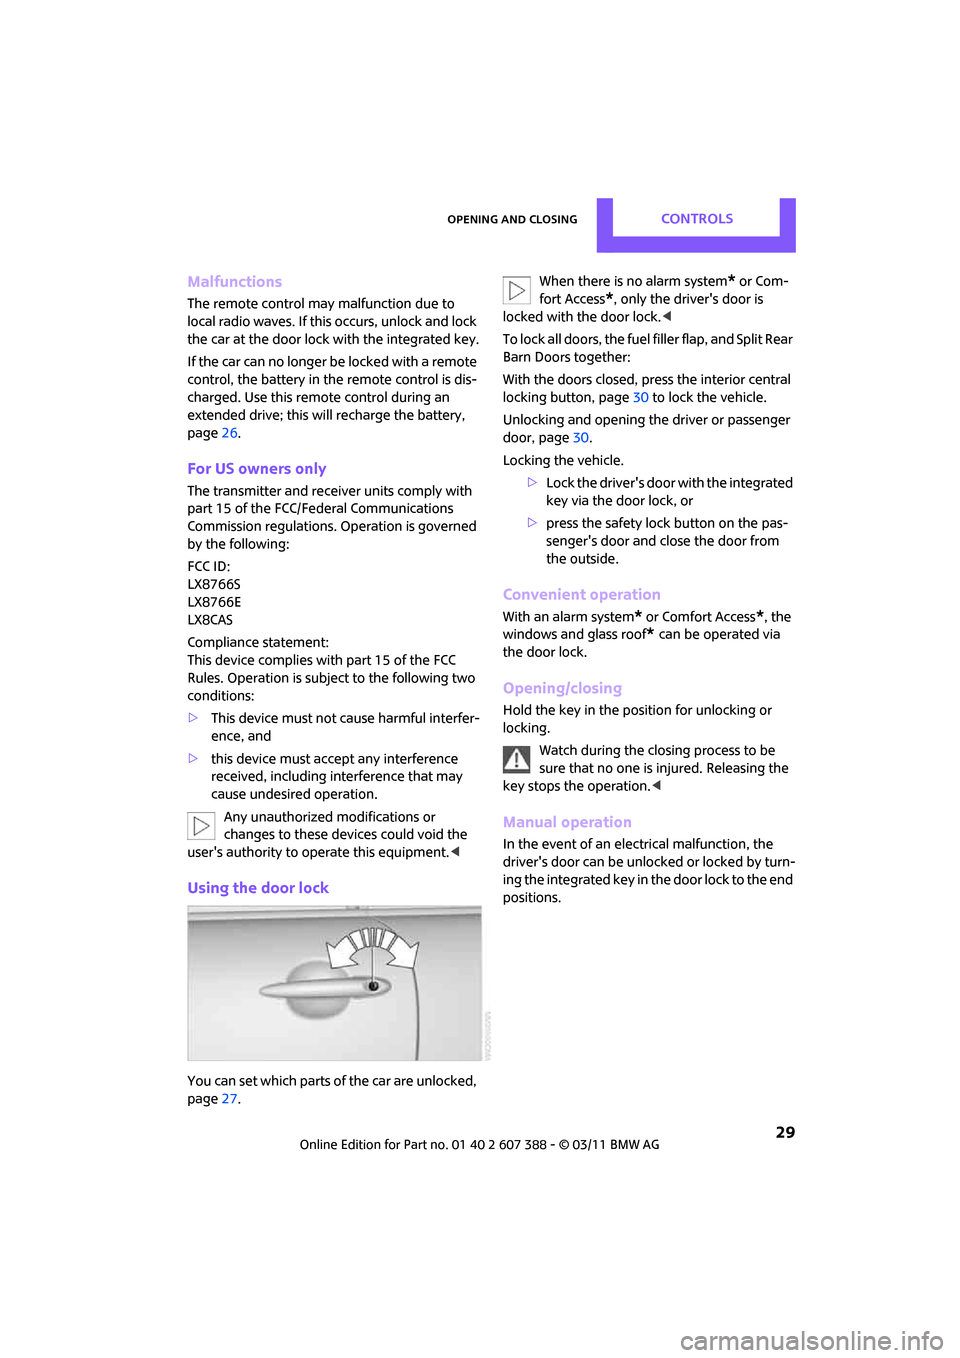
Using the door lock
You can set which parts of the car are unlocked,
page27. When there is no alarm system
* or Com-
fort Access
*, only the driver's door is
locked with the door lock. <
To lock all doors, the fuel filler flap, and Split Rear
Barn Doors together:
With the doors closed, press the interior central
locking button, page 30 to lock the vehicle.
Unlocking and opening the driver or passenger
door, page 30.
Locking the vehicle.
>Lock the driver's door with the integrated
key via the door lock, or
> press the safety lock button on the pas-
senger's door and close the door from
the outside.
Convenient operation
With an alarm system* or Comfort Access*, the
windows and glass roof
* can be operated via
the door lock.
Opening/closing
Hold the key in the position for unlocking or
locking.
Watch during the closing process to be
sure that no one is injured. Releasing the
key stops the operation. <
Manual operation
In the event of an electrical malfunction, the
driver's door can be unlo cked or locked by turn-
ing the integrated key in the door lock to the end
positions.
Page 36 of 256
CONTROLSOpening and closing
34
Unlocking the Split Rear Barn Doors
separately
Press the button on the outside of the Split Rear
Barn Doors.If the vehicle detects that a remote control
has been accidentally left inside the
locked vehicle's cargo area after the Split Rear
Barn Doors are closed, the Split Rear Barn Doors
will reopen slightly. The hazard warning flashers
flash and an acoustic signal
* sounds. <
Windows and glass roof, electric*
If the engine is switched off, you can still operate
the windows and glass roof so long as a door or
the Split Rear Barn Doors have not been opened.
If the doors and Split Rear Barn Doors are closed
again and the remote cont rol is located inside
the vehicle, the windows and the glass roof can
be operated again.
Insert the remote control into the ignition lock to
be able to operate the windows or glass roof
when the engine is switched off and the doors
are open.
Switching on radio readiness
Switch on radio readiness by briefly pressing the
Start/Stop button, page 46.
Do not depress the brake or the clutch;
otherwise, the engine will start. <
Starting the engine
The engine can be started or the ignition can be
switched on when a remote control is inside the
vehicle. It is not necessary to insert a remote
control into the ignition lock, page 46.
Switching off the engine in cars with
automatic transmission
The engine can only be switched off when the
selector lever is in position P, page 48.
To switch the engine off when the selector lever
is in position N, the remote control must be in
the ignition lock.
Before driving a vehicle with automatic
transmission into a car wash
1. Insert remote control into ignition lock.
2. Depress the brake.
3. Move the selector le ver to position N.
4. Switch off the engine.
The vehicle can roll.
Malfunction
Comfort Access may malf unction due to local
radio waves.
If this happens, open or close the vehicle via the
buttons on the remote control or using the inte-
grated key.
Insert the remote control into the ignition lock
and start the engine.
Warning lamps
The warning lamp lights up when an
attempt is made to start the engine: the
engine cannot be started. The remote
control is not inside the vehicle or is malfunc-
tioning. Take the remote control with you inside
the vehicle or have it checked. If necessary,
insert another remote co ntrol into the ignition
lock.
The warning lamp lights up when the
engine is running: the remote control is
no longer inside the vehicle. After the
engine is switched off, the engine can only be
restarted within approx. 10 seconds.
The indicator lamp comes on and a mes-
sage appears on the Control Display:
replace the battery in the remote con-
trol.
Replacing the battery
The remote control for Comfort Access contains
a b a t t e r y t h a t w i l l n e e d t o b e r e p l a c e d f r o m t i m e
to time.
Page 38 of 256
CONTROLSOpening and closing
36
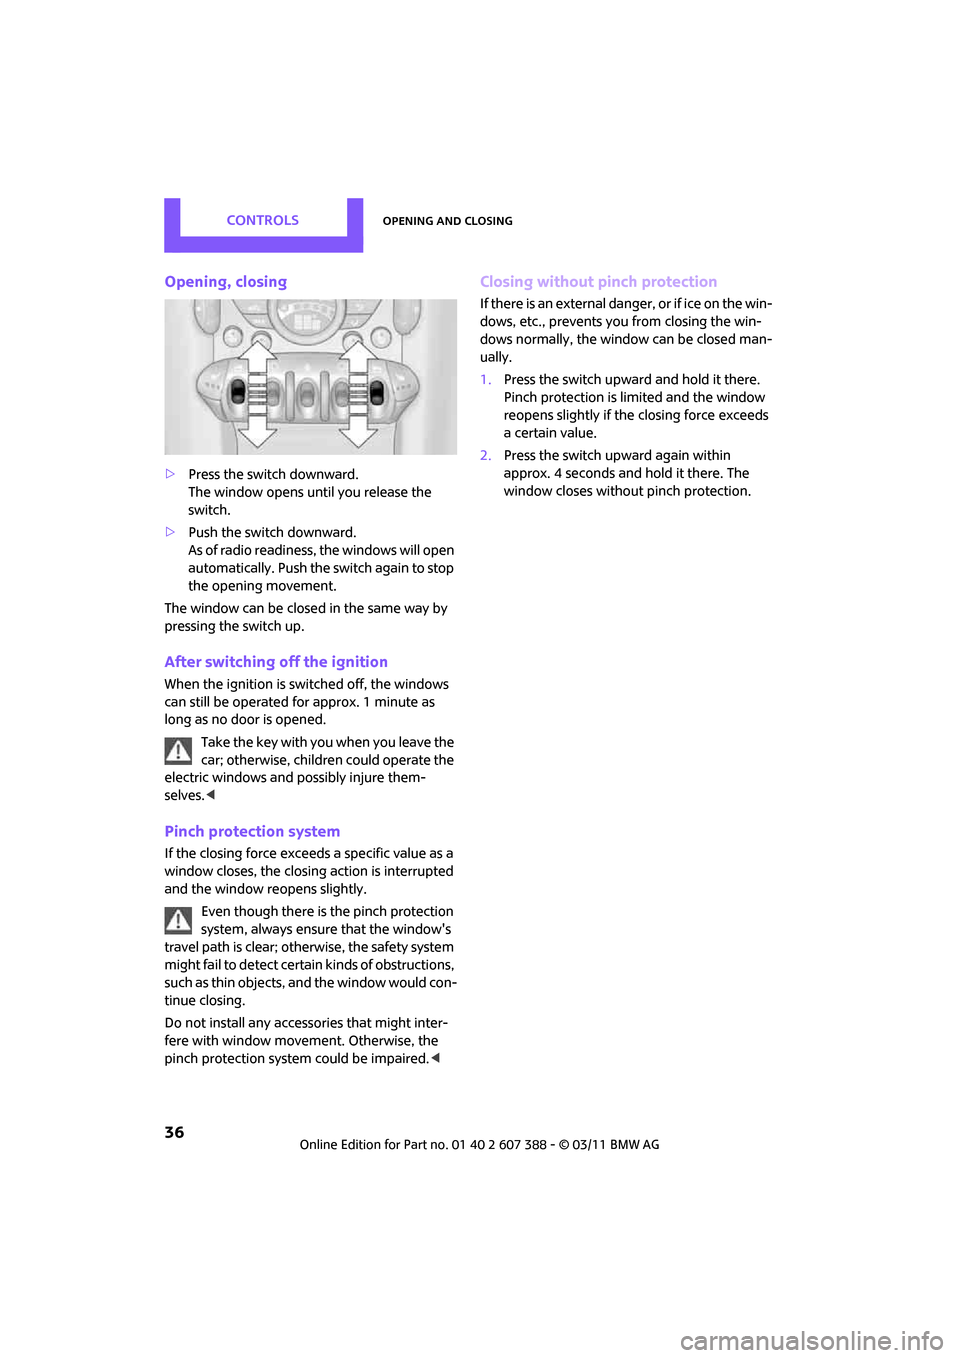
Opening, closing
>Press the switch downward.
The window opens until you release the
switch.
> Push the switch downward.
As of radio readiness, the windows will open
automatically. Push the switch again to stop
the opening movement.
The window can be closed in the same way by
pressing the switch up.
After switching off the ignition
When the ignition is switched off, the windows
can still be operated for approx. 1 minute as
long as no door is opened.
Take the key with you when you leave the
car; otherwise, children could operate the
electric windows and possibly injure them-
selves. <
Pinch protection system
If the closing force exceeds a specific value as a
window closes, the closin g action is interrupted
and the window reopens slightly.
Even though there is the pinch protection
system, always ensure that the window's
travel path is clear; otherwise, the safety system
might fail to detect certain kinds of obstructions,
such as thin objects, and the window would con-
tinue closing.
Do not install any accessories that might inter-
fere with window movement. Otherwise, the
pinch protection system could be impaired. <
Closing without pinch protection
If there is an external danger, or if ice on the win-
dows, etc., prevents you from closing the win-
dows normally, the window can be closed man-
ually.
1.Press the switch upward and hold it there.
Pinch protection is limited and the window
reopens slightly if th e closing force exceeds
a certain value.
2. Press the switch upward again within
approx. 4 seconds and hold it there. The
window closes without pinch protection.
Page 48 of 256
CONTROLSDriving
46
Driving
Ignition lock
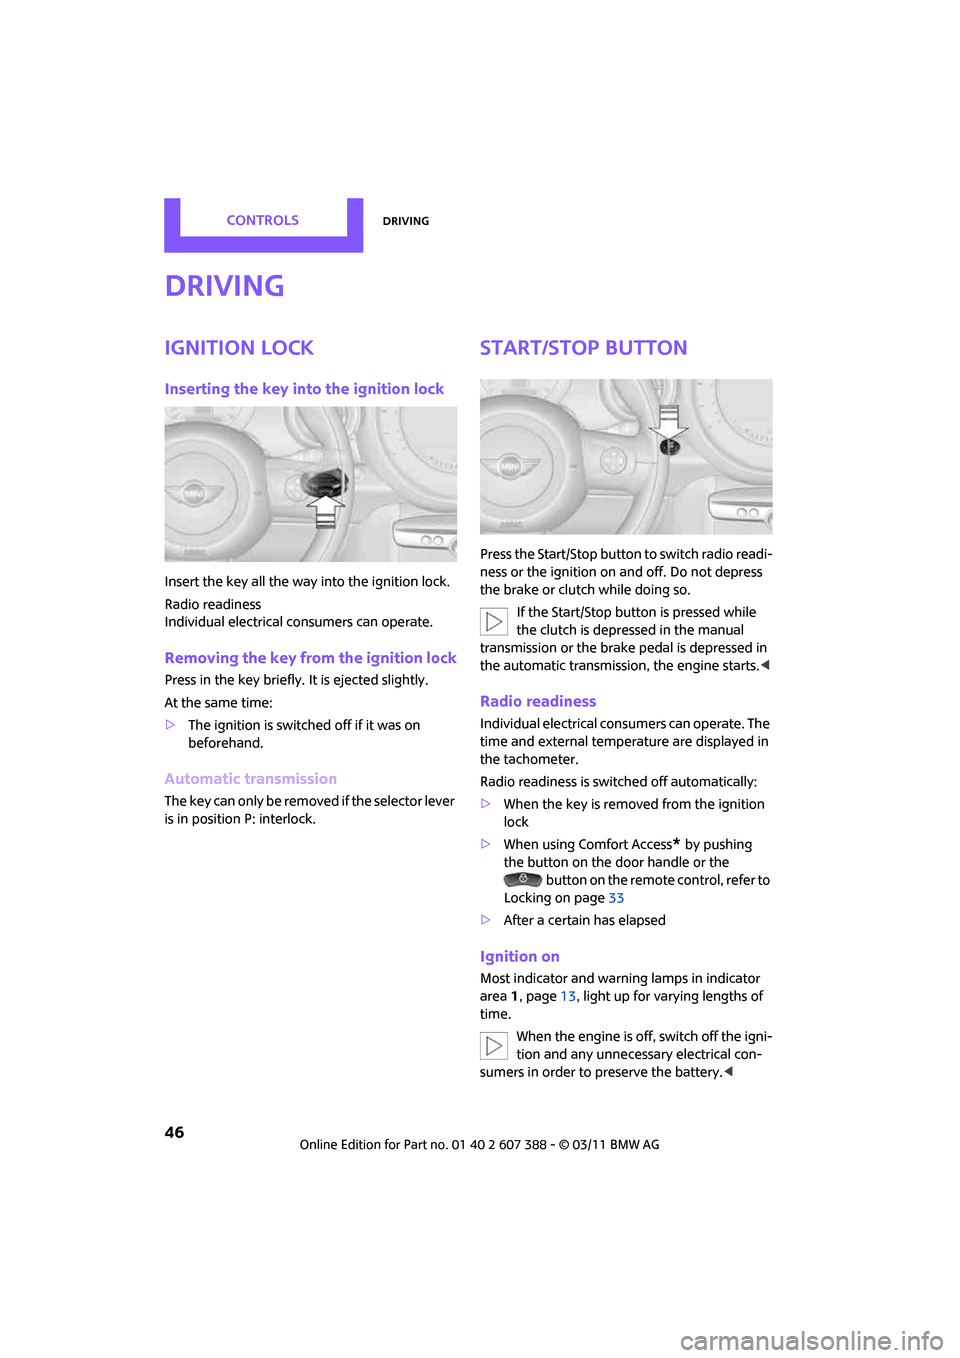
Inserting the key into the ignition lock
Insert the key all the way into the ignition lock.
Radio readiness
Individual electrical consumers can operate.
Removing the key from the ignition lock
Press in the key briefly. It is ejected slightly.
At the same time:
>The ignition is switched off if it was on
beforehand.
Automatic transmission
The key can only be removed if the selector lever
is in position P: interlock.
Start/Stop button
Press the Start/Stop button to switch radio readi-
ness or the ignition on and off. Do not depress
the brake or clutch while doing so.
If the Start/Stop button is pressed while
the clutch is depressed in the manual
transmission or the brake pedal is depressed in
the automatic transmission, the engine starts. <
Radio readiness
Individual electrical consumers can operate. The
time and external temperature are displayed in
the tachometer.
Radio readiness is switched off automatically:
>When the key is removed from the ignition
lock
> When using Comfort Access
* by pushing
the button on the door handle or the
button on the remote control, refer to
Locking on page 33
> After a certain has elapsed
Ignition on
Most indicator and warn ing lamps in indicator
area 1, page 13, light up for varying lengths of
time.
When the engine is off, switch off the igni-
tion and any unnecessary electrical con-
sumers in order to preserve the battery. <
Page 49 of 256
DrivingCONTROLS
47
Radio readiness and ignition off
All indicator and warning lamps in the displays
go out.
The ignition automatically turns off
* when the
driver's door is opened. Pressing the Start/Stop
button again switches the ignition back on.
The ignition is not switched off in situations such
as the following:
> The clutch or brake is depressed
> The low beams are switched on
Starting the engine
Do not allow the engine to run in enclosed
areas; otherwise, inhalation of the noxious
exhaust gases can lead to loss of consciousness
and death. Exhaust gases contain carbon mon-
oxide, an odorless and colorless, but highly toxic
gas. Never leave an unattended vehicle with the
engine running; otherwise, such a vehicle repre-
sents a potential safety hazard.
Before leaving the car while the engine is run-
ning, place the transmission in neutral or move
the selector lever to position P and forcefully
apply the parking brake to prevent the car from
moving. <
Avoid frequent starting in quick succes-
sion or repeated start attempts in which
the engine does not start. Otherwise, the fuel is
not burned or inadequately burned and there is
a danger of overheating and damaging the cat-
alytic converter. <
Do not let the engine warm up with the vehicle
at a standstill. Move of f immediately at a moder-
ate engine speed.
When starting the engine, do not depress the
accelerator pedal.
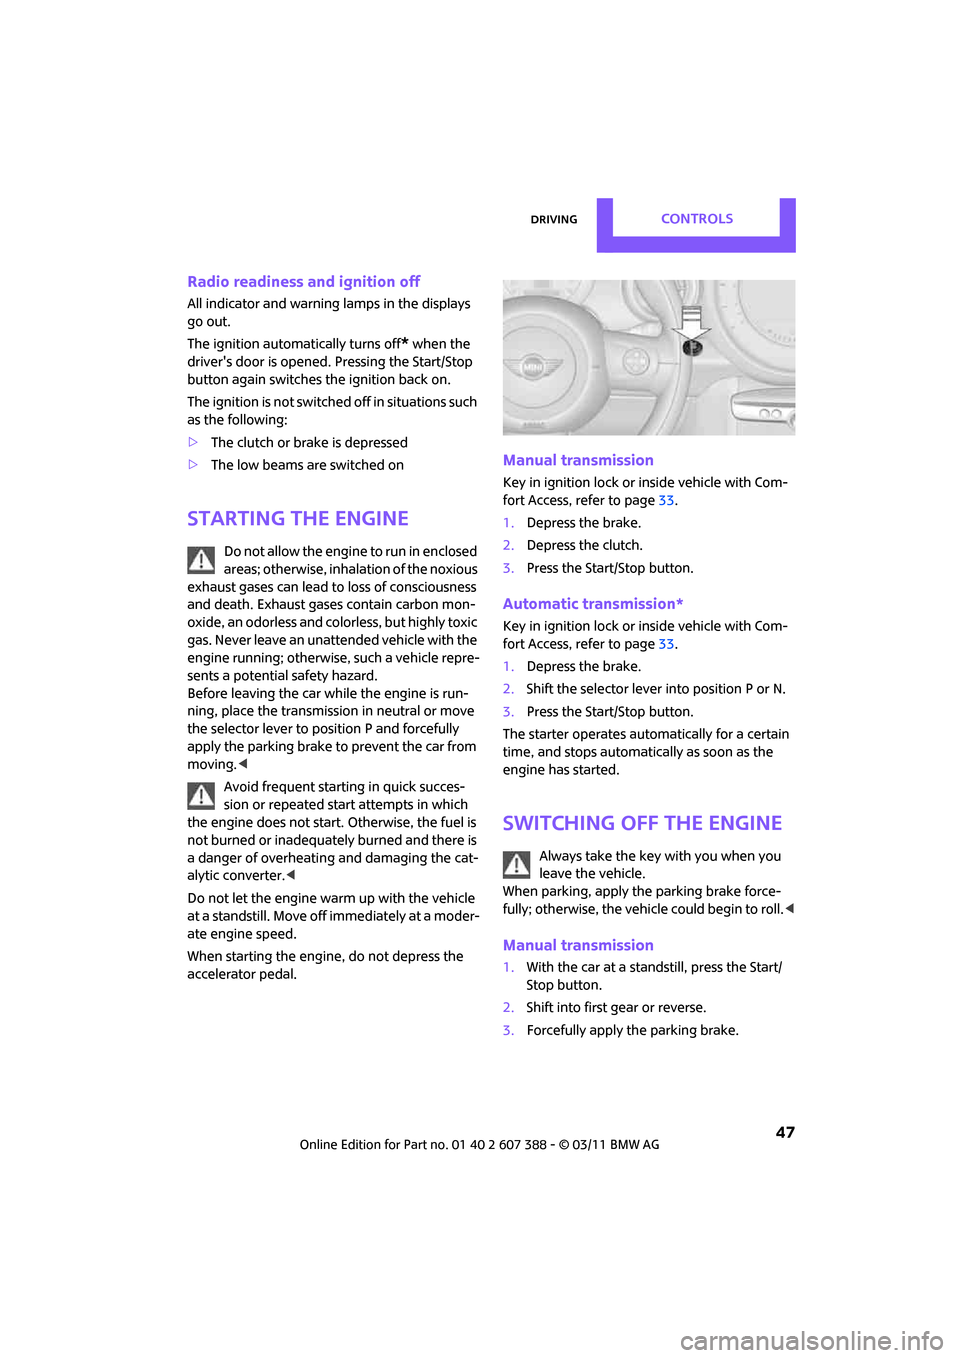
Manual transmission
Key in ignition lock or inside vehicle with Com-
fort Access, refer to page 33.
1. Depress the brake.
2. Depress the clutch.
3. Press the Start/Stop button.
Automatic transmission*
Key in ignition lock or inside vehicle with Com-
fort Access, refer to page 33.
1. Depress the brake.
2. Shift the selector lever into position P or N.
3. Press the Start/Stop button.
The starter operates auto matically for a certain
time, and stops automatically as soon as the
engine has started.
Switching off the engine
Always take the key with you when you
leave the vehicle.
When parking, apply the parking brake force-
fully; otherwise, the vehicle could begin to roll. <
Manual transmission
1.With the car at a standstill, press the Start/
Stop button.
2. Shift into first gear or reverse.
3. Forcefully apply the parking brake.
Page 79 of 256
Technology for driving comfort and safetyCONTROLS
77
On the on-board computer, the tires are shown
in gray and a message appears.
No punctures can be detected.
Display in the following situation:
>Malfunction because of other equipment or
devices, same radio frequency:
After leaving the interf erence area, the sys-
tem is again active automatically.
Message for unsuccessful system reset
Yellow warning light is on. A message
appears on the on-board computer.
The system has detected a wheel change, but
has not yet been reset. It is not possible to pro-
vide a reliable warning about the current infla-
tion pressure.
Check the tire inflation pressure and reset the
system, page 75.
Declaration according to NHTSA/
FMVSS 138 Tire Pressure Monitoring
Systems
Each tire, including the spare, should be
checked monthly when cold and inflated to the
inflation pressure recommended by the vehicle
manufacturer on the vehicle placard or tire infla-
tion pressure label. If yo ur vehicle has tires of a
different size than the size indicated on the vehi-
cle placard or tire inflat ion pressure label, you
should determine the prop er tire inflation pres-
sure for those tires. As an added safety feature,
your vehicle has been equipped with a tire pres-
sure monitoring system TPMS that illuminates a
low tire pressure telltale when one or more of
your tires are significantly underinflated.
Accordingly, when the low tire pressure telltale
illuminates, you should st op and check your tires
as soon as possible, an d inflate them to the
proper pressure. Drivin g on a significantly
underinflated tire causes the tire to overheat
and can lead to tire failure. Underinflation also
reduces fuel efficiency and tire tread life, and
may affect the vehicle's handling and stopping ability. Please note that the TPMS is not a substi-
tute for proper tire maintenance, and it is the
driver's responsibility to
maintain correct tire
pressure, even if underi nflation has not reached
the level at which the TPMS low tire pressure tell-
tale illuminates.
The TPMS malfunction indicator is combined
with the low tire pressure telltale. When the sys-
tem detects a malfunction, the telltale will flash
for approximately one minute and then remain
continuously lit. This sequence will continue
upon subsequent vehicle startups as long as the
malfunction exists. When the malfunction indi-
cator is illuminated, the system may not be able
to detect or signal low tire pressure as intended.
TPMS malfunctions may occur for a variety of
reasons, including the in stallation of replace-
ment or alternate tires or wheels on the vehicle
that prevent the TPMS from functioning prop-
erly. Always check the TP MS malfunction telltale
after replacing one or mo re tires or wheels on
your vehicle to ensure that the replacement or
alternate tires and wheels allow the TPMS to
continue to function properly.
Page 82 of 256

CONTROLSTechnology for driving comfort and safety
80
Operational readiness of airbag system
As of radio readiness, page46, the warning
lamp lights up briefly to indicate that the entire
airbag system and the be lt tensioners are oper-
ational.
Airbag system malfunction
> The warning lamp does not come on when
radio readiness is switched on.
> The warning lamp stays lit continuously.
In the event of a fault in the airbag system,
have it checked without delay; otherwise,
there is the risk that the system will not function
as intended even if a severe accident occurs. <
Page 92 of 256

CONTROLSPractical interior accessories
90
Practical interior accessories
Integrated universal
remote control*
The concept
The integrated universal remote control can
replace as many as three hand-held transmitters
for various remote-controlled devices, such as
garage and gate openers and lighting systems.
The integrated universal remote control regis-
ters and stores signals from the original hand-
held transmitters.
The signal of an original hand-held transmitter
can be programmed on one of the three mem-
ory buttons 1. The system in question can then
be operated by means of the programmed
memory button 1. The LED 2 flashes to confirm
transmission of the signal.
If you decide to sell your vehicle one day, in the
interest of your own security, remember to clear
the stored programs before the vehicle leaves
your possession, page 91.
To prevent possible damage or injury,
before programming or using the inte-
grated universal remote control, always inspect
the immediate area to make certain that no
people, animals or object s are within the travel
range of the device. Comply also with the safety
instructions supplied with the original hand-held
transmitter. <
Checking compatibility
If this symbol a ppears on the package
or in the instructions supplied with the
original hand-held transmitter, you can
assume that the radio remote control device is
compatible with the integrated universal remote
control.
For additional informatio n, please contact your
MINI dealer or call: 1-800-355-3515.
You can also obtain info rmation on the Internet
at: www.homelink.com
HomeLink is a registered trademark of Johnson
Controls, Inc.
Programming
1
Memory buttons
2 LED
Fixed-code hand-held transmitters
1.Switch on the ignition, page 46.
2. When starting operation for the first time:
press both outer memory buttons 1 for
approx. 20 seconds until the LED 2 flashes
rapidly. All stored programs are cleared.
3. Hold the original hand-held transmitter at a
distance of approx. 1in/2.5cm to 3in/8cm
from the memory buttons 1.
The required distance between the
hand-held transmitter and the mem-
ory buttons 1 depends on the system of the
respective original hand-held transmitter
used. <
4. Simultaneously press the transmit key on
the original hand-hel d transmitter and the
desired memory button 1 on the integrated
universal remote control. The LED 2 flashes
slowly at first. As soon as the LED 2 flashes
rapidly, release both buttons. If the LED 2
does not flash rapidly after approx.
60 seconds, alter the distance and repeat
this step.
Page 132 of 256
ENTERTAINMENTOn/off and tone
130
On/off and tone
The following audio sources have shared control
elements and setting options:
> Radio
> CD player
> External devices, e.g. MP3 player
Controls
The audio sources can be operated using:
>Buttons near the CD player
> On-board computer
> Buttons on the steering wheel, refer to
page 10
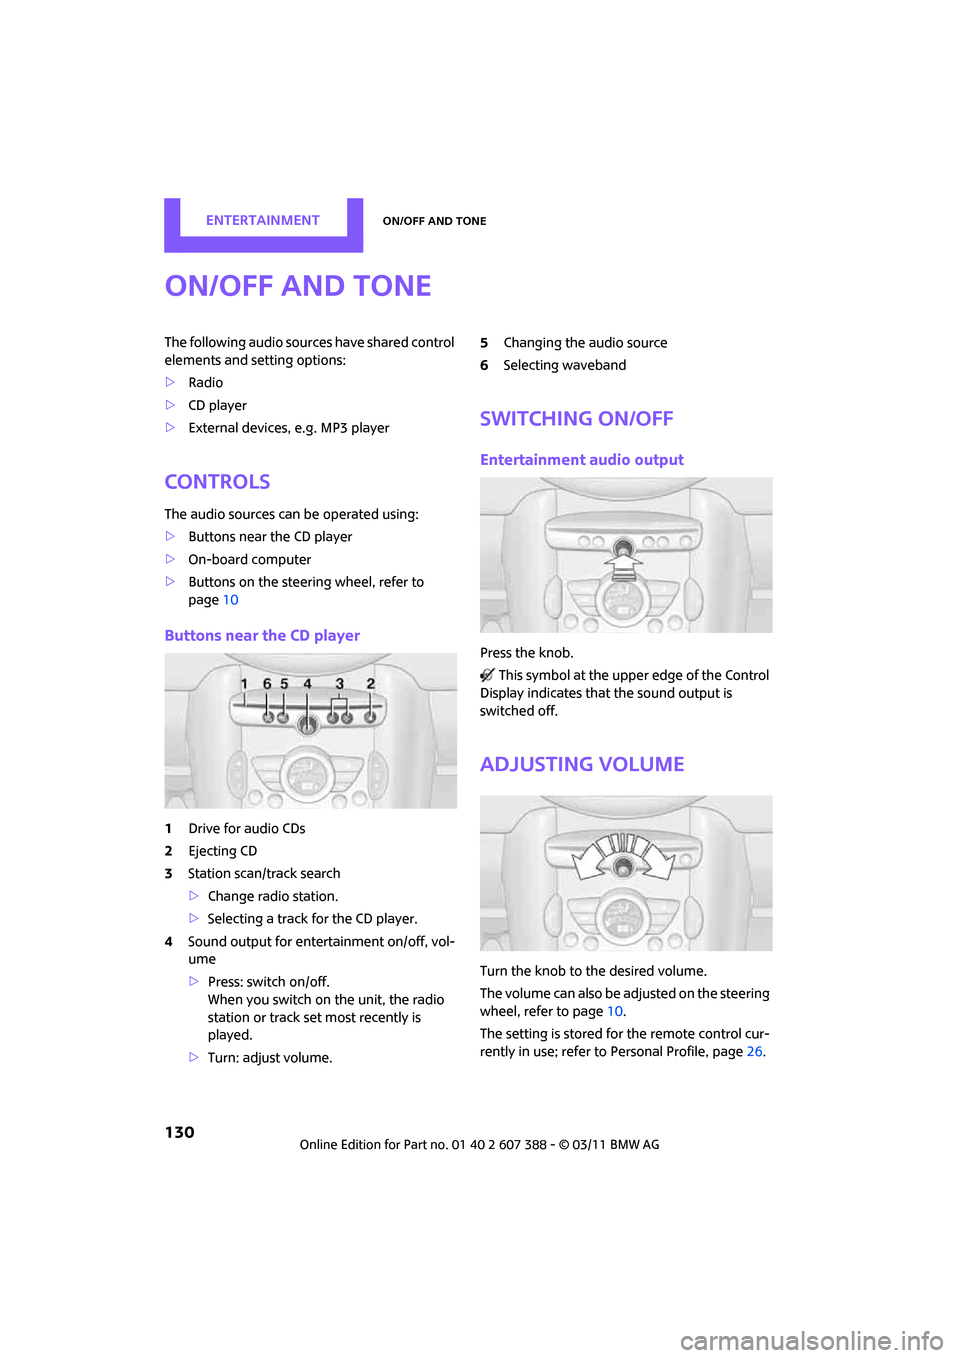
Buttons near the CD player
1Drive for audio CDs
2 Ejecting CD
3 Station scan/track search
>Change radio station.
> Selecting a track for the CD player.
4 Sound output for ente rtainment on/off, vol-
ume
> Press: switch on/off.
When you switch on the unit, the radio
station or track set most recently is
played.
> Turn: adjust volume. 5
Changing the audio source
6 Selecting waveband
Switching On/Off
Entertainment audio output
Press the knob.
This symbol at the upper edge of the Control
Display indicates that the sound output is
switched off.
Adjusting volume
Turn the knob to the desired volume.
The volume can also be adjusted on the steering
wheel, refer to page 10.
The setting is stored fo r the remote control cur-
rently in use; refer to Personal Profile, page 26.