ECO mode MINI COOPER 2004 Owners Manual
[x] Cancel search | Manufacturer: MINI, Model Year: 2004, Model line: COOPER, Model: MINI COOPER 2004Pages: 152, PDF Size: 1.53 MB
Page 9 of 152
7
OVERVIEW REPAIRS OPERATION CONTROLS DATA INDEX
Editorial notice
The manufacturer pursues a policy of con-
tinuous, ongoing development that is con-
ceived to ensure that the MINI continues to
embody the highest quality and safety
standards combined with advanced, state-
of-the-art technology. For this reason, the
features described in this Owner's Manual
could differ from those on your vehicle. Nor
can errors and omissions be entirely ruled
out.
You are therefore asked to appreciate that
no claims can be entertained on the basis
of the data, illustrations or descriptions in
this Owner's Manual.
For your own safety
Fuels
Use unleaded gasoline only. Fuels
containing up to and including 10 %
ethanol or other oxygenates with up to
2.8 % oxygen by weight, i.e. 15 % MTBE or
3% methanol plus an equivalent amount of
co-solvent, will not void the applicable war-
ranties with respect to defects in materials
or workmanship. Field experience has indi-
cated significant differences in fuel quality,
i.e. volatility, composition, additives, etc.,
among gasolines offered for sale in the
United States and Canada. The use of poor-
quality fuels may result in driveability,
starting and stalling problems, especially
under certain environmental conditions
such as high ambient temperature and
high altitude.
Should you encounter driveability prob-
lems which you suspect could be related to
the fuel you are using, we recommend that
you respond by switching to a recognized
high-quality brand.
Failure to comply with these recommenda-
tions may result in unscheduled mainte-
nance.
Obey pertinent safety rules when you are
handling gasoline.
<
Maintenance and repair
Advanced technology, e.g. the use of
modern materials and high-perfor-
mance electronics, requires specially
adapted maintenance and repair methods.
Therefore, only have corresponding work
on your MINI carried out by a MINI Dealer
or a workshop that works according to
MINI repair procedures with correspond-
ingly trained personnel. If work is carried
out improperly there is a danger of conse-
quential damage and the related safety
risks.
<
NOTES
ProCarManuals.com
Page 10 of 152
8
NOTES
Parts and accessories
For your own safety, use genuine
parts and accessories approved by
the manufacturer of the MINI.
When you purchase accessories tested
and approved by the manufacturer of the
MINI and Original MINI Parts, you simulta-
neously acquire the assurance that they
have been thoroughly tested by the manu-
facturer of the MINI to ensure optimum
performance when installed on your vehi-
cle.
The manufacturer of the MINI warrants
these parts to be free from defects in mate-
rial and workmanship.
The manufacturer of the MINI will not
accept any liability for damages resulting
from installation of parts and accessories
not approved by the manufacturer
of the MINI.
The manufacturer of the MINI cannot test
every product from other manufacturers to
verify if it can be used on a MINI safely and
without risk to either the vehicle, its opera-
tion, or its occupants.
Original MINI Parts, MINI Accessories and
other products approved by the manufac-
turer of the MINI, together with profes-
sional advice on using these items, are
available from all MINI Dealers.
Installation and operation of non-MINI
approved accessories such as alarms,
radios, amplifiers, radar detectors, wheels,
suspension components, brake dust
shields, telephones, including operation of
any portable cellular phone from within
the vehicle without using an externally
mounted antenna, or transceiver equip-
ment, e.g. CB, walkie-talkie, ham radio or
similar, may cause extensive damage to the
vehicle, compromise its safety, interfere
with the vehicle's electrical system or affect
the validity of the MINI Limited Warranty.
See your MINI Dealer for additional infor-
mation.
<
Maintenance, replacement, or repair
of the emission control devices and
systems must be performed by an autho-
rized MINI Dealership or individual using
certified MINI parts.
<
Symbol on vehicle parts
Indicates that you should consult the
relevant section of this Owner's Man-
ual for information on a particular part or
assembly.
Service and warranty
This manual is supplemented by a Service
and Warranty Information Booklet for US
models or a Warranty and Service Guide
Booklet for Canadian models.
We recommend that you read this publica-
tion thoroughly.
Your MINI is covered by the following war-
ranties:
>
New Vehicle Limited Warranty
>
Rust Perforation Limited Warranty
>
Federal Emissions System Defect War-
ranty
>
Federal Emissions Performance War-
ranty
>
California Emission Control System Lim-
ited Warranty.
Detailed information about these warran-
ties is listed in the Service and Warranty
Information Booklet for US models or in the
Warranty and Service Guide Booklet for
Canadian models.
ProCarManuals.com
Page 18 of 152
16
INDICATOR AND WARNING LAMPS
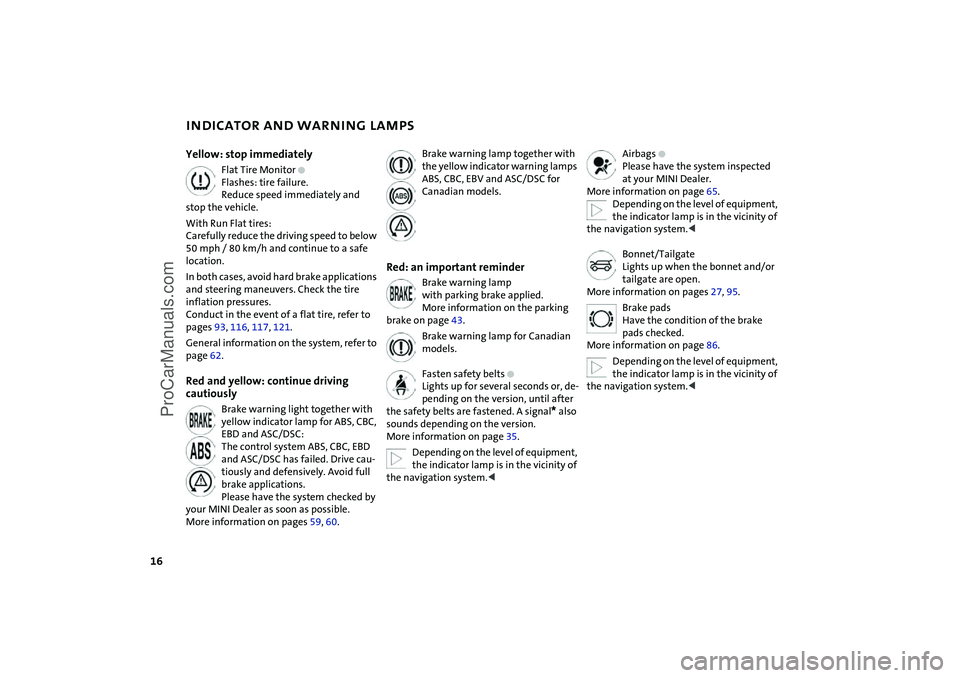
Yellow: stop immediately
Flat Tire Monitor
+
Flashes: tire failure.
Reduce speed immediately and
stop the vehicle.
With Run Flat tires:
Carefully reduce the driving speed to below
50 mph / 80 km/h and continue to a safe
location.
In both cases, avoid hard brake applications
and steering maneuvers. Check the tire
inflation pressures.
Conduct in the event of a flat tire, refer to
pages 93, 116, 117, 121.
General information on the system, refer to
page 62.
Red and yellow: continue driving
cautiously
Brake warning light together with
yellow indicator lamp for ABS, CBC,
EBD and ASC/DSC:
The control system ABS, CBC, EBD
and ASC/DSC has failed. Drive cau-
tiously and defensively. Avoid full
brake applications.
Please have the system checked by
your MINI Dealer as soon as possible.
More information on pages 59, 60.
Brake warning lamp together with
the yellow indicator warning lamps
ABS, CBC, EBV and ASC/DSC for
Canadian models.
Red: an important reminder
Brake warning lamp
with parking brake applied.
More information on the parking
brake on page 43.
Brake warning lamp for Canadian
models.
Fasten safety belts
+
Lights up for several seconds or, de-
pending on the version, until after
the safety belts are fastened. A signal
*
also
sounds depending on the version.
More information on page 35.
Depending on the level of equipment,
the indicator lamp is in the vicinity of
the navigation system.
<
Airbags
+
Please have the system inspected
at your MINI Dealer.
More information on page 65.
Depending on the level of equipment,
the indicator lamp is in the vicinity of
the navigation system.
<
Bonnet/Tailgate
Lights up when the bonnet and/or
tailgate are open.
More information on pages 27, 95.
Brake pads
Have the condition of the brake
pads checked.
More information on page 86.
Depending on the level of equipment,
the indicator lamp is in the vicinity of
the navigation system.
<
ProCarManuals.com
Page 26 of 152
24
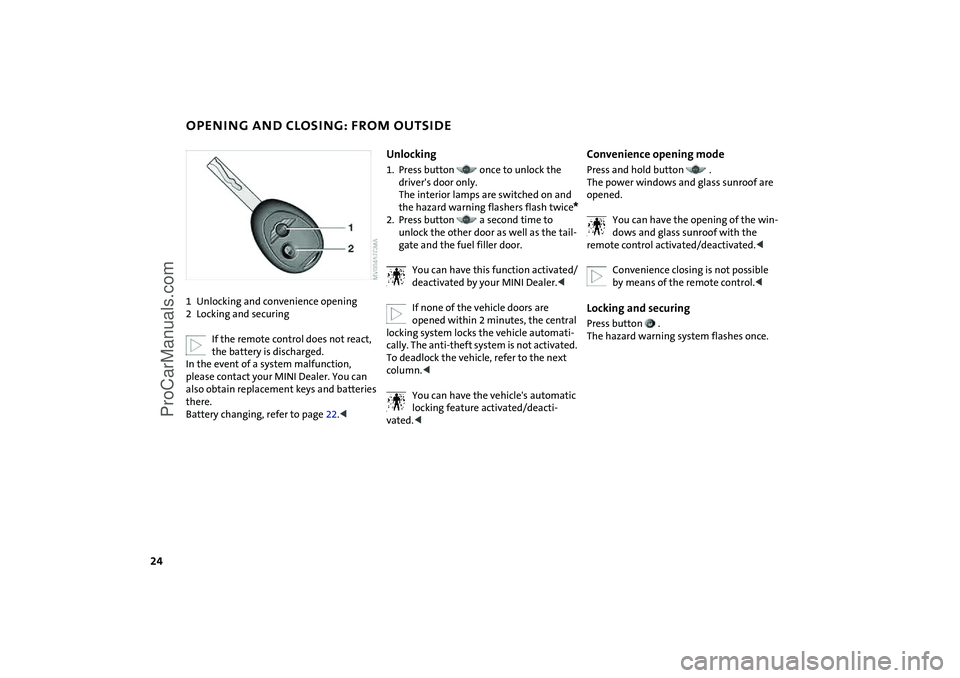
OPENING AND CLOSING: FROM OUTSIDE1Unlocking and convenience opening
2Locking and securing
If the remote control does not react,
the battery is discharged.
In the event of a system malfunction,
please contact your MINI Dealer. You can
also obtain replacement keys and batteries
there.
Battery changing, refer to page 22.<
Unlocking1. Press button once to unlock the
driver's door only.
The interior lamps are switched on and
the hazard warning flashers flash twice
*
2. Press button a second time to
unlock the other door as well as the tail-
gate and the fuel filler door.
You can have this function activated/
deactivated by your MINI Dealer.<
If none of the vehicle doors are
opened within 2 minutes, the central
locking system locks the vehicle automati-
cally. The anti-theft system is not activated.
To deadlock the vehicle, refer to the next
column.<
You can have the vehicle's automatic
locking feature activated/deacti-
vated.<
Convenience opening modePress and hold button .
The power windows and glass sunroof are
opened.
You can have the opening of the win-
dows and glass sunroof with the
remote control activated/deactivated.<
Convenience closing is not possible
by means of the remote control.
ProCarManuals.com
Page 42 of 152

40
TRANSPORTING CHILDREN SAFELYChild-restraint system with tether
strapIf you use a child-restraint system with a
tether strap:
Depending on the location selected for
seating in the rear passenger area, attach
the tether strap to the corresponding
anchorage point to secure the child-
restraint system.
Both seating positions are fitted with a
head restraint.
Lift the head restraint and pass the tether
strap between the head restraint and the
seat back. It is recommended to readjust
the head restraint into the lowest possible
position.
Adjust the tether strap according to the
child-restraint manufacturer's instructions.
LATCH child-restraint mounting
system Open the cover.
The illustration is an example showing the
mounts for the LATCH, Lower Anchors and
Tethers for CHildren, child-restraint mount-
ing system at the right rear.
The system is also available at the left rear
position.
Canadian models only:
The LATCH anchorage points are identified
by buttons, see illustration.
Always follow all manufacturer's
instructions and observe all safety
precautions when installing the LATCH
child-restraint system.<
ProCarManuals.com
Page 58 of 152

56
SERVICE INTERVAL DISPLAY CLOCKRemaining distance for serviceThe distance remaining before the next
scheduled service is displayed in miles /
kilometers with the ignition key in position
1 or higher. The display also indicates
whether an engine oil service and/or an
inspection is due.
The onboard computer bases its calcula-
tions of the remaining distance on your
driving style in the period immediately pre-
ceding your data request. The remaining
distance display counts backwards in steps
of 35 miles / 50 km to the next service. A
flashing message and a minus sign in front
of the display that again begins counting
forwards mean that the service interval has
been exceeded.
Please contact your MINI Dealer for an
appointment.
The remaining-distance display disappears
after approx. 5 seconds and changes to the
odometer and trip odometer display.
For more information on the service inter-
val display, refer to page 102.
SettingsFrom ignition key position 1:
Left button: hours
Right button: minutes.
Move forward in increments:
Press the button
or
fast forward:
Press and hold the button.
Changeover from 24-hour to 12-hour
mode:
Press both buttons at the same time for
approx. 5 seconds.
ProCarManuals.com
Page 88 of 152
86
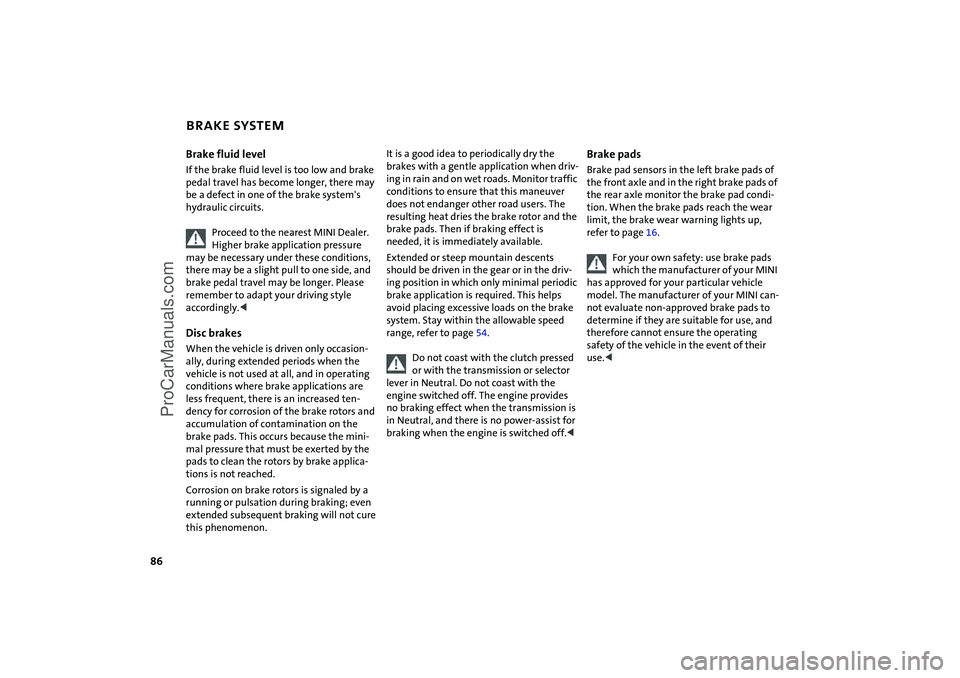
BRAKE SYSTEMBrake fluid levelIf the brake fluid level is too low and brake
pedal travel has become longer, there may
be a defect in one of the brake system's
hydraulic circuits.
Proceed to the nearest MINI Dealer.
Higher brake application pressure
may be necessary under these conditions,
there may be a slight pull to one side, and
brake pedal travel may be longer. Please
remember to adapt your driving style
accordingly.
vehicle is not used at all, and in operating
conditions where brake applications are
less frequent, there is an increased ten-
dency for corrosion of the brake rotors and
accumulation of contamination on the
brake pads. This occurs because the mini-
mal pressure that must be exerted by the
pads to clean the rotors by brake applica-
tions is not reached.
Corrosion on brake rotors is signaled by a
running or pulsation during braking; even
extended subsequent braking will not cure
this phenomenon.
It is a good idea to periodically dry the
brakes with a gentle application when driv-
ing in rain and on wet roads. Monitor traffic
conditions to ensure that this maneuver
does not endanger other road users. The
resulting heat dries the brake rotor and the
brake pads. Then if braking effect is
needed, it is immediately available.
Extended or steep mountain descents
should be driven in the gear or in the driv-
ing position in which only minimal periodic
brake application is required. This helps
avoid placing excessive loads on the brake
system. Stay within the allowable speed
range, refer to page 54.
Do not coast with the clutch pressed
or with the transmission or selector
lever in Neutral. Do not coast with the
engine switched off. The engine provides
no braking effect when the transmission is
in Neutral, and there is no power-assist for
braking when the engine is switched off.<
Brake padsBrake pad sensors in the left brake pads of
the front axle and in the right brake pads of
the rear axle monitor the brake pad condi-
tion. When the brake pads reach the wear
limit, the brake wear warning lights up,
refer to page 16.
For your own safety: use brake pads
which the manufacturer of your MINI
has approved for your particular vehicle
model. The manufacturer of your MINI can-
not evaluate non-approved brake pads to
determine if they are suitable for use, and
therefore cannot ensure the operating
safety of the vehicle in the event of their
use.<
ProCarManuals.com
Page 90 of 152

88
TIRE INFLATION PRESSUREModel Tires
Pressures specified in psi / kilopascal
MINI COOPER175/65 R 15 84 H
175/65 R 15 84 Q M+S30 / 210 35 / 240 35 / 240 35 / 240
195/55 R 16 87 H
195/55 R 16 87 H M+S
205/45 R 17 84 V
205/45 R 17 84 V M+S30 / 210 30 / 210 35 / 240 35 / 240
175/65 R 15 84 Q M+S
175/60 R 15 82 Q M+S
195/55 R 16 87 Q M+S
205/45 R 17 84 Q M+S33 / 230 33 / 230 38 / 260 38 / 260
Space-saver spare tire T 115/70 R 15 90 M 61 / 420 61 / 420 61 / 420 61 / 420
MINI COOPER S195/55 R 16 87 V
195/55 R 16 87 V M+S30 / 210 30 / 210 35 / 240 35 / 240
205/45 R 17 84 V
205/45 R 17 84 Q M+S
205/45 R 17 84 V M+S
195/55 R 16 87 Q M+S33 / 230 33 / 230 38 / 260 38 / 260
175/60 R 16 82 Q M+S 36 / 250 36 / 250 41 / 280 41 / 280
All-season tires, M+S, should be inflated to the same pressures as summer tires. Figures as stated here apply to the manufacturer's
approved or recommended tires; your MINI Dealer will be happy to provide information on request.
ProCarManuals.com
Page 94 of 152

92
WHEEL AND TIRE REPLACEMENT
Unprofessional attempts by laymen
to service tires can lead to damage
and accidents.
Have this work performed by skilled profes-
sionals only. Your MINI Dealer will be glad
to assist you with both their expertise and
the proper equipment for your vehicle.<
The correct wheel and tire combination
also affects various systems that would
otherwise be impaired, e.g. ABS or DSC.
Have the wheels balanced after each tire or
wheel replacement.
The manufacturer of your MINI rec-
ommends that you avoid using
retread tires, as this could impair driving
safety. This is due to the possible variations
in casing structures and, in some cases, to
their extreme age, which can lead to a
decrease in their durability.<
The correct wheels and tires
The manufacturer of your MINI rec-
ommends never mounting wheels
and tires that have not been specifically
approved by the manufacturer for use on
your particular model. Although other
wheels and tires may theoretically have the
same dimensions, variations in factors such
as manufacturing tolerances can result in
contact between tire and bodywork, ulti-
mately leading to serious accidents. The
manufacturer of your MINI cannot evaluate
non-approved wheels and tires to deter-
mine if they are suited for use, and there-
fore cannot ensure the operating safety of
the vehicle if they are fitted.<
Recommended tire makes:
To maintain good handling and vehicle
response, use only tires of a single tread
configuration from a single manufacturer.
In the event of a flat tire, remount the pre-
vious wheel and tire combination as soon
as possible.
Run Flat tires:
If your MINI is equipped with Run Flat tires
– refer to Run Flat tires – use only these
tires, since no space-saver spare tire may be
available in the event of a flat. Special characteristics of winter tires The manufacturer of your MINI recom-
mends winter tires for driving in adverse
winter road conditions. While all-season
tires with the M+S designation provide bet-
ter winter traction than summer tires, they generally do not achieve the full perfor-
mance of winter tires.
For mounting winter tires, refer to the
descriptions under Tire condition, page 91,
and Wheel and tire replacement.
Run Flat tires:
If your MINI is equipped with Run Flat tires
– refer to Run Flat tires – use only these
tires, since no space-saver spare tire may be
available in the event of a flat.
Observing speeds:
Never exceed the maximum speed
for which the winter tires are rated.
Unprofessional attempts by laymen to ser-
vice tires can lead to damage and accidents.
Have this work performed by skilled profes-
sionals only. The technicians at your MINI
Dealer will be glad to assist you with the
required professional knowledge and spe-
cialized equipment.<
StorageStore tires in a cool, dry place, protecting
them against light whenever possible. Pro-
tect the tires against contact with oil,
grease and fuel. Do not exceed the maxi-
mum tire inflation pressure specified on
the tire sidewall.
ProCarManuals.com
Page 143 of 152
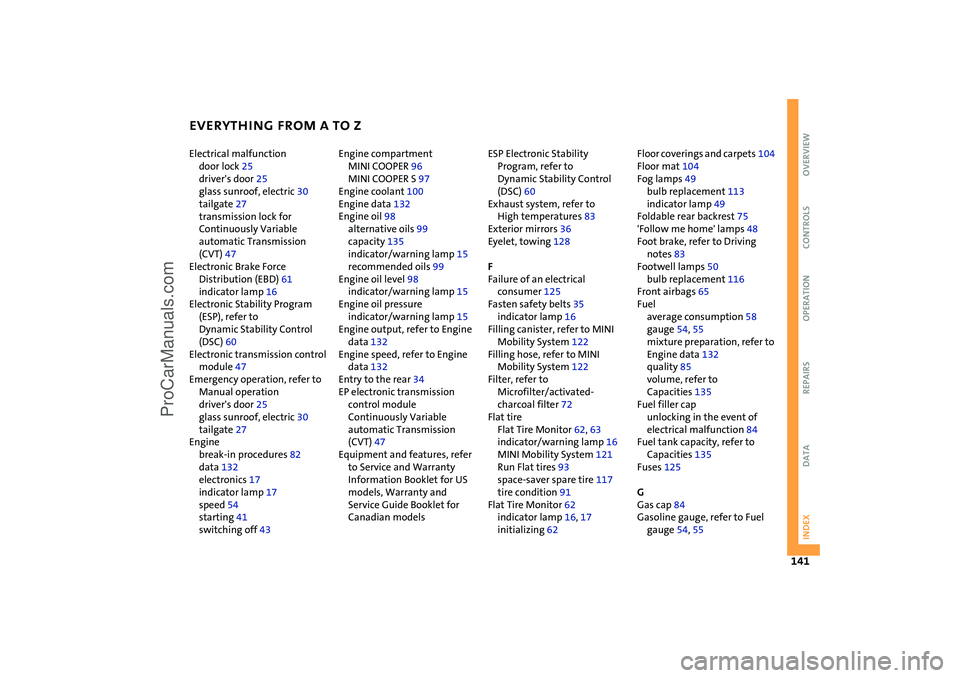
EVERYTHING FROM A TO Z
141
OVERVIEW REPAIRS OPERATION CONTROLS DATA INDEX
Electrical malfunction
door lock 25
driver's door 25
glass sunroof, electric 30
tailgate 27
transmission lock for
Continuously Variable
automatic Transmission
(CVT) 47
Electronic Brake Force
Distribution (EBD) 61
indicator lamp 16
Electronic Stability Program
(ESP), refer to
Dynamic Stability Control
(DSC) 60
Electronic transmission control
module 47
Emergency operation, refer to
Manual operation
driver's door 25
glass sunroof, electric 30
tailgate 27
Engine
break-in procedures 82
data 132
electronics 17
indicator lamp 17
speed 54
starting 41
switching off 43 Engine compartment
MINI COOPER 96
MINI COOPER S 97
Engine coolant 100
Engine data 132
Engine oil 98
alternative oils 99
capacity 135
indicator/warning lamp 15
recommended oils 99
Engine oil level 98
indicator/warning lamp 15
Engine oil pressure
indicator/warning lamp 15
Engine output, refer to Engine
data 132
Engine speed, refer to Engine
data 132
Entry to the rear 34
EP electronic transmission
control module
Continuously Variable
automatic Transmission
(CVT) 47
Equipment and features, refer
to Service and Warranty
Information Booklet for US
models, Warranty and
Service Guide Booklet for
Canadian models ESP Electronic Stability
Program, refer to
Dynamic Stability Control
(DSC) 60
Exhaust system, refer to
High temperatures 83
Exterior mirrors 36
Eyelet, towing 128
F
Failure of an electrical
consumer 125
Fasten safety belts 35
indicator lamp 16
Filling canister, refer to MINI
Mobility System 122
Filling hose, refer to MINI
Mobility System 122
Filter, refer to
Microfilter/activated-
charcoal filter 72
Flat tire
Flat Tire Monitor 62, 63
indicator/warning lamp 16
MINI Mobility System 121
Run Flat tires 93
space-saver spare tire 117
tire condition 91
Flat Tire Monitor 62
indicator lamp 16, 17
initializing 62 Floor coverings and carpets 104
Floor mat 104
Fog lamps 49
bulb replacement 113
indicator lamp 49
Foldable rear backrest 75
'Follow me home' lamps 48
Foot brake, refer to Driving
notes 83
Footwell lamps 50
bulb replacement 116
Front airbags 65
Fuel
average consumption 58
gauge 54, 55
mixture preparation, refer to
Engine data 132
quality 85
volume, refer to
Capacities 135
Fuel filler cap
unlocking in the event of
electrical malfunction 84
Fuel tank capacity, refer to
Capacities 135
Fuses 125
G
Gas cap 84
Gasoline gauge, refer to Fuel
gauge 54, 55
ProCarManuals.com