interior MINI COOPER 2015 User Guide
[x] Cancel search | Manufacturer: MINI, Model Year: 2015, Model line: COOPER, Model: MINI COOPER 2015Pages: 248, PDF Size: 5.43 MB
Page 48 of 248
Comfort position
If the glass sunroof stops before it is completely
opened, it is in the Comfort position. In this po‐
sition the wind noises in the interior are the
least.
If desired, continue the movement by Pressing
the switch.
Closing glass sunroof
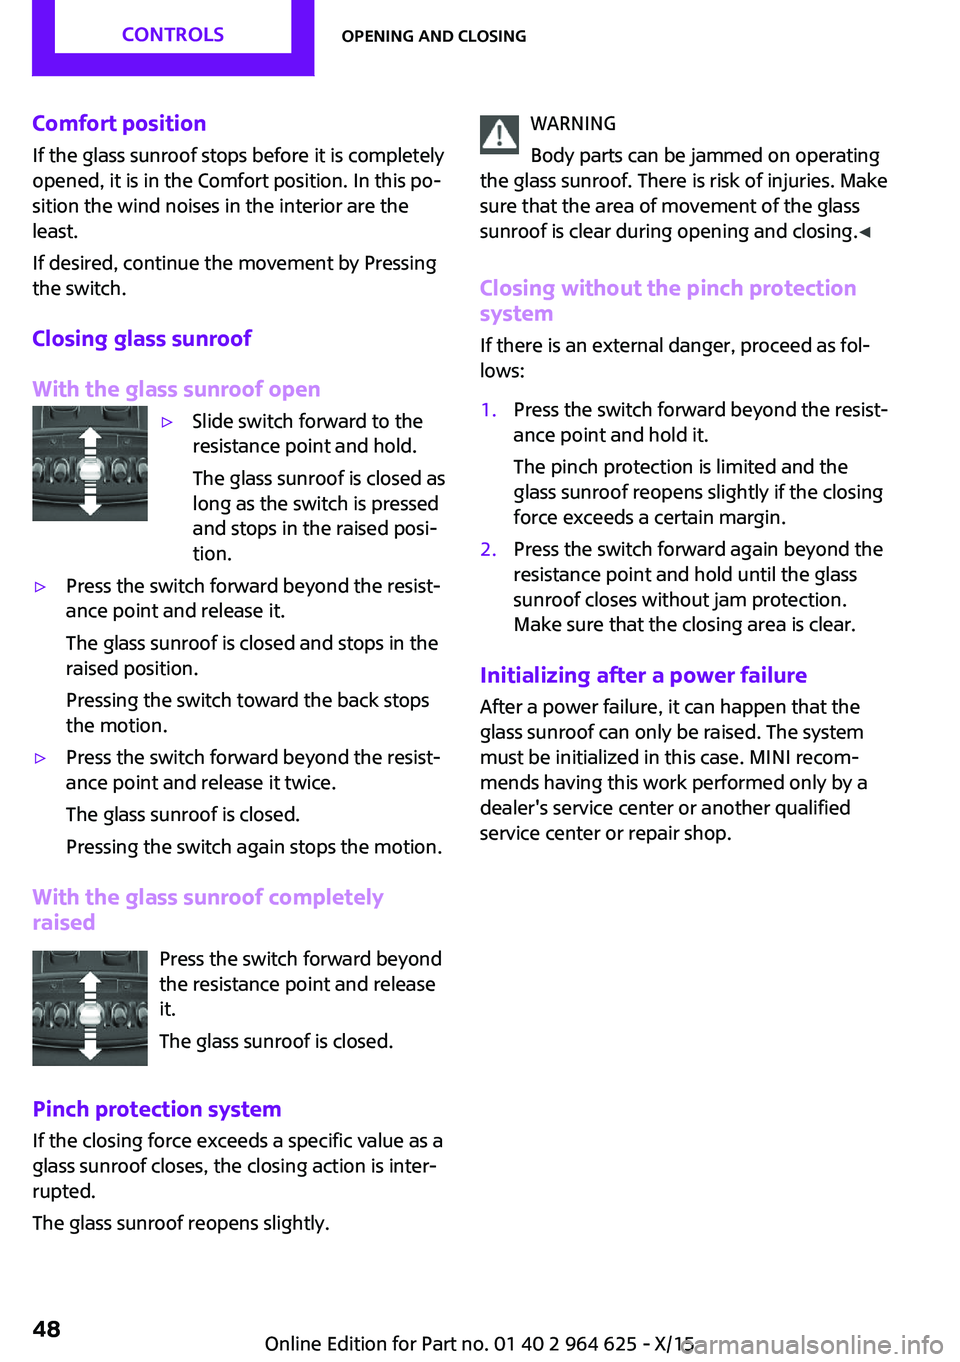
With the glass sunroof open▷Slide switch forward to the
resistance point and hold.
The glass sunroof is closed as
long as the switch is pressed
and stops in the raised posi‐
tion.▷Press the switch forward beyond the resist‐
ance point and release it.
The glass sunroof is closed and stops in the
raised position.
Pressing the switch toward the back stops
the motion.▷Press the switch forward beyond the resist‐
ance point and release it twice.
The glass sunroof is closed.
Pressing the switch again stops the motion.
With the glass sunroof completely
raised
Press the switch forward beyond
the resistance point and release
it.
The glass sunroof is closed.
Pinch protection system If the closing force exceeds a specific value as a
glass sunroof closes, the closing action is inter‐
rupted.
The glass sunroof reopens slightly.
WARNING
Body parts can be jammed on operating
the glass sunroof. There is risk of injuries. Make
sure that the area of movement of the glass
sunroof is clear during opening and closing. ◀
Closing without the pinch protection
system
If there is an external danger, proceed as fol‐
lows:1.Press the switch forward beyond the resist‐
ance point and hold it.
The pinch protection is limited and the
glass sunroof reopens slightly if the closing
force exceeds a certain margin.2.Press the switch forward again beyond the
resistance point and hold until the glass
sunroof closes without jam protection.
Make sure that the closing area is clear.
Initializing after a power failure
After a power failure, it can happen that the
glass sunroof can only be raised. The system
must be initialized in this case. MINI recom‐
mends having this work performed only by a
dealer's service center or another qualified
service center or repair shop.
Seite 48CONTROLSOpening and closing48
Online Edition for Part no. 01 40 2 964 625 - X/15
Page 56 of 248

Deactivating
Slide the switch to the passenger side mirror
position.
Fold in and out CAUTION
Depending on the vehicle width, the ve‐
hicle can be damaged in car washes. There is
risk of property damage. Before washing, fold
in the mirrors by hand or with the button. ◀
Press button.
Possible at speeds up to approx.
15 mph/20 km/h.
Folding the mirrors in and out is advantageous
in the following situations:▷In car washes.▷On narrow roads.▷For folding mirrors back out that were
folded away manually.
Mirrors that were folded in are folded out auto‐
matically at a speed of approx.
25 mph/40 km/h.
Automatic heating
Both exterior mirrors are automatically heated
whenever the engine is running.
Automatic dimming featureBoth exterior mirrors are automatically dim‐
med. Photocells are used to control the Interior mirror, refer to page 56.
Interior mirror, manually dimmable
Flip lever
To reduce the blinding effect of the interior rear
view mirror, flip the lever forward.
Turn knob
Turn the knob to reduce the blinding effect by
the interior mirror.
Interior mirror, automatic dimming
feature
Overview
Photocells are used for control:
Seite 56CONTROLSAdjusting56
Online Edition for Part no. 01 40 2 964 625 - X/15
Page 65 of 248

▷The selector lever is in selector lever posi‐
tion D.▷Brake pedal remains depressed while the
vehicle is stopped.▷The driver's safety belt is buckled or the
driver's door is closed.
In order to be able to release the brake pedal,
engage lever in position P. The engine remains
off.
To continue driving depress the brake pedal.
When a gear is engaged, the engine starts au‐
tomatically.
The air flow from the air conditioner is reduced
when the engine is switched off.
Displays in the instrument cluster The display indicates that theAuto Start/Stop function is ready
for an Automatic engine start.
The display indicates that the
conditions for an automatic en‐
gine stop have not been met.
Functional limitations The engine is not switched off automatically in
the following situations:
▷External temperature too low.▷The external temperature is high and auto‐
matic climate control is running.▷The car's interior has not yet been heated
or cooled to the required level.▷The engine is not yet at operating tempera‐
ture.▷The wheels are at a sharp angle or the
steering wheel is being turned.▷After driving in reverse.▷Fogging of the windows when the auto‐
matic climate control is switched on.▷The vehicle battery charge is very low.▷At higher elevations.▷The engine compartment lid is unlocked.▷The parking assistant is activated.▷Stop-and-go traffic.▷Selector lever in selector lever position R, N
or M/S.
Starting the engine
The engine starts automatically under the fol‐
lowing conditions:
▷Manual transmission:
The clutch pedal is pressed.▷Steptronic transmission:
By releasing the brake pedal.
After the engine starts, accelerate as usual.
Safety mode
After the engine switches off automatically, it
will not start again automatically if any one of
the following conditions are met:
▷The driver's safety belt is unbuckled and
the driver's door is open.▷The hood was unlocked.
Some indicator lights light up for a varied
length of time.
The engine can only be started via the Start/
Stop button.
Functional limitations
Even if driving off was not intended, the deacti‐
vated engine starts up automatically in the fol‐
lowing situations:
▷Excessive warming of the car's interior
when the cooling function is switched on.▷The steering wheel is turned.▷Steptronic transmission: change from selec‐
tor lever position D to R, N or M/S.Seite 65DrivingCONTROLS65
Online Edition for Part no. 01 40 2 964 625 - X/15
Page 66 of 248

▷Steptronic transmission: change from selec‐
tor lever position P to R, N, D or M/S.▷The vehicle begins rolling.▷Fogging of the windows when the auto‐
matic climate control is switched on.▷The vehicle battery charge is very low.▷Excessive cooling of the car's interior when
the heating is switched on.▷Manual transmission: low brake vacuum
pressure; this can occur, for example, if the
brake pedal is depressed a number of times
in succession.
Switching the system on/off
Using the button
Press button.
▷LED comes on: Auto Start/Stop function is
deactivated.
The engine is started during an automatic
engine stop.
The engine can only be stopped or started
via the Start/Stop button.▷LED goes out: Auto Start/Stop function is
activated.
Switching off the vehicle during an automatic engine stop
During an automatic engine stop, the vehicle
can be switched off permanently, e. g., when
leaving it.
Steptronic transmission:1.Engage selector lever position P.2.Press the Start/Stop button. The ignition is
switched off. The Auto Start/Stop function is
deactivated.3.Set the parking brake.
Manual transmission:
1.Press the Start/Stop button. The ignition is
switched off. The Auto Start/Stop function is
deactivated.2.Shift into first gear or reverse.3.Set the parking brake.
Engine start as usual via Start/Stop button.
Automatic deactivation
In certain situations, the Auto Start/Stop func‐
tion is deactivated automatically for safety rea‐
sons, as it is detected that no driver is present.
Malfunction The Auto Start/Stop function no longer switches
off the engine automatically. A Check Control
message is displayed. It is possible to continue
driving. Have the system checked by a dealer’s
service center or another qualified service cen‐
ter or repair shop.
Parking brake Information WARNING
An unsecured vehicle can put itself into
motion and roll away. There is risk of an acci‐
dent. Before exiting, secure the vehicle against
rolling.
In order to ensure that the vehicle is secured
against rolling away, observe the following:
▷Set the parking brake.▷On uphill grades or on a slope, turn the
front wheels in the direction of the curb.Seite 66CONTROLSDriving66
Online Edition for Part no. 01 40 2 964 625 - X/15
Page 69 of 248
Interval mode or rain sensor
The concept
Without the rain sensor, the frequency of the
wiper operation is preset.
The rain sensor automatically controls the time
between wipes depending on the intensity of
the rainfall. The sensor is located on the wind‐
shield, directly behind the interior mirror.
Activating/deactivating
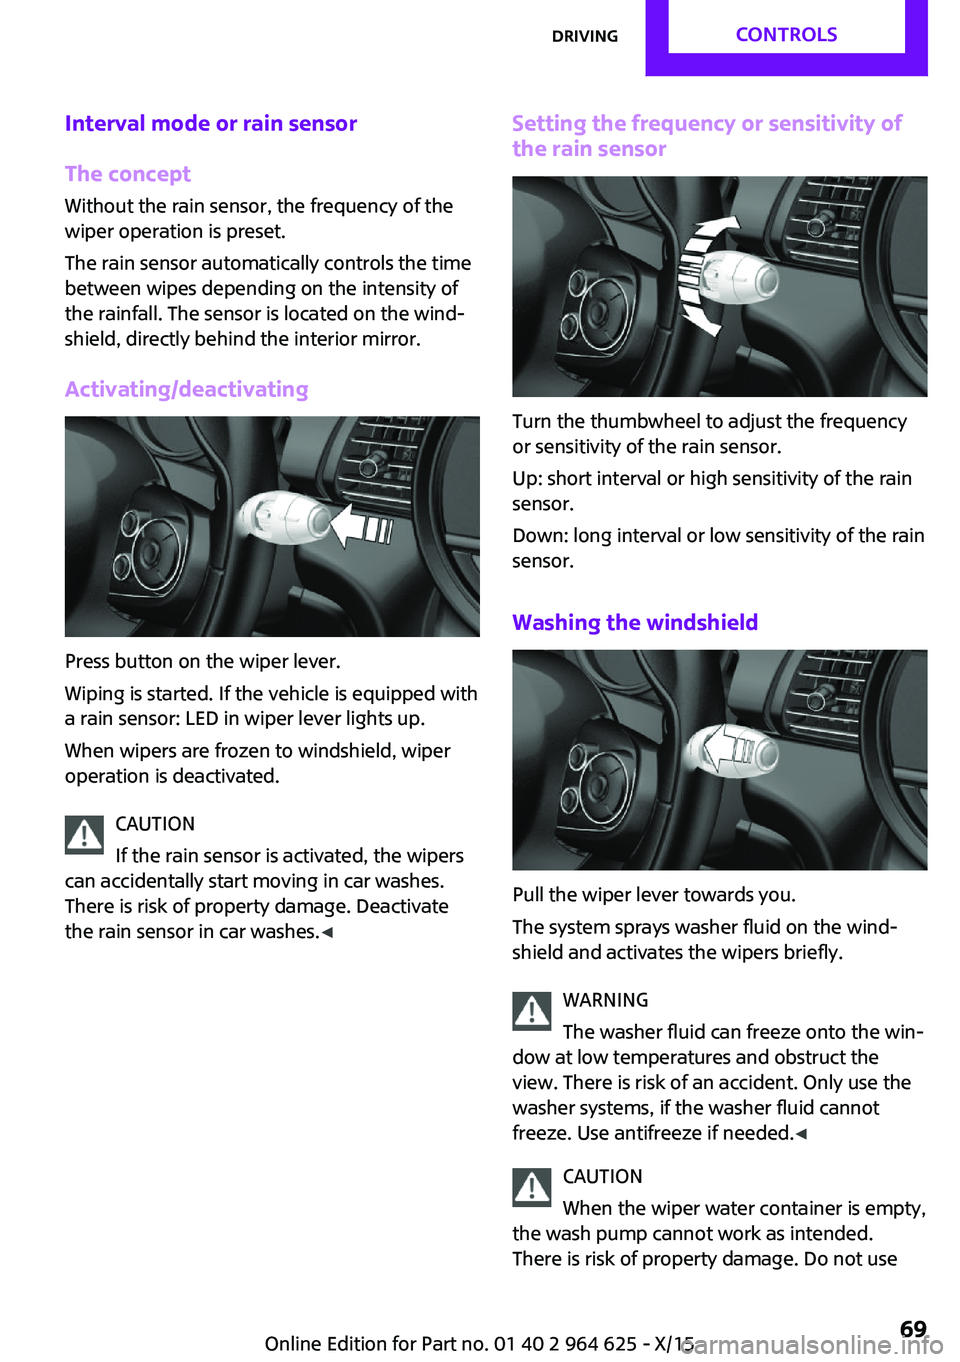
Press button on the wiper lever.
Wiping is started. If the vehicle is equipped with
a rain sensor: LED in wiper lever lights up.
When wipers are frozen to windshield, wiper
operation is deactivated.
CAUTION
If the rain sensor is activated, the wipers
can accidentally start moving in car washes.
There is risk of property damage. Deactivate
the rain sensor in car washes. ◀
Setting the frequency or sensitivity of
the rain sensor
Turn the thumbwheel to adjust the frequency
or sensitivity of the rain sensor.
Up: short interval or high sensitivity of the rain
sensor.
Down: long interval or low sensitivity of the rain
sensor.
Washing the windshield
Pull the wiper lever towards you.
The system sprays washer fluid on the wind‐
shield and activates the wipers briefly.
WARNING
The washer fluid can freeze onto the win‐
dow at low temperatures and obstruct the
view. There is risk of an accident. Only use the
washer systems, if the washer fluid cannot
freeze. Use antifreeze if needed. ◀
CAUTION
When the wiper water container is empty,
the wash pump cannot work as intended.
There is risk of property damage. Do not use
Seite 69DrivingCONTROLS69
Online Edition for Part no. 01 40 2 964 625 - X/15
Page 83 of 248
On the Control Display:1. "Vehicle info"2."Vehicle status"3. "Service required"4."§ Vehicle inspection"5."Date:"6.Adjust the settings.7.Confirm.
The entered date is stored.
Gear shift indicator
The concept
The system recommends the most fuel efficient
gear for the current driving situation.
General information Depending on the vehicle's features and coun‐
try version of the vehicle, the gear shift indica‐
tor is active in the manual mode of the Step‐
tronic transmission and with manual
transmission.
Suggestions to shift gear up or down are dis‐
played in the instrument cluster.
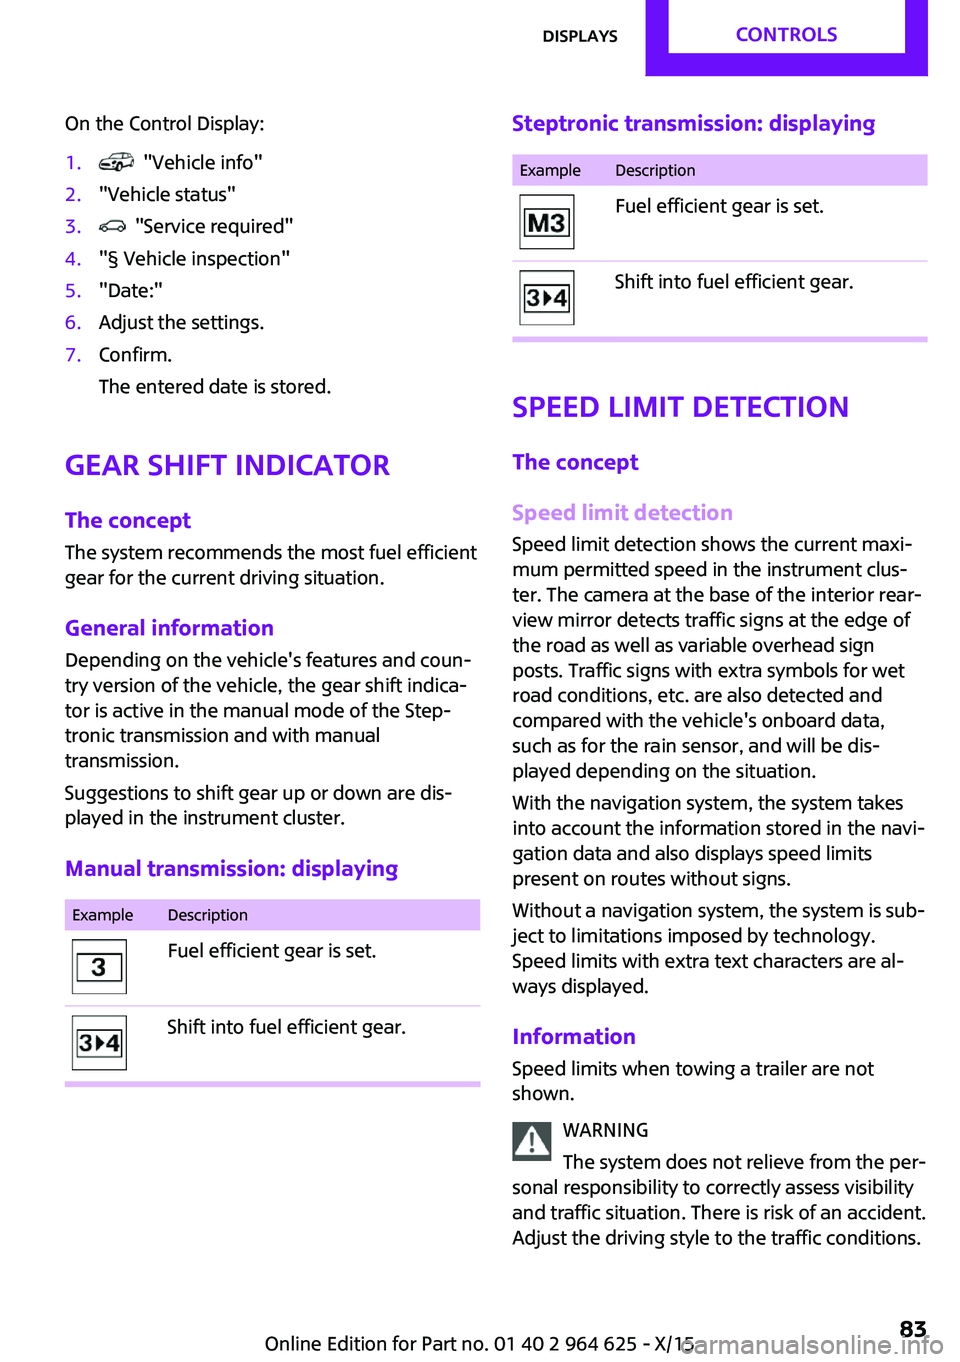
Manual transmission: displaying
ExampleDescriptionFuel efficient gear is set.Shift into fuel efficient gear.Steptronic transmission: displayingExampleDescriptionFuel efficient gear is set.Shift into fuel efficient gear.
Speed limit detection
The concept
Speed limit detection
Speed limit detection shows the current maxi‐
mum permitted speed in the instrument clus‐
ter. The camera at the base of the interior rear‐
view mirror detects traffic signs at the edge of
the road as well as variable overhead sign
posts. Traffic signs with extra symbols for wet
road conditions, etc. are also detected and
compared with the vehicle's onboard data,
such as for the rain sensor, and will be dis‐
played depending on the situation.
With the navigation system, the system takes
into account the information stored in the navi‐
gation data and also displays speed limits
present on routes without signs.
Without a navigation system, the system is sub‐
ject to limitations imposed by technology.
Speed limits with extra text characters are al‐
ways displayed.
Information
Speed limits when towing a trailer are not
shown.
WARNING
The system does not relieve from the per‐
sonal responsibility to correctly assess visibility
and traffic situation. There is risk of an accident.
Adjust the driving style to the traffic conditions.
Seite 83DisplaysCONTROLS83
Online Edition for Part no. 01 40 2 964 625 - X/15
Page 84 of 248
Watch traffic closely and actively interfere in
the respective situations. ◀
Overview
Camera
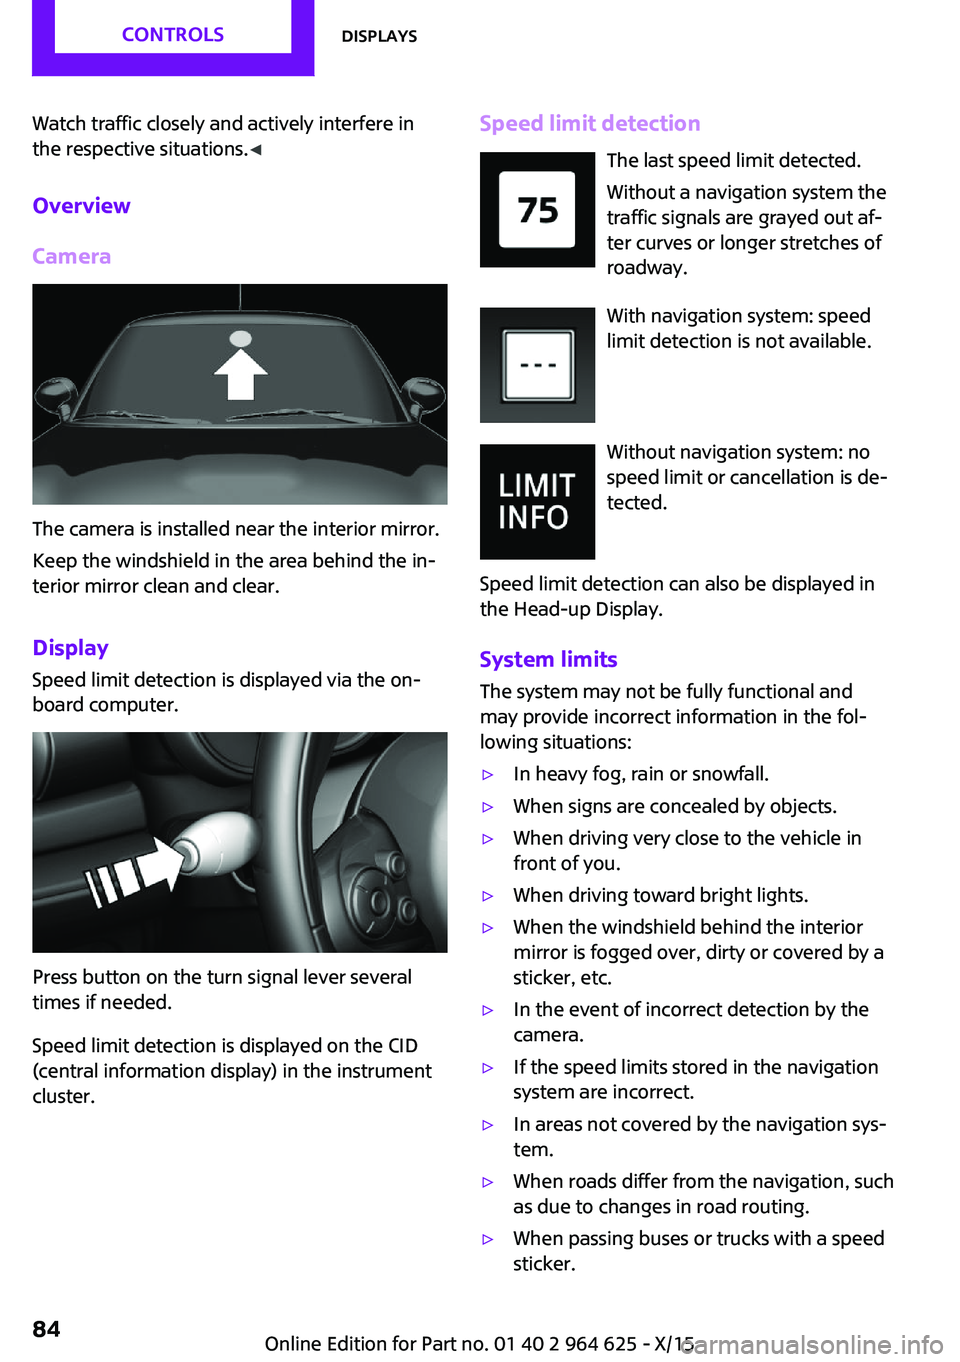
The camera is installed near the interior mirror.
Keep the windshield in the area behind the in‐
terior mirror clean and clear.
Display
Speed limit detection is displayed via the on‐
board computer.
Press button on the turn signal lever several
times if needed.
Speed limit detection is displayed on the CID
(central information display) in the instrument
cluster.
Speed limit detection
The last speed limit detected.
Without a navigation system the
traffic signals are grayed out af‐
ter curves or longer stretches of
roadway.
With navigation system: speed
limit detection is not available.
Without navigation system: no
speed limit or cancellation is de‐
tected.
Speed limit detection can also be displayed in
the Head-up Display.
System limits The system may not be fully functional and
may provide incorrect information in the fol‐
lowing situations:▷In heavy fog, rain or snowfall.▷When signs are concealed by objects.▷When driving very close to the vehicle in
front of you.▷When driving toward bright lights.▷When the windshield behind the interior
mirror is fogged over, dirty or covered by a
sticker, etc.▷In the event of incorrect detection by the
camera.▷If the speed limits stored in the navigation
system are incorrect.▷In areas not covered by the navigation sys‐
tem.▷When roads differ from the navigation, such
as due to changes in road routing.▷When passing buses or trucks with a speed
sticker.Seite 84CONTROLSDisplays84
Online Edition for Part no. 01 40 2 964 625 - X/15
Page 97 of 248

System limits
The automatic headlamp control cannot serve
as a substitute for your personal judgment of
lighting conditions.
E. g. the sensors are unable to detect fog or
hazy weather. To avoid safety risks under these
conditions, you should always switch on the
lights manually.
Daytime running lights General information
Position of switch:
, ,
The daytime running lights light up when the
ignition is switched on. After the ignition is
switched off, the parking lights light up in posi‐
tion
.
Activating/deactivating
In some countries, daytime running lights are
mandatory, so it may not be possible to deacti‐ vate the daytime running lights.
On the Control Display:
1. "Settings"2."Lighting"3."Daytime running lamps"
Settings are stored for the remote control cur‐
rently used.
Cornering lamp General information Position of switch:
When going around corners, the cornering light
also lights the interior area of the curve. Below
a speed of approx. 25 mph/40 km/h when the
turn signal is switched on and the steering an‐
gle is detected, there is automatic activation.
Malfunction
A Check Control message is displayed.
Cornering light is malfunctioning or has failed.
Have the system immediately checked by a
dealer’s service center or another qualified
service center or repair shop.
High-beam Assistant The concept The high-beam Assistant detects other traffic
participants early on and automatically
switches the high beams on or off depending
on the traffic situation. The assistant ensures
that the high beams are switched on, whenever
the traffic situation allows. In the low speed
range, the high beams are not switched on by
the system.
General information The system responds to light from oncoming
traffic and traffic driving ahead of you, and to
adequate illumination, e.g., in towns and cities.
The driver can intervene at any time and switch
the high beams on and off as usual.
Activating1.Depending on the equipment, turn the light
switch into position
or .
2.Press button on the turn signal lever, arrow.
The indicator lamp in the instrument
cluster lights up.
Seite 97LightsCONTROLS97
Online Edition for Part no. 01 40 2 964 625 - X/15
Page 98 of 248
When the low beams are on, the lights are au‐
tomatically brightened or dimmed.
The blue indicator lamp in the instru‐
ment cluster lights up when the system
switches on the high beams.
Deactivating The High-beam Assistant is deactivated when
manually switching the high beams on and off,
refer to page 68.
To reactivate the High-beam Assistant, press
the button on the turn signal lever.
System limits The High-beam Assistant cannot serve as a
substitute for the driver's personal judgment of when to use the high beams. Therefore, man‐
ually switch off the high beams in situations
where required to avoid a safety risk.
The system is not fully functional in the follow‐
ing situations, and driver intervention may be
necessary:▷In very unfavorable weather conditions,
such as fog or heavy precipitation.▷When detecting poorly-lit road users such
as pedestrians, cyclists, horseback riders
and wagons; when driving close to train or
ship traffic; and at animal crossings.▷In tight curves, on hilltops or in depressions,
in cross traffic or half-obscured oncoming
traffic on highways.▷In poorly-lit towns and cities and in the
presence of highly reflective signs.▷When the windshield behind the interior
mirror is fogged over, dirty or covered with
stickers, etc.
Fog lights
Front fog lights
The low beams must be switched on.
Press button. The green indicator lamp
lights up.
If the automatic headlight control, refer to
page 96, is activated, the low beams will come
on automatically when you switch on the front
fog lights.
When the high beams or headlight flasher are
activated, the front fog lights are not switched
on.
Rear fog lights
The low beams or front fog lights must be
switched on.
Press button. The yellow indicator
lamp lights up.
If the automatic headlight control, refer to
page 96, is activated, the low beams will come
on automatically when you switch on the rear
fog lights.
Instrument lightingAdjusting The parking lights or low beams
must be switched on to adjust
the brightness.
Adjust the brightness with the
thumbwheel.
Interior lights General information
The interior lights, footwell lights, access lights
and courtesy lights are controlled automati‐
cally.
Thumb wheel for the instrument lighting con‐
trols brightness of some of these features.Seite 98CONTROLSLights98
Online Edition for Part no. 01 40 2 964 625 - X/15
Page 99 of 248

Overview1Interior lights2Reading lights3Ambient light
Switching the interior lights on and offPress button.
To switch off permanently: press the button for
approx. 3 seconds.
Switch back on: press button.
Switching the reading lamps on and off manually
Press button.
Reading lights are located in the front next to
the interior light.
Ambient light
Depending on your optional features lighting
can be adjusted for some lights in the interior.
Activating/deactivating
On the Control Display:
1. "Settings"2."Lighting"3."Ambient:"
Settings are stored for the profile currently
used.
Changing color
Push the switch forward or back:
manual color change.
Push and hold the switch forward or
back: automatic color change. Push
the switch again to end color changes.
Setting the brightness The brightness of the ambient light can be ad‐
justed via the thumbwheel for the instrument
lighting or on the Control Display.
On the Control Display:1. "Settings"2."Lighting"3."Brightness:"4.Adjust the brightness.Seite 99LightsCONTROLS99
Online Edition for Part no. 01 40 2 964 625 - X/15