radio MINI Countryman 2013 Owner's Manual
[x] Cancel search | Manufacturer: MINI, Model Year: 2013, Model line: Countryman, Model: MINI Countryman 2013Pages: 275, PDF Size: 4.09 MB
Page 4 of 275
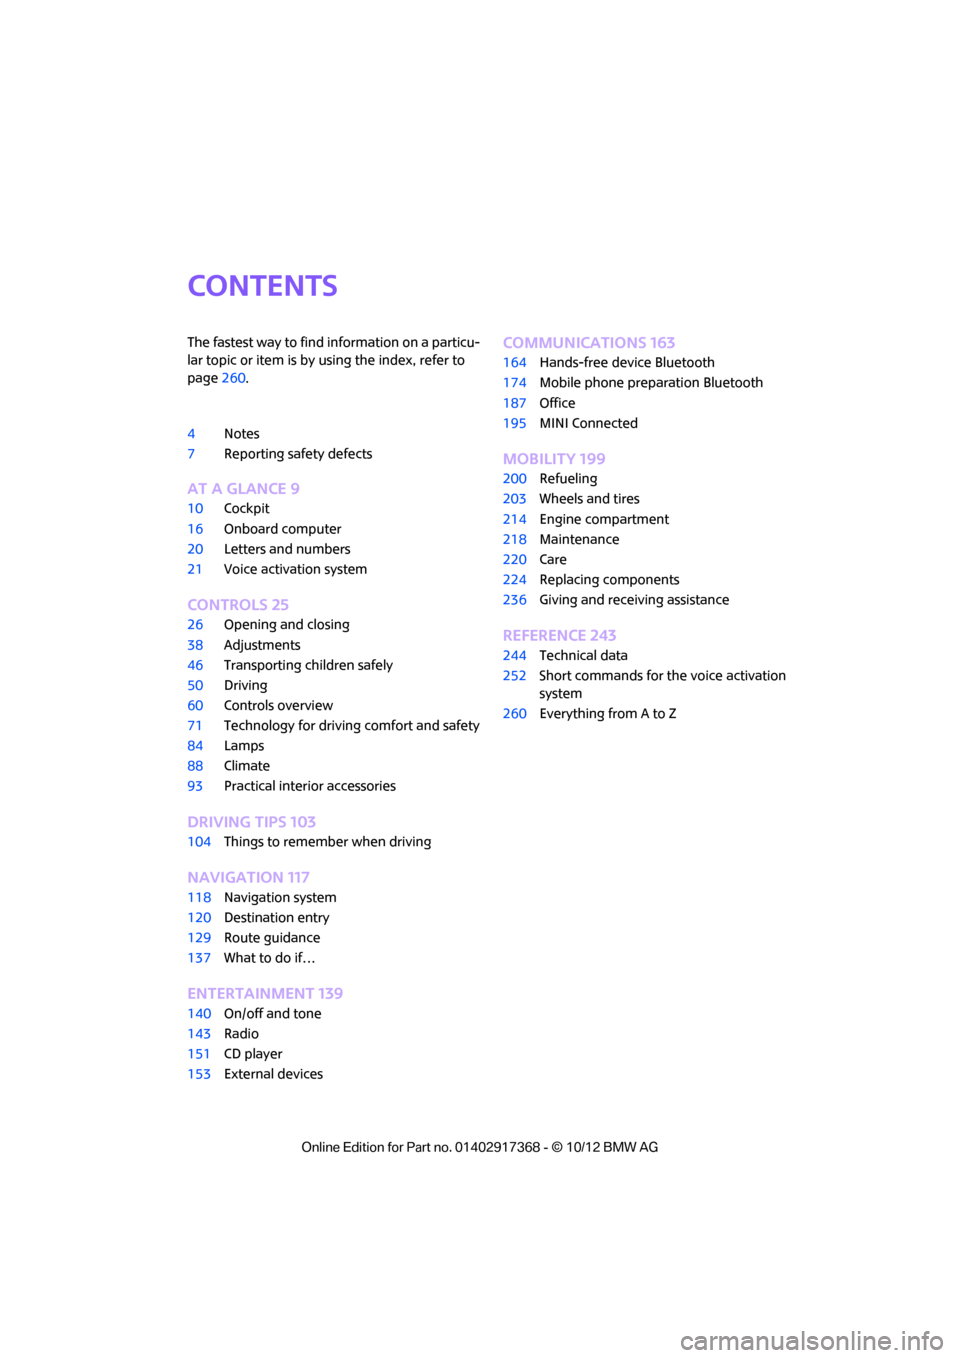
Contents
The fastest way to find information on a particu-
lar topic or item is by using the index, refer to
page260.
4 Notes
7 Reporting safety defects
AT A GLANCE 9
10Cockpit
16 Onboard computer
20 Letters and numbers
21 Voice activation system
CONTROLS 25
26Opening and closing
38 Adjustments
46 Transporting children safely
50 Driving
60 Controls overview
71 Technology for drivin g comfort and safety
84 Lamps
88 Climate
93 Practical interior accessories
DRIVING TIPS 103
104Things to remember when driving
NAVIGATION 117
118Navigation system
120 Destination entry
129 Route guidance
137 What to do if…
Entertainment 139
140On/off and tone
143 Radio
151 CD player
153 External devices
COMMUNICATIONS 163
164Hands-free device Bluetooth
174 Mobile phone preparation Bluetooth
187 Office
195 MINI Connected
MOBILITY 199
200Refueling
203 Wheels and tires
214 Engine compartment
218 Maintenance
220 Care
224 Replacing components
236 Giving and receiving assistance
REFERENCE 243
244Technical data
252 Short commands for the voice activation
system
260 Everything from A to Z
00320051004F004C00510048000300280047004C0057004C005200510003
Page 6 of 275
Notes
5
nance and repair methods. Therefore, have the
necessary work on your MINI only carried out by
a MINI dealer or a work shop that has specially
trained personnel workin g in accordance with
the specifications of the MINI manufacturer. If
this work is not carried out properly, there is a
danger of subsequent damage and related
safety hazards. <
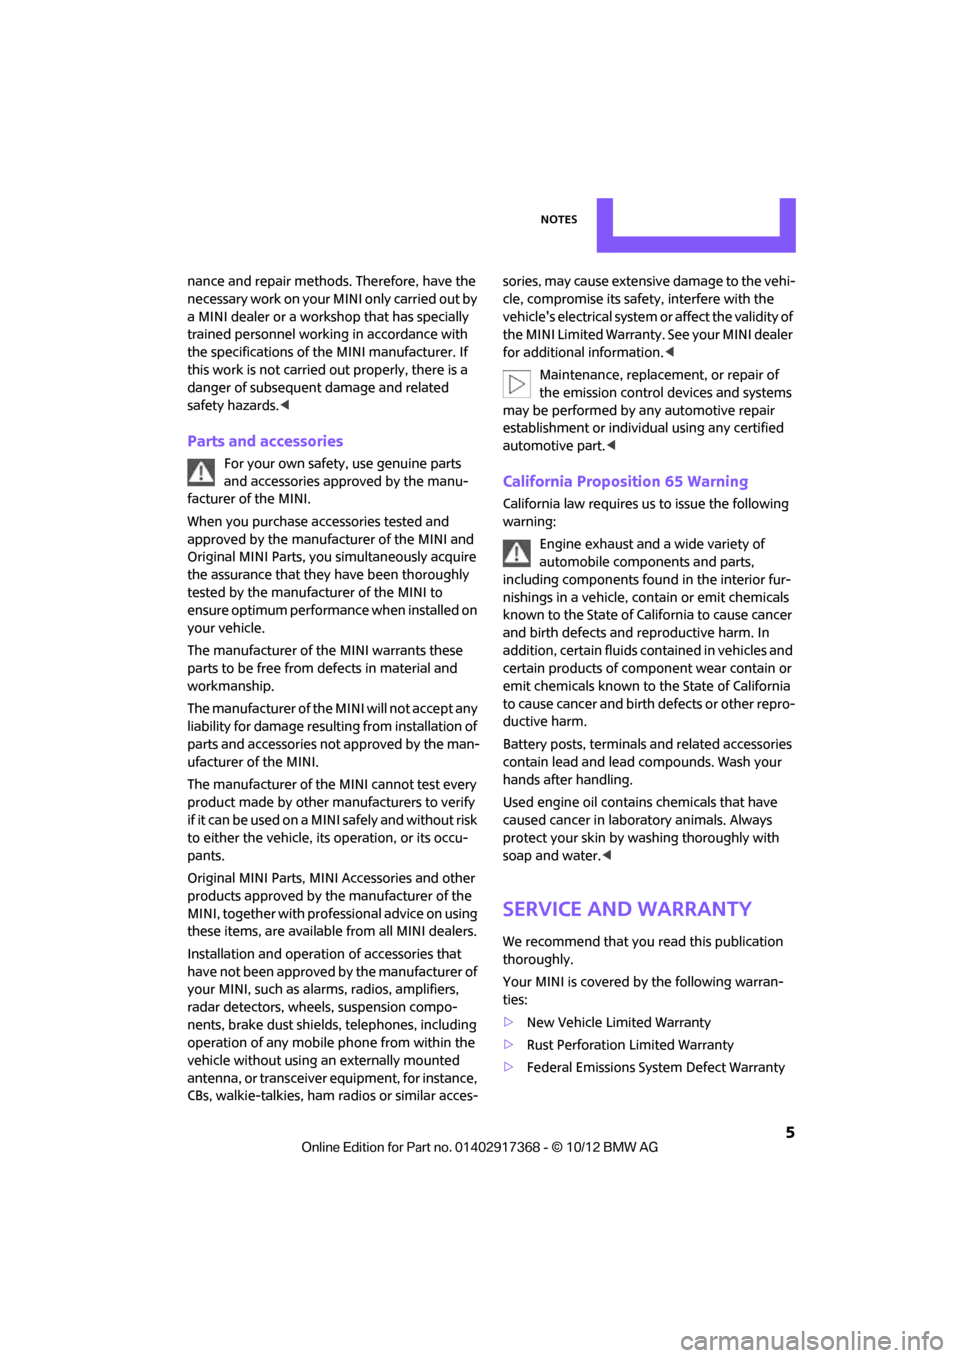
Parts and accessories
For your own safety, use genuine parts
and accessories approved by the manu-
facturer of the MINI.
When you purchase accessories tested and
approved by the manufacturer of the MINI and
Original MINI Parts, you simultaneously acquire
the assurance that they have been thoroughly
tested by the manufacturer of the MINI to
ensure optimum performance when installed on
your vehicle.
The manufacturer of the MINI warrants these
parts to be free from defects in material and
workmanship.
The manufacturer of the MINI will not accept any
liability for damage result ing from installation of
parts and accessories not approved by the man-
ufacturer of the MINI.
The manufacturer of the MINI cannot test every
product made by other manufacturers to verify
if it can be used on a MINI safely and without risk
to either the vehicle, its operation, or its occu-
pants.
Original MINI Parts, MINI Accessories and other
products approved by the manufacturer of the
MINI, together with professional advice on using
these items, are available from all MINI dealers.
Installation and operation of accessories that
have not been approved by the manufacturer of
your MINI, such as alarms, radios, amplifiers,
radar detectors, wheels, suspension compo-
nents, brake dust shield s, telephones, including
operation of any mobile phone from within the
vehicle without using an externally mounted
antenna, or transceiver equipment, for instance,
CBs, walkie-talkies, ham radios or similar acces- sories, may cause extensiv
e damage to the vehi-
cle, compromise its safety, interfere with the
vehicle's electrical s y s t e m o r a f f e c t t h e v a l i d i t y o f
the MINI Limited Warranty. See your MINI dealer
for additional information. <
Maintenance, replacement, or repair of
the emission control devices and systems
may be performed by any automotive repair
establishment or individu al using any certified
automotive part. <
California Proposition 65 Warning
California law requires us to issue the following
warning:
Engine exhaust and a wide variety of
automobile components and parts,
including components foun d in the interior fur-
nishings in a vehicle, contain or emit chemicals
known to the State of California to cause cancer
and birth defects and reproductive harm. In
addition, certain fluids co ntained in vehicles and
certain products of component wear contain or
emit chemicals known to the State of California
to cause cancer and birth defects or other repro-
ductive harm.
Battery posts, terminals and related accessories
contain lead and lead compounds. Wash your
hands after handling.
Used engine oil contains chemicals that have
caused cancer in laboratory animals. Always
protect your skin by washing thoroughly with
soap and water.<
Service and warranty
We recommend that you read this publication
thoroughly.
Your MINI is covered by the following warran-
ties:
> New Vehicle Limited Warranty
> Rust Perforation Limited Warranty
> Federal Emissions System Defect Warranty
00320051004F004C00510048000300280047004C0057004C005200510003
Page 12 of 275
CockpitAT A GLANCE
11
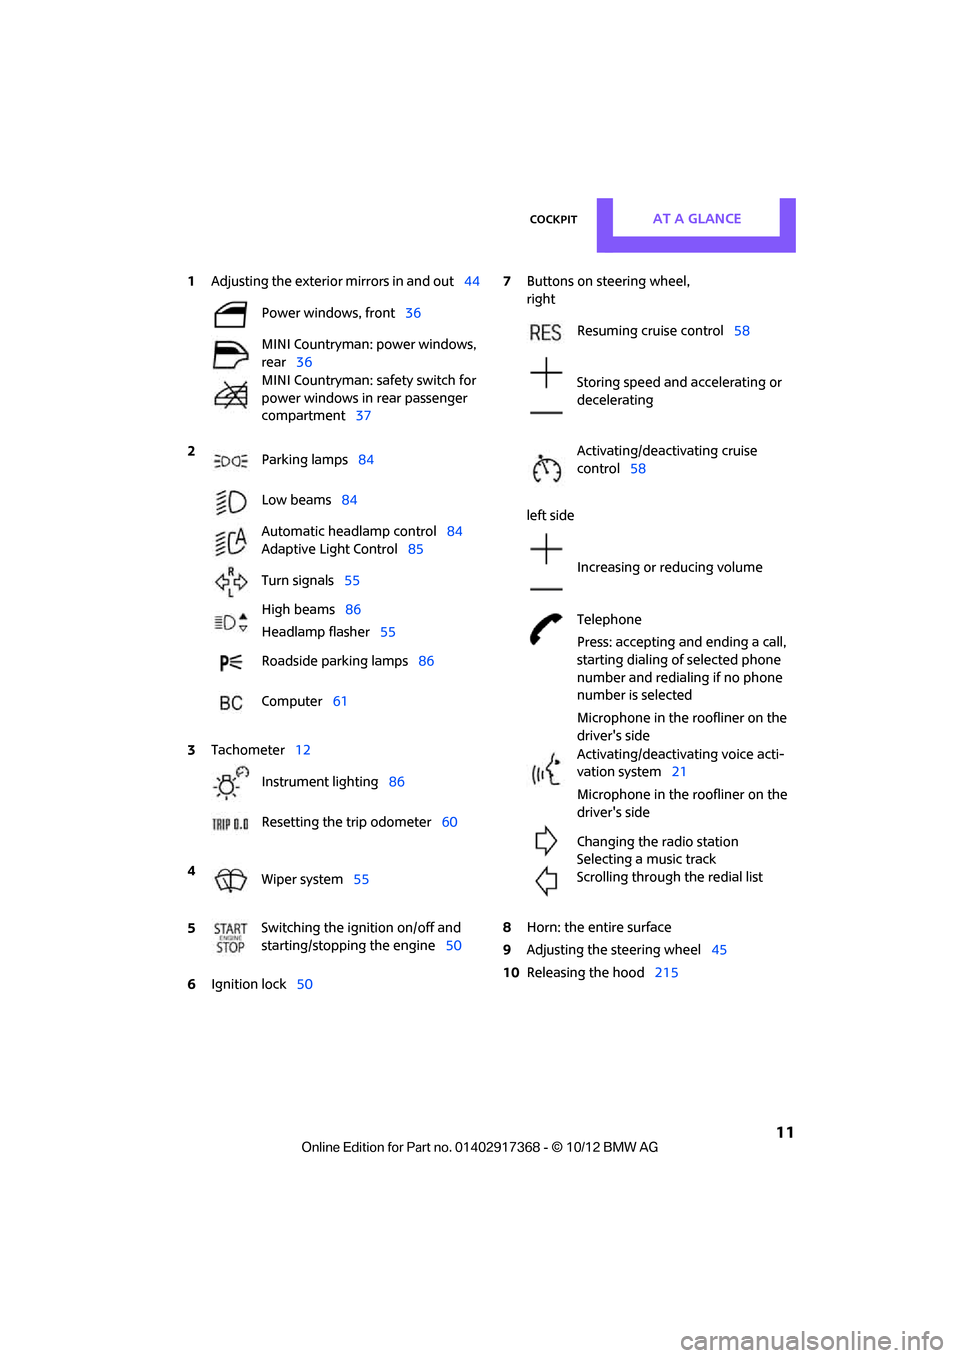
1Adjusting the exterior mirrors in and out44
6 Ignition lock 50 7
Buttons on steering wheel,
right
left side
8 Horn: the entire surface
9 Adjusting the steering wheel 45
10 Releasing the hood 215
Power windows, front
36
MINI Countryman: power windows,
rear 36
MINI Countryman: safety switch for
power windows in rear passenger
compartment 37
2 Parking lamps 84
Low beams 84
Automatic headlamp control 84
Adaptive Light Control 85
Turn signals 55
High beams 86
Headlamp flasher 55
Roadside parking lamps 86
Computer 61
3 Tachometer 12
Instrument lighting 86
Resetting the trip odometer 60
4 Wiper system 55
5 Switching the ignition on/off and
starting/stopping the engine
50
Resuming cruise control58
Storing speed and accelerating or
decelerating
Activating/deactivating cruise
control 58
Increasing or reducing volume
Telephone
Press: accepting and ending a call,
starting dialing of selected phone
number and redialing if no phone
number is selected
Microphone in the roofliner on the
driver's side
Activating/deactivating voice acti-
vation system 21
Microphone in the roofliner on the
driver's side
Changing the radio station
Selecting a music track
Scrolling through the redial list
00320051004F004C00510048000300280047004C0057004C005200510003
Page 15 of 275

AT A GLANCECockpit
14
Around the center console
1Hazard warning flashers
2 Speedometer 12
3 Radio/CD 143 4
Air conditioner or automatic climate
control 88
Selecting waveband
Changing the audio source
Changing the radio station or track
Ejecting CD
Temperature
Recirculated-air mode
Air distribution for air conditioner
Air distribution to the windshield
Air distribution to the upper body
area
00320051004F004C00510048000300280047004C0057004C005200510003
Page 18 of 275

Onboard computerAT A GLANCE
17
2.Tilting in four directions.
Buttons on MINI joystick
Operating principle
As of radio readiness, the following message
appears on the Control Display:
To hide the message:
Press the MINI joystick.
The main menu is displayed.
The message is automatically hidden after
approx. 10 seconds.
Opening the main menu
Press the button. All functions of the onboard computer can be
accessed via the main menu.
Selecting a menu item
Menu items displayed in
white can be selected.
1. Turn the MINI joystick until the desired
menu item is highlighted.
2. Press the MINI joystick.
A new menu is displayed or the function is exe-
cuted.
Using the button on the MINI joystick:
Press the button.
Each time that the button is pressed, the menu
items of the main menu can be called up, one
after another.
Menu items in the Owner's Manual
In the Owner's Manual, the menu items that
should be selected are depicted in quotation
marks, e.g. "Settings".
ButtonFunction
Accessing the main menu
Changing to another menu
00320051004F004C00510048000300280047004C0057004C005200510003
Page 19 of 275

AT A GLANCEOnboard computer
18
Changing between panels
After selecting a menu item, e.g. "Radio", a new
menu is displayed on a panel. The panels can
overlap.
>Move the MINI joystick to the left.
Current panel is closed and the previous
panel is displayed.
> Move the MINI joystick to the right.
The new panel is opened and placed on top.
Arrows pointing left or right indicate that addi-
tional panels can be accessed.
View of a menu that has been called up
In general, when a menu is called up, the panel
that was last selected in the menu is displayed.
To display the first panel of the menu:
Move the MINI joystick as often to the left as
necessary until the firs t panel is displayed.
Opening the Options menu
Move the MINI joystick to the right repeatedly
until the "Options" menu is displayed.
The following is displayed in the "Options"
menu: >
Screen settings.
> Control options for the selected menu.
Adjusting settings
1.Select a field.
2. Turn the MINI joystick until the desired set-
ting is displayed.
3. Press the MINI joystick to confirm the set-
ting.
Activating/deactivating functions
Some menu items are preceded by a check box.
It indicates whether the function is activated or
deactivated.
Selecting the menu item activates or deactivates
the function.
Function is activated.
Function is deactivated.
Example: setting the clock
1. Press the button.
The main menu is displayed.
2. Turn the MINI joystick until "Settings" is
selected, and press the MINI joystick.
00320051004F004C00510048000300280047004C0057004C005200510003
Page 20 of 275

Onboard computerAT A GLANCE
19
3.Turn the MINI joystick until "Time/Date" is
selected, and press the MINI joystick.
4. Turn the MINI joystick until "Time:" is
selected, and press the MINI joystick.
5. Turn the MINI joystick to set the hours and
press the MINI joystick.
6. Turn the MINI joystick to set the minutes and
press the MINI joystick.Status information
1Time
2 Telephone status
>Incoming, outgoing or missed call
> Roaming active
> Text message received
3 Reception strength of the wireless net-
work, depends on the mobile phone
4 Display for:
>Entertainment:
Radio, CD, external devices
> Telephone:
Name of the mobile phone paired with
the vehicle
5 Sound output is switched off or
display for traffic bulletins:
> "TI":
Traffic bulletins are switched on.
> No display:
Traffic bulletins are switched off.
Other displays:
Status information is te mporarily hidden during
Check Control message displays or entries via
the voice activation system.
00320051004F004C00510048000300280047004C0057004C005200510003
Page 23 of 275
AT A GLANCEVoice activation system
22
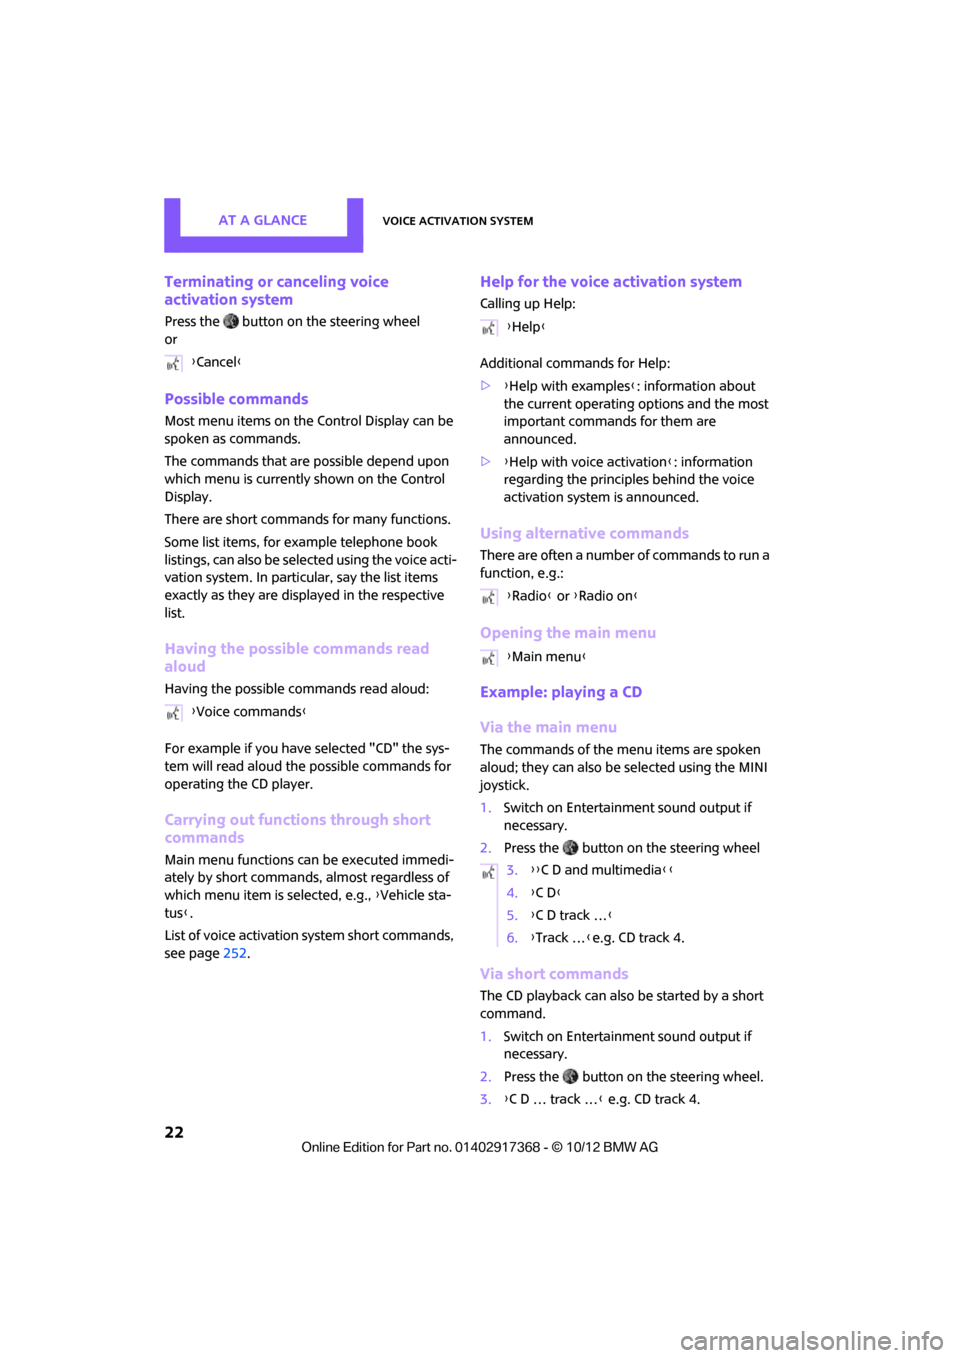
Terminating or canceling voice
activation system
Press the button on the steering wheel
or
Possible commands
Most menu items on the Control Display can be
spoken as commands.
The commands that are possible depend upon
which menu is currently shown on the Control
Display.
There are short commands for many functions.
Some list items, for example telephone book
listings, can also be selected using the voice acti-
vation system. In particular, say the list items
exactly as they are displayed in the respective
list.
Having the possible commands read
aloud
Having the possible co mmands read aloud:
For example if you have selected "CD" the sys-
tem will read aloud the possible commands for
operating the CD player.
Carrying out functions through short
commands
Main menu functions can be executed immedi-
ately by short commands , almost regardless of
which menu item is selected, e.g., {Vehicle sta-
tus }.
List of voice activation system short commands,
see page 252.
Help for the voice activation system
Calling up Help:
Additional commands for Help:
>{Help with examples }: information about
the current operating options and the most
important commands for them are
announced.
> {Help with voice activation }: information
regarding the principles behind the voice
activation system is announced.
Using alternative commands
There are often a number of commands to run a
function, e.g.:
Opening the main menu
Example: playing a CD
Via the main menu
The commands of the menu items are spoken
aloud; they can also be selected using the MINI
joystick.
1. Switch on Entertainment sound output if
necessary.
2. Press the button on the steering wheel
Via short commands
The CD playback can also be started by a short
command.
1.Switch on Entertainment sound output if
necessary.
2. Press the button on the steering wheel.
3. {C D … track … } e.g. CD track 4.
{
Cancel}
{ Voice commands }
{Help }
{ Radio } or {Radio on }
{ Main menu }
3. {{C D and multimedia }}
4. {C D }
5. {C D track … }
6. {Track … }e.g. CD track 4.
00320051004F004C00510048000300280047004C0057004C005200510003
Page 24 of 275
Voice activation systemAT A GLANCE
23
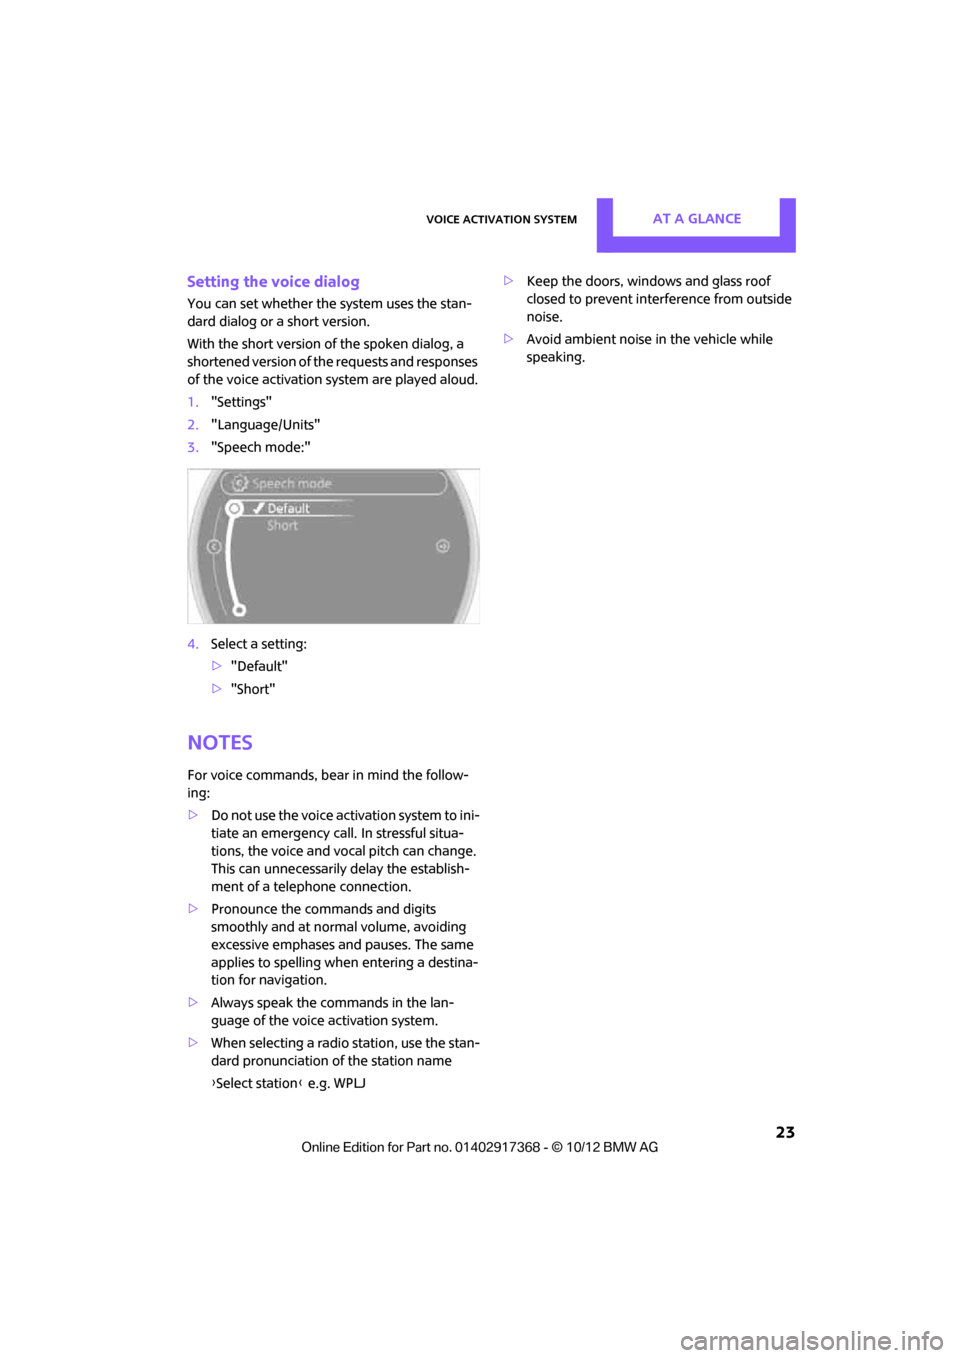
Setting the voice dialog
You can set whether the system uses the stan-
dard dialog or a short version.
With the short version of the spoken dialog, a
shortened version of the requests and responses
of the voice activation system are played aloud.
1. "Settings"
2. "Language/Units"
3. "Speech mode:"
4. Select a setting:
>"Default"
> "Short"
Notes
For voice commands, bear in mind the follow-
ing:
> Do not use the voice activation system to ini-
tiate an emergency call. In stressful situa-
tions, the voice and vocal pitch can change.
This can unnecessarily delay the establish-
ment of a telephone connection.
> Pronounce the commands and digits
smoothly and at norm al volume, avoiding
excessive emphases and pauses. The same
applies to spelling wh en entering a destina-
tion for navigation.
> Always speak the commands in the lan-
guage of the voice activation system.
> When selecting a radio station, use the stan-
dard pronunciation of the station name
{ Select station } e.g. WPLJ >
Keep the doors, windows and glass roof
closed to prevent interference from outside
noise.
> Avoid ambient noise in the vehicle while
speaking.
00320051004F004C00510048000300280047004C0057004C005200510003
Page 30 of 275
Opening and closingCONTROLS
29
Malfunctions
The remote control may malfunction due to
local radio waves. If this occurs, unlock and lock
the car at the door lock with the integrated key.
If the car can no longer be locked with a remote
control, the battery in the remote control is dis-
charged. Use this remote control during an
extended drive; this wi ll recharge the battery,
page 26.
For US owners only
The transmitter and receiv er units comply with
part 15 of the FCC/Federal Communications
Commission regulations. Operation is governed
by the following:
FCC ID:
LX8766S
LX8766E
LX8CAS
Compliance statement:
This device complies with part 15 of the FCC
Rules. Operation is subj ect to the following two
conditions:
> This device must not cause harmful interfer-
ence, and
> this device must accept any interference
received, including in terference that may
cause undesired operation.
Any unauthorized modifications or
changes to these devices could void the
user's authority to op erate this equipment. <
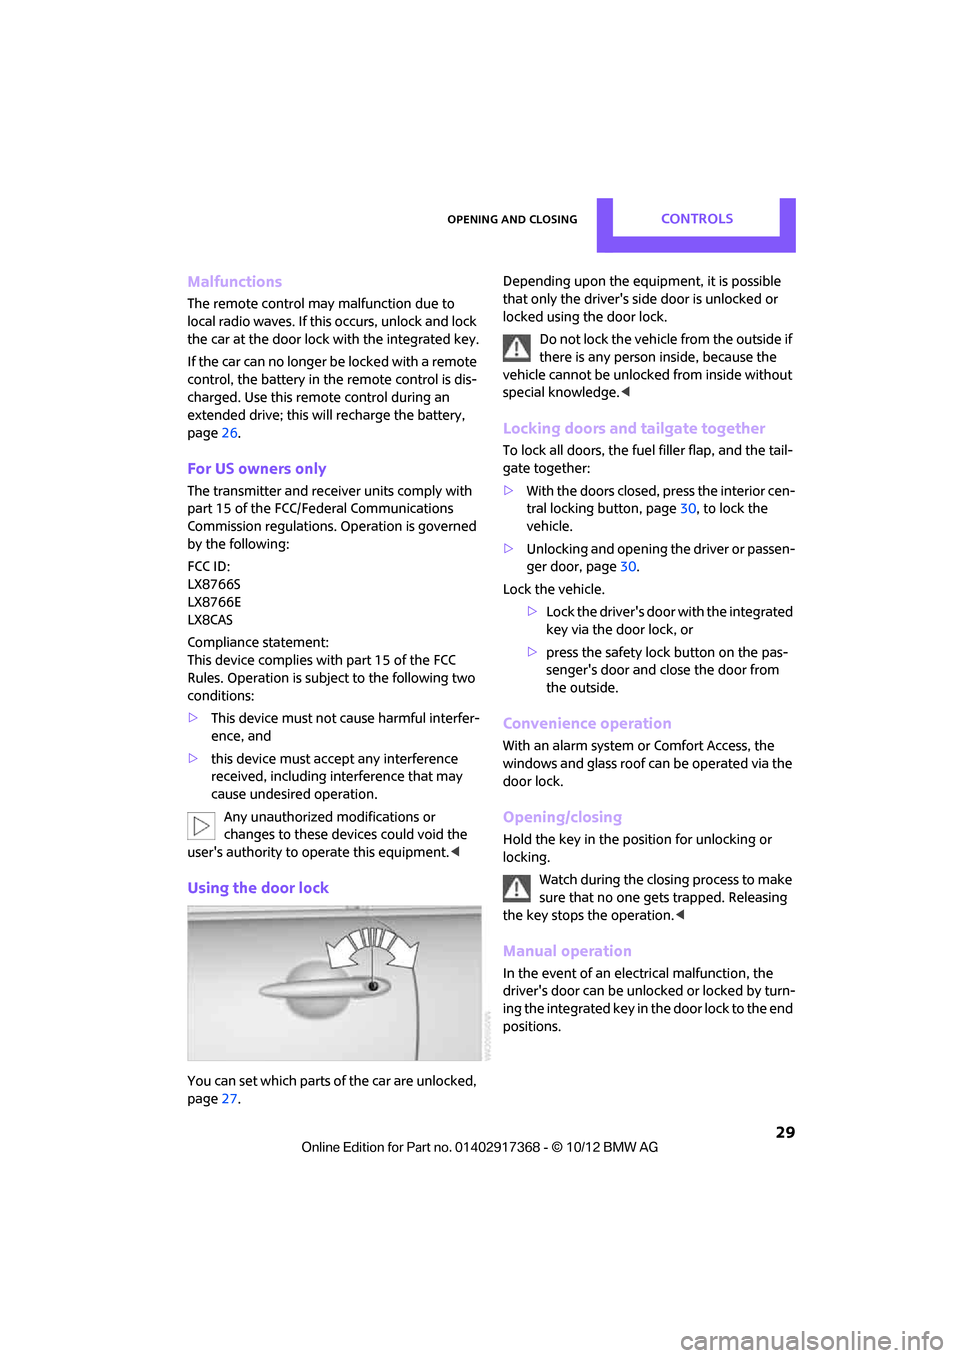
Using the door lock
You can set which parts of the car are unlocked,
page27. Depending upon the equipment, it is possible
that only the driver's side door is unlocked or
locked using the door lock.
Do not lock the vehicle from the outside if
there is any person inside, because the
vehicle cannot be unlocked from inside without
special knowledge. <
Locking doors and tailgate together
To lock all doors, the fuel filler flap, and the tail-
gate together:
>With the doors closed, press the interior cen-
tral locking button, page 30, to lock the
vehicle.
> Unlocking and opening the driver or passen-
ger door, page 30.
Lock the vehicle. >Lock the driver's door with the integrated
key via the door lock, or
> press the safety lock button on the pas-
senger's door and close the door from
the outside.
Convenience operation
With an alarm system or Comfort Access, the
windows and glass roof can be operated via the
door lock.
Opening/closing
Hold the key in the position for unlocking or
locking.
Watch during the closing process to make
sure that no one gets trapped. Releasing
the key stops the operation. <
Manual operation
In the event of an electrical malfunction, the
driver's door can be unlocked or locked by turn-
ing the integrated key in the door lock to the end
positions.
00320051004F004C00510048000300280047004C0057004C005200510003