ignition MINI Coupe 2012 Owner's Guide
[x] Cancel search | Manufacturer: MINI, Model Year: 2012, Model line: Coupe, Model: MINI Coupe 2012Pages: 218, PDF Size: 3.84 MB
Page 80 of 218
Technology for driving comfort and safetyCONTROLS
79
For information on car washing facilities and
care, refer to page161 and following.
Automatic mode
When starting the engine, a retracted rear
spoiler is in the automa tic mode. It is possible
that there will be some noise for a short time
when driving off because of the initialization of
the system.
Automatic extension:
When driving at speeds in excess of approx.
50 mph/80 km/h.
Automatic retraction:
When driving at speeds below 38 mph/60 km/h.
In the automatic mode, the rear spoiler
can not be retracted manually at speeds
greater than 37 mph/60 km/h. <
Manual mode
The manual mode can, for example, be used
when cleaning the rear spoiler while the ignition
is on or the engine is running. LED on switch is
on.
If the rear spoiler stops in an intermediate
position after repeat edly being extended
and retracted, then the system has become
overheated. After a short cooling down time, the
rear spoiler can again be operated.<
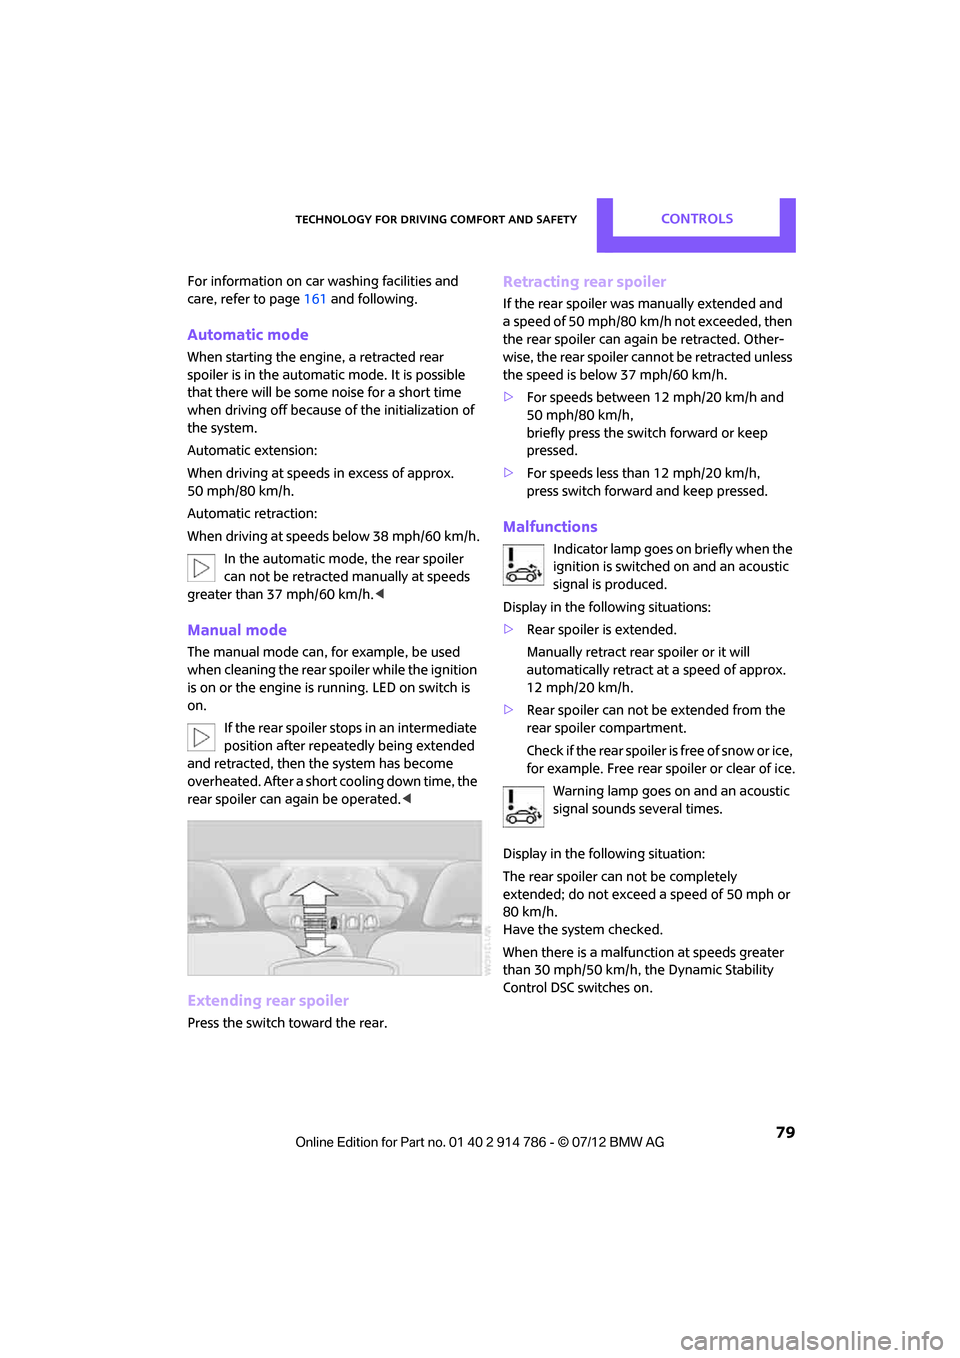
Extending rear spoiler
Press the switch toward the rear.
Retracting rear spoiler
If the rear spoiler was manually extended and
a speed of 50 mph/80 km/h not exceeded, then
the rear spoiler can again be retracted. Other-
wise, the rear spoiler cannot be retracted unless
the speed is below 37 mph/60 km/h.
> For speeds between 12 mph/20 km/h and
50 mph/80 km/h,
briefly press the switch forward or keep
pressed.
> For speeds less than 12 mph/20 km/h,
press switch forward and keep pressed.
Malfunctions
Indicator lamp goes on briefly when the
ignition is switched on and an acoustic
signal is produced.
Display in the following situations:
> Rear spoiler is extended.
Manually retract rear spoiler or it will
automatically retract at a speed of approx.
12 mph/20 km/h.
> Rear spoiler can not be extended from the
rear spoiler compartment.
Check if the rear spoiler is free of snow or ice,
for example. Free rear spoiler or clear of ice.
Warning lamp goes on and an acoustic
signal sounds several times.
Display in the following situation:
The rear spoiler can not be completely
extended; do not exceed a speed of 50 mph or
80 km/h.
Have the system checked.
When there is a malfunction at speeds greater
than 30 mph/50 km/h, the Dynamic Stability
Control DSC switches on.
Online Edition for Part no. 01 40 2 914 786 - \251 07/12 BMW AG
Page 89 of 218
CONTROLSLamps
88
Lamps
Vehicle equipment
In this chapter, all production, country, and
optional equipment that is offered in the model
range is described. Equipment is also described
that is not available because of, for example,
selected options or coun try version. This also
applies to safety relate d functions and systems.
Parking lamps/low beams
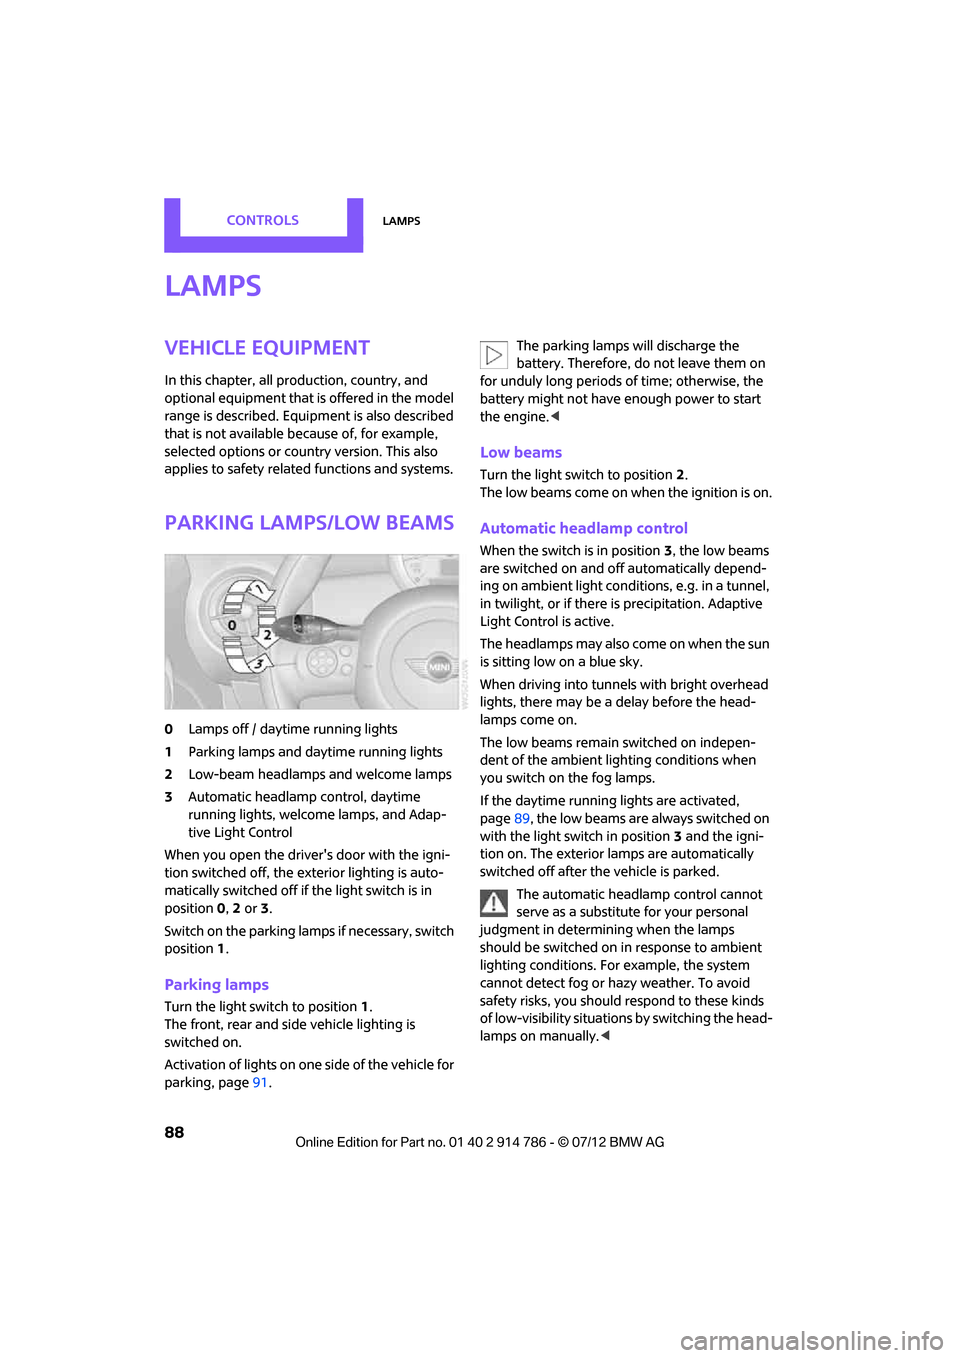
0Lamps off / daytime running lights
1 Parking lamps and daytime running lights
2 Low-beam headlamps and welcome lamps
3 Automatic headlamp control, daytime
running lights, welcome lamps, and Adap-
tive Light Control
When you open the driver's door with the igni-
tion switched off, the exterior lighting is auto-
matically switched off if the light switch is in
position 0, 2 or 3.
Switch on the parking lamps if necessary, switch
position 1.
Parking lamps
Turn the light switch to position 1.
The front, rear and side vehicle lighting is
switched on.
Activation of lights on on e side of the vehicle for
parking, page 91. The parking lamps will discharge the
battery. Therefore, do not leave them on
for unduly long periods of time; otherwise, the
battery might not have enough power to start
the engine. <
Low beams
Turn the light switch to position 2.
The low beams come on when the ignition is on.
Automatic headlamp control
When the switch is in position 3, the low beams
are switched on and off automatically depend-
ing on ambient light condit ions, e.g. in a tunnel,
in twilight, or if there is precipitation. Adaptive
Light Control is active.
The headlamps may also come on when the sun
is sitting low on a blue sky.
When driving into tunnels with bright overhead
lights, there may be a delay before the head-
lamps come on.
The low beams remain switched on indepen-
dent of the ambient lighting conditions when
you switch on the fog lamps.
If the daytime running lights are activated,
page 89, the low beams are always switched on
with the light switch in position 3 and the igni-
tion on. The exterior lamps are automatically
switched off after the vehicle is parked.
The automatic headlamp control cannot
serve as a substitute for your personal
judgment in determining when the lamps
should be switched on in response to ambient
lighting conditions. For example, the system
cannot detect fog or hazy weather. To avoid
safety risks, you should respond to these kinds
of low-visibility situations by switching the head-
lamps on manually. <
Online Edition for Part no. 01 40 2 914 786 - \251 07/12 BMW AG
Page 90 of 218
LampsCONTROLS
89
Welcome lamps
If you leave the light switch in the low beam or
automatic headlamp control position when you
switch off the ignition, the parking lamps and
interior lamps come on for a certain time as soon
as the vehicle is unlocked.
Pathway lighting
If you activate the headlamp flasher after
switching off the ignition with the lamps
switched off, the lo w beams come on and
remain on for a certain time.
The setting is stored for the remote control in
use, refer to Personal Profile, page 22.
Setting the duration or deactivating the
function
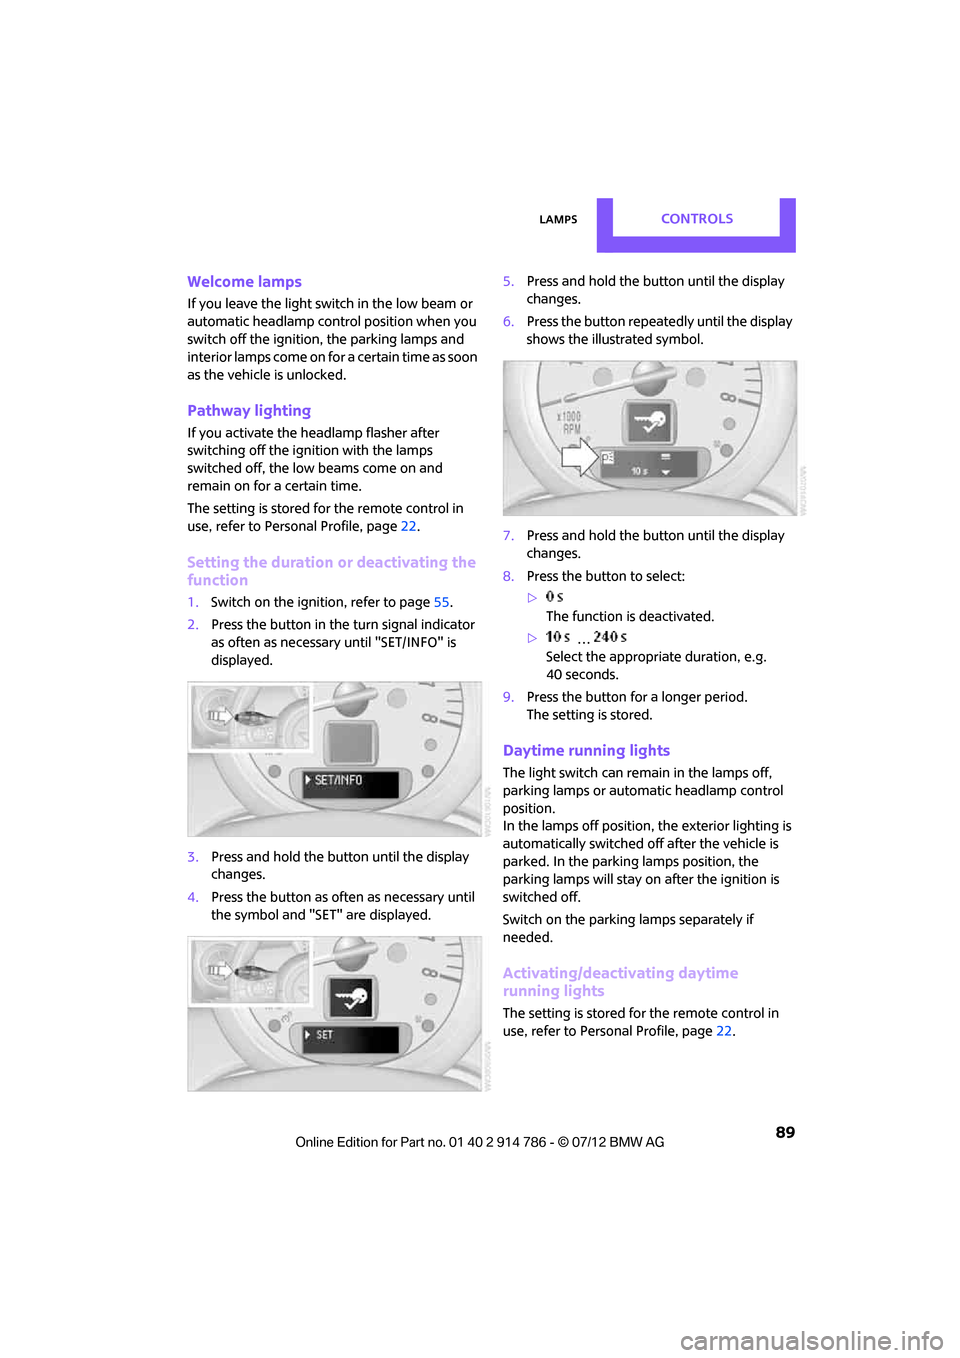
1. Switch on the ignition, refer to page 55.
2. Press the button in the turn signal indicator
as often as necessary until "SET/INFO" is
displayed.
3. Press and hold the butt on until the display
changes.
4. Press the button as of ten as necessary until
the symbol and "SET" are displayed. 5.
Press and hold the butt on until the display
changes.
6. Press the button repeatedly until the display
shows the illustrated symbol.
7. Press and hold the butt on until the display
changes.
8. Press the button to select:
>
The function is deactivated.
> …
Select the appropriate duration, e.g.
40 seconds.
9. Press the button for a longer period.
The setting is stored.
Daytime running lights
The light switch can remain in the lamps off,
parking lamps or automatic headlamp control
position.
In the lamps off position, the exterior lighting is
automatically switched of f after the vehicle is
parked. In the parking lamps position, the
parking lamps will stay on after the ignition is
switched off.
Switch on the parking lamps separately if
needed.
Activating/deactivating daytime
running lights
The setting is stored for the remote control in
use, refer to Personal Profile, page 22.
Online Edition for Part no. 01 40 2 914 786 - \251 07/12 BMW AG
Page 91 of 218
CONTROLSLamps
90
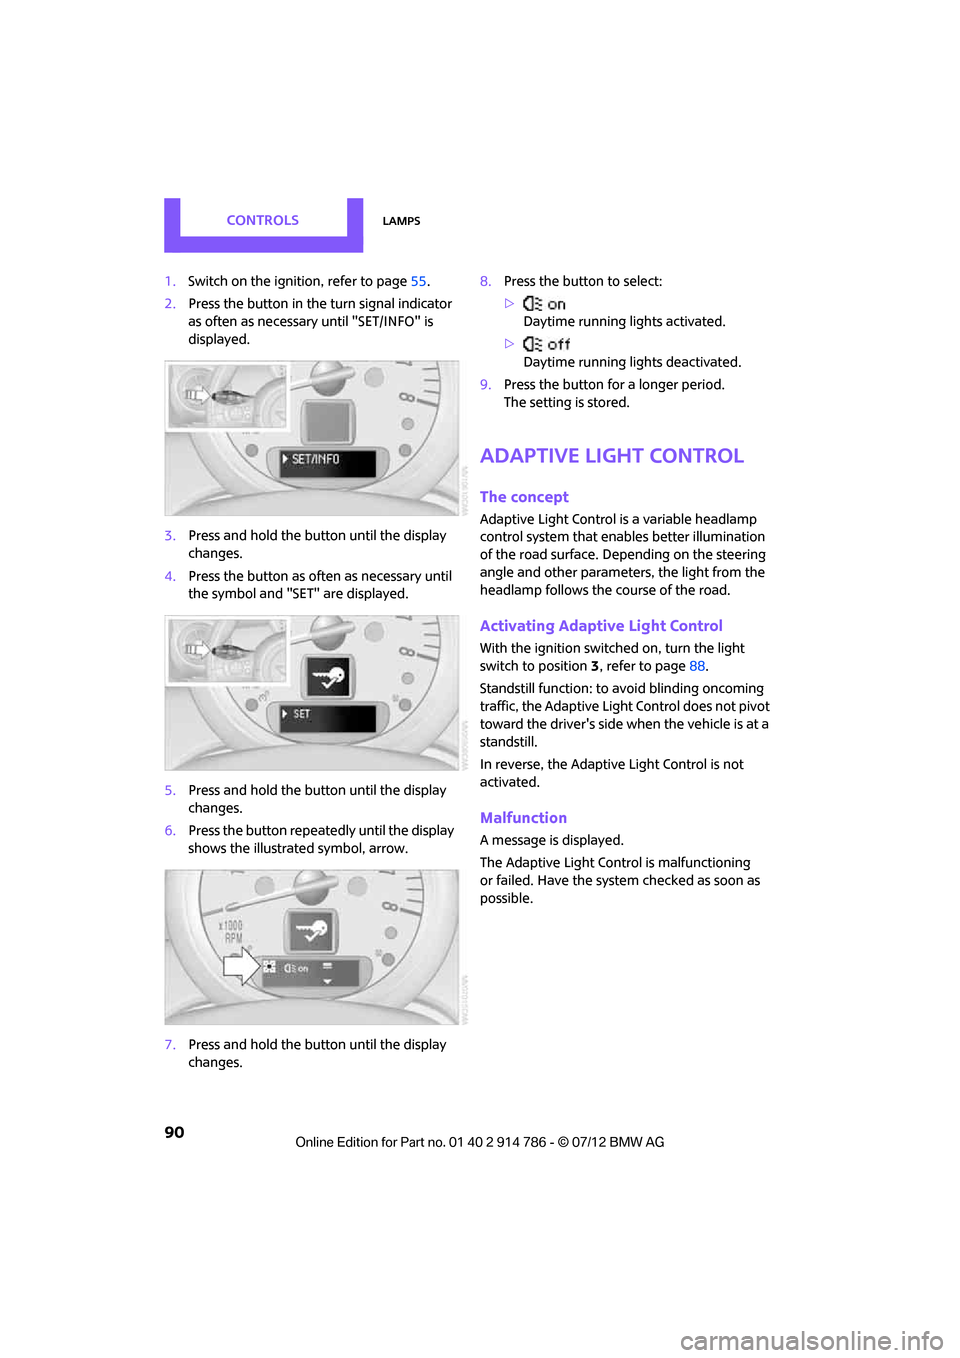
1.Switch on the ignition, refer to page 55.
2. Press the button in the turn signal indicator
as often as necessary until "SET/INFO" is
displayed.
3. Press and hold the button until the display
changes.
4. Press the button as often as necessary until
the symbol and "SET" are displayed.
5. Press and hold the button until the display
changes.
6. Press the button repeatedly until the display
shows the illustra ted symbol, arrow.
7. Press and hold the button until the display
changes. 8.
Press the button to select:
>
Daytime running lights activated.
> Daytime running lights deactivated.
9. Press the button for a longer period.
The setting is stored.
Adaptive Light Control
The concept
Adaptive Light Control is a variable headlamp
control system that enables better illumination
of the road surface. Depending on the steering
angle and other parameters, the light from the
headlamp follows the course of the road.
Activating Adaptive Light Control
With the ignition switched on, turn the light
switch to position 3, refer to page 88.
Standstill function: to avoid blinding oncoming
traffic, the Adaptive Light Control does not pivot
toward the driver's side when the vehicle is at a
standstill.
In reverse, the Adaptive Light Control is not
activated.
Malfunction
A message is displayed.
The Adaptive Light Control is malfunctioning
or failed. Have the system checked as soon as
possible.
Online Edition for Part no. 01 40 2 914 786 - \251 07/12 BMW AG
Page 93 of 218
CONTROLSLamps
92
If the automatic headlamp control is acti-
vated, the low beams will come on auto-
matically when you switch on the fog lamps. <
Rear fog lamp
The low beams or parking lamps with fog lamps
must be switched on. The yellow indicator lamp
c o m e s o n w h e n t h e r e a r f o g l a m p i s s w i t c h e d o n .
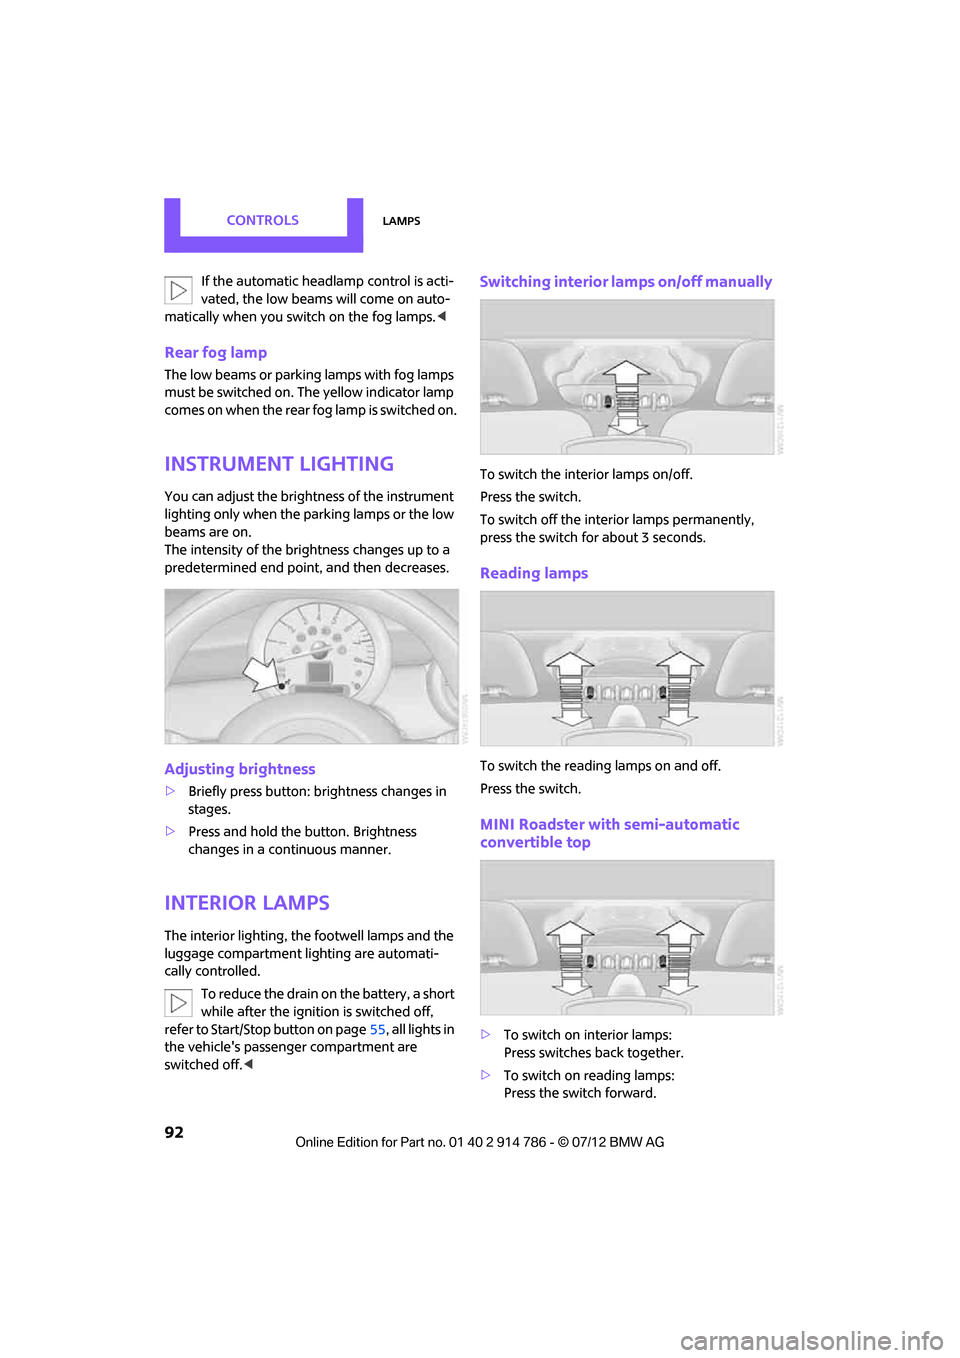
Instrument lighting
You can adjust the brightness of the instrument
lighting only when the parking lamps or the low
beams are on.
The intensity of the brightness changes up to a
predetermined end point, and then decreases.
Adjusting brightness
>Briefly press button: br ightness changes in
stages.
> Press and hold the button. Brightness
changes in a continuous manner.
Interior lamps
The interior lighting, the footwell lamps and the
luggage compartment lighting are automati-
cally controlled.
To reduce the drain on the battery, a short
while after the ignition is switched off,
refer to Start/Stop button on page 55, all lights in
the vehicle's passenger compartment are
switched off. <
Switching interior lamps on/off manually
To switch the interior lamps on/off.
Press the switch.
To switch off the interior lamps permanently,
press the switch for about 3 seconds.
Reading lamps
To switch the reading lamps on and off.
Press the switch.
MINI Roadster with semi-automatic
convertible top
>To switch on interior lamps:
Press switches back together.
> To switch on reading lamps:
Press the switch forward.
Online Edition for Part no. 01 40 2 914 786 - \251 07/12 BMW AG
Page 102 of 218
Practical interior accessoriesCONTROLS
101
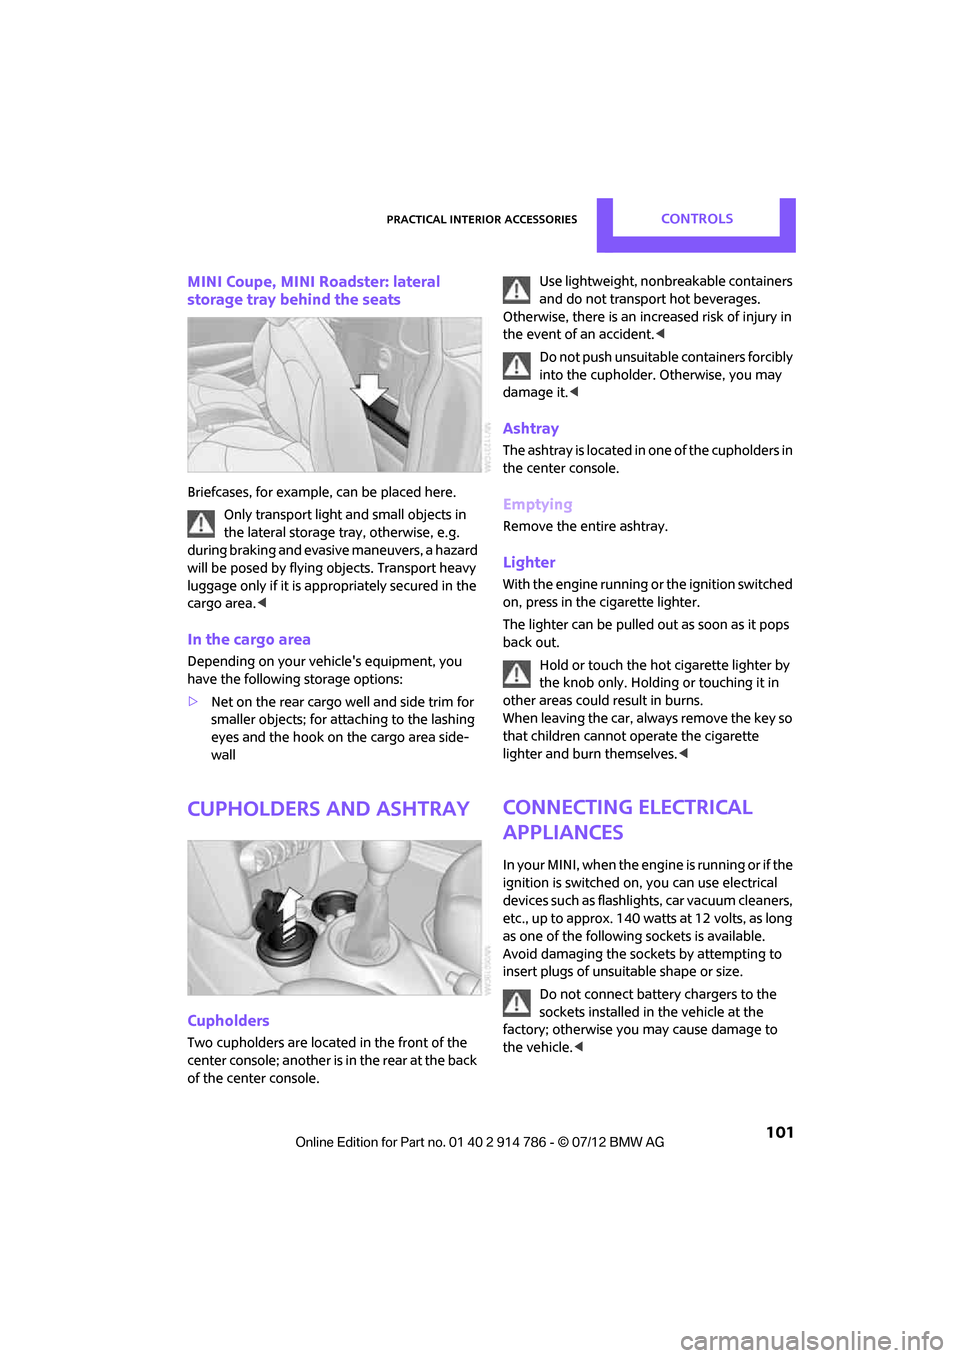
MINI Coupe, MINI Roadster: lateral
storage tray behind the seats
Briefcases, for example, can be placed here.
Only transport light and small objects in
the lateral storage tray, otherwise, e.g.
during braking and evasive maneuvers, a hazard
will be posed by flying objects. Transport heavy
luggage only if it is appropriately secured in the
cargo area. <
In the cargo area
Depending on your vehicle's equipment, you
have the following storage options:
>Net on the rear cargo well and side trim for
smaller objects; for attaching to the lashing
eyes and the hook on the cargo area side-
wall
Cupholders and ashtray
Cupholders
Two cupholders are located in the front of the
center console; another is in the rear at the back
of the center console. Use lightweight, nonbreakable containers
and do not transport hot beverages.
Otherwise, there is an increased risk of injury in
the event of an accident. <
Do not push unsuitable containers forcibly
into the cupholder. Otherwise, you may
damage it.<
Ashtray
The ashtray is located in one of the cupholders in
the center console.
Emptying
Remove the entire ashtray.
Lighter
With the engine running or the ignition switched
on, press in the cigarette lighter.
The lighter can be pulled out as soon as it pops
back out.
Hold or touch the hot cigarette lighter by
the knob only. Holding or touching it in
other areas could re sult in burns.
When leaving the car, always remove the key so
that children cannot operate the cigarette
lighter and burn themselves. <
Connecting electrical
appliances
In your MINI, when the engine is running or if the
ignition is switched on, you can use electrical
devices such as flashlights, car vacuum cleaners,
etc., up to approx. 140 watts at 12 volts, as long
as one of the following sockets is available.
Avoid damaging the sockets by attempting to
insert plugs of unsui table shape or size.
Do not connect battery chargers to the
sockets installed in the vehicle at the
factory; otherwise you may cause damage to
the vehicle. <
Online Edition for Part no. 01 40 2 914 786 - \251 07/12 BMW AG
Page 117 of 218
ENTERTAINMENTRadio MINI Boost CD
116
Radio MINI Boost CD
Vehicle equipment
In this chapter, all production, country, and
optional equipment that is offered in the model
range is described. Equipment is also described
that is not available because of, for example,
selected options or coun try version. This also
applies to safety relate d functions and systems.
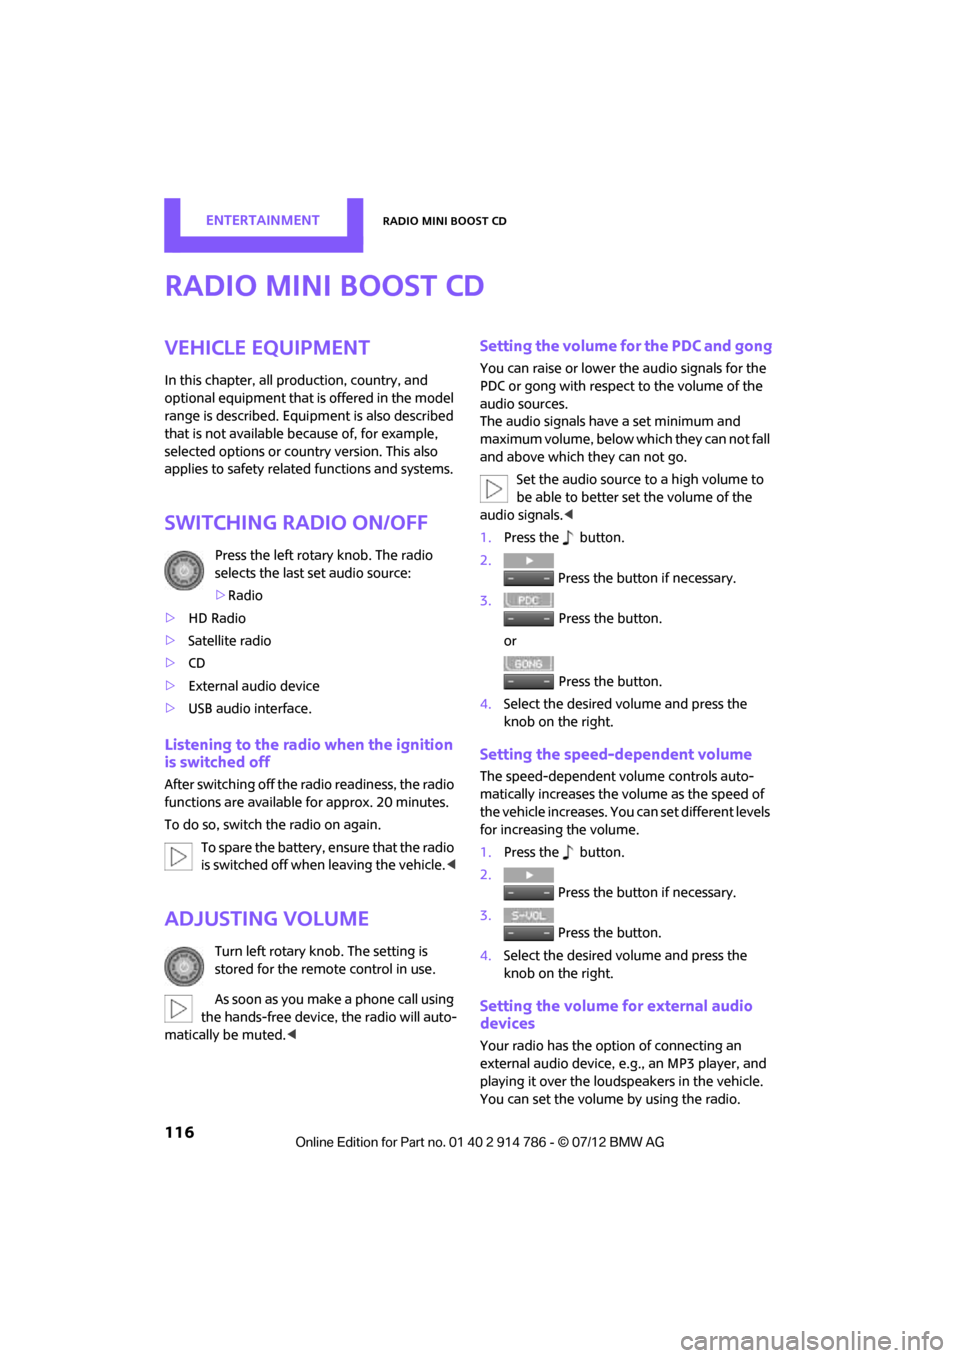
Switching radio on/off
Press the left rotary knob. The radio
selects the last set audio source:
>Radio
> HD Radio
> Satellite radio
> CD
> External audio device
> USB audio interface.
Listening to the radi o when the ignition
is switched off
After switching off the radio readiness, the radio
functions are available for approx. 20 minutes.
To do so, switch the radio on again.
To spare the battery, ensure that the radio
is switched off when leaving the vehicle. <
Adjusting volume
Turn left rotary knob. The setting is
stored for the remote control in use.
As soon as you make a phone call using
the hands-free device, the radio will auto-
matically be muted. <
Setting the volume for the PDC and gong
You can raise or lower the audio signals for the
PDC or gong with respect to the volume of the
audio sources.
The audio signals have a set minimum and
maximum volume, below which they can not fall
and above which they can not go.
Set the audio source to a high volume to
be able to better set the volume of the
audio signals. <
1. Press the button.
2. Press the button if necessary.
3. Press the button.
or
Press the button.
4. Select the desired vo lume and press the
knob on the right.
Setting the speed-dependent volume
The speed-dependent volume controls auto-
matically increases the volume as the speed of
the vehicle increases. You can set different levels
for increasing the volume.
1. Press the button.
2. Press the button if necessary.
3. Press the button.
4. Select the desired vo lume and press the
knob on the right.
Setting the volume for external audio
devices
Your radio has the option of connecting an
external audio device, e.g., an MP3 player, and
playing it over the loudspeakers in the vehicle.
You can set the volume by using the radio.
Online Edition for Part no. 01 40 2 914 786 - \251 07/12 BMW AG
Page 131 of 218
COMMUNICATIONSTelephone
130
10Switching displays 134
> "PHONE": telephone
> "COMP": computer
> "CONFIG": adjusting
> "MINI": MINI contact
11 Radio on/off, volume
>Press: switchin g radio on/off
> Turn: adjusting volume 133
12 Ejecting CD
Pairing/unpairing mobile
phone
Overview
The pairing data of four mobile phones can be
stored simultaneously in the vehicle. When the
engine is running or the ignition is switched on,
each paired mobile phone is automatically
detected as soon as it is present in the passenger
compartment.
Requirements
>Suitable mobile ph one, refer to page128.
> Mobile phone operational.
> Bluetooth activated in vehicle, refer to
page 130, and in the mobile phone.
> Bluetooth presets in the mobile phone are
required, e.g. connection not confirmed or
visible, refer to Owner's Manual for the
mobile phone.
> A number with at least 4 and at most
16 digits has been established as the Bluetooth passkey. Only required once for
pairing.
> Ignition switched on.
Activating/deactivating Bluetooth link
Bluetooth is not permitted everywhere. Comply
with all safety guidelines and regulations.
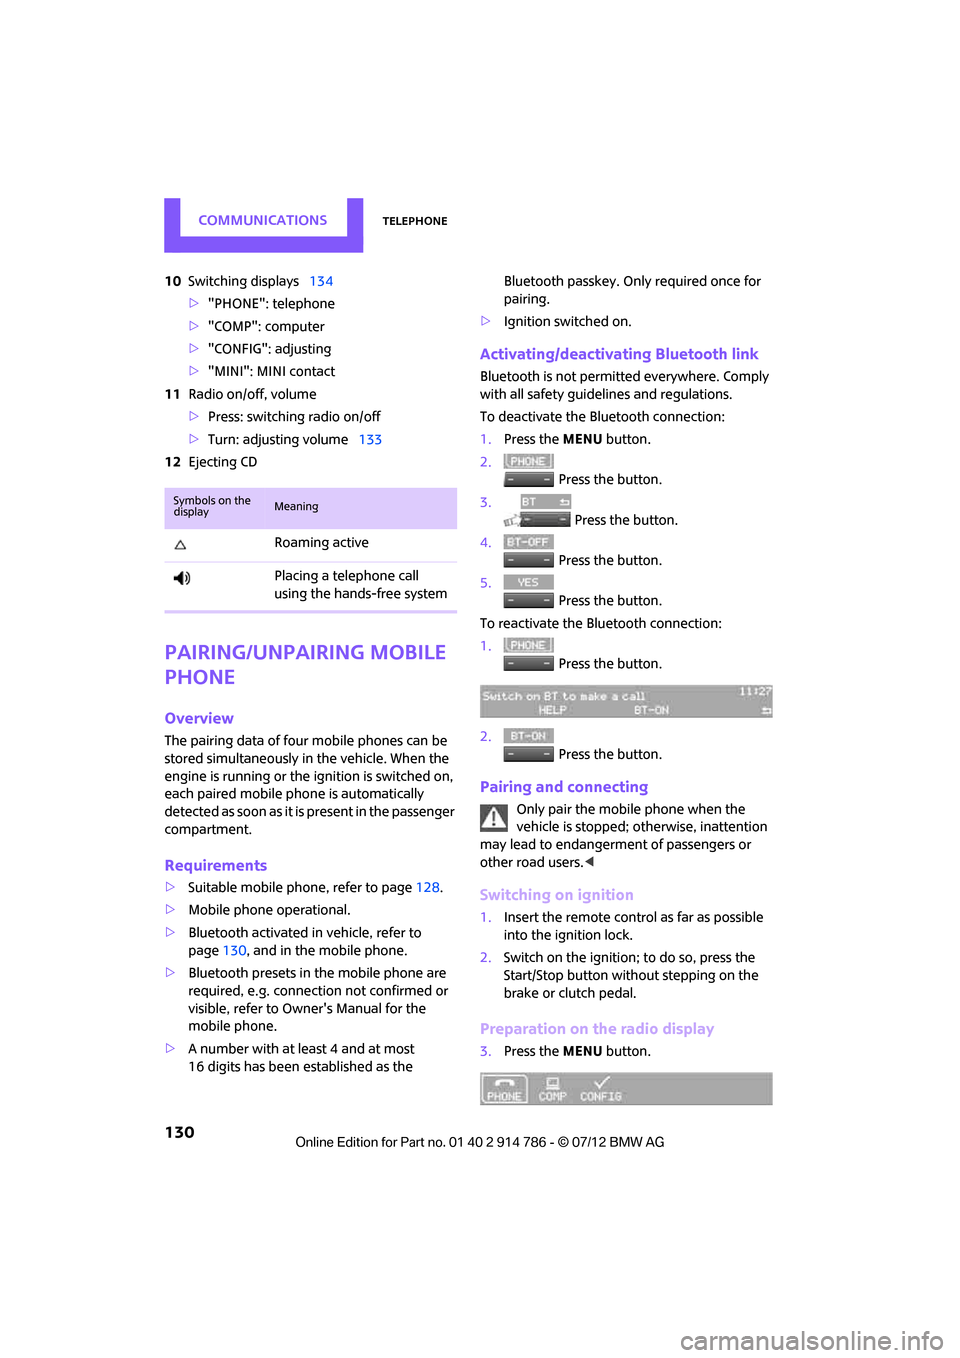
To deactivate the Bluetooth connection:
1.Press the MENU button.
2. Press the button.
3. Press the button.
4. Press the button.
5. Press the button.
To reactivate the Bluetooth connection:
1. Press the button.
2. Press the button.
Pairing and connecting
Only pair the mobile phone when the
vehicle is stopped; otherwise, inattention
may lead to endangerment of passengers or
other road users. <
Switching on ignition
1.Insert the remote control as far as possible
into the ignition lock.
2. Switch on the ignition; to do so, press the
Start/Stop button without stepping on the
brake or clutch pedal.
Preparation on the radio display
3.Press the MENU button.
Symbols on the
displayMeaning
Roaming active
Placing a telephone call
using the hands-free system
Online Edition for Part no. 01 40 2 914 786 - \251 07/12 BMW AG
Page 134 of 218
TelephoneCOMMUNICATIONS
133
vehicle. Unpair the connected device from
the vehicle and only pair and connect one
device.
> Is the mobile phone no longer responding?
Switch the mobile ph one off and back on
again. Repeat the pairing procedure.
> Delete connection to the mobile phone and,
if necessary, to the radio and try again.
Is the mobile phone no longer responding?
> Switch the mobile ph one off and back on
again. Repeat the pairing procedure.
> Is the ambient temperature too high or too
low? Do not subject your mobile phone to
extreme ambient temperatures.
Phone book entries are not displayed, not all of
them are displayed, or they are displayed
incompletely.
> The transfer of phone book entries has not
yet completed.
> It is possible that only the phone book
entries of the mobile phone or the SIM card
are transferred.
> It may not be possible to display phone book
entries with special characters.
> The number of phone book entries to be
stored is too high.
> The data volume of the phone book entry is
too great, e.g. due to additionally stored
information such as notes? Reduce the data
volume.
The telephone connection quality is low.
> Depending on the mobile phone, it is possi-
ble to adjust the strength of the Bluetooth
signal.
> Insert the mobile phone into the snap-in
adapter or place it in the vicinity of the
center console.
> Adjust the volume of the microphone and
speaker separately.
If you have gone through all items in the list and
still cannot activate the desired function please
contact the Hotline or your MINI dealer.Operation
Overview
The following functions can be operated using
the radio:
> Accepting/refusing a call
> Dialing phone numbers
> Dialing a phone number from the phone
book
> Dialing a stored number, e.g., from a list of
accepted calls
> Ending a call
When the ignition is switched off and radio
readiness switched on, e. g. after removal of the
infrared remote control, an ongoing conversa-
tion can be continued for a maximum of
25 minutes using the hands-free system.
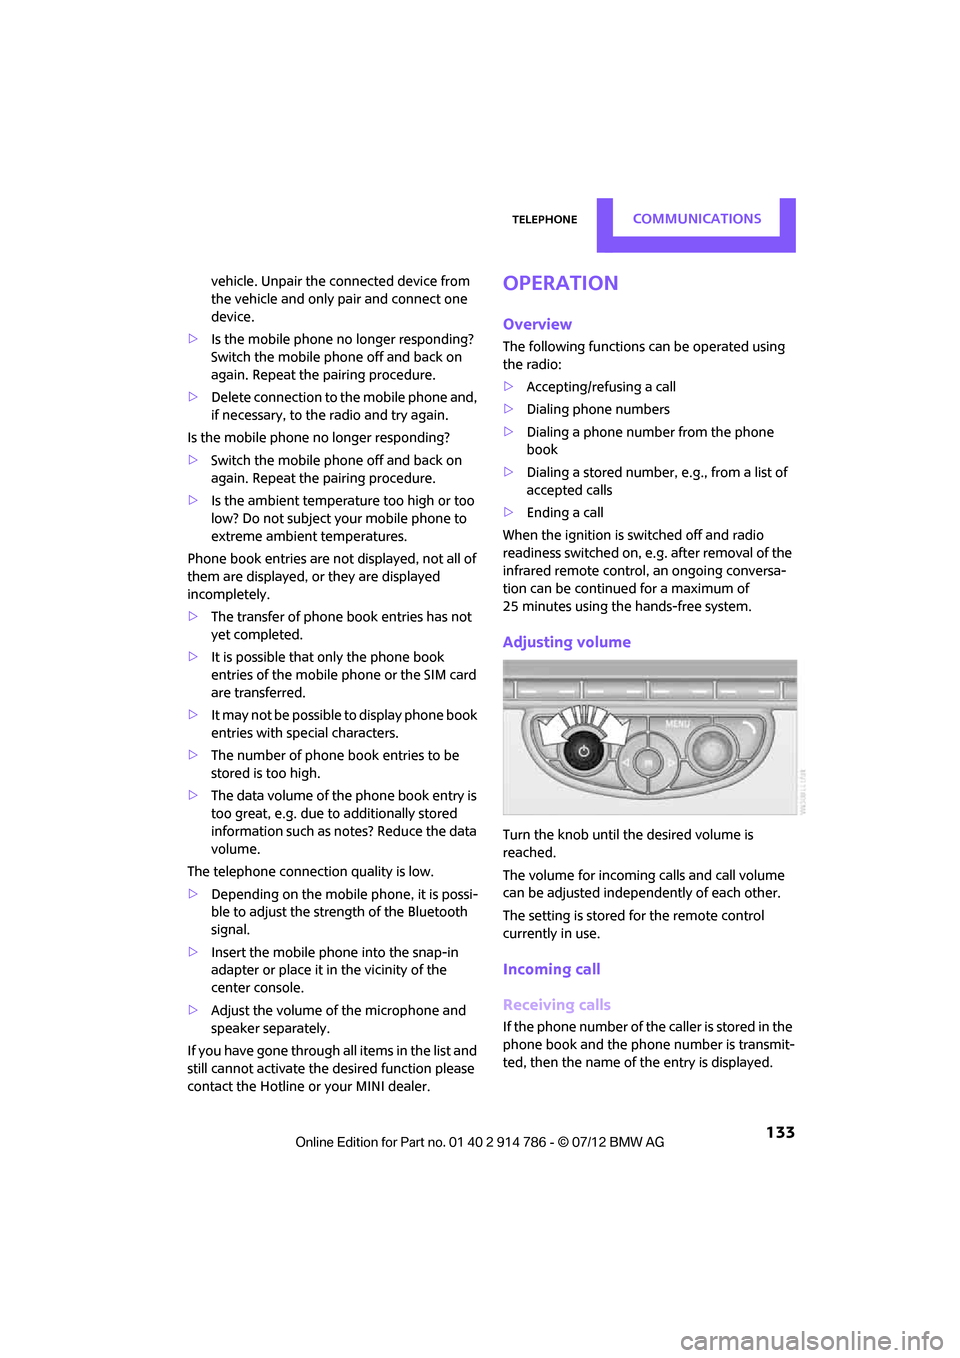
Adjusting volume
Turn the knob until the desired volume is
reached.
The volume for incoming calls and call volume
can be adjusted indepe ndently of each other.
The setting is stored for the remote control
currently in use.
Incoming call
Receiving calls
If the phone number of the caller is stored in the
phone book and the phone number is transmit-
ted, then the name of the entry is displayed.
Online Edition for Part no. 01 40 2 914 786 - \251 07/12 BMW AG
Page 137 of 218
COMMUNICATIONSTelephone
136
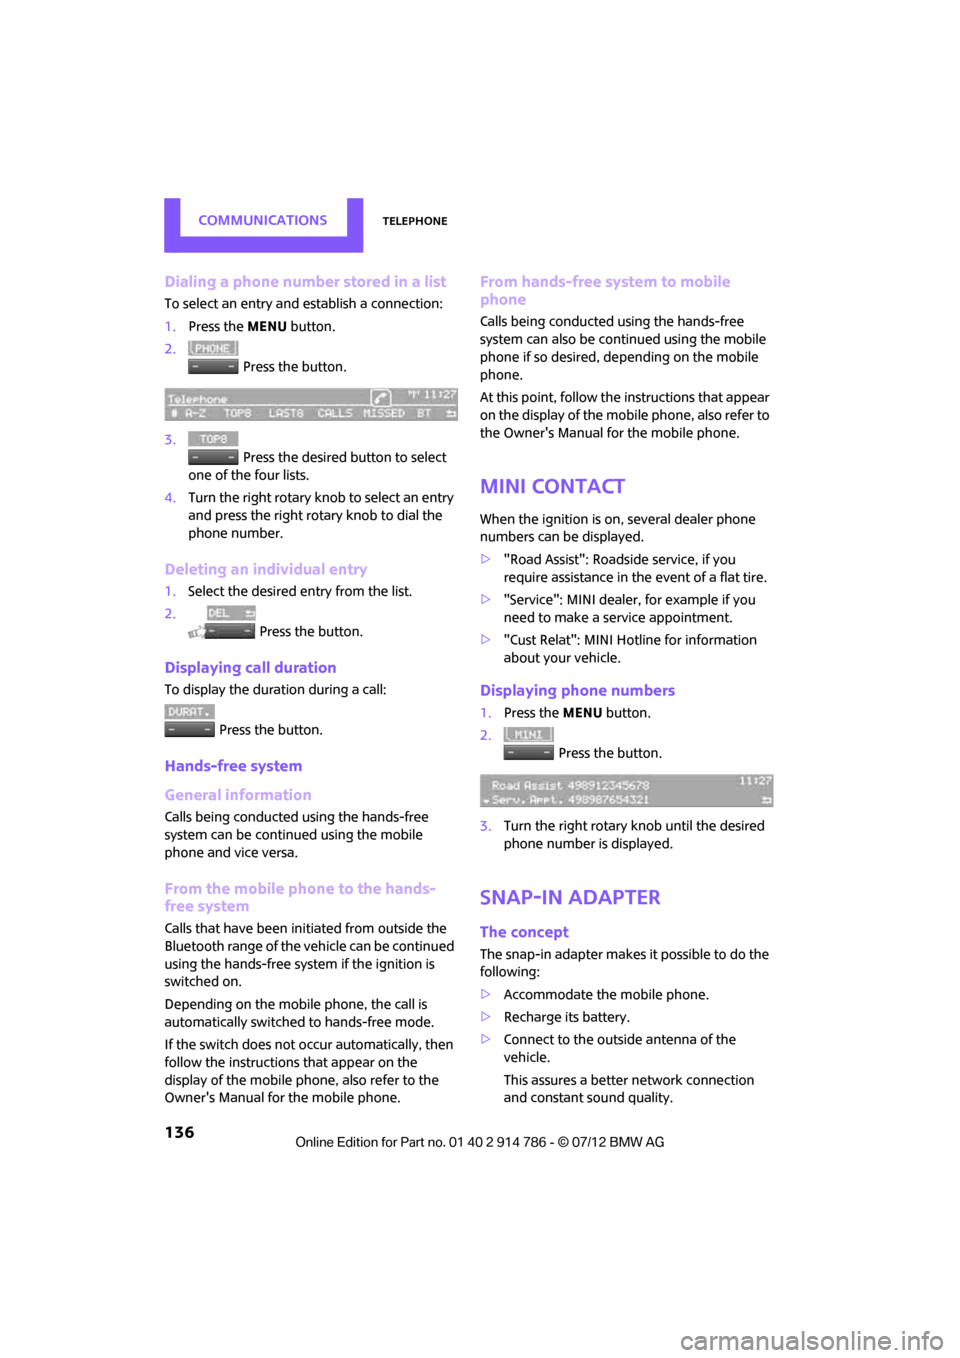
Dialing a phone number stored in a list
To select an entry and establish a connection:
1.Press the MENU button.
2. Press the button.
3. Press the desired button to select
one of the four lists.
4. Turn the right rotary knob to select an entry
and press the right rotary knob to dial the
phone number.
Deleting an individual entry
1.Select the desired entry from the list.
2. Press the button.
Displaying call duration
To display the duration during a call:
Press the button.
Hands-free system
General information
Calls being conducted using the hands-free
system can be continued using the mobile
phone and vice versa.
From the mobile phone to the hands-
free system
Calls that have been initiated from outside the
Bluetooth range of the ve hicle can be continued
using the hands-free system if the ignition is
switched on.
Depending on the mobile phone, the call is
automatically switched to hands-free mode.
If the switch does not occur automatically, then
follow the instructions that appear on the
display of the mobile phone, also refer to the
Owner's Manual for the mobile phone.
From hands-free system to mobile
phone
Calls being conducted using the hands-free
system can also be cont inued using the mobile
phone if so desired, de pending on the mobile
phone.
At this point, follow the instructions that appear
on the display of the mobile phone, also refer to
the Owner's Manual for the mobile phone.
MINI contact
When the ignition is on, several dealer phone
numbers can be displayed.
> "Road Assist": Roadsi de service, if you
require assistance in th e event of a flat tire.
> "Service": MINI dealer, for example if you
need to make a service appointment.
> "Cust Relat": MINI Hotline for information
about your vehicle.
Displaying phone numbers
1.Press the MENU button.
2. Press the button.
3. Turn the right rotary knob until the desired
phone number is displayed.
Snap-in adapter
The concept
The snap-in adapter makes it possible to do the
following:
>Accommodate the mobile phone.
> Recharge its battery.
> Connect to the outside antenna of the
vehicle.
This assures a better network connection
and constant sound quality.
Online Edition for Part no. 01 40 2 914 786 - \251 07/12 BMW AG