MINI Coupe 2013 Owner's Manual
Manufacturer: MINI, Model Year: 2013, Model line: Coupe, Model: MINI Coupe 2013Pages: 292, PDF Size: 7.02 MB
Page 111 of 292

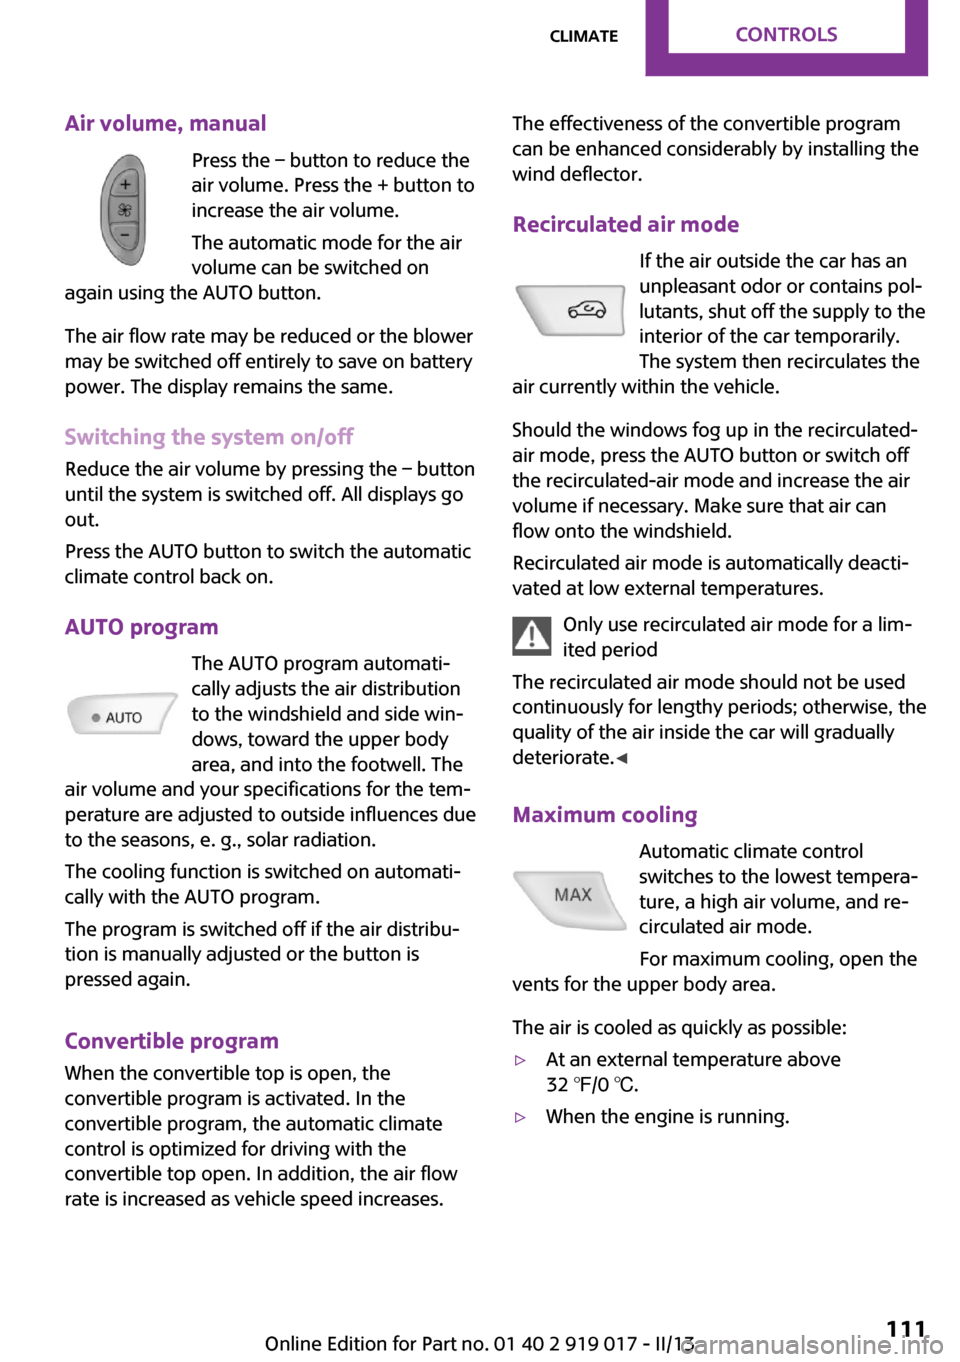
Air volume, manualPress the – button to reduce the
air volume. Press the + button to
increase the air volume.
The automatic mode for the air volume can be switched on
again using the AUTO button.
The air flow rate may be reduced or the blower
may be switched off entirely to save on battery
power. The display remains the same.
Switching the system on/off
Reduce the air volume by pressing the – button
until the system is switched off. All displays go
out.
Press the AUTO button to switch the automatic
climate control back on.
AUTO program The AUTO program automati‐
cally adjusts the air distribution
to the windshield and side win‐
dows, toward the upper body
area, and into the footwell. The
air volume and your specifications for the tem‐
perature are adjusted to outside influences due
to the seasons, e. g., solar radiation.
The cooling function is switched on automati‐
cally with the AUTO program.
The program is switched off if the air distribu‐
tion is manually adjusted or the button is
pressed again.
Convertible program When the convertible top is open, the
convertible program is activated. In the
convertible program, the automatic climate
control is optimized for driving with the
convertible top open. In addition, the air flow
rate is increased as vehicle speed increases.The effectiveness of the convertible program
can be enhanced considerably by installing the
wind deflector.
Recirculated air mode If the air outside the car has an
unpleasant odor or contains pol‐
lutants, shut off the supply to the
interior of the car temporarily.
The system then recirculates the
air currently within the vehicle.
Should the windows fog up in the recirculated-
air mode, press the AUTO button or switch off
the recirculated-air mode and increase the air
volume if necessary. Make sure that air can
flow onto the windshield.
Recirculated air mode is automatically deacti‐
vated at low external temperatures.
Only use recirculated air mode for a lim‐
ited period
The recirculated air mode should not be used continuously for lengthy periods; otherwise, the
quality of the air inside the car will gradually deteriorate. ◀
Maximum cooling Automatic climate control
switches to the lowest tempera‐
ture, a high air volume, and re‐
circulated air mode.
For maximum cooling, open the
vents for the upper body area.
The air is cooled as quickly as possible:▷At an external temperature above
32 ℉/0 ℃.▷When the engine is running.Seite 111ClimateControls111
Online Edition for Part no. 01 40 2 919 017 - II/13
Page 112 of 292

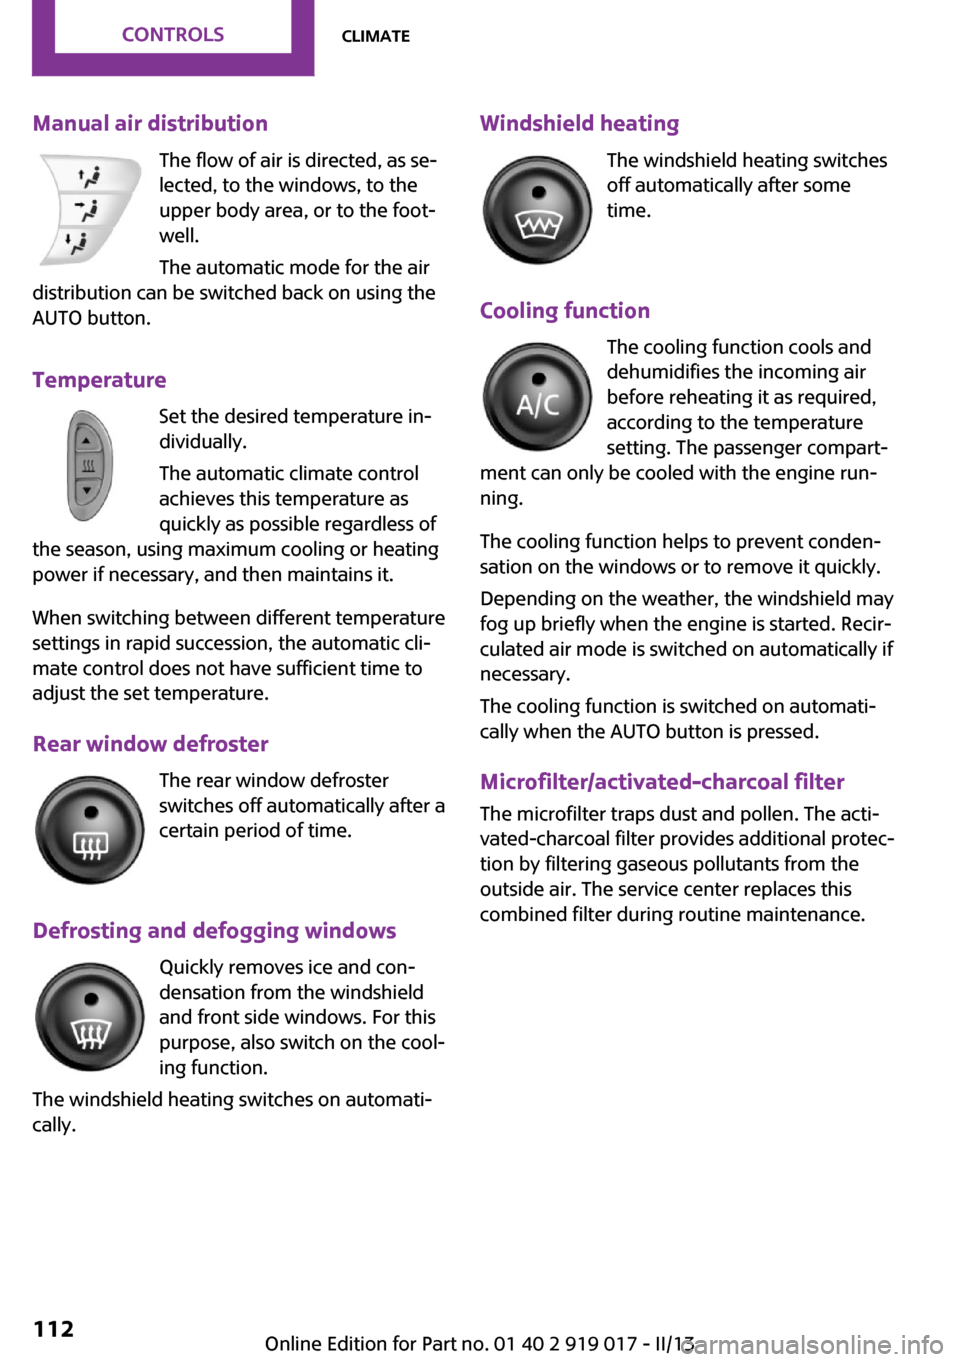
Manual air distributionThe flow of air is directed, as se‐
lected, to the windows, to the
upper body area, or to the foot‐
well.
The automatic mode for the air
distribution can be switched back on using the
AUTO button.
Temperature Set the desired temperature in‐
dividually.
The automatic climate control
achieves this temperature as
quickly as possible regardless of
the season, using maximum cooling or heating power if necessary, and then maintains it.
When switching between different temperature
settings in rapid succession, the automatic cli‐
mate control does not have sufficient time to
adjust the set temperature.
Rear window defroster The rear window defroster
switches off automatically after a
certain period of time.
Defrosting and defogging windows Quickly removes ice and con‐
densation from the windshield
and front side windows. For this
purpose, also switch on the cool‐
ing function.
The windshield heating switches on automati‐
cally.Windshield heating
The windshield heating switches
off automatically after some
time.
Cooling function The cooling function cools and
dehumidifies the incoming air
before reheating it as required,
according to the temperature
setting. The passenger compart‐
ment can only be cooled with the engine run‐
ning.
The cooling function helps to prevent conden‐
sation on the windows or to remove it quickly.
Depending on the weather, the windshield may
fog up briefly when the engine is started. Recir‐
culated air mode is switched on automatically if
necessary.
The cooling function is switched on automati‐
cally when the AUTO button is pressed.
Microfilter/activated-charcoal filterThe microfilter traps dust and pollen. The acti‐
vated-charcoal filter provides additional protec‐
tion by filtering gaseous pollutants from the
outside air. The service center replaces this
combined filter during routine maintenance.Seite 112ControlsClimate112
Online Edition for Part no. 01 40 2 919 017 - II/13
Page 113 of 292

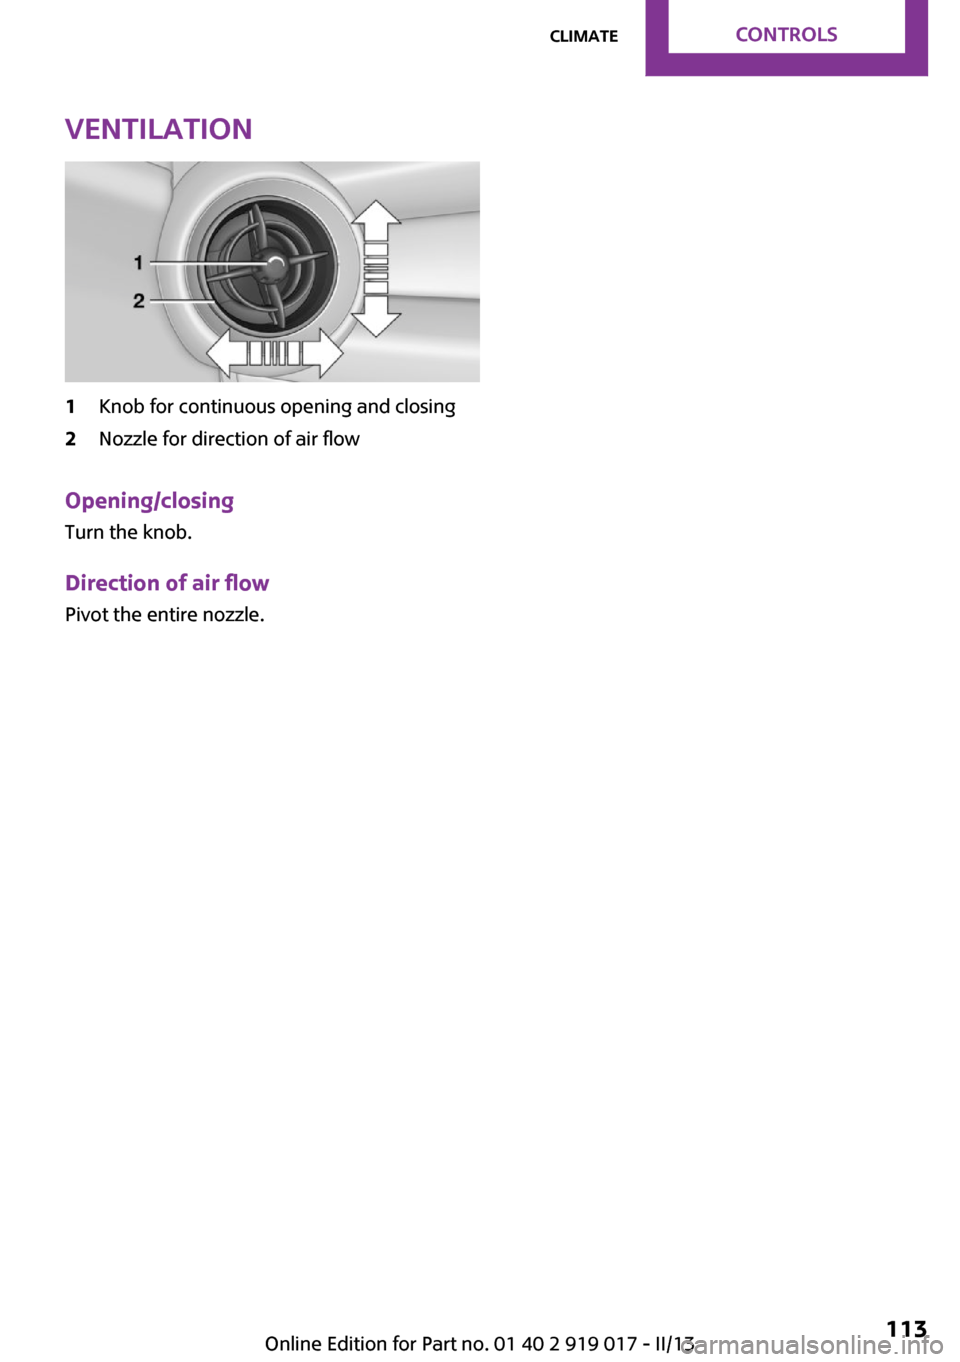
Ventilation1Knob for continuous opening and closing2Nozzle for direction of air flow
Opening/closingTurn the knob.
Direction of air flow Pivot the entire nozzle.
Seite 113ClimateControls113
Online Edition for Part no. 01 40 2 919 017 - II/13
Page 114 of 292

Interior equipmentVehicle equipmentThis chapter describes all series equipment as
well as country-specific and special equipment
offered for this model series.Therefore, it also
describes equipment that may not be found in
your vehicle, for instance due to the selected
special equipment or the country version. This
also applies to safety-related functions and sys‐
tems.
Cupholders and ashtray/
lighter
Cupholders
Two cupholders are located in the center con‐
sole in the front and another at the end of the
center console in the rear.
Shatter-proof containers and no hot
drinks
Use light and shatter-proof containers and do
not transport hot drinks. Otherwise, there is the
increased danger of injury in an accident. ◀
Unsuitable containers
Do not forcefully push unsuitable contain‐
ers into the cupholders. This may result in dam‐
age. ◀
Ashtray
The ashtray is located in one of the cupholders
in the center console at the front.
Emptying Take out the entire ashtray, arrow.
Lighter
With the engine running or the ignition
switched on, press in the cigarette lighter.
The lighter can be removed as soon as it pops
back out.
Danger of burns
Only hold the hot lighter by its head; oth‐
erwise, there is the danger of getting burned.
Switch off the ignition and take the remote
control with you when leaving the vehicle so
that children cannot use the lighter and burn
themselves. ◀
Connecting electrical de‐
vices
The lighter socket can be used as a socket for
electrical equipment while the engine is run‐
ning or when the ignition is switched on. The
total load of all sockets must not exceed
140 watts at 12 volt.
Seite 114ControlsInterior equipment114
Online Edition for Part no. 01 40 2 919 017 - II/13
Page 115 of 292

Avoid damaging the sockets by attempting to
insert plugs of unsuitable shape or size.
Do not connect the charger to the socket
Do not connect the battery charger to the
socket installed in the vehicle at the factory as
this could damage the battery. ◀
Replace the cover after use
Replace the lighter or socket cover after
use; otherwise, objects that fall into the lighter
socket or power socket could cause a short cir‐
cuit. ◀
Socket in the center console
Remove the cover or lighter, refer to page 114,
from the socket.
Socket in the cargo area
MINI Coupe, MINI Roadster
Take out the cover.
MINI Convertible
Take out the cover.
Cargo area MINI Coupe: cargo cover Do not place objects on the covers
Do not place objects on the cover; if you
do so, they may pose a danger to vehicle occu‐
pants during braking or evasive maneuvers or
damage the cover. ◀
The MINI Coupe is equipped with two cargo
covers. When the tailgate is opened, the rear
cargo cover is raised.
The covers can be removed individually.
Front cover
Pull the cover backwards out of the brackets,
arrow 1.
Rear cover
1.Pull the releases, arrow 1, on the left and
right.2.Pull the cover down out of the brackets, ar‐
row 2.Seite 115Interior equipmentControls115
Online Edition for Part no. 01 40 2 919 017 - II/13
Page 116 of 292

MINI Coupe, MINI Roadster: through-loading opening
Securing cargo
Always secure transported snowboards or
similar objects as they could otherwise endan‐
ger occupants during braking or swerving. ◀1.Fold the seat forward if necessary, refer to
page 54.2.Unlock the lock using the integrated key,
refer to page 30.3.Pull the handle and fold down the lid.
MINI Coupe, MINI Roadster: storage
compartment in cargo area
The front of the cargo area contains a storage
compartment under a cover panel.
The figure shows an example of the cargo area
of the MINI Coupe.
1.Open the through-loading opening from
the passenger compartment.2.Fold up the cover panel, arrow 1.MINI Convertible: cargo area
Do not place objects on the cargo cover
Do not place objects on the cargo cover;
otherwise, the cover or the convertible top
could be damaged. ◀
Loading aid When the convertible top is closed, unlocking
and folding up the convertible top may make it
easier to load the vehicle.1.Unlock the convertible top with the han‐
dles, see arrows 1.2.Raise the convertible top, see arrow 2.3.Fold back the handles and rest them on the
brackets 3.
Enlarging the cargo area
When the convertible top is closed, the cargo
area can be enlarged.
1.Fold the convertible top upward, refer to
Loading aid.2.Pull the trunk cover backwards out of the
lower holders and swing up, see arrows 1.Seite 116ControlsInterior equipment116
Online Edition for Part no. 01 40 2 919 017 - II/13
Page 117 of 292

3.Slide into the upper holders, arrows 2, and
set down horizontally.
Move the trunk cover back into the lower posi‐
tion so that the convertible top can be oper‐
ated.
Through-loading system
To enable the transport of larger objects, the
rear seat backrest can be folded down.
1.Using the integrated key, unlock the lock 1
of the rear seat backrest.2.Press button 2 and fold the rear seat back‐
rest forward while guiding the safety belt.3.Fold down the backrest.
Locking the backrest
Before taking along passengers in the
rear, fold back the backrests. When folding
back, ensure that the locks engage properly;
otherwise, cargo could be catapulted forward
into the passenger compartment during brak‐
ing maneuvers and swerving, endangering the
occupants.
The belt guide loop must be closed. ◀
Seite 117Interior equipmentControls117
Online Edition for Part no. 01 40 2 919 017 - II/13
Page 118 of 292

Storage compartmentsVehicle equipment
This chapter describes all series equipment as
well as country-specific and special equipment
offered for this model series.Therefore, it also
describes equipment that may not be found in
your vehicle, for instance due to the selected
special equipment or the country version. This
also applies to safety-related functions and sys‐
tems.
Notes No loose objects in the passenger com‐partment
Do not stow any objects in the passenger com‐
partment without securing them; otherwise,
they may present a danger to occupants for in‐
stance during braking and avoidance maneu‐
vers. ◀
No non-slip mats on the dashboard
Do not use non-slip materials, such as
non-slip mats, on the dashboard, or it could be
damaged by the substances in the materials. ◀
Storage compartments
Interior▷Glove compartment, refer to page 118.▷Center armrest, refer to page 119.▷Storage compartment on the passenger
side, refer to page 119.▷Compartments in the center console.▷Compartments in the doors.▷Compartments next to the rear seats.▷MINI Coupe, MINI Roadster: rear storage
shelf behind the seats, refer to page 120.▷Nets on the back of the front seat backrests
and in the front passenger footwell.▷Cupholder, refer to page 114.
Cargo area
▷Net on the cargo area floor and on the side
trim.▷Lashing eyes, refer to page 129.▷MINI Coupe, MINI Roadster: storage com‐
partment in the cargo area, refer to
page 116.
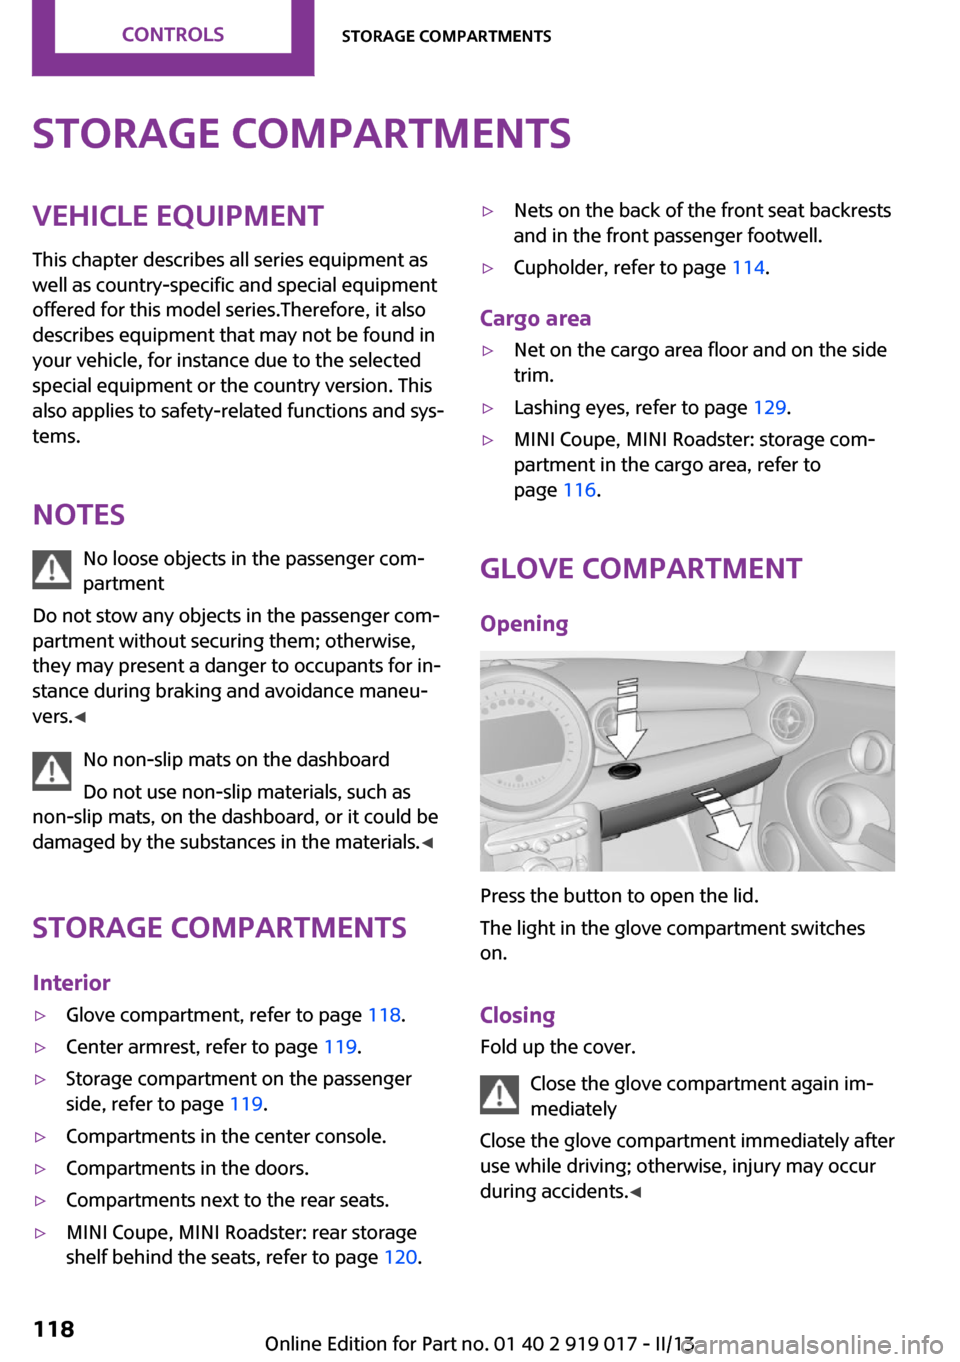
Glove compartment
Opening
Press the button to open the lid.
The light in the glove compartment switches
on.
Closing Fold up the cover.
Close the glove compartment again im‐
mediately
Close the glove compartment immediately after
use while driving; otherwise, injury may occur
during accidents. ◀
Seite 118ControlsStorage compartments118
Online Edition for Part no. 01 40 2 919 017 - II/13
Page 119 of 292

MINI Convertible, MINI Roadster:
locking
Lock the glove compartment using the
integrated key of the remote control, refer to
page 30.
Ventilation
Depending on the vehicle's equipment, the
glove compartment can be ventilated and, if
the cooling function is switched on, cooled.
Opening
Turn the switch in the direction of the arrow.
ClosingMove the switch to the vertical position by
turning it in the opposite direction of the arrow.
USB interface for data transfer
Updating the navigation data, refer to
page 136, from the USB medium via the USB
interface in the glove compartment.
Observe the following when connecting:
▷Do not use force when plugging the con‐
nector into the USB interface.▷Do not connect devices such as fans or
lamps to the USB interface.▷Do not connect USB hard drives.▷Do not use the USB interface to recharge
external devices.Center armrest
The center armrest between the front seats
contains a storage compartment or a cover for
the snap-in adapter, refer to page 202, de‐
pending on the version.
Opening
The lid is mounted on rails and can be fully
opened by sliding it back and lifting.
ClosingSlide the lid forward.
Storage compartment on
the passenger side
Opening
Briefly press the bottom edge of the cover
panel.
ClosingPush back the cover panel to the initial posi‐
tion.
Seite 119Storage compartmentsControls119
Online Edition for Part no. 01 40 2 919 017 - II/13
Page 120 of 292

Close the storage compartment again im‐
mediately after use.
Close the storage compartment again immedi‐
ately after use while driving; otherwise, injury
may occur during accidents. ◀
MINI Convertible, MINI Roadster The storage compartment cannot be locked.
MINI Coupe, MINI Road‐
ster: rear storage shelf
behind the seats
This space can be used to store briefcases, for
example.
No heavy objects
Only transport light and small objects on
the rear storage shelf; otherwise, braking ma‐
neuvers and swerving may lead to a safety haz‐
ard due to objects flying about the passenger
compartment. Only transport heavy luggage in
the cargo area if it has been appropriately se‐
cured. ◀
Connection for an exter‐
nal audio device
This can be used to connect an external audio
device, refer to page 171, such as a CD or MP3
player.
Seite 120ControlsStorage compartments120
Online Edition for Part no. 01 40 2 919 017 - II/13