MINI COUPE ROADSTER CONVERTIBLE 2012 Owners Manual
Manufacturer: MINI, Model Year: 2012, Model line: COUPE ROADSTER CONVERTIBLE, Model: MINI COUPE ROADSTER CONVERTIBLE 2012Pages: 283, PDF Size: 9.38 MB
Page 151 of 283
ENTERTAINMENTRadio
150
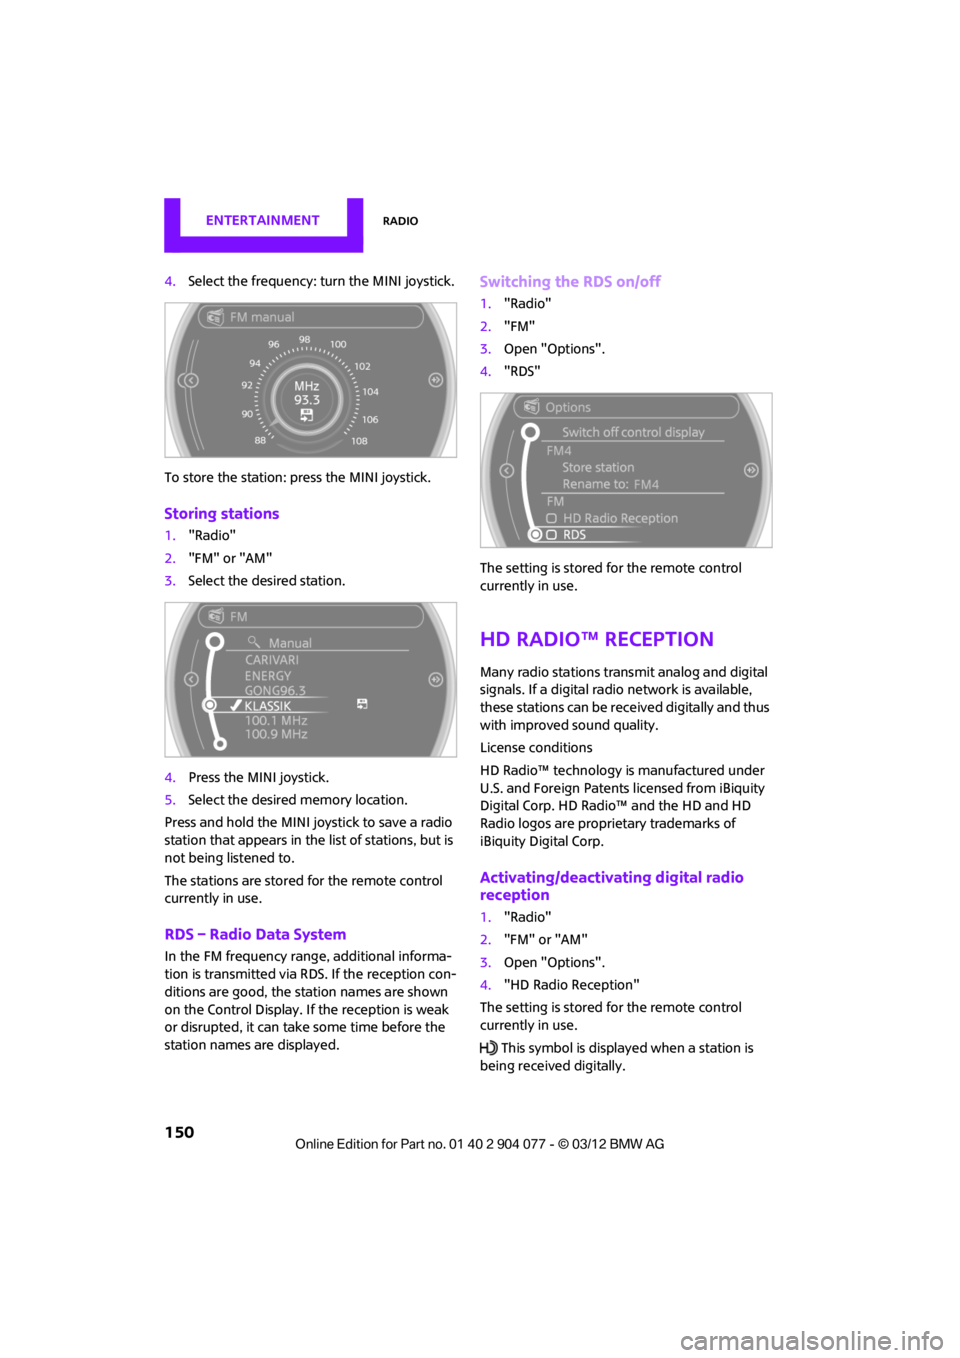
4.Select the frequency: turn the MINI joystick.
To store the station: press the MINI joystick.
Storing stations
1."Radio"
2. "FM" or "AM"
3. Select the desired station.
4. Press the MINI joystick.
5. Select the desired memory location.
Press and hold the MINI joystick to save a radio
station that appears in the list of stations, but is
not being listened to.
The stations are stored for the remote control
currently in use.
RDS – Radio Data System
In the FM frequency rang e, additional informa-
tion is transmitted via RDS. If the reception con-
ditions are good, the st ation names are shown
on the Control Display. If the reception is weak
or disrupted, it can take some time before the
station names are displayed.
Switching the RDS on/off
1. "Radio"
2. "FM"
3. Open "Options".
4. "RDS"
The setting is stored for the remote control
currently in use.
HD Radio™ reception
Many radio stations tran smit analog and digital
signals. If a digital radio network is available,
these stations can be rece ived digitally and thus
with improved sound quality.
License conditions
HD Radio™ technology is manufactured under
U.S. and Foreign Patents licensed from iBiquity
Digital Corp. HD Radio™ and the HD and HD
Radio logos are proprietary trademarks of
iBiquity Digital Corp.
Activating/deactivating digital radio
reception
1. "Radio"
2. "FM" or "AM"
3. Open "Options".
4. "HD Radio Reception"
The setting is stored for the remote control
currently in use. This symbol is displa yed when a station is
being received digitally.
00320051004F004C00510048000300280047004C0057004C005200510003
Page 152 of 283
RadioENTERTAINMENT
151
When setting a station with a digital signal, it
may be a few seconds until the station is repro-
duced in digital quality.
In areas in which the station is not continuously
received in digital mode, playback switches
between analog and digita l reception. In this
case, switch off digi tal radio reception.
Displaying additional information
Some stations broadcast additional information
on the current track, such as the name of the
artist.
1.Select the desired station.
2. Open "Options".
3. "Station info"
Selecting a substation
The symbol indicates that a main station also
broadcasts additional su bstations. The station
name of the main station ends in HD1. The
station names of the su bstations end in HD2,
HD3, etc.
1. Select the desired station.
2. Press the MINI joystick.
3. Select the substation.
When reception is poor, the substation is muted
for several seconds.
Stored stations
It is possible to store up to 40 stations.
Selecting a station
1. "Radio"
2. "Presets"
3. Select the desired station.
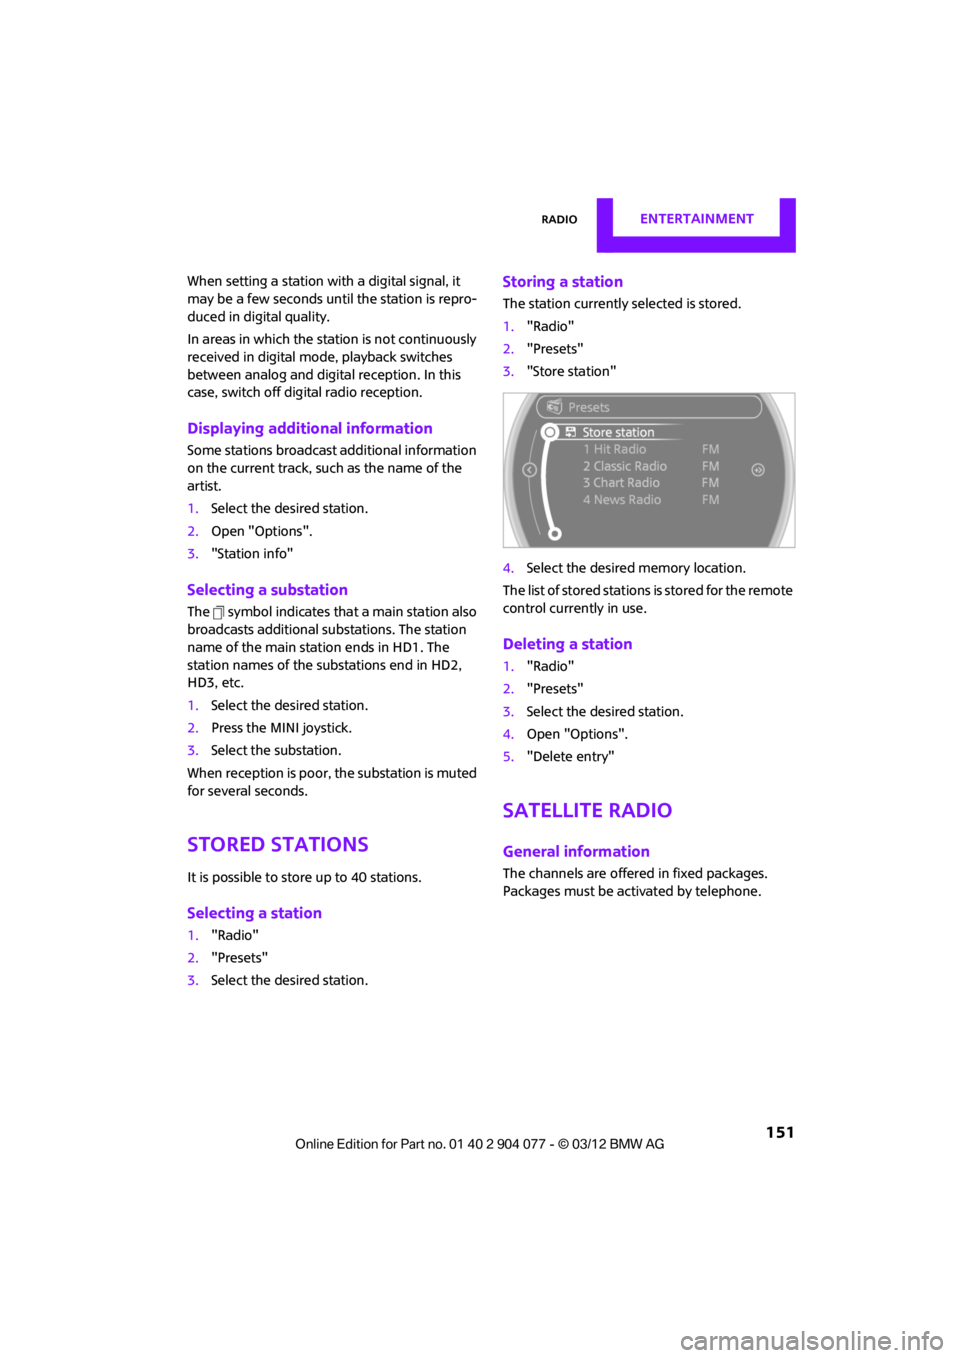
Storing a station
The station currently selected is stored.
1."Radio"
2. "Presets"
3. "Store station"
4. Select the desired memory location.
The list of stored stations is stored for the remote
control current ly in use.
Deleting a station
1."Radio"
2. "Presets"
3. Select the desired station.
4. Open "Options".
5. "Delete entry"
Satellite radio
General information
The channels are offered in fixed packages.
Packages must be activated by telephone.
00320051004F004C00510048000300280047004C0057004C005200510003
Page 153 of 283
ENTERTAINMENTRadio
152
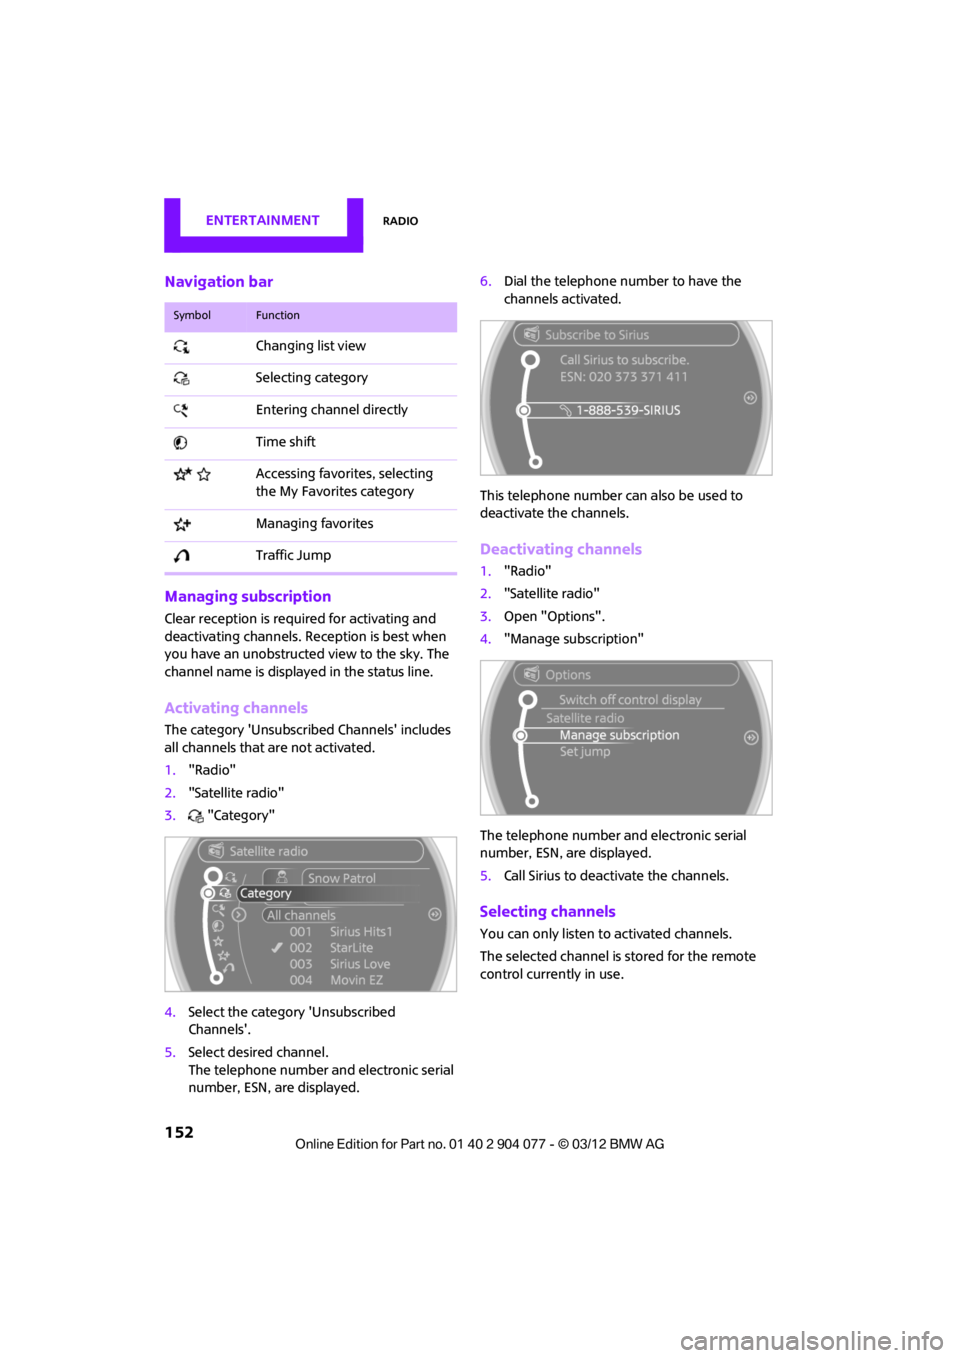
Navigation bar
Managing subscription
Clear reception is required for activating and
deactivating channels. Reception is best when
you have an unobstructed view to the sky. The
channel name is displayed in the status line.
Activating channels
The category 'Unsubscribed Channels' includes
all channels that are not activated.
1."Radio"
2. "Satellite radio"
3. "Category"
4. Select the catego ry 'Unsubscribed
Channels'.
5. Select desired channel.
The telephone number and electronic serial
number, ESN, are displayed. 6.
Dial the telephone number to have the
channels activated.
This telephone number can also be used to
deactivate the channels.
Deactivating channels
1. "Radio"
2. "Satellite radio"
3. Open "Options".
4. "Manage subscription"
The telephone number and electronic serial
number, ESN, are displayed.
5. Call Sirius to deactivate the channels.
Selecting channels
You can only listen to activated channels.
The selected channel is stored for the remote
control currently in use.
SymbolFunction
Changing list view
Selecting category
Entering channel directly
Time shift
Accessing favorites, selecting the My Favorites category
Managing favorites
Traffic Jump
00320051004F004C00510048000300280047004C0057004C005200510003
Page 154 of 283
RadioENTERTAINMENT
153
Using the onboard computer
1."Radio"
2. "Satellite radio"
3. Select "All channels" or the desired
category.
4. Select desired channel.
Using the buttons near the CD player
Press the button for the corresponding
direction.
The next channel is selected.
Using direct channel entry
1."Radio"
2. "Satellite radio"
3. "Set channel"
4. Turn the MINI joystick until you reach the
desired channel and then press the MINI
joystick.
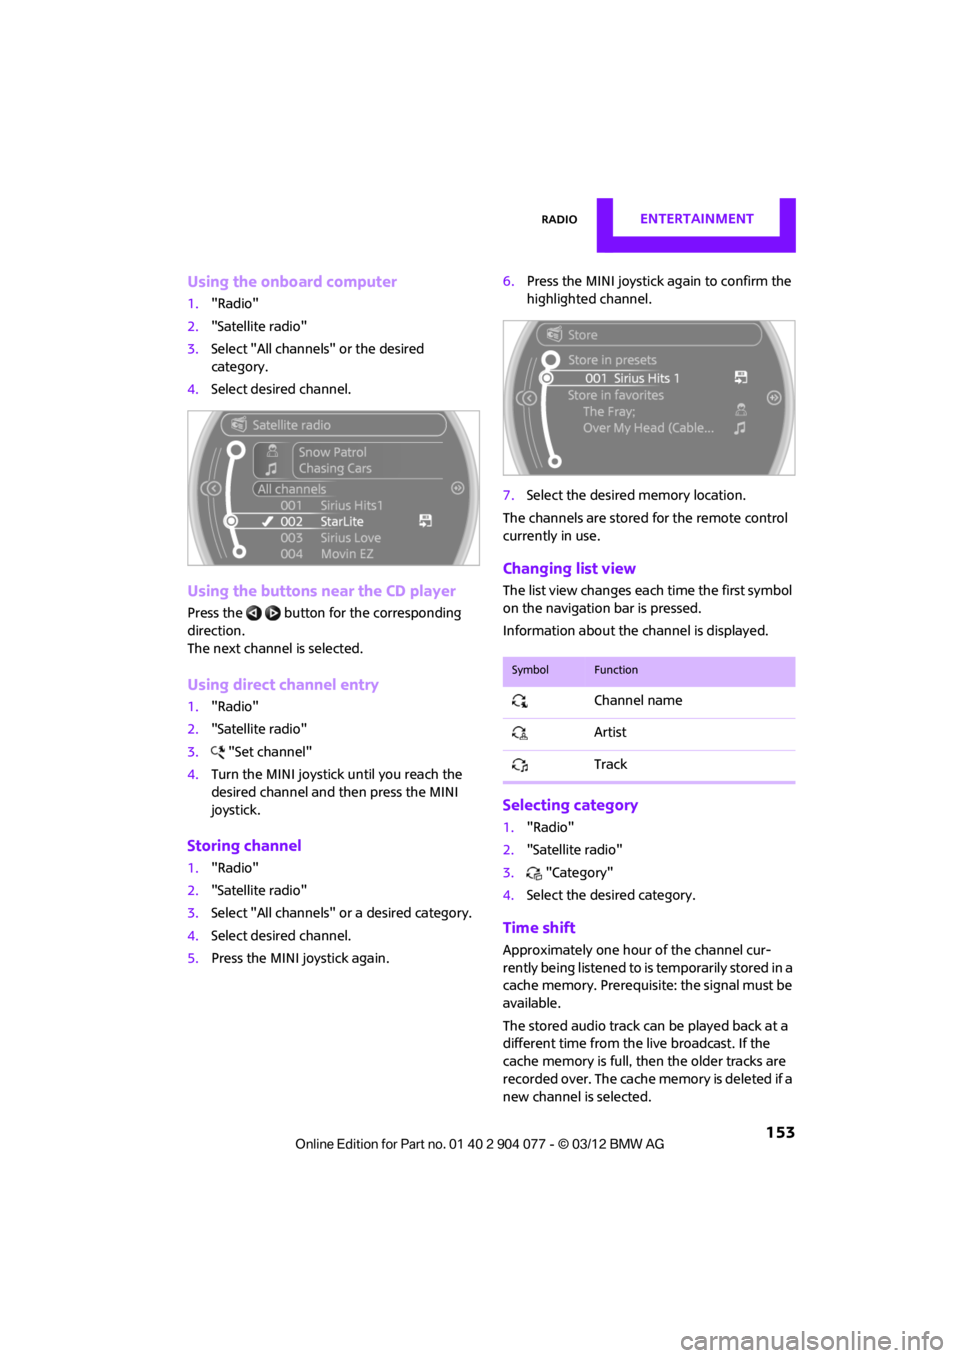
Storing channel
1."Radio"
2. "Satellite radio"
3. Select "All channels" or a desired category.
4. Select desired channel.
5. Press the MINI joystick again. 6.
Press the MINI joystick again to confirm the
highlighted channel.
7. Select the desired memory location.
The channels are stored for the remote control
currently in use.
Changing list view
The list view changes each time the first symbol
on the navigation bar is pressed.
Information about the channel is displayed.
Selecting category
1. "Radio"
2. "Satellite radio"
3. "Category"
4. Select the desired category.
Time shift
Approximately one hour of the channel cur-
rently being listened to is temporarily stored in a
cache memory. Prerequisite: the signal must be
available.
The stored audio track ca n be played back at a
different time from the live broadcast. If the
cache memory is full, then the older tracks are
recorded over. The cache memory is deleted if a
new channel is selected.
SymbolFunction
Channel name
Artist
Track
00320051004F004C00510048000300280047004C0057004C005200510003
Page 155 of 283
ENTERTAINMENTRadio
154
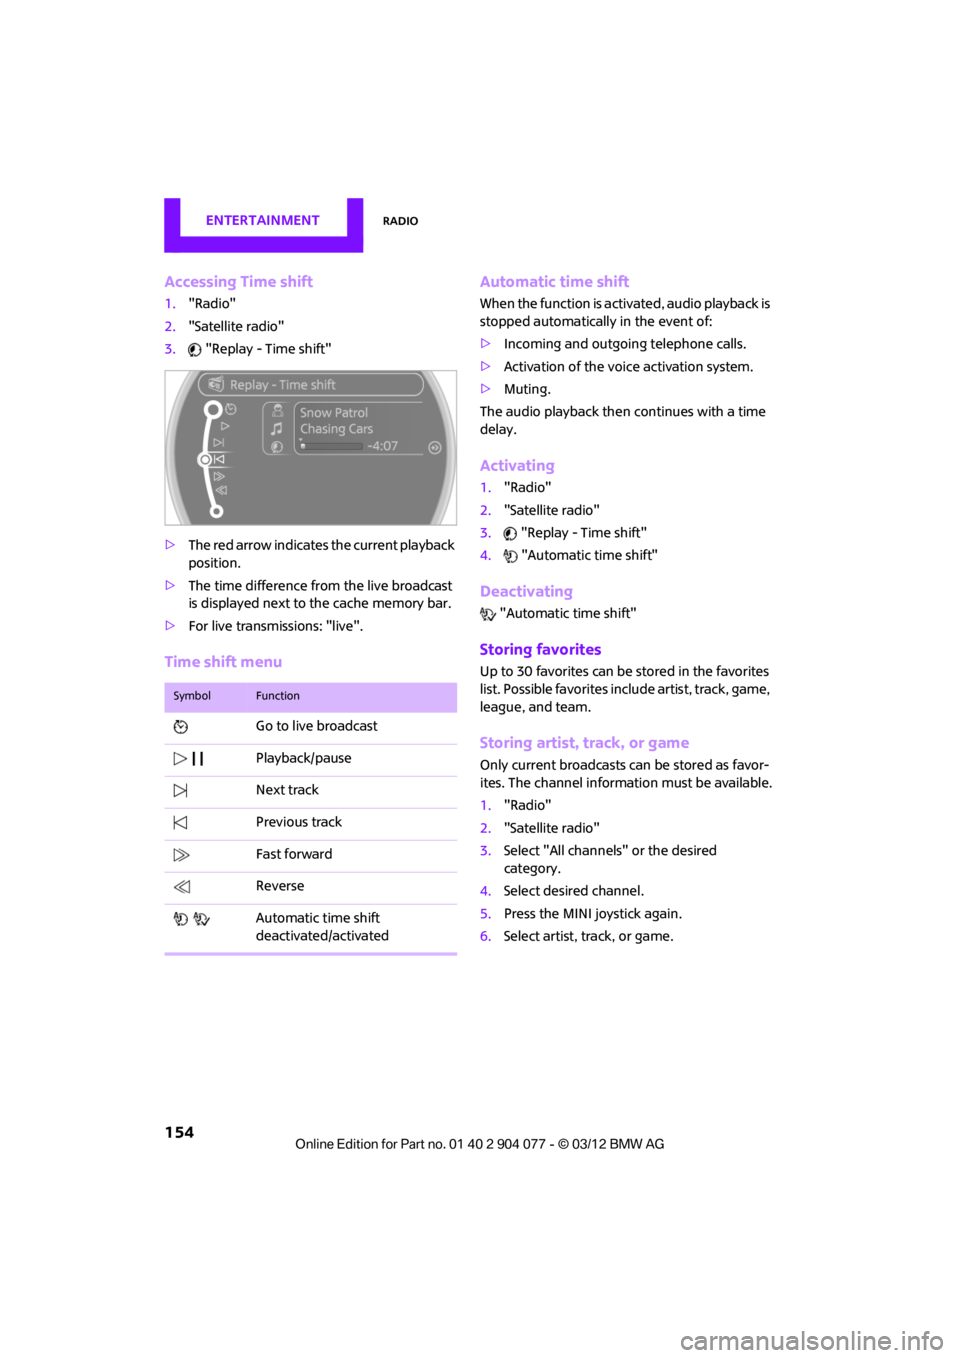
Accessing Time shift
1."Radio"
2. "Satellite radio"
3. "Replay - Time shift"
> The red arrow indicates the current playback
position.
> The time difference from the live broadcast
is displayed next to the cache memory bar.
> For live transmissions: "live".
Time shift menu Automatic time shift
When the function is acti
vated, audio playback is
stopped automatically in the event of:
> Incoming and outgoing telephone calls.
> Activation of the voice activation system.
> Muting.
The audio playback then continues with a time
delay.
Activating
1. "Radio"
2. "Satellite radio"
3. "Replay - Time shift"
4. "Automatic time shift"
Deactivating
"Automatic time shift"
Storing favorites
Up to 30 favorites can be stored in the favorites
list. Possible favorites incl ude artist, track, game,
league, and team.
Storing artist, track, or game
Only current broadcasts can be stored as favor-
ites. The channel informat ion must be available.
1. "Radio"
2. "Satellite radio"
3. Select "All channels" or the desired
category.
4. Select desired channel.
5. Press the MINI joystick again.
6. Select artist, track, or game.
SymbolFunction
Go to live broadcast
Playback/pause
Next track
Previous track
Fast forward
Reverse
Automatic time shift
deactivated/activated
00320051004F004C00510048000300280047004C0057004C005200510003
Page 156 of 283
RadioENTERTAINMENT
155
Storing league or team
Leagues or teams can be added to the favorites
from a selection list.
1."Radio"
2. "Satellite radio"
3. "Manage favorites"
4. "Add sports information"
5. Select the desired league.
6. Select "Add all teams" or a desired team.
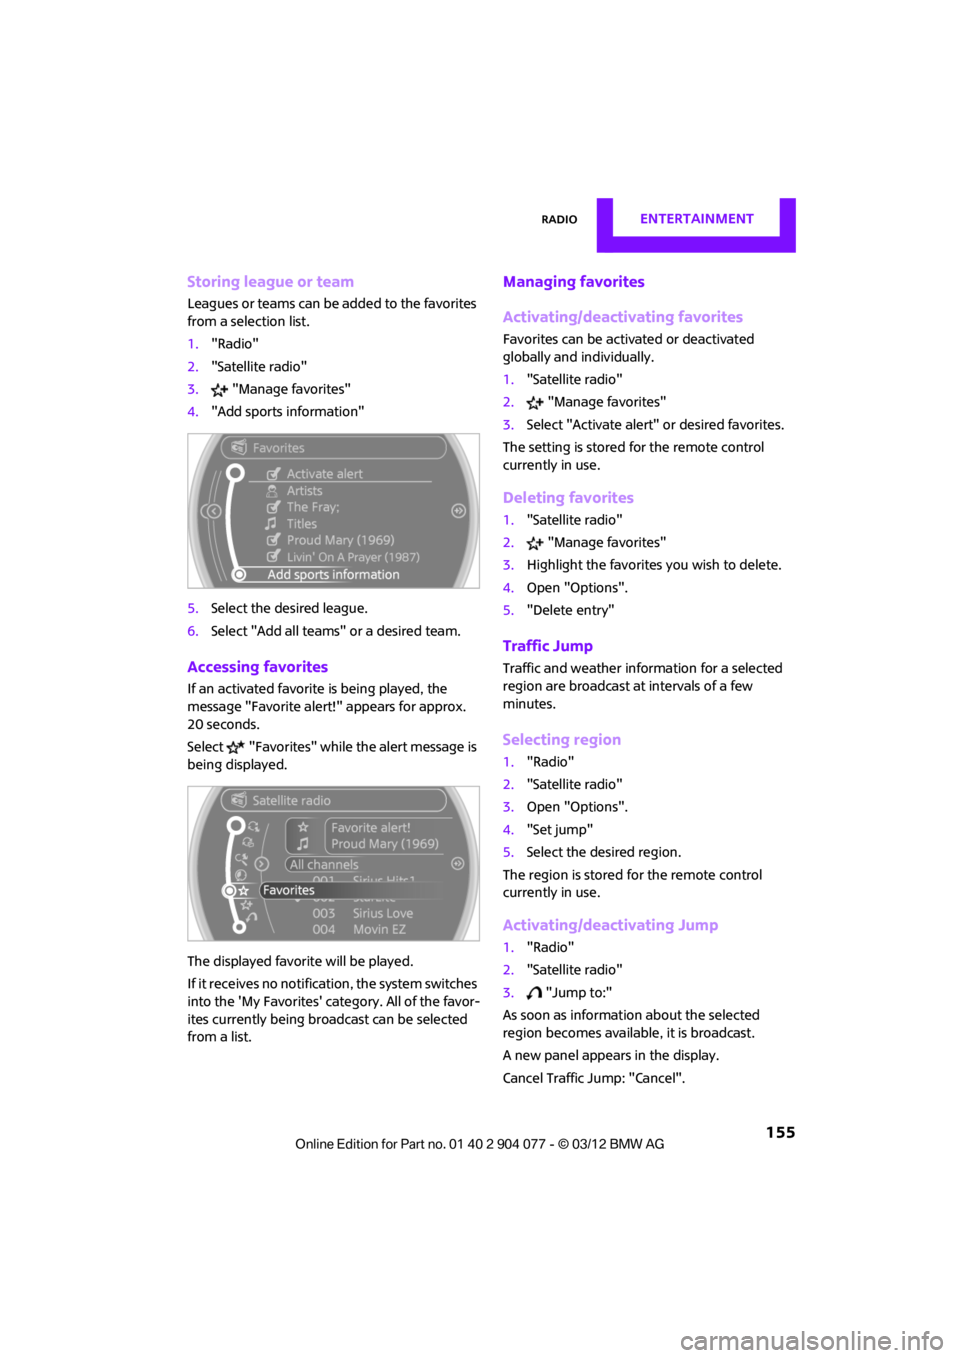
Accessing favorites
If an activated favorite is being played, the
message "Favorite alert! " appears for approx.
20 seconds.
Select "Favorites" while the alert message is
being displayed.
The displayed favorite will be played.
If it receives no notification, the system switches
into the 'My Favorites' category. All of the favor-
ites currently being broadcast can be selected
from a list.
Managing favorites
Activating/deactivating favorites
Favorites can be activated or deactivated
globally and individually.
1. "Satellite radio"
2. "Manage favorites"
3. Select "Activate alert" or desired favorites.
The setting is stored for the remote control
currently in use.
Deleting favorites
1. "Satellite radio"
2. "Manage favorites"
3. Highlight the favorites you wish to delete.
4. Open "Options".
5. "Delete entry"
Traffic Jump
Traffic and weather information for a selected
region are broadcast at intervals of a few
minutes.
Selecting region
1."Radio"
2. "Satellite radio"
3. Open "Options".
4. "Set jump"
5. Select the desired region.
The region is stored for the remote control
currently in use.
Activating/deactivating Jump
1. "Radio"
2. "Satellite radio"
3. "Jump to:"
As soon as information about the selected
region becomes available, it is broadcast.
A new panel appears in the display.
Cancel Traffic Jump: "Cancel".
00320051004F004C00510048000300280047004C0057004C005200510003
Page 157 of 283

ENTERTAINMENTRadio
156
Select one of the symbols to deactivate Traffic
Jump.
Automatic update
About twice a year, Sirius carries out an update
of the names and positions of the channels. The
update occurs automatically and can take
several minutes.
Notes
> Under some circumstances, reception may
not be possible, e.g. under certain environ-
mental or topographical conditions. The
satellite radio has no influence on this.
> The signal may not be available in tunnels or
underground garages or near trees, moun-
tains, or other powerful sources of radio
interference.
SymbolMeaning
Information will be broadcast
soon.
Information is currently being
broadcast.
00320051004F004C00510048000300280047004C0057004C005200510003
Page 158 of 283
CD playerENTERTAINMENT
157
CD player
Vehicle equipment
In this chapter, all production, country, and
optional equipment that is offered in the model
range is described. Equipment is also described
that is not available because of, for example,
selected options or count ry version. This also
applies to safety related functions and systems.
General information
Inserting CD
Insert the CD into the drive with the labeled side
up. Die CD is automatically pulled in.
Playback starts automatically if the sound out-
put is on. For CDs with compressed audio files, it
can take several minutes to the data, depending
on the folder structure.
Playable formats
CD player
> CD: CD-ROM, CD-R, CD-RW, CD-DA
> Compressed audio file s: MP3, WMA, AAC
Ejecting CD
Press the button on the CD player.
The CD will be slid a short distance out from the
drive.
Audio playback
Selecting the track using the button
Press the button for the corresponding
direction repeatedly until you reach the desired
track.
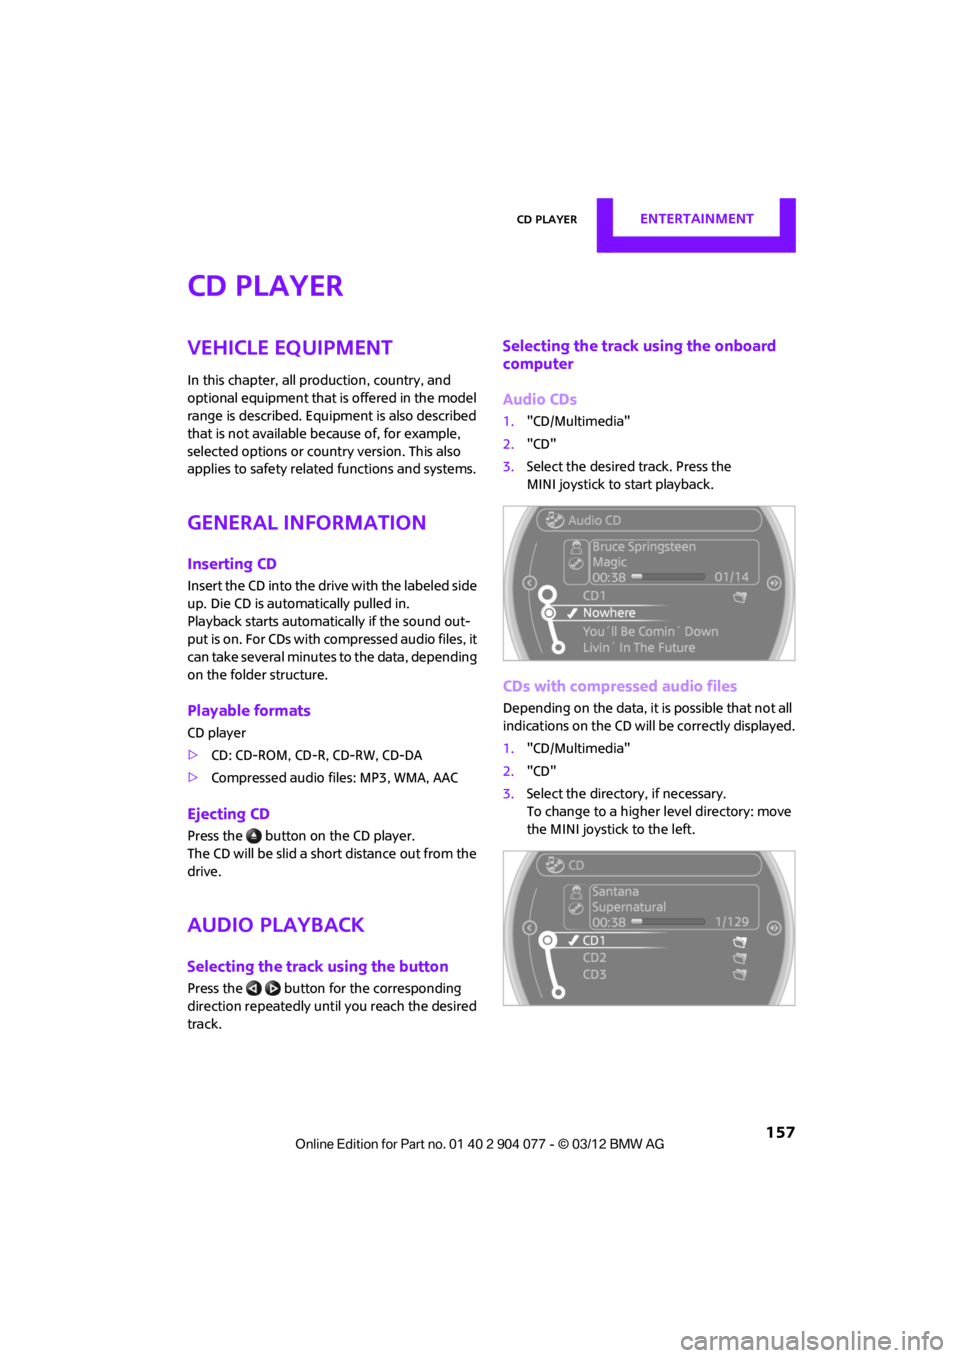
Selecting the track using the onboard
computer
Audio CDs
1. "CD/Multimedia"
2. "CD"
3. Select the desired track. Press the
MINI joystick to start playback.
CDs with compressed audio files
Depending on the data, it is possible that not all
indications on the CD will be correctly displayed.
1."CD/Multimedia"
2. "CD"
3. Select the director y, if necessary.
To change to a higher level directory: move
the MINI joystick to the left.
00320051004F004C00510048000300280047004C0057004C005200510003
Page 159 of 283
ENTERTAINMENTCD player
158
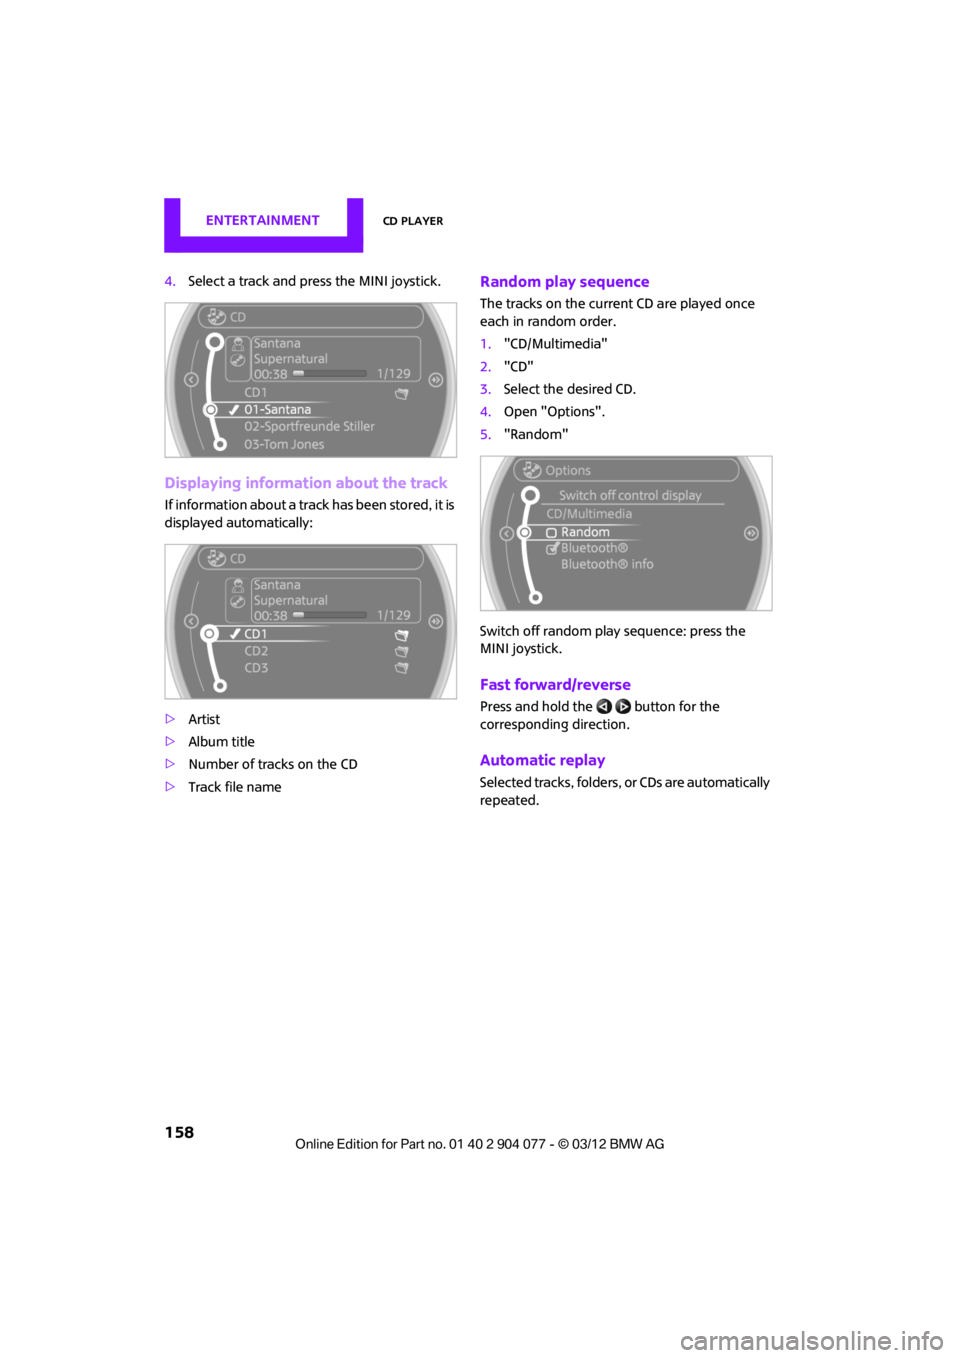
4.Select a track and press the MINI joystick.
Displaying information about the track
If information about a trac k has been stored, it is
displayed automatically:
> Artist
> Album title
> Number of tracks on the CD
> Track file name
Random play sequence
The tracks on the current CD are played once
each in random order.
1."CD/Multimedia"
2. "CD"
3. Select the desired CD.
4. Open "Options".
5. "Random"
Switch off random play sequence: press the
MINI joystick.
Fast forward/reverse
Press and hold the button for the
corresponding direction.
Automatic replay
Selected tracks, folders, or CDs are automatically
repeated.
00320051004F004C00510048000300280047004C0057004C005200510003
Page 160 of 283
External devicesENTERTAINMENT
159
External devices
Vehicle equipment
In this chapter, all production, country, and
optional equipment that is offered in the model
range is described. Equipment is also described
that is not available because of, for example,
selected options or count ry version. This also
applies to safety related functions and systems.
Overview
AUX-In connection
Overview
> It is possible to connect audio devices, e.g.
MP3 players. Sound is output over the
vehicle speakers.
> Recommended settings: mid-level tone and
volume settings on th e audio device. Tone
may depend on the quality of the audio files.
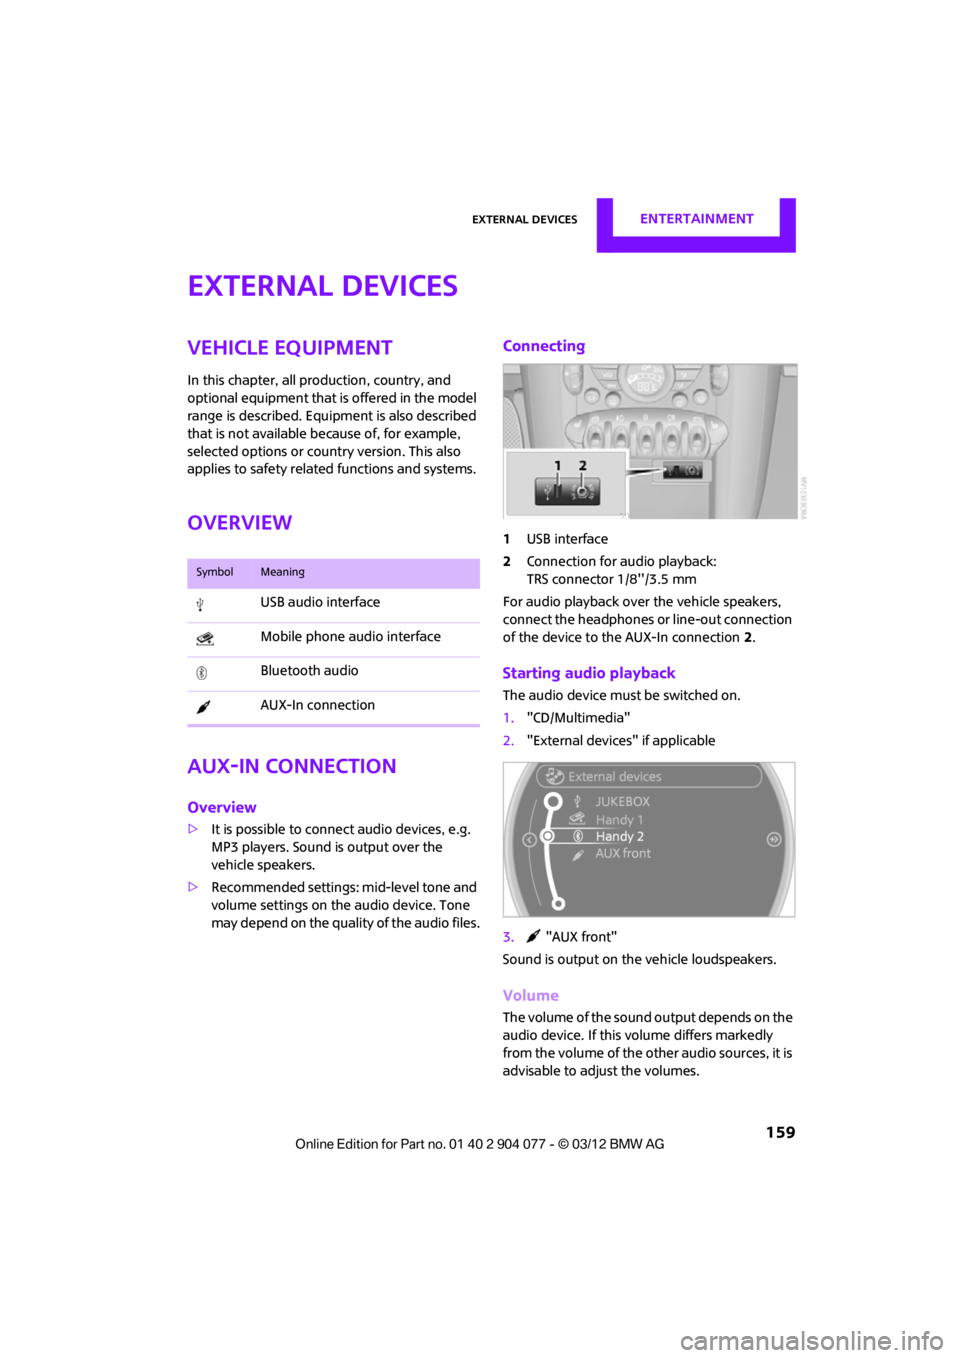
Connecting
1 USB interface
2 Connection for audio playback:
TRS connector 1/8''/3.5 mm
For audio playback over the vehicle speakers,
connect the headphones or line-out connection
of the device to the AUX-In connection 2.
Starting audio playback
The audio device must be switched on.
1. "CD/Multimedia"
2. "External devices" if applicable
3. "AUX front"
Sound is output on the vehicle loudspeakers.
Volume
The volume of the sound output depends on the
audio device. If this volume differs markedly
from the volume of the other audio sources, it is
advisable to adju st the volumes.
SymbolMeaning
USB audio interface
Mobile phone audio interface
Bluetooth audio
AUX-In connection
00320051004F004C00510048000300280047004C0057004C005200510003