service MINI Paceman 2014 (Mini Connected) Workshop Manual
[x] Cancel search | Manufacturer: MINI, Model Year: 2014, Model line: Paceman, Model: MINI Paceman 2014Pages: 282, PDF Size: 6.76 MB
Page 243 of 282
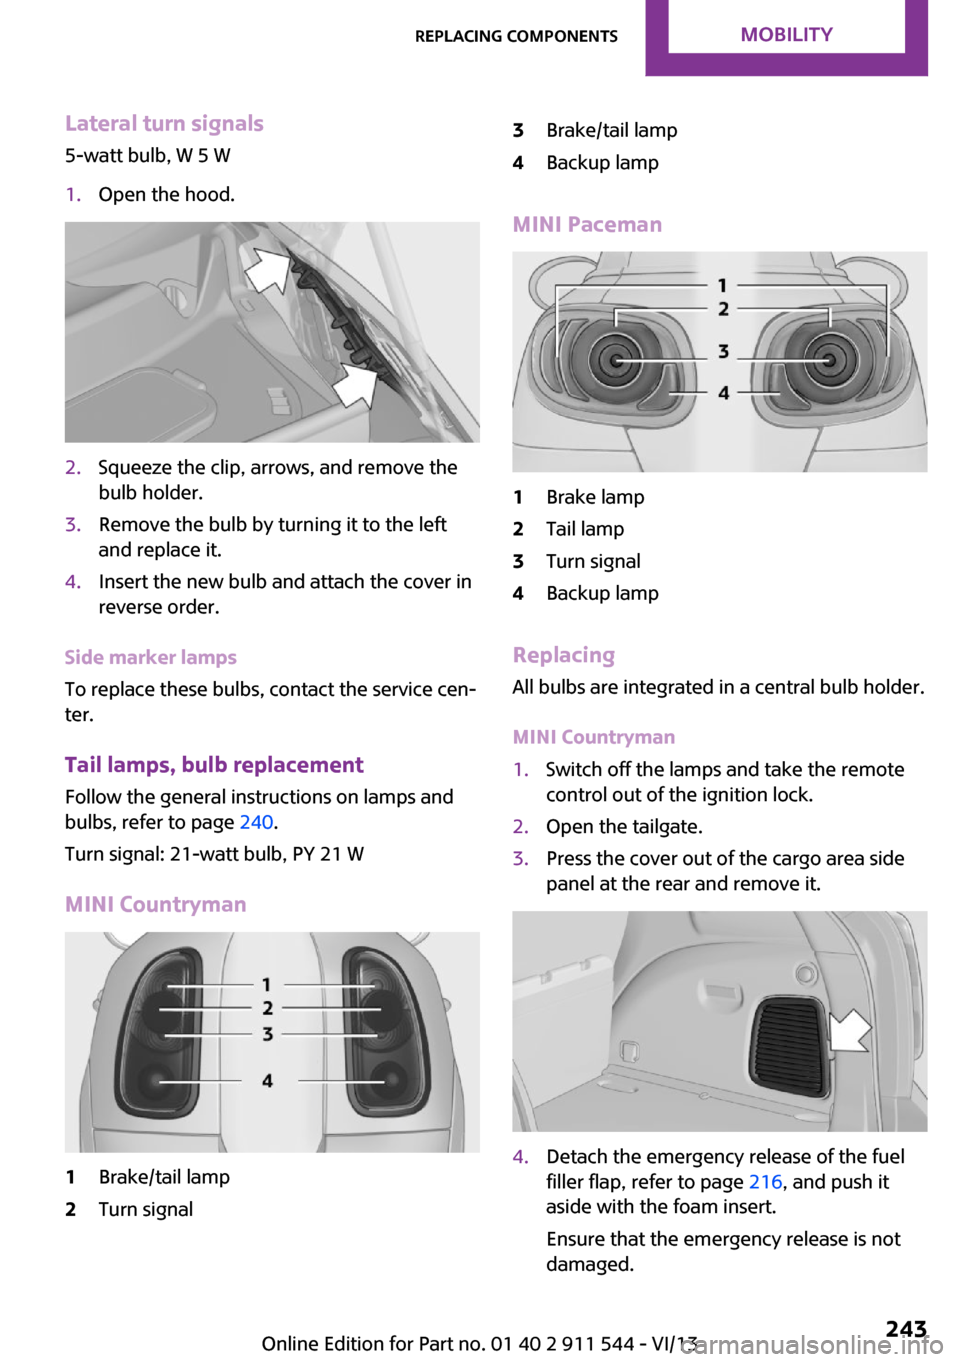
Lateral turn signals
5-watt bulb, W 5 W1.Open the hood.2.Squeeze the clip, arrows, and remove the
bulb holder.3.Remove the bulb by turning it to the left
and replace it.4.Insert the new bulb and attach the cover in
reverse order.
Side marker lamps
To replace these bulbs, contact the service cen‐
ter.
Tail lamps, bulb replacement Follow the general instructions on lamps and
bulbs, refer to page 240.
Turn signal: 21-watt bulb, PY 21 W
MINI Countryman
1Brake/tail lamp2Turn signal3Brake/tail lamp4Backup lamp
MINI Paceman
1Brake lamp2Tail lamp3Turn signal4Backup lamp
Replacing
All bulbs are integrated in a central bulb holder.
MINI Countryman
1.Switch off the lamps and take the remote
control out of the ignition lock.2.Open the tailgate.3.Press the cover out of the cargo area side
panel at the rear and remove it.4.Detach the emergency release of the fuel
filler flap, refer to page 216, and push it
aside with the foam insert.
Ensure that the emergency release is not
damaged.Seite 243Replacing componentsMobility243
Online Edition for Part no. 01 40 2 911 544 - VI/13
Page 245 of 282
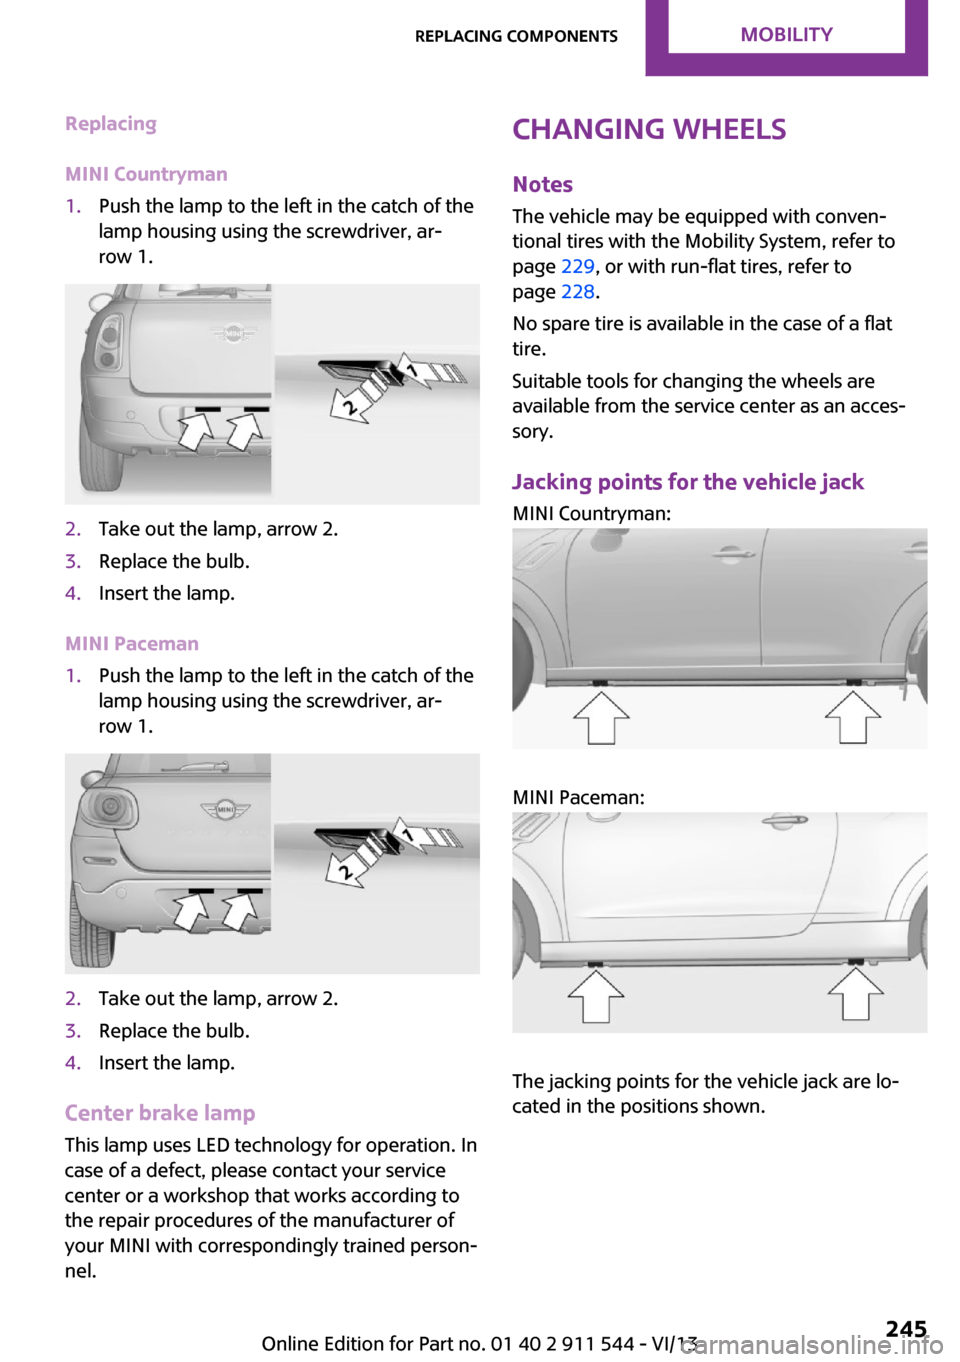
Replacing
MINI Countryman1.Push the lamp to the left in the catch of the
lamp housing using the screwdriver, ar‐
row 1.2.Take out the lamp, arrow 2.3.Replace the bulb.4.Insert the lamp.
MINI Paceman
1.Push the lamp to the left in the catch of the
lamp housing using the screwdriver, ar‐
row 1.2.Take out the lamp, arrow 2.3.Replace the bulb.4.Insert the lamp.
Center brake lamp
This lamp uses LED technology for operation. In
case of a defect, please contact your service
center or a workshop that works according to
the repair procedures of the manufacturer of
your MINI with correspondingly trained person‐
nel.
Changing wheels
Notes
The vehicle may be equipped with conven‐
tional tires with the Mobility System, refer to
page 229, or with run-flat tires, refer to
page 228.
No spare tire is available in the case of a flat
tire.
Suitable tools for changing the wheels are
available from the service center as an acces‐
sory.
Jacking points for the vehicle jack MINI Countryman:
MINI Paceman:
The jacking points for the vehicle jack are lo‐
cated in the positions shown.
Seite 245Replacing componentsMobility245
Online Edition for Part no. 01 40 2 911 544 - VI/13
Page 246 of 282

Vehicle batteryMaintenance
The battery is maintenance-free, i.e., the elec‐
trolyte will last for the life of the battery in tem‐
perate climate conditions.
The service center will be happy to answer any
questions on the battery.
Battery replacement Use approved vehicle batteries
Only use vehicle batteries that have been
approved for your vehicle by the manufacturer;
otherwise, the vehicle could be damaged and
systems or functions may not be fully availa‐
ble. ◀
Have the vehicle battery registered by the serv‐
ice center after it is replaced to ensure that all
comfort functions are available without restric‐
tions and that any associated Check Control
messages are no longer displayed.
Charging the battery
Note Do not connect the charger to the socket
Do not connect the battery charger to the
socket installed in the vehicle at the factory as
this could damage the battery. ◀
Only charge the battery in the vehicle when the engine is switched off. Connections, refer to
page 248.
General information Ensure that the battery is sufficiently charged to
achieve the full battery life.
It may be necessary to charge the battery in
the following cases:▷When the vehicle is frequently used to
travel short distances.▷When the vehicle has not been driven for
more than one month.Power failure
After a temporary power failure, some equip‐
ment will be restricted in its use and will need
to be reinitialized. In addition, certain individual
settings will be lost and must be updated:▷Time and date: the values must be up‐
dated, refer to page 72.▷Radio: the stations need to be stored again,
refer to page 159.▷Onboard monitor: full functionality will be
restored after some time.▷Glass sunroof, electrical: it may only be pos‐
sible to tilt the roof. The system needs to be
initialized. Contact the service center.
Indicator/warning lamps
Lights up red: the vehicle battery is no
longer being charged. Alternator mal‐
function.
Switch off all unnecessary electrical consumers.
Have the battery checked immediately.
Lights up yellow: the battery charge
level is very low, the battery is old, or it
is not securely connected.
Charge the battery by taking a long drive or us‐
ing an external charger. If the indicators appear
again, have the battery checked as soon as
possible.
Disposing of old batteries Have used batteries disposed of by the
service center after they are replaced or
take them to a recycling center.
Maintain the battery in an upright position for
transport and storage. Secure the battery so
that it does not tip over during transport.
Seite 246MobilityReplacing components246
Online Edition for Part no. 01 40 2 911 544 - VI/13
Page 247 of 282
FusesReplacing fuses
Never attempt to repair a blown fuse and
do not replace a defective fuse with a substi‐
tute of another color or amperage rating; this
could lead to a circuit overload, ultimately re‐
sulting in a fire in the vehicle. ◀
Fuses should be replaced by the service center.
Information on the fuses can be found on the
inside of the covers.
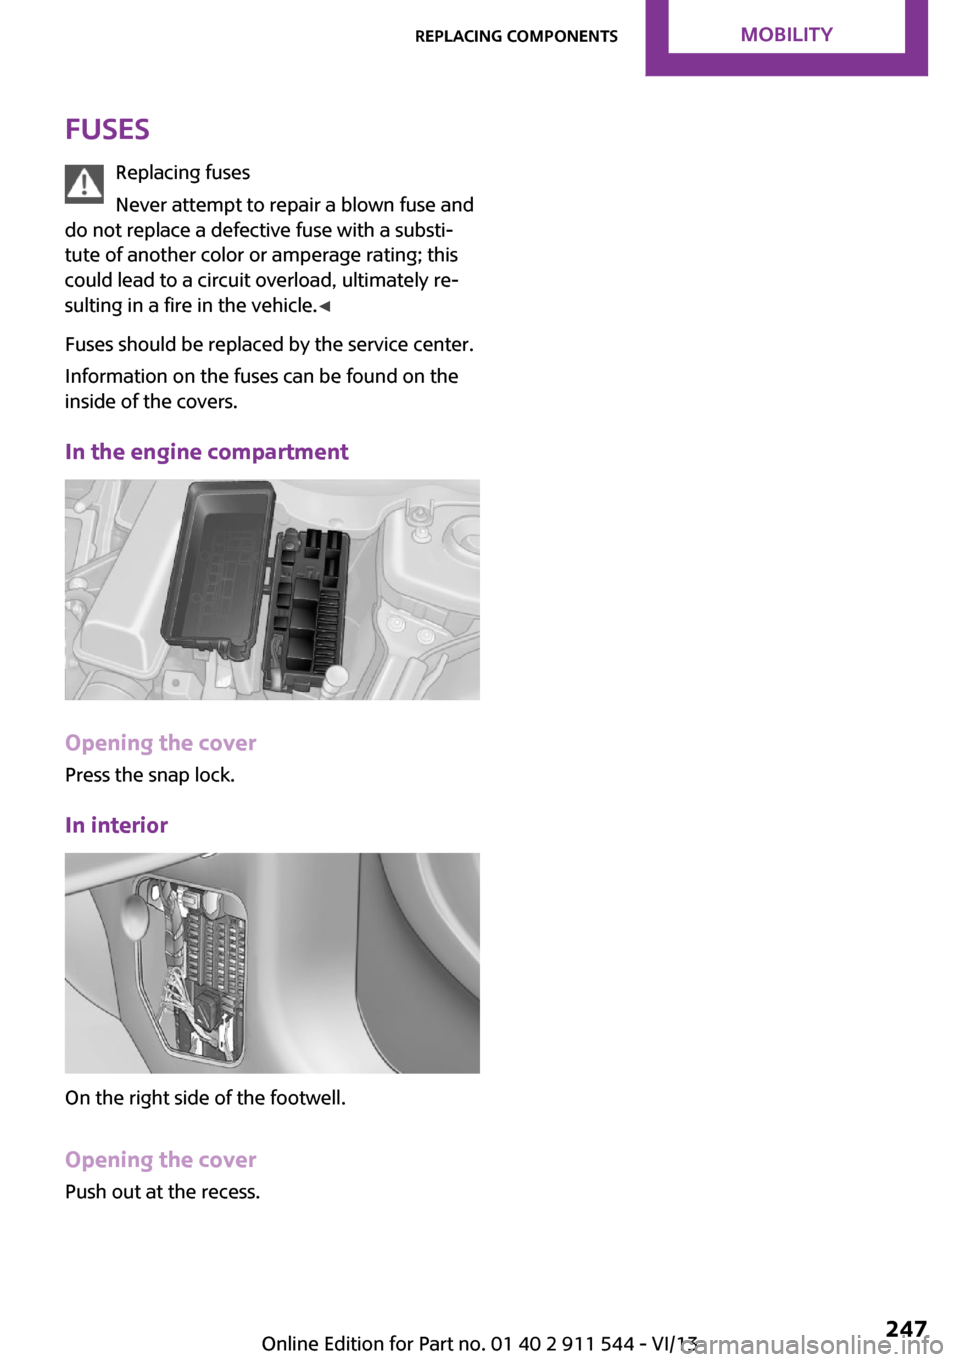
In the engine compartment
Opening the cover
Press the snap lock.
In interior
On the right side of the footwell.
Opening the cover
Push out at the recess.
Seite 247Replacing componentsMobility247
Online Edition for Part no. 01 40 2 911 544 - VI/13
Page 248 of 282
Breakdown assistanceVehicle equipment
This chapter describes all series equipment as
well as country-specific and special equipment
offered for this model series.Therefore, it also
describes equipment that may not be found in
your vehicle, for instance due to the selected
special equipment or the country version. This
also applies to safety-related functions and sys‐
tems.
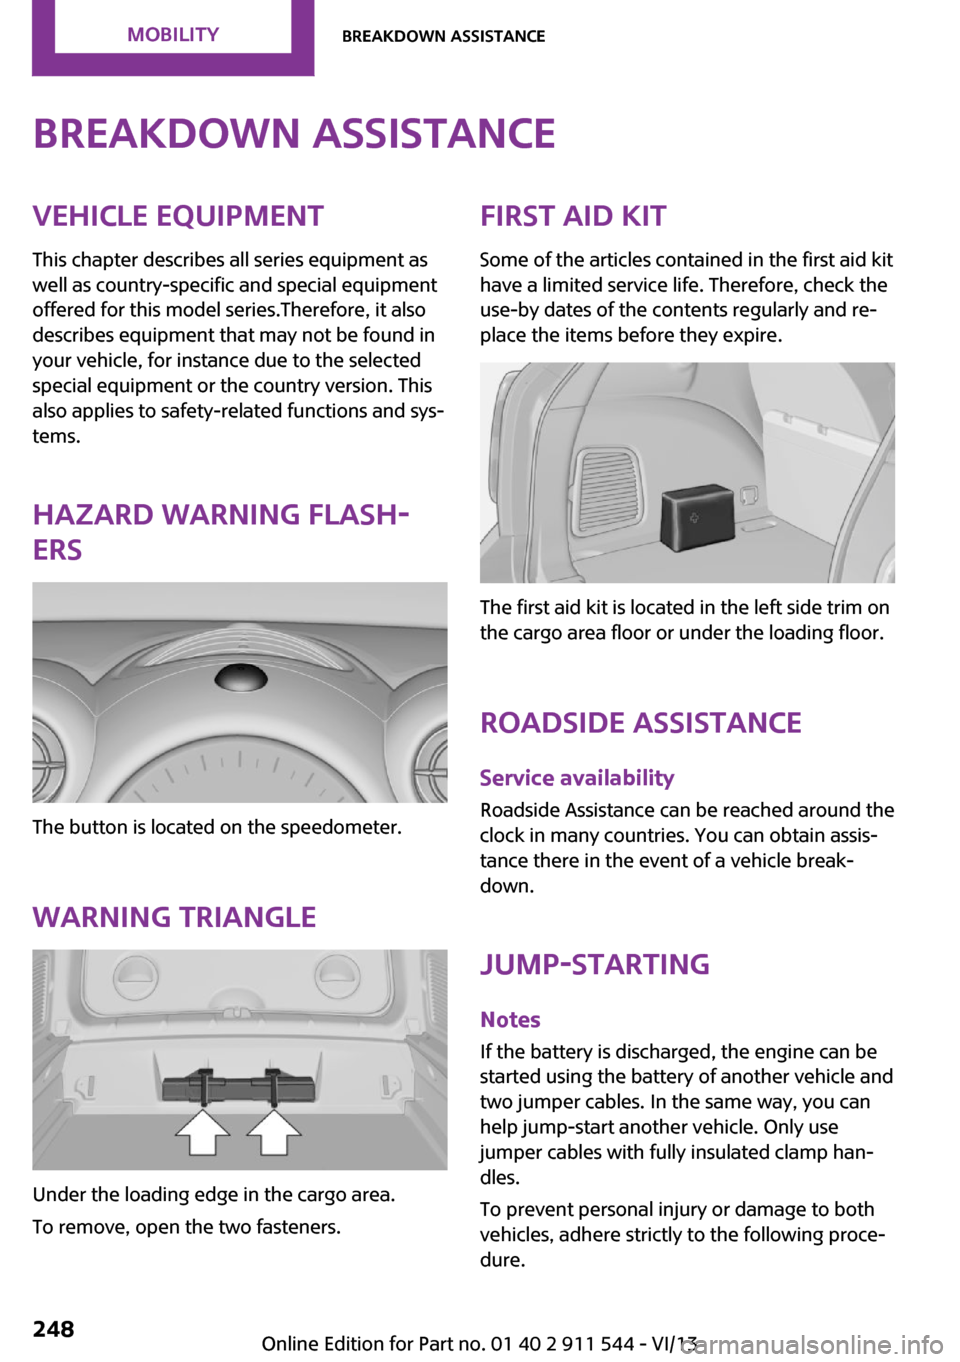
Hazard warning flash‐
ers
The button is located on the speedometer.
Warning triangle
Under the loading edge in the cargo area.
To remove, open the two fasteners.
First aid kit
Some of the articles contained in the first aid kit
have a limited service life. Therefore, check the
use-by dates of the contents regularly and re‐
place the items before they expire.
The first aid kit is located in the left side trim on
the cargo area floor or under the loading floor.
Roadside Assistance Service availability
Roadside Assistance can be reached around the
clock in many countries. You can obtain assis‐
tance there in the event of a vehicle break‐
down.
Jump-starting
Notes If the battery is discharged, the engine can be
started using the battery of another vehicle and
two jumper cables. In the same way, you can
help jump-start another vehicle. Only use
jumper cables with fully insulated clamp han‐
dles.
To prevent personal injury or damage to both
vehicles, adhere strictly to the following proce‐
dure.
Seite 248MobilityBreakdown assistance248
Online Edition for Part no. 01 40 2 911 544 - VI/13
Page 257 of 282

Chrome surfacesCarefully clean components such as the radia‐
tor grille or door handles with an ample supply
of water, possibly with shampoo added, partic‐
ularly when they have been exposed to road
salt. For additional treatment, use a chrome
polish.
Light-alloy wheels
When cleaning the wheels on the vehicle, only
use a neutral wheel rim cleaner with a pH value
of 5 to 9.
Do not use abrasive cleaners or a steam jet hot‐
ter than 140 ℉/60 ℃; otherwise, damage may
result. Adhere to the manufacturer instructions.
Aggressive, acidic, or alkaline cleaners may de‐
stroy the protective coating of neighboring
components such as the brake disc.
Exterior sensors The sensors on the outside of the vehicle, such
as for Park Distance Control, must be kept clean
and free of ice to ensure that they remain fully
functional.
Decorative trim Clean decorative trims and fine wood compo‐
nents with a moist cloth only. Then dry with a
soft cloth.
Safety belts Dirty belt straps impede the reeling action and
thus have a negative impact on safety.
No chemical cleaning
Do not clean chemically; this can destroy
the webbing. ◀
Carpets/floor mats No objects in the area around the pedals
Keep floor mats, carpets, and any other
objects out of the area of motion of the pedals;
otherwise, the function of the pedals could be
impeded while drivingDo not place additional floor mats over existing
mats or other objects.
Only use floor mats that have been approved
for the vehicle and can be properly fixed in
place.
Ensure that the floor mats are securely fastened
again when they are returned after being re‐
moved, such as for cleaning. ◀
Floor mats can be removed for cleaning.
If they are very dirty, clean with a microfiber
cloth and water or an interior cleaner. To pre‐
vent matting of the carpet, rub back and forth
in the direction of travel only.
Displays
To clean the displays, such as the radio or dis‐
play elements, use an antistatic microfiber
cloth.
Cleaning displays
Do not use chemical or household cleans‐
ers.
Keep all fluids and moisture away from the
unit.
Otherwise, they could affect or damage surfa‐
ces or electrical components.
Avoid pressing too hard when cleaning and do
not use abrasive materials; otherwise, damage
can result. ◀
CD/DVD drives No cleaning CD
Do not use cleaning CDs; otherwise, parts
of the drive may become damaged. ◀
Long-term vehicle storage
Your service center can advise you on what to
consider when storing the vehicle for longer
than three months.Seite 257CareMobility257
Online Edition for Part no. 01 40 2 911 544 - VI/13
Page 271 of 282
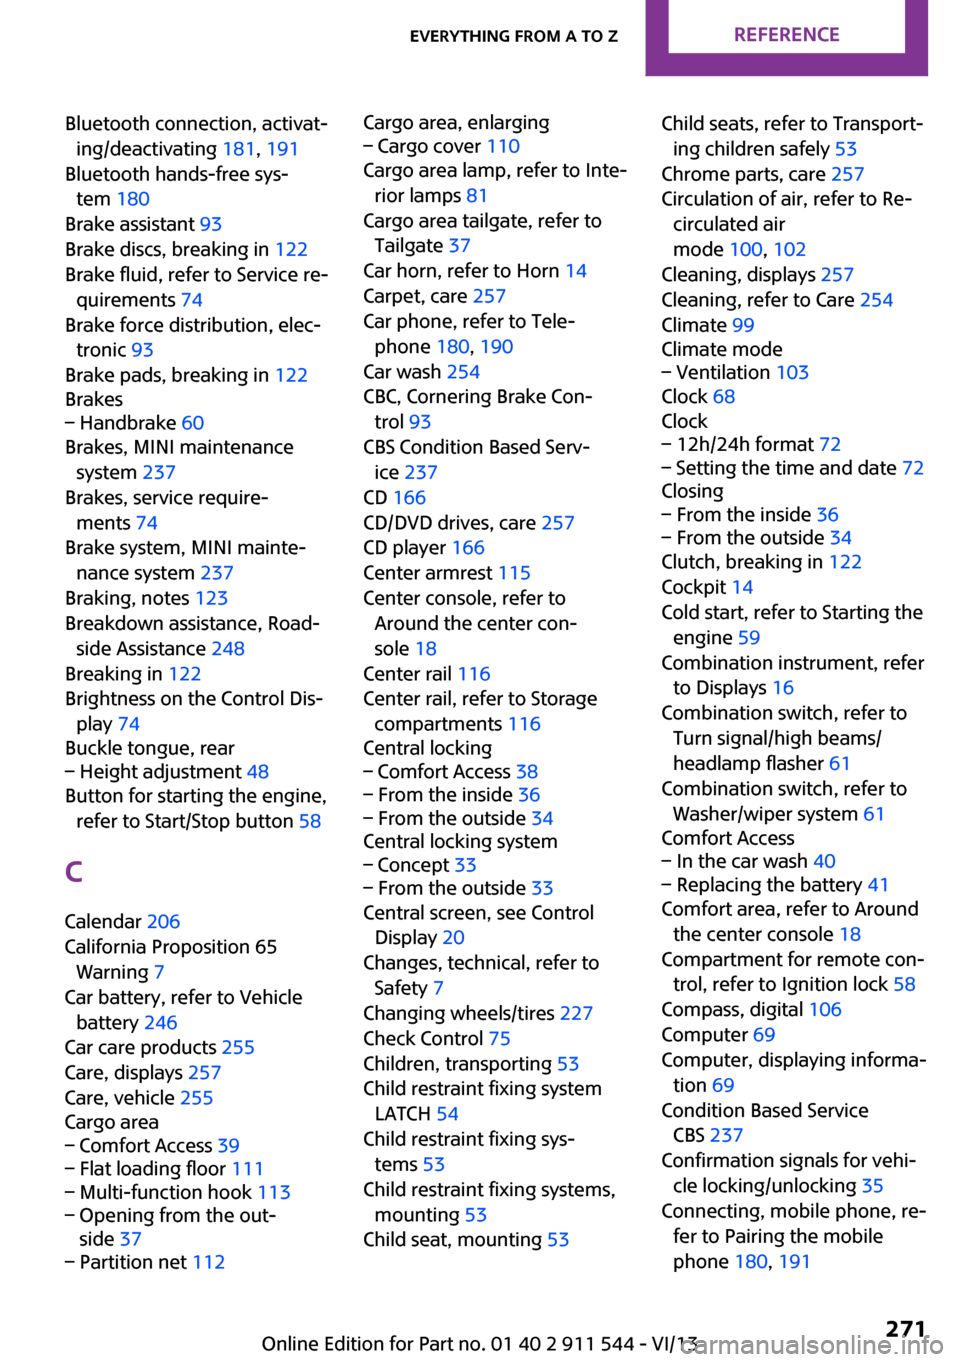
Bluetooth connection, activat‐ing/deactivating 181, 191
Bluetooth hands-free sys‐ tem 180
Brake assistant 93
Brake discs, breaking in 122
Brake fluid, refer to Service re‐ quirements 74
Brake force distribution, elec‐ tronic 93
Brake pads, breaking in 122
Brakes– Handbrake 60
Brakes, MINI maintenance
system 237
Brakes, service require‐ ments 74
Brake system, MINI mainte‐ nance system 237
Braking, notes 123
Breakdown assistance, Road‐ side Assistance 248
Breaking in 122
Brightness on the Control Dis‐ play 74
Buckle tongue, rear
– Height adjustment 48
Button for starting the engine,
refer to Start/Stop button 58
C
Calendar 206
California Proposition 65 Warning 7
Car battery, refer to Vehicle battery 246
Car care products 255
Care, displays 257
Care, vehicle 255
Cargo area
– Comfort Access 39– Flat loading floor 111– Multi-function hook 113– Opening from the out‐
side 37– Partition net 112Cargo area, enlarging– Cargo cover 110
Cargo area lamp, refer to Inte‐
rior lamps 81
Cargo area tailgate, refer to Tailgate 37
Car horn, refer to Horn 14
Carpet, care 257
Car phone, refer to Tele‐ phone 180, 190
Car wash 254
CBC, Cornering Brake Con‐
trol 93
CBS Condition Based Serv‐ ice 237
CD 166
CD/DVD drives, care 257
CD player 166
Center armrest 115
Center console, refer to Around the center con‐
sole 18
Center rail 116
Center rail, refer to Storage compartments 116
Central locking
– Comfort Access 38– From the inside 36– From the outside 34
Central locking system
– Concept 33– From the outside 33
Central screen, see Control
Display 20
Changes, technical, refer to Safety 7
Changing wheels/tires 227
Check Control 75
Children, transporting 53
Child restraint fixing system LATCH 54
Child restraint fixing sys‐ tems 53
Child restraint fixing systems, mounting 53
Child seat, mounting 53
Child seats, refer to Transport‐
ing children safely 53
Chrome parts, care 257
Circulation of air, refer to Re‐ circulated air
mode 100, 102
Cleaning, displays 257
Cleaning, refer to Care 254
Climate 99
Climate mode– Ventilation 103
Clock 68
Clock
– 12h/24h format 72– Setting the time and date 72
Closing
– From the inside 36– From the outside 34
Clutch, breaking in 122
Cockpit 14
Cold start, refer to Starting the engine 59
Combination instrument, refer to Displays 16
Combination switch, refer to Turn signal/high beams/
headlamp flasher 61
Combination switch, refer to Washer/wiper system 61
Comfort Access
– In the car wash 40– Replacing the battery 41
Comfort area, refer to Around
the center console 18
Compartment for remote con‐ trol, refer to Ignition lock 58
Compass, digital 106
Computer 69
Computer, displaying informa‐ tion 69
Condition Based Service CBS 237
Confirmation signals for vehi‐ cle locking/unlocking 35
Connecting, mobile phone, re‐ fer to Pairing the mobile
phone 180, 191
Seite 271Everything from A to ZReference271
Online Edition for Part no. 01 40 2 911 544 - VI/13
Page 273 of 282
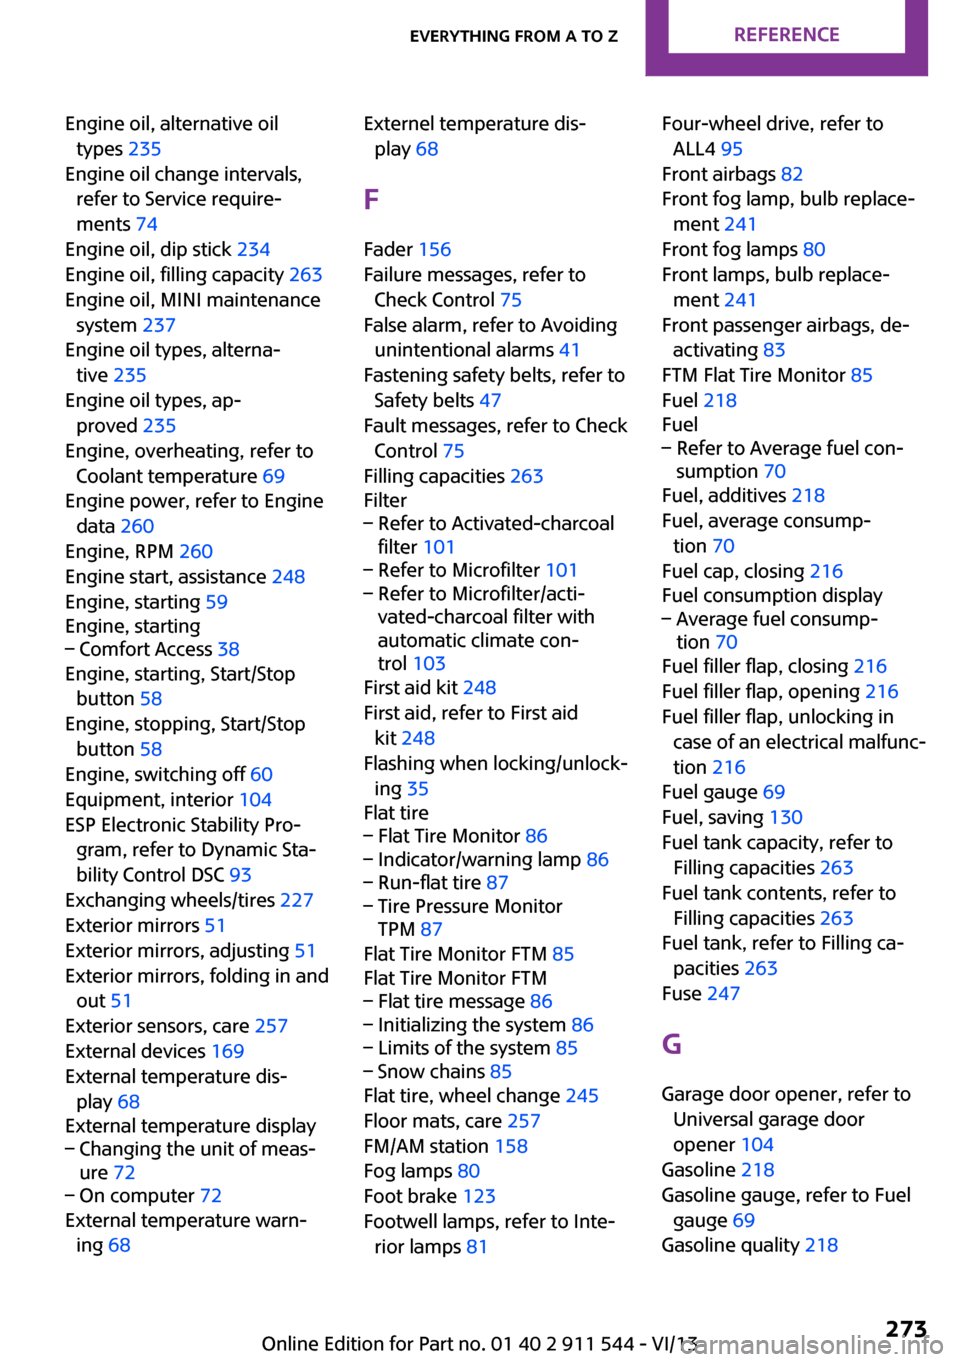
Engine oil, alternative oiltypes 235
Engine oil change intervals, refer to Service require‐
ments 74
Engine oil, dip stick 234
Engine oil, filling capacity 263
Engine oil, MINI maintenance system 237
Engine oil types, alterna‐ tive 235
Engine oil types, ap‐ proved 235
Engine, overheating, refer to Coolant temperature 69
Engine power, refer to Engine data 260
Engine, RPM 260
Engine start, assistance 248
Engine, starting 59
Engine, starting– Comfort Access 38
Engine, starting, Start/Stop
button 58
Engine, stopping, Start/Stop button 58
Engine, switching off 60
Equipment, interior 104
ESP Electronic Stability Pro‐ gram, refer to Dynamic Sta‐
bility Control DSC 93
Exchanging wheels/tires 227
Exterior mirrors 51
Exterior mirrors, adjusting 51
Exterior mirrors, folding in and out 51
Exterior sensors, care 257
External devices 169
External temperature dis‐ play 68
External temperature display
– Changing the unit of meas‐
ure 72– On computer 72
External temperature warn‐
ing 68
Externel temperature dis‐
play 68
F
Fader 156
Failure messages, refer to Check Control 75
False alarm, refer to Avoiding unintentional alarms 41
Fastening safety belts, refer to Safety belts 47
Fault messages, refer to Check Control 75
Filling capacities 263
Filter– Refer to Activated-charcoal
filter 101– Refer to Microfilter 101– Refer to Microfilter/acti‐
vated-charcoal filter with
automatic climate con‐
trol 103
First aid kit 248
First aid, refer to First aid kit 248
Flashing when locking/unlock‐ ing 35
Flat tire
– Flat Tire Monitor 86– Indicator/warning lamp 86– Run-flat tire 87– Tire Pressure Monitor
TPM 87
Flat Tire Monitor FTM 85
Flat Tire Monitor FTM
– Flat tire message 86– Initializing the system 86– Limits of the system 85– Snow chains 85
Flat tire, wheel change 245
Floor mats, care 257
FM/AM station 158
Fog lamps 80
Foot brake 123
Footwell lamps, refer to Inte‐ rior lamps 81
Four-wheel drive, refer to
ALL4 95
Front airbags 82
Front fog lamp, bulb replace‐ ment 241
Front fog lamps 80
Front lamps, bulb replace‐ ment 241
Front passenger airbags, de‐ activating 83
FTM Flat Tire Monitor 85
Fuel 218
Fuel– Refer to Average fuel con‐
sumption 70
Fuel, additives 218
Fuel, average consump‐ tion 70
Fuel cap, closing 216
Fuel consumption display
– Average fuel consump‐
tion 70
Fuel filler flap, closing 216
Fuel filler flap, opening 216
Fuel filler flap, unlocking in case of an electrical malfunc‐
tion 216
Fuel gauge 69
Fuel, saving 130
Fuel tank capacity, refer to Filling capacities 263
Fuel tank contents, refer to Filling capacities 263
Fuel tank, refer to Filling ca‐ pacities 263
Fuse 247
G Garage door opener, refer to Universal garage door
opener 104
Gasoline 218
Gasoline gauge, refer to Fuel gauge 69
Gasoline quality 218
Seite 273Everything from A to ZReference273
Online Edition for Part no. 01 40 2 911 544 - VI/13
Page 275 of 282
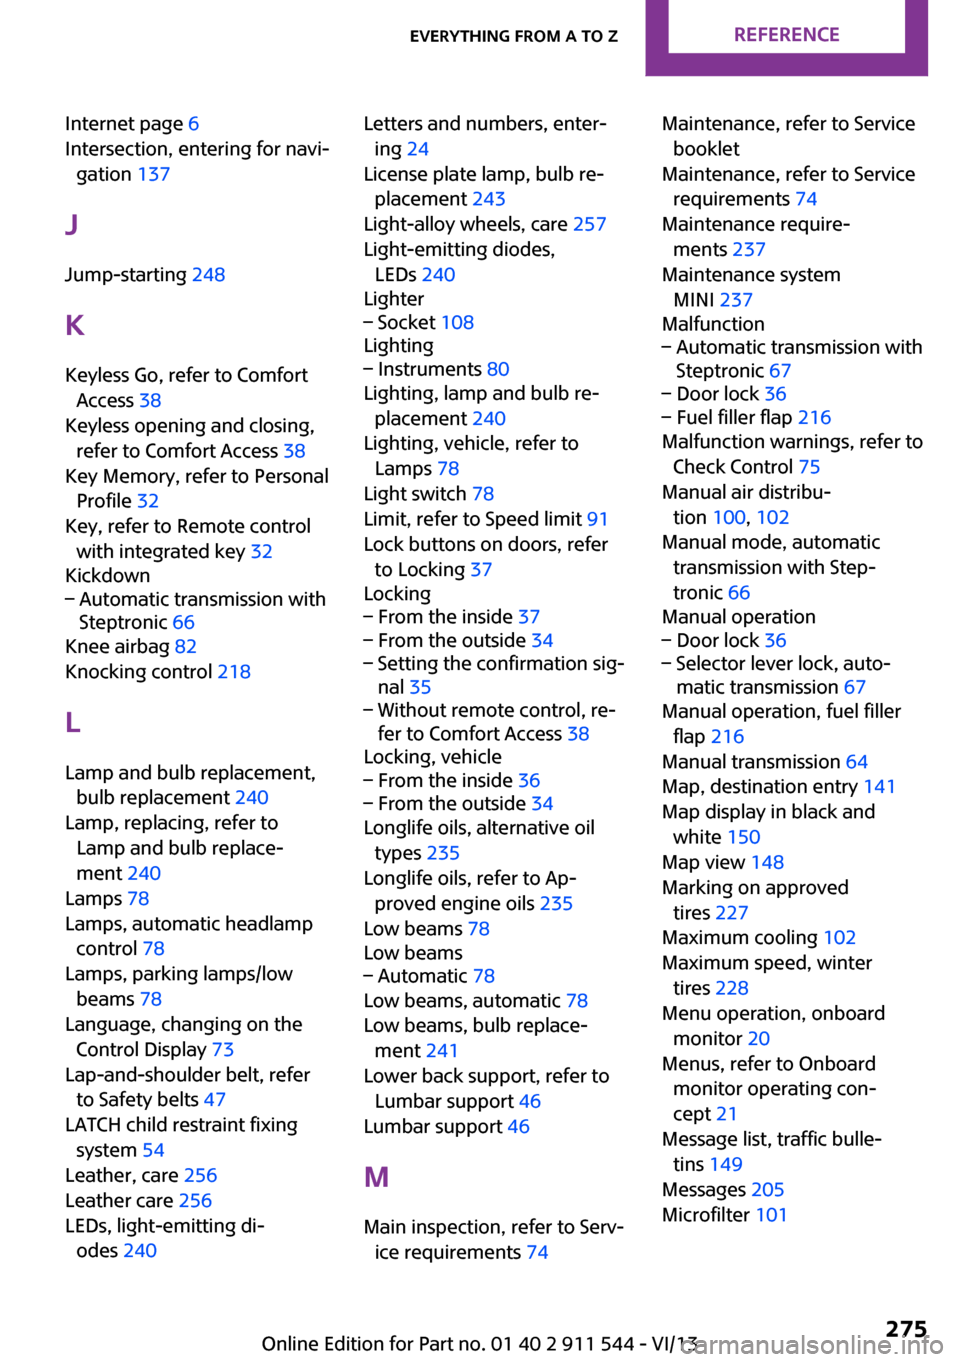
Internet page 6
Intersection, entering for navi‐ gation 137
J
Jump-starting 248
K Keyless Go, refer to Comfort Access 38
Keyless opening and closing, refer to Comfort Access 38
Key Memory, refer to Personal Profile 32
Key, refer to Remote control with integrated key 32
Kickdown– Automatic transmission with
Steptronic 66
Knee airbag 82
Knocking control 218
L Lamp and bulb replacement, bulb replacement 240
Lamp, replacing, refer to Lamp and bulb replace‐
ment 240
Lamps 78
Lamps, automatic headlamp control 78
Lamps, parking lamps/low beams 78
Language, changing on the Control Display 73
Lap-and-shoulder belt, refer to Safety belts 47
LATCH child restraint fixing system 54
Leather, care 256
Leather care 256
LEDs, light-emitting di‐ odes 240
Letters and numbers, enter‐
ing 24
License plate lamp, bulb re‐ placement 243
Light-alloy wheels, care 257
Light-emitting diodes, LEDs 240
Lighter– Socket 108
Lighting
– Instruments 80
Lighting, lamp and bulb re‐
placement 240
Lighting, vehicle, refer to Lamps 78
Light switch 78
Limit, refer to Speed limit 91
Lock buttons on doors, refer to Locking 37
Locking
– From the inside 37– From the outside 34– Setting the confirmation sig‐
nal 35– Without remote control, re‐
fer to Comfort Access 38
Locking, vehicle
– From the inside 36– From the outside 34
Longlife oils, alternative oil
types 235
Longlife oils, refer to Ap‐ proved engine oils 235
Low beams 78
Low beams
– Automatic 78
Low beams, automatic 78
Low beams, bulb replace‐ ment 241
Lower back support, refer to Lumbar support 46
Lumbar support 46
M
Main inspection, refer to Serv‐ ice requirements 74
Maintenance, refer to Service
booklet
Maintenance, refer to Service requirements 74
Maintenance require‐ ments 237
Maintenance system MINI 237
Malfunction– Automatic transmission with
Steptronic 67– Door lock 36– Fuel filler flap 216
Malfunction warnings, refer to
Check Control 75
Manual air distribu‐ tion 100, 102
Manual mode, automatic transmission with Step‐
tronic 66
Manual operation
– Door lock 36– Selector lever lock, auto‐
matic transmission 67
Manual operation, fuel filler
flap 216
Manual transmission 64
Map, destination entry 141
Map display in black and white 150
Map view 148
Marking on approved tires 227
Maximum cooling 102
Maximum speed, winter tires 228
Menu operation, onboard monitor 20
Menus, refer to Onboard monitor operating con‐
cept 21
Message list, traffic bulle‐ tins 149
Messages 205
Microfilter 101
Seite 275Everything from A to ZReference275
Online Edition for Part no. 01 40 2 911 544 - VI/13
Page 277 of 282
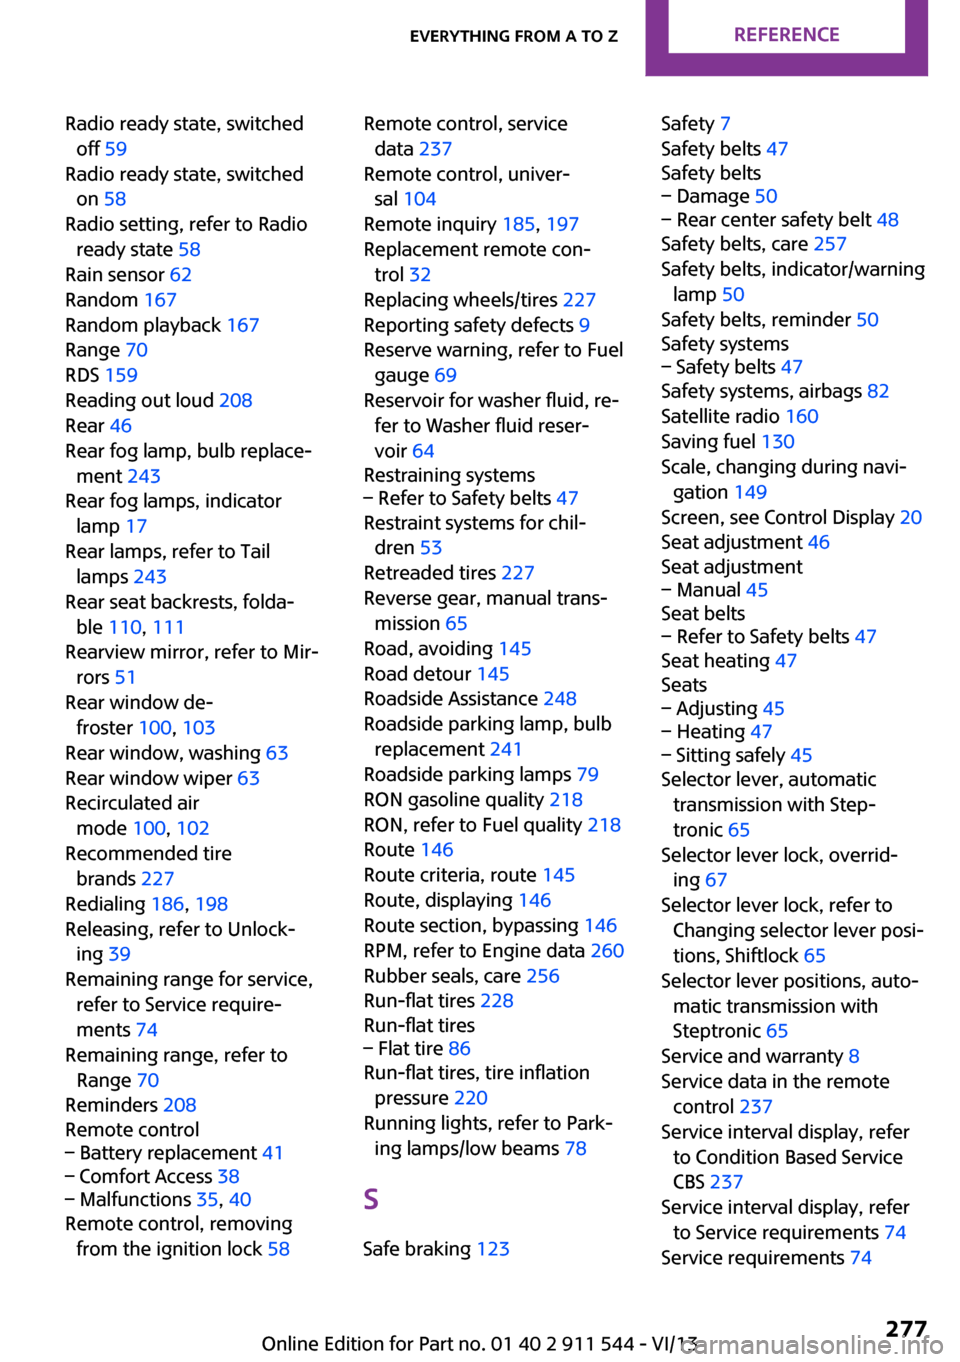
Radio ready state, switchedoff 59
Radio ready state, switched on 58
Radio setting, refer to Radio ready state 58
Rain sensor 62
Random 167
Random playback 167
Range 70
RDS 159
Reading out loud 208
Rear 46
Rear fog lamp, bulb replace‐ ment 243
Rear fog lamps, indicator lamp 17
Rear lamps, refer to Tail lamps 243
Rear seat backrests, folda‐ ble 110 , 111
Rearview mirror, refer to Mir‐ rors 51
Rear window de‐ froster 100, 103
Rear window, washing 63
Rear window wiper 63
Recirculated air mode 100, 102
Recommended tire brands 227
Redialing 186, 198
Releasing, refer to Unlock‐ ing 39
Remaining range for service, refer to Service require‐
ments 74
Remaining range, refer to Range 70
Reminders 208
Remote control– Battery replacement 41– Comfort Access 38– Malfunctions 35, 40
Remote control, removing
from the ignition lock 58
Remote control, service
data 237
Remote control, univer‐ sal 104
Remote inquiry 185, 197
Replacement remote con‐ trol 32
Replacing wheels/tires 227
Reporting safety defects 9
Reserve warning, refer to Fuel gauge 69
Reservoir for washer fluid, re‐ fer to Washer fluid reser‐
voir 64
Restraining systems– Refer to Safety belts 47
Restraint systems for chil‐
dren 53
Retreaded tires 227
Reverse gear, manual trans‐ mission 65
Road, avoiding 145
Road detour 145
Roadside Assistance 248
Roadside parking lamp, bulb replacement 241
Roadside parking lamps 79
RON gasoline quality 218
RON, refer to Fuel quality 218
Route 146
Route criteria, route 145
Route, displaying 146
Route section, bypassing 146
RPM, refer to Engine data 260
Rubber seals, care 256
Run-flat tires 228
Run-flat tires
– Flat tire 86
Run-flat tires, tire inflation
pressure 220
Running lights, refer to Park‐ ing lamps/low beams 78
S Safe braking 123
Safety 7
Safety belts 47
Safety belts– Damage 50– Rear center safety belt 48
Safety belts, care 257
Safety belts, indicator/warning lamp 50
Safety belts, reminder 50
Safety systems
– Safety belts 47
Safety systems, airbags 82
Satellite radio 160
Saving fuel 130
Scale, changing during navi‐ gation 149
Screen, see Control Display 20
Seat adjustment 46
Seat adjustment
– Manual 45
Seat belts
– Refer to Safety belts 47
Seat heating 47
Seats
– Adjusting 45– Heating 47– Sitting safely 45
Selector lever, automatic
transmission with Step‐
tronic 65
Selector lever lock, overrid‐ ing 67
Selector lever lock, refer to Changing selector lever posi‐
tions, Shiftlock 65
Selector lever positions, auto‐ matic transmission with
Steptronic 65
Service and warranty 8
Service data in the remote control 237
Service interval display, refer to Condition Based Service
CBS 237
Service interval display, refer to Service requirements 74
Service requirements 74
Seite 277Everything from A to ZReference277
Online Edition for Part no. 01 40 2 911 544 - VI/13