reset MINI Paceman 2014 User Guide
[x] Cancel search | Manufacturer: MINI, Model Year: 2014, Model line: Paceman, Model: MINI Paceman 2014Pages: 218, PDF Size: 5.5 MB
Page 80 of 218

Final tire failure
Vibrations or loud noises while driving
can indicate the final failure of the tire. Reduce
speed and stop; otherwise, pieces of the tire
could come loose and cause an accident. Do
not continue driving, and contact your service
center. ◀
Malfunction The small warning lamp flashes in yel‐
low and then lights up continuously; the larger warning lamp comes on in yel‐
low.
No flat tire can be detected.
Display in the following situations:▷A wheel without TPM electronics is
mounted:
Have the system checked by the service
center if necessary.▷Malfunction:
Have the system checked.▷TPM could not be fully reset; reset the sys‐
tem again.
The small warning lamp flashes in yel‐
low and then lights up continuously; the
larger warning lamp comes on in yel‐
low.
No flat tire can be detected.
Display in the following situation:
▷Disturbance by other systems or devices
with the same radio frequency
After leaving the area of the disturbance,
the system automatically becomes active
again.
Declaration according to NHTSA/FMVSS
138 Tire Pressure Monitoring Systems
Each tire, including the spare (if provided)
should be checked monthly when cold and in‐
flated to the inflation pressure recommended
by the vehicle manufacturer on the vehicle
placard or tire inflation pressure label (If your
vehicle has tires of a different size than the size
indicated on the vehicle placard or tire inflation
pressure label, you should determine the
proper tire inflation pressure for those tires.).
As an added safety feature, your vehicle has
been equipped with a tire pressure monitoring
system (TPMS) that illuminates a low tire pres‐
sure telltale when one or more of your tires is
significantly under-inflated. Accordingly, when
the low tire pressure telltale illuminates, you
should stop and check your tires as soon as
possible, and inflate them to the proper pres‐
sure. Driving on a significantly under-inflated
tire causes the tire to overheat and can lead to
tire failure. Under-inflation also reduces fuel ef‐
ficiency and tire tread life, and may affect the
vehicle's handling and stopping ability.
Please note that the TPMS is not a substitute for
proper tire maintenance, and it is the driver's
responsibility to maintain correct tire pressure,
even if under-inflation has not reached the
level to trigger illumination of the TPMS low tire
pressure telltale.
Your vehicle has also been equipped with a
TPMS malfunction indicator to indicate when
the system is not operating properly. The TPMS
malfunction indicator is combined with the low
tire pressure telltale. When the system detects
a malfunction, the telltale will flash for approxi‐
mately one minute and then remain continu‐
ously illuminated. This sequence will continue
upon subsequent vehicle startups as long as
the malfunction exists. When the malfunction
indicator is illuminated, the system may not be
able to detect or signal low tire pressure as in‐
tended. TPMS malfunctions may occur for a va‐
riety of reasons, including the installation of re‐
placement or alternate tires or wheels on the
vehicle that prevent the TPMS from functioning
properly. Always check the TPMS malfunction
telltale after replacing one or more tires or
wheels on your vehicle to ensure that the re‐
placement or alternate tires and wheels allow
the TPMS to continue to function properly.Seite 80ControlsSafety80
Online Edition for Part no. 01 40 2 911 521 - VI/13
Page 124 of 218
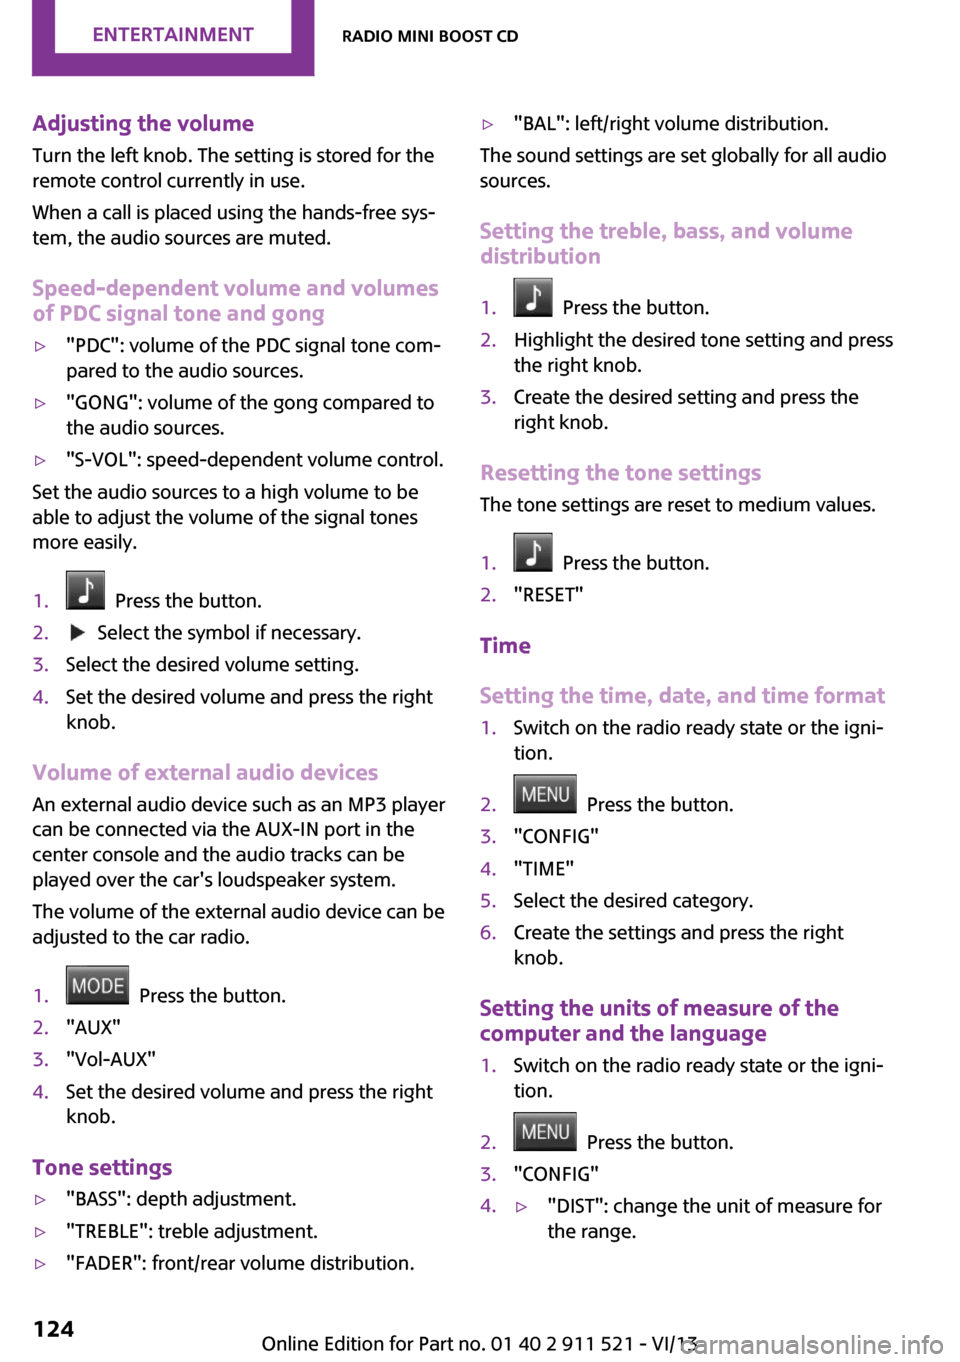
Adjusting the volumeTurn the left knob. The setting is stored for the
remote control currently in use.
When a call is placed using the hands-free sys‐
tem, the audio sources are muted.
Speed-dependent volume and volumes
of PDC signal tone and gong▷"PDC": volume of the PDC signal tone com‐
pared to the audio sources.▷"GONG": volume of the gong compared to
the audio sources.▷"S-VOL": speed-dependent volume control.
Set the audio sources to a high volume to be
able to adjust the volume of the signal tones
more easily.
1. Press the button.2. Select the symbol if necessary.3.Select the desired volume setting.4.Set the desired volume and press the right
knob.
Volume of external audio devices
An external audio device such as an MP3 player
can be connected via the AUX-IN port in the
center console and the audio tracks can be
played over the car's loudspeaker system.
The volume of the external audio device can be
adjusted to the car radio.
1. Press the button.2."AUX"3."Vol-AUX"4.Set the desired volume and press the right
knob.
Tone settings
▷"BASS": depth adjustment.▷"TREBLE": treble adjustment.▷"FADER": front/rear volume distribution.▷"BAL": left/right volume distribution.
The sound settings are set globally for all audio
sources.
Setting the treble, bass, and volume distribution
1. Press the button.2.Highlight the desired tone setting and press
the right knob.3.Create the desired setting and press the
right knob.
Resetting the tone settings
The tone settings are reset to medium values.
1. Press the button.2."RESET"
Time
Setting the time, date, and time format
1.Switch on the radio ready state or the igni‐
tion.2. Press the button.3."CONFIG"4."TIME"5.Select the desired category.6.Create the settings and press the right
knob.
Setting the units of measure of the
computer and the language
1.Switch on the radio ready state or the igni‐
tion.2. Press the button.3."CONFIG"4.▷"DIST": change the unit of measure for
the range.Seite 124EntertainmentRadio MINI Boost CD124
Online Edition for Part no. 01 40 2 911 521 - VI/13
Page 125 of 218
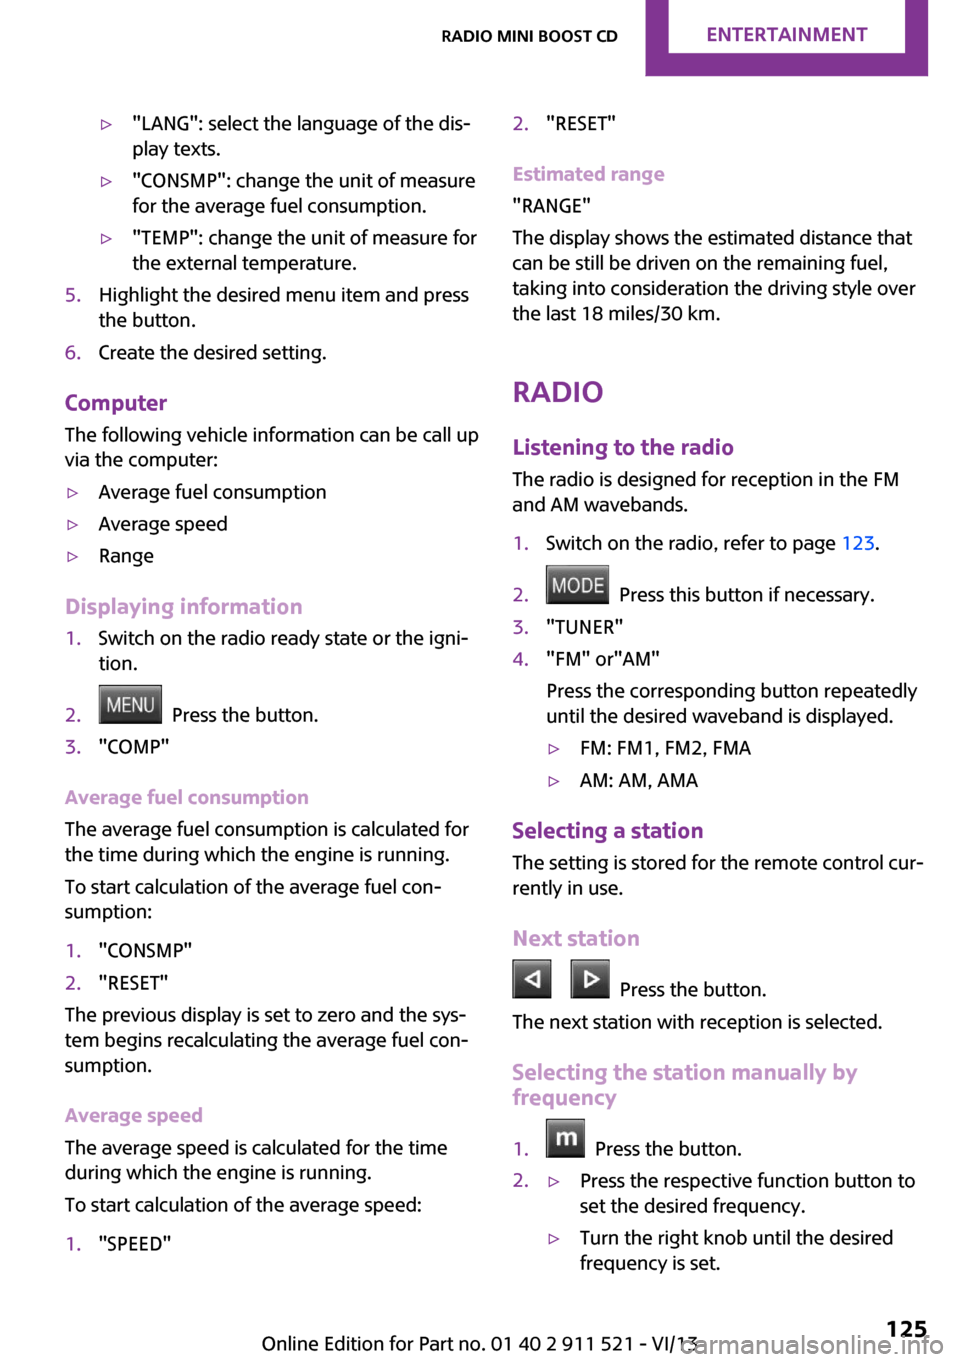
▷"LANG": select the language of the dis‐
play texts.▷"CONSMP": change the unit of measure
for the average fuel consumption.▷"TEMP": change the unit of measure for
the external temperature.5.Highlight the desired menu item and press
the button.6.Create the desired setting.
Computer
The following vehicle information can be call up
via the computer:
▷Average fuel consumption▷Average speed▷Range
Displaying information
1.Switch on the radio ready state or the igni‐
tion.2. Press the button.3."COMP"
Average fuel consumption
The average fuel consumption is calculated for
the time during which the engine is running.
To start calculation of the average fuel con‐
sumption:
1."CONSMP"2."RESET"
The previous display is set to zero and the sys‐
tem begins recalculating the average fuel con‐
sumption.
Average speed
The average speed is calculated for the time
during which the engine is running.
To start calculation of the average speed:
1."SPEED"2."RESET"
Estimated range
"RANGE"
The display shows the estimated distance that
can be still be driven on the remaining fuel,
taking into consideration the driving style over
the last 18 miles/30 km.
Radio
Listening to the radio
The radio is designed for reception in the FM
and AM wavebands.
1.Switch on the radio, refer to page 123.2. Press this button if necessary.3."TUNER"4."FM" or"AM"
Press the corresponding button repeatedly
until the desired waveband is displayed.▷FM: FM1, FM2, FMA▷AM: AM, AMA
Selecting a station
The setting is stored for the remote control cur‐
rently in use.
Next station
Press the button.
The next station with reception is selected.
Selecting the station manually by
frequency
1. Press the button.2.▷Press the respective function button to
set the desired frequency.▷Turn the right knob until the desired
frequency is set.Seite 125Radio MINI Boost CDEntertainment125
Online Edition for Part no. 01 40 2 911 521 - VI/13
Page 137 of 218
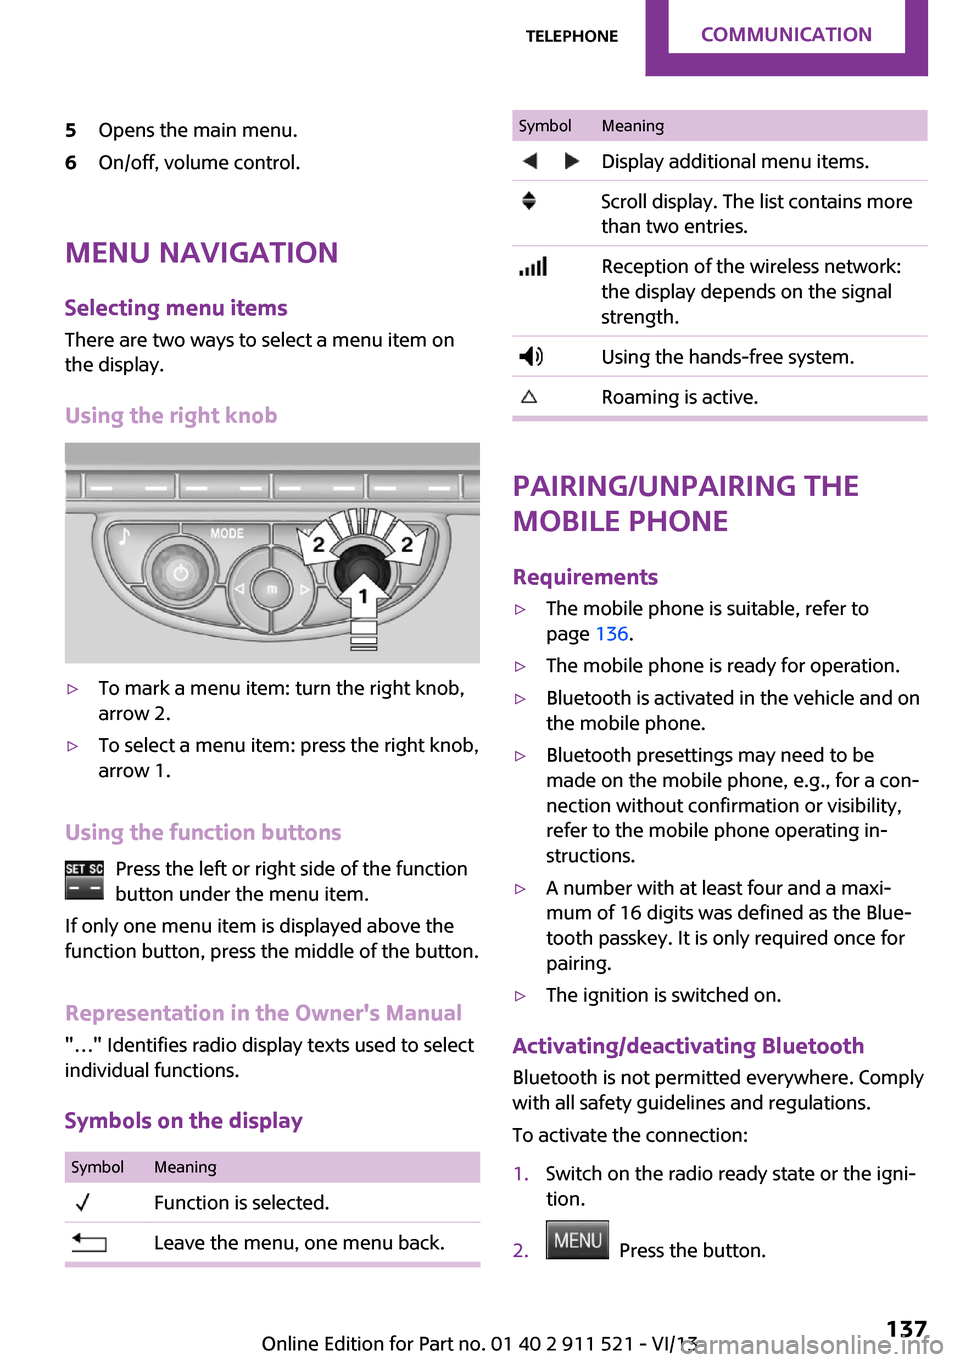
5Opens the main menu.6On/off, volume control.
Menu navigationSelecting menu items
There are two ways to select a menu item on
the display.
Using the right knob
▷To mark a menu item: turn the right knob,
arrow 2.▷To select a menu item: press the right knob,
arrow 1.
Using the function buttons
Press the left or right side of the functionbutton under the menu item.
If only one menu item is displayed above the
function button, press the middle of the button.
Representation in the Owner's Manual
"…" Identifies radio display texts used to select
individual functions.
Symbols on the display
SymbolMeaning Function is selected. Leave the menu, one menu back.SymbolMeaning Display additional menu items. Scroll display. The list contains more
than two entries. Reception of the wireless network:
the display depends on the signal
strength. Using the hands-free system. Roaming is active.
Pairing/unpairing the
mobile phone
Requirements
▷The mobile phone is suitable, refer to
page 136.▷The mobile phone is ready for operation.▷Bluetooth is activated in the vehicle and on
the mobile phone.▷Bluetooth presettings may need to be
made on the mobile phone, e.g., for a con‐
nection without confirmation or visibility,
refer to the mobile phone operating in‐
structions.▷A number with at least four and a maxi‐
mum of 16 digits was defined as the Blue‐
tooth passkey. It is only required once for
pairing.▷The ignition is switched on.
Activating/deactivating Bluetooth
Bluetooth is not permitted everywhere. Comply
with all safety guidelines and regulations.
To activate the connection:
1.Switch on the radio ready state or the igni‐
tion.2. Press the button.
Seite 137TelephoneCommunication137
Online Edition for Part no. 01 40 2 911 521 - VI/13
Page 152 of 218
Wheels and tiresVehicle equipment
This chapter describes all series equipment as
well as country-specific and special equipment
offered for this model series.Therefore, it also
describes equipment that may not be found in
your vehicle, for instance due to the selected
special equipment or the country version. This
also applies to safety-related functions and sys‐
tems.
Tire inflation pressure Safety information
It is not merely the tires' service life, but also
driving comfort and, to a great extent, driving
safety that depend on the condition of the tires
and the maintenance of the specified tire pres‐
sure.
Checking the pressure Check the tire inflation pressure regularly
Regularly check the tire inflation pressure
and correct it as needed: at least twice a month
and before a long trip. If you fail to observe this
precaution, you may be driving on tires with in‐
correct tire pressures, a condition that may not
only compromise your vehicle's driving stabil‐
ity, but also lead to tire damage and the risk of
an accident.
Do not drive with depressurized or flat tires, ex‐
cept for run-flat tires. A flat tire will seriously
impair your vehicle's handling and braking re‐
sponse. Attempts to drive on a flat tire can lead
to a loss of control over the vehicle. ◀
Only check the tire inflation pressure when the
tires are cold. This means after a maximum of
1.25 miles/2 km driving or when the vehicle
has been parked for at least 2 hours. When thetires are warm, the tire inflation pressure is
higher.
After correcting the tire inflation pressure, reset
the Tire Pressure Monitor, refer to page 78
or reinitialize the Flat Tire Monitor, refer to
page 75.
To check the inflation pressure, there is a valve
extension behind the bumper.
Pressure specifications
The tables below provide all the correct infla‐
tion pressures for the specified tire sizes at am‐
bient temperature.
The inflation pressures apply to the tire sizes
approved and tire brands recommended by the
manufacturer of the MINI; a list of these is
available from the service center.
For correct identification of the right tire infla‐
tion pressures, observe the following:▷Tire sizes of your vehicle▷Maximum allowable driving speed
Tire inflation pressures for driving up to
100 mph or 160 km/h
For normal driving up to 100 mph/160 km/h,
adjust pressures to the respective tire inflation
pressures listed on the following pages in the
column for traveling speeds up to 100 mph/
160 km/h to achieve optimum driving comfort.
These tire inflation pressures can also be found
on the driver's side door pillar when the driver's
door is open.
Seite 152MobilityWheels and tires152
Online Edition for Part no. 01 40 2 911 521 - VI/13
Page 215 of 218
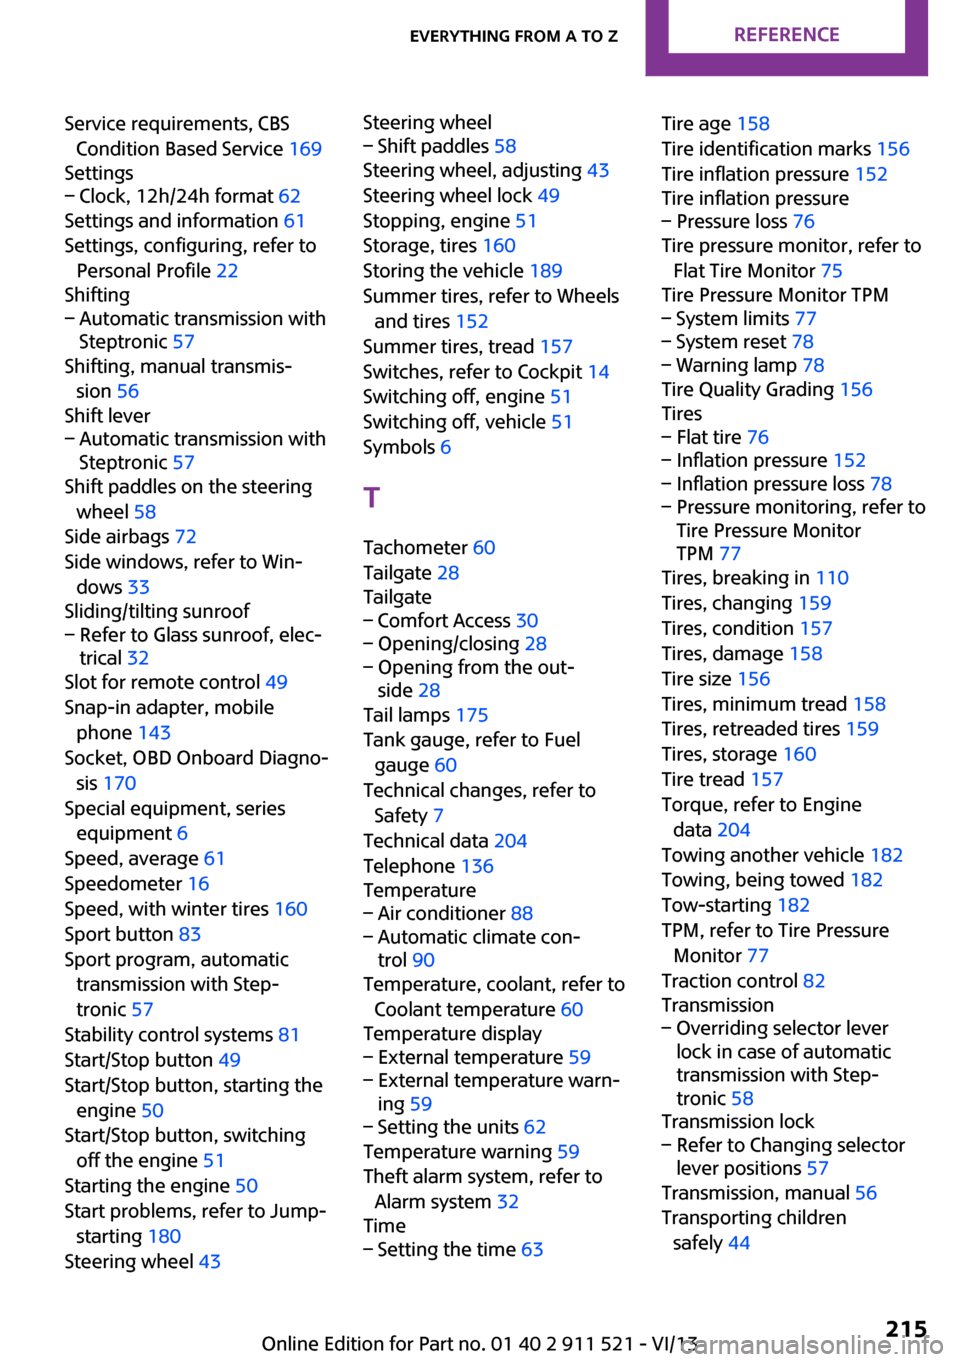
Service requirements, CBSCondition Based Service 169
Settings– Clock, 12h/24h format 62
Settings and information 61
Settings, configuring, refer to Personal Profile 22
Shifting
– Automatic transmission with
Steptronic 57
Shifting, manual transmis‐
sion 56
Shift lever
– Automatic transmission with
Steptronic 57
Shift paddles on the steering
wheel 58
Side airbags 72
Side windows, refer to Win‐ dows 33
Sliding/tilting sunroof
– Refer to Glass sunroof, elec‐
trical 32
Slot for remote control 49
Snap-in adapter, mobile phone 143
Socket, OBD Onboard Diagno‐ sis 170
Special equipment, series equipment 6
Speed, average 61
Speedometer 16
Speed, with winter tires 160
Sport button 83
Sport program, automatic transmission with Step‐
tronic 57
Stability control systems 81
Start/Stop button 49
Start/Stop button, starting the engine 50
Start/Stop button, switching off the engine 51
Starting the engine 50
Start problems, refer to Jump- starting 180
Steering wheel 43
Steering wheel– Shift paddles 58
Steering wheel, adjusting 43
Steering wheel lock 49
Stopping, engine 51
Storage, tires 160
Storing the vehicle 189
Summer tires, refer to Wheels and tires 152
Summer tires, tread 157
Switches, refer to Cockpit 14
Switching off, engine 51
Switching off, vehicle 51
Symbols 6
T Tachometer 60
Tailgate 28
Tailgate
– Comfort Access 30– Opening/closing 28– Opening from the out‐
side 28
Tail lamps 175
Tank gauge, refer to Fuel gauge 60
Technical changes, refer to Safety 7
Technical data 204
Telephone 136
Temperature
– Air conditioner 88– Automatic climate con‐
trol 90
Temperature, coolant, refer to
Coolant temperature 60
Temperature display
– External temperature 59– External temperature warn‐
ing 59– Setting the units 62
Temperature warning 59
Theft alarm system, refer to Alarm system 32
Time
– Setting the time 63Tire age 158
Tire identification marks 156
Tire inflation pressure 152
Tire inflation pressure– Pressure loss 76
Tire pressure monitor, refer to
Flat Tire Monitor 75
Tire Pressure Monitor TPM
– System limits 77– System reset 78– Warning lamp 78
Tire Quality Grading 156
Tires
– Flat tire 76– Inflation pressure 152– Inflation pressure loss 78– Pressure monitoring, refer to
Tire Pressure Monitor
TPM 77
Tires, breaking in 110
Tires, changing 159
Tires, condition 157
Tires, damage 158
Tire size 156
Tires, minimum tread 158
Tires, retreaded tires 159
Tires, storage 160
Tire tread 157
Torque, refer to Engine data 204
Towing another vehicle 182
Towing, being towed 182
Tow-starting 182
TPM, refer to Tire Pressure Monitor 77
Traction control 82
Transmission
– Overriding selector lever
lock in case of automatic
transmission with Step‐
tronic 58
Transmission lock
– Refer to Changing selector
lever positions 57
Transmission, manual 56
Transporting children safely 44
Seite 215Everything from A to ZReference215
Online Edition for Part no. 01 40 2 911 521 - VI/13