warning MINI Paceman 2016 (Mini Connected) Manual PDF
[x] Cancel search | Manufacturer: MINI, Model Year: 2016, Model line: Paceman, Model: MINI Paceman 2016Pages: 223, PDF Size: 5.52 MB
Page 155 of 223
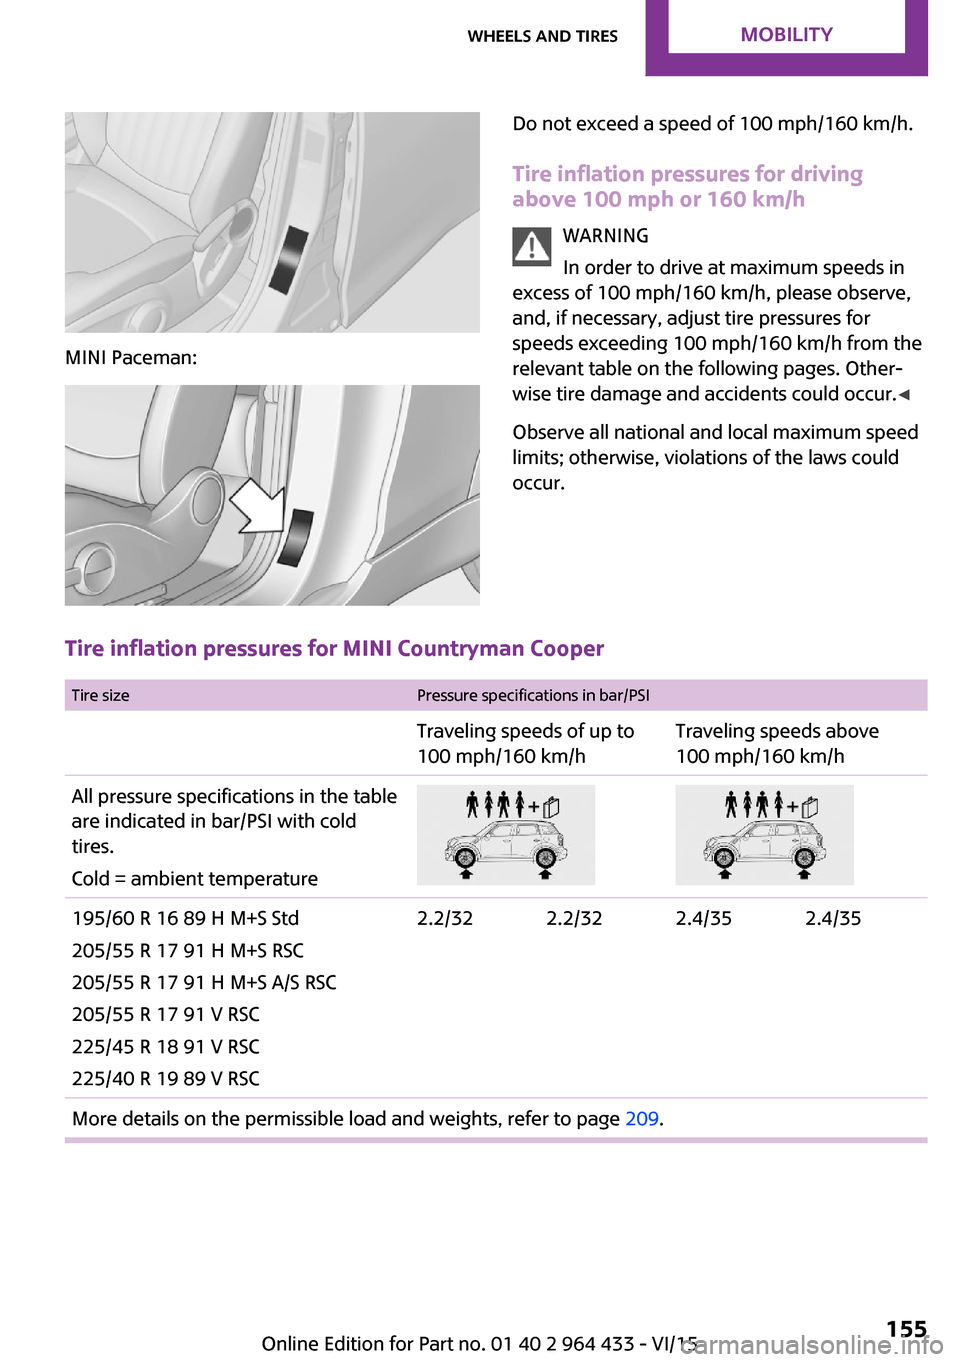
MINI Paceman:
Do not exceed a speed of 100 mph/160 km/h.
Tire inflation pressures for driving
above 100 mph or 160 km/h
WARNING
In order to drive at maximum speeds in
excess of 100 mph/160 km/h, please observe,
and, if necessary, adjust tire pressures for
speeds exceeding 100 mph/160 km/h from the
relevant table on the following pages. Other‐
wise tire damage and accidents could occur. ◀
Observe all national and local maximum speed
limits; otherwise, violations of the laws could
occur.
Tire inflation pressures for MINI Countryman Cooper
Tire sizePressure specifications in bar/PSITraveling speeds of up to
100 mph/160 km/hTraveling speeds above
100 mph/160 km/hAll pressure specifications in the table
are indicated in bar/PSI with cold
tires.
Cold = ambient temperature195/60 R 16 89 H M+S Std
205/55 R 17 91 H M+S RSC
205/55 R 17 91 H M+S A/S RSC
205/55 R 17 91 V RSC
225/45 R 18 91 V RSC
225/40 R 19 89 V RSC2.2/322.2/322.4/352.4/35More details on the permissible load and weights, refer to page 209.Seite 155Wheels and tiresMOBILITY155
Online Edition for Part no. 01 40 2 964 433 - VI/15
Page 159 of 223
Treadwear
The treadwear grade is a comparative rating
based on the wear rate of the tire when tested
under controlled conditions on a specified gov‐
ernment test course. For example, a tire graded
150 would wear one and one-half (1 1/2) times
as well on the government course as a tire
graded 100. The relative performance of tires
depends upon the actual conditions of their
use, however, and may depart significantly
from the norm due to variations in driving hab‐
its, service practices and differences in road
characteristics and climate.
Traction The traction grades, from highest to lowest, are
AA, A, B, and C.
Those grades represent the tire's ability to stop
on wet pavement as measured under control‐
led conditions on specified government test
surfaces of asphalt and concrete. A tire marked
C may have poor traction performance.
The traction grade assigned to this tire is based
on straight-ahead braking traction tests, and
does not include acceleration, cornering, hy‐
droplaning, or peak traction characteristics.
Temperature
The temperature grades are A, the highest, B,
and C, representing the tire's resistance to the
generation of heat and its ability to dissipate
heat when tested under controlled conditions
on a specified indoor laboratory test wheel.
Sustained high temperature can cause the ma‐
terial of the tire to degenerate and reduce tire
life, and excessive temperature can lead to
sudden tire failure. The grade C corresponds to
a level of performance which all passenger car
tires must meet under the Federal Motor Vehi‐
cle Safety Standard No. 109. Grades B and A
represent higher levels of performance on the
laboratory test wheel than the minimum re‐
quired by law.WARNING
The temperature grade for this tire is es‐
tablished for a tire that is properly inflated and
not overloaded. Excessive speed, underinfla‐
tion, or excessive loading, either separately or
in combination, can cause heat buildup and
possible tire failure. ◀
RSC – Run-flat tires
The symbol identifying run-flat tires is a circle
with the letters RSC on the sidewall, refer to
page 162.
M+S Winter and all-season tires.
These have better winter properties than
summer tires.
XL
Designation for specially reinforced tires.
Tire treadSummer tiresThe tread depth should not be less than
0.12 in/3 mm, although European legislation,
for example, requires a minimum tread depth
of only 0.063 in/1.6 mm. At tread depths less
than 0.12 in/3 mm, there is a great danger of
hydroplaning even in low water depths and at
raised speeds.
Winter tires The suitability of winter tires for winter driving
is reduced noticeably when their tread depth
becomes less than 0.16 in/4 mm.Seite 159Wheels and tiresMOBILITY159
Online Edition for Part no. 01 40 2 964 433 - VI/15
Page 160 of 223

Minimum tread depth
Wear indicators in the tread base are distrib‐
uted around the circumference of the tire and
are marked on the tire sidewall with TWI, Tread
Wear Indicator. When the tire tread has been
worn down to the wear indicators, a tread has
reached a depth of 0.063 in/1.6 mm.
Tire damage
General information Inspect your tires often for damage, foreign ob‐
jects lodged in the tread, and tread wear.
Information
Driving over rough or damaged road surfaces,
as well as debris, curbs and other obstacles can
cause serious damage to wheels, tires and sus‐
pension parts. This is more likely to occur with
low-profile tires, which provide less cushioning
between the wheel and the road. Be careful to
avoid road hazards and reduce your speed, es‐
pecially if your vehicle is equipped with low-
profile tires.
Indications of tire damage or other vehicle mal‐
functions:
▷Unusual vibrations during driving.▷Unusual handling such as a strong ten‐
dency to pull to the left or right.
Damage can be caused by driving over curbs,
road damage and similar situations.
WARNING
Damaged tires can lose tire inflation pres‐
sure, which can lead to loss of vehicle control.
There is risk of an accident. If tire damage is
suspected while driving, immediately reduce
speed and stop. Have wheels and tires
checked. For this purpose, drive carefully to the
nearest dealer’s service center or another
qualified service center or repair shop. Have
vehicle towed or transported as needed. ◀
WARNING
Damaged tires can lose tire inflation pres‐
sure, which can lead to loss of vehicle control.
There is risk of an accident. Do not repair dam‐
aged tires, but have them replaced. ◀
Tire age Recommendation
For several reasons, among other things be‐
cause of beginning brittleness, the manufac‐
turer of your MINI recommends mounting new
tires at the latest after six years, regardless of
the actual wear.
Manufacture date
The date of manufacture of the tires is specified
in the tire label:
DOT … 2015: the tire was manufactured in
week 20 of 2015.
Changing wheels and
tires
Mounting
Have mounting and wheel balancing carried
out by a dealer’s service center or another
qualified service center or repair shop.Seite 160MOBILITYWheels and tires160
Online Edition for Part no. 01 40 2 964 433 - VI/15
Page 161 of 223
Wheel and tire combination
Information on the right wheel/tire combina‐
tion and wheel rim versions for your vehicle can
be obtained from the dealer’s service center or
another qualified service center or repair shop.
Incorrect wheel and tire combinations impair
the function of a variety of systems such as ABS
or DSC.
To maintain good handling and vehicle re‐
sponse, use only tires with a single tread con‐
figuration from a single manufacturer.
Following tire damage, have the original wheel
and tire combination remounted on the vehicle
as soon as possible.
WARNING
Wheels and tires which are not suitable
for your vehicle can damage parts of the vehi‐
cle, e.g. due to contact with the body due to
tolerances despite the same official size rating.
There is risk of an accident. ◀
Wheels with electronics for TPM Tire
Pressure Monitor
When mounting new tires or changing from
summer to winter tires or vice versa, only use
wheels with TPM electronics; otherwise, the
Tire Pressure Monitor will not be able to detect
a flat tire, refer to page 79. A dealer’s service
center will be glad to answer any questions you
may have.Recommended tire brands
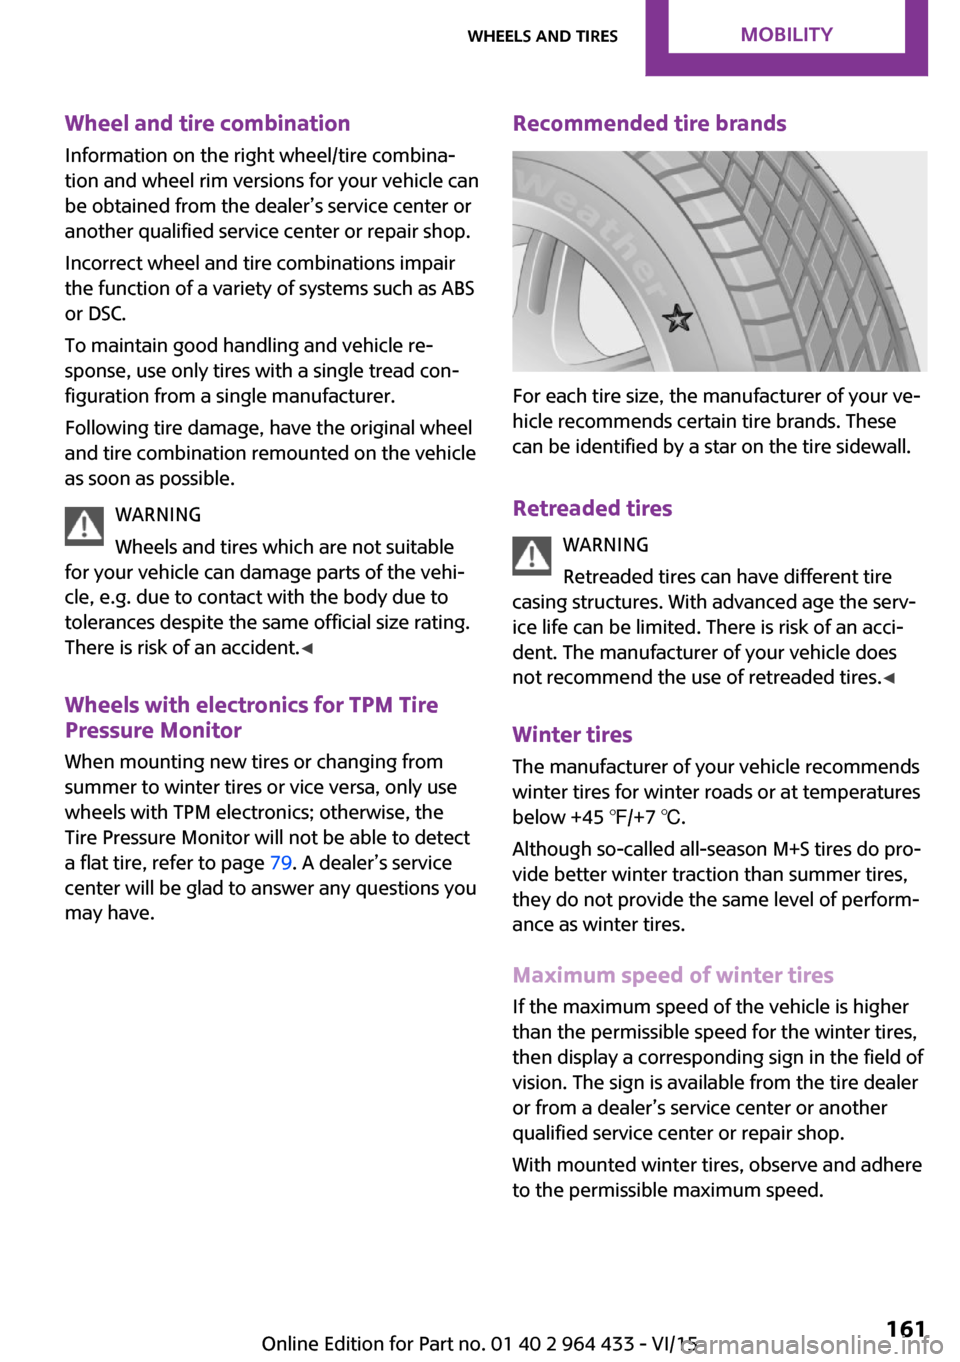
For each tire size, the manufacturer of your ve‐
hicle recommends certain tire brands. These
can be identified by a star on the tire sidewall.
Retreaded tires WARNING
Retreaded tires can have different tire
casing structures. With advanced age the serv‐
ice life can be limited. There is risk of an acci‐
dent. The manufacturer of your vehicle does
not recommend the use of retreaded tires. ◀
Winter tires The manufacturer of your vehicle recommendswinter tires for winter roads or at temperatures
below +45 ℉/+7 ℃.
Although so-called all-season M+S tires do pro‐
vide better winter traction than summer tires, they do not provide the same level of perform‐
ance as winter tires.
Maximum speed of winter tires
If the maximum speed of the vehicle is higher
than the permissible speed for the winter tires,
then display a corresponding sign in the field of
vision. The sign is available from the tire dealer
or from a dealer’s service center or another
qualified service center or repair shop.
With mounted winter tires, observe and adhere
to the permissible maximum speed.
Seite 161Wheels and tiresMOBILITY161
Online Edition for Part no. 01 40 2 964 433 - VI/15
Page 162 of 223

Run-flat tiresWhen mounting new tires or changing fromsummer to winter tires or vice versa, use run-
flat tires for your own safety. Also, a compact
wheel is not available in case of a flat tire. A
dealer’s service center will be glad to answer
any questions you may have.
Rotating wheels between axles
Different wear patterns occur on the front and
rear axles, depending on the individual condi‐
tions of use.
To ensure even wear on the tires, the wheels
can be rotated between the axles. A dealer’s
service center will be glad to answer any ques‐
tions you may have.
After changing the tires, check the tire inflation
pressure and correct it if necessary.
Storage
Store wheels and tires in a cool, dry place with
as little exposure to light as possible.
Always protect tires against all contact with oil,
grease and fuels.
Do not exceed the maximum tire inflation pres‐
sure indicated on the side wall of the tire.
Run-flat tires
Label
The symbol identifying run-flat tires is a circle
with the letters RSC on the sidewall.
Run-flat tires are tires that support themselves
for a limited period of time, and they may also
come with special rims. The sidewall reinforce‐
ment ensures that the tire can continue to be
used to a limited extent if it has lost pressure
and even if it has become completely depres‐
surized.
For continued driving in the event of a flat tire,
refer to page 78.
Correcting a flat tire
Safety measures▷Park the vehicle as far as possible from
passing traffic and on solid ground. Switch
on the hazard warning system.▷Let the steering wheel lock engage with the
wheels in the straight-ahead position, set
the parking brake, and engage first gear or
reverse, or engage selector lever position P.▷Have all vehicle occupants get out of the
vehicle and ensure that they remain out‐
side the immediate area in a safe place,
such as behind a guardrail.▷If a warning triangle or portable hazard
warning lamp is required, set it up on the
roadside at an appropriate distance from
the rear of the vehicle. Comply with all
safety guidelines and regulations.
The procedure to correct a flat tire depends on
the equipment in the vehicle:
▷Run-flat tires, refer to page 162.▷MINI Mobility System, refer to page 162.
MINI Mobility System
Information
▷Follow the instructions on using the Mobi‐
lity System found on the compressor and
sealant bottle.Seite 162MOBILITYWheels and tires162
Online Edition for Part no. 01 40 2 964 433 - VI/15
Page 167 of 223
Hood
Information WARNING
Improperly executed work in the engine
compartment can damage vehicle components
and impair vehicle functions. There is a risk of
personal and property damage. The manufac‐
turer of your vehicle recommends that, in the
effort to avoid such risks, work in the engine
compartment be performed by a dealer’s serv‐
ice center or another qualified service center or
repair shop. ◀
CAUTION
Folded-away wipers can be jammed
when the hood is opened. There is risk of prop‐
erty damage. Make sure that the wipers with
the wiper blades mounted are folded down onto the windshield before opening the
hood. ◀
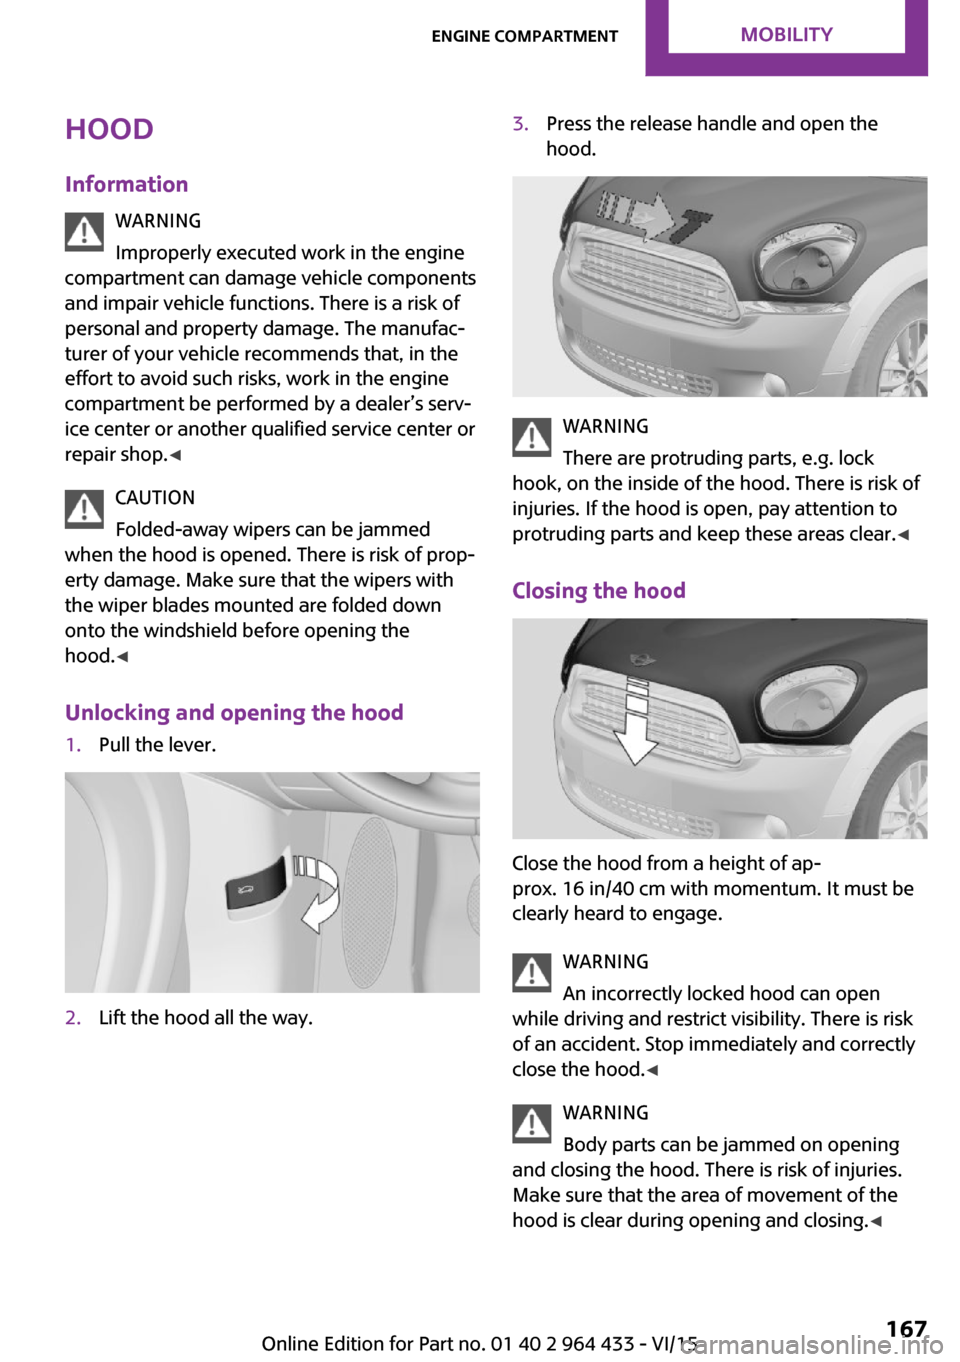
Unlocking and opening the hood1.Pull the lever.2.Lift the hood all the way.3.Press the release handle and open the
hood.
WARNING
There are protruding parts, e.g. lock
hook, on the inside of the hood. There is risk of
injuries. If the hood is open, pay attention to
protruding parts and keep these areas clear. ◀
Closing the hood
Close the hood from a height of ap‐
prox. 16 in/40 cm with momentum. It must be
clearly heard to engage.
WARNING
An incorrectly locked hood can open
while driving and restrict visibility. There is risk
of an accident. Stop immediately and correctly
close the hood. ◀
WARNING
Body parts can be jammed on opening
and closing the hood. There is risk of injuries.
Make sure that the area of movement of the
hood is clear during opening and closing. ◀
Seite 167Engine compartmentMOBILITY167
Online Edition for Part no. 01 40 2 964 433 - VI/15
Page 169 of 223
CAUTION
Too much engine oil can damage the en‐
gine or the catalytic converter. There is risk of
property damage. Do not add too much engine
oil. Have excess engine oil suctioned off by a
dealer’s service center or another qualified
service center or repair shop. ◀
WARNING
Operating materials, e.g. oils, greases,
coolants, fuels, can contain harmful ingredi‐
ents. There is risk of injuries or danger to life.
Observe the instructions on the containers.
Avoid the contact of articles of clothing, skin or
eyes with operating materials. Do not refill op‐
erating materials into different bottles. Store
operating materials out of reach of children. ◀
Engine oil types to add
Information CAUTION
Oil additives can damage the engine.
There is risk of property damage. Do not use oil
additives. ◀
CAUTION
Incorrect engine oil can cause malfunc‐
tions in the engine or damage it. There is risk of
property damage. When selecting an engine
oil, make sure that the engine oil has the cor‐ rect viscosity grade. ◀
The engine oil quality is critical for the life of the
engine.
Viscosity grades
When selecting an engine oil, ensure that the engine oil belongs to one of the viscosity
grades SAE 0W-40, SAE 0W-30, SAE 5W-40, and
SAE 5W-30.
Suitable engine oil types Add engine oils that meet the following oil rat‐
ing standards:Gasoline engineBMW Longlife-01BMW Longlife-01 FE
Further information regarding suitable engine
oil ratings and viscosities can be obtained from
a dealer’s service center or another qualified
service center or repair shop.
Alternative engine oil types If an engine oil suitable for continuous use is
not available, up to 1 US quart/liter of an en‐
gine oil with the following oil rating can be
added:
Gasoline engineAPI SL or superior oil rating
Engine oil change
The vehicle manufacturer recommends that
you let the dealer’s service center or another
qualified service center or repair shop change
the engine oil.
Seite 169Engine oilMOBILITY169
Online Edition for Part no. 01 40 2 964 433 - VI/15
Page 170 of 223
CoolantVehicle features and op‐
tions
This chapter describes all standard, country-
specific and optional features offered with the
series. It also describes features that are not
necessarily available in your car, e. g., due to
the selected options or country versions. This
also applies to safety-related functions and sys‐
tems.
When using the features and systems described
here, adhere to local regulations.
General information WARNING
With the engine hot and the cooling sys‐
tem open, coolant can escape and lead to
burns. There is risk of injuries. Only open the
cooling system with the engine cooled down. ◀
WARNING
Additives are harmful and incorrect addi‐
tives can damage the engine. There is risk of in‐
juries and risk of property damage. Avoid the
contact of articles of clothing, skin or eyes with
additives. Do not swallow any additives. Use
suitable additives only. ◀
Coolant consists of water and additives. Not all commercially available additives are
suitable for the vehicle. Information regarding
suitable additives is available from a dealer’s
service center or another qualified service cen‐
ter or repair shop.Coolant temperature
If the coolant and therefore the engine over‐
heat, a warning lamp lights up, refer to
page 194.
Coolant level Checking1.Do not open the hood until the engine has
cooled down.2.Turn the expansion tank cap counterclock‐
wise slightly to allow any accumulated
pressure to escape; then continue turning
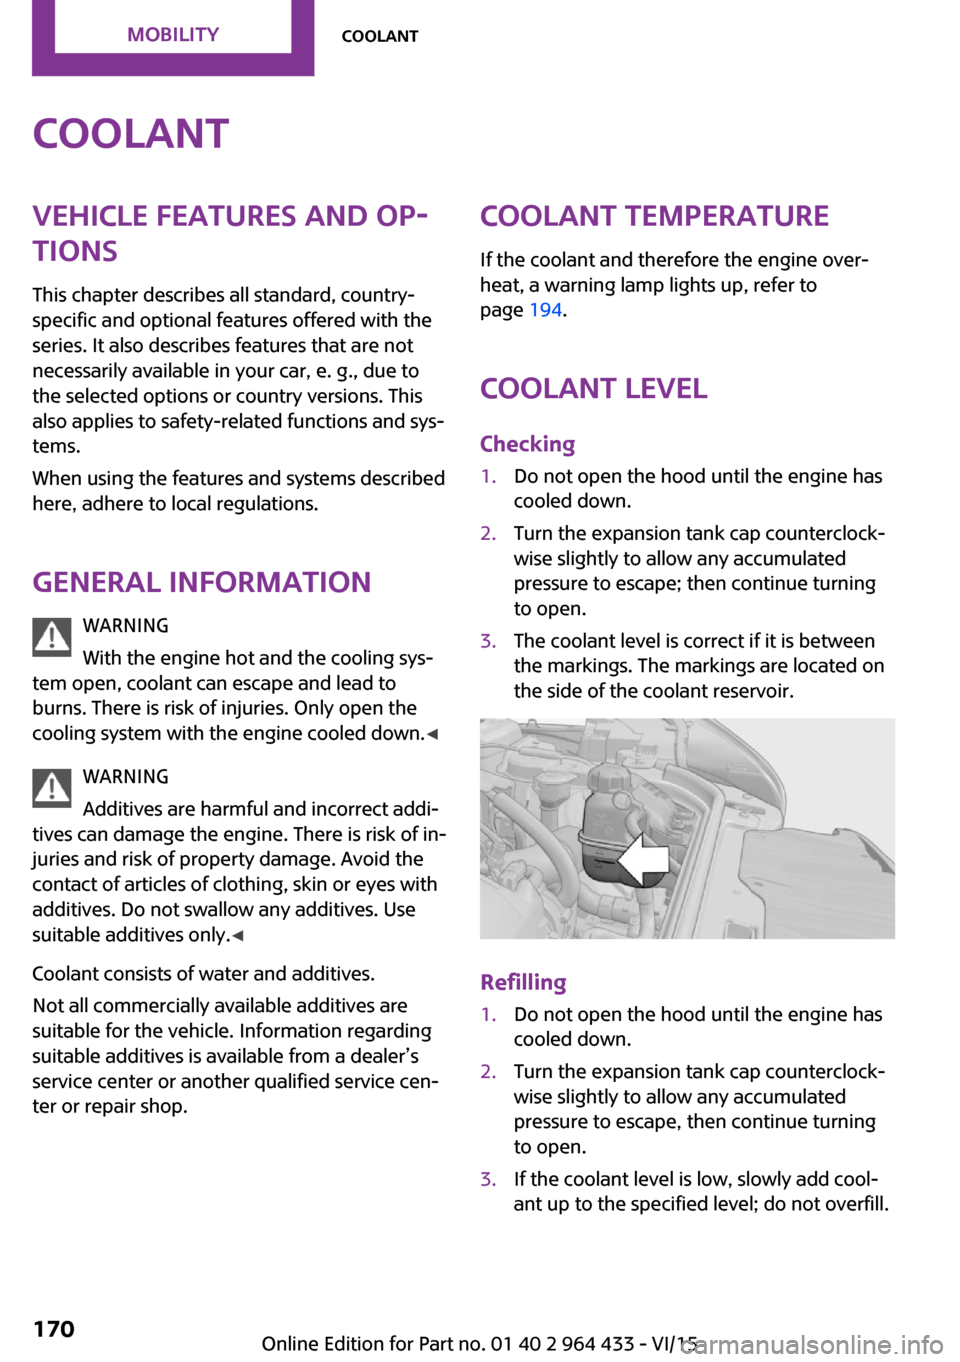
to open.3.The coolant level is correct if it is between
the markings. The markings are located on
the side of the coolant reservoir.
Refilling
1.Do not open the hood until the engine has
cooled down.2.Turn the expansion tank cap counterclock‐
wise slightly to allow any accumulated
pressure to escape, then continue turning
to open.3.If the coolant level is low, slowly add cool‐
ant up to the specified level; do not overfill.Seite 170MOBILITYCoolant170
Online Edition for Part no. 01 40 2 964 433 - VI/15
Page 173 of 223

and Service Guide Booklet for Canadian models
for additional information on service require‐
ments.
The manufacturer of your vehicle recommends
that maintenance and repair be performed by a
dealer’s service center or another qualified
service center or repair shop. Records of regu‐
lar maintenance and repair work should be re‐
tained.
Socket for OBD Onboard
Diagnosis
CAUTION
The socket for Onboard Diagnosis is an
intricate component intended to be used in
conjunction with specialized equipment to
check the vehicle’s primary emissions system.
Improper use of the socket for Onboard Diag‐
nosis, or contact with the socket for Onboard
Diagnosis for other than its intended purpose,
can cause vehicle malfunctions and creates
risks of personal and property damage. Given
the foregoing, the manufacture of your vehicle
strongly recommends that access to the socket
for Onboard Diagnosis be limited to a dealer's
service center or another qualified service cen‐
ter or repair shop or other persons that have
the specialized training and equipment for pur‐
poses of properly utilizing the socket for On‐
board Diagnosis. ◀
Primary components in the vehicle emissions
can be checked via the OBD socket using a de‐
vice.
Emissions
The warning lamps light up. The vehicle
is producing higher emissions. Further
driving at a moderate pace is possible.
Have the vehicle checked as soon as possible.
Under certain circumstances, one of the lamps
flashes or lights up continuously. This indicates
that there is excessive misfiring or a malfunc‐
tion in the engine. In this situation, decrease
the vehicle speed and immediately drive to a
dealer’s service center or another qualified
service center or repair shop. Serious engine
misfiring within a brief period can seriously
damage emission control components, in par‐
ticular the catalytic converter. In addition, the
mechanical engine components may become
damaged.
If the fuel filler cap is not properly tight‐
ened, the OBD system may conclude
that fuel vapor is escaping; this will
cause a display to light up. If the filler cap is
then tightened, the display should go out in a
few days.Seite 173MaintenanceMOBILITY173
Online Edition for Part no. 01 40 2 964 433 - VI/15
Page 175 of 223
3.Press the wiper blade against the stop to
push it out of the fixation.4.Press the new wiper blade into the fixation
until it engages audibly.5.Fold down the wiper arm.
Lamp and bulb replace‐
ment
Information
Lamps and bulbs Lamps and bulbs make an essential contribu‐
tion to vehicle safety. Therefore, exercise cau‐
tion when handling lights and bulbs.
The vehicle manufacturer recommends that
you have the necessary work performed by a
dealer’s service center or another qualified
service center or repair shop if you are unfami‐
liar with it or it is not described here.
A spare lamp box is available from a dealer’s
service center or another qualified service cen‐
ter or repair shop.
WARNING
Bulbs can get hot during operation. Con‐
tact with the bulbs can cause burns. There is
risk of injuries. Only change bulbs after they
have cooled off. ◀
WARNING
Work on switched-on lighting systems
can cause short circuits. There is risk of injuries
or risk of property damage. When working on
the lighting system, switch off the lamps in
question. If necessary, heed the bulb manufac‐
turer's instructions. ◀
CAUTION
Contaminated bulbs reduce their service
life. There is risk of property damage. Do not
hold new bulbs with your bare hands. Use a
clean cloth or something similar, or hold the
bulb by its base. ◀
Caring for the headlights, refer to page 191.
For bulb replacement procedures that are not
described here, contact a dealer’s service cen‐
ter or another qualified service center or repair
shop.
For checking and adjusting headlamp aim, con‐
tact a dealer’s service center or another quali‐
fied service center or repair shop.
Light-emitting diodes LEDs In some equipment, the light source is provided
by light-emitting diodes behind a cover.
These light-emitting diodes, which operate us‐
ing a concept similar to that applied in conven‐
tional lasers, are designated as Class 1 light-
emitting diodes.
WARNING
Too intensive brightness can irritate or
damage the retina of the eye. There is risk of
injuries. Do not look directly into the headlights
or other light sources for an extended period of
time. Do not remove the LED covers. ◀
Headlight glass
Condensation can form on the inside of the ex‐
ternal lights in cool or humid weather. When
you drive with the lights switched on, the con‐
densation evaporates after a short time. The
headlight glass does not need to be changed.
If despite driving with the lights switched on,
increasing humidity forms, e. g. water droplets
in the lamp, the manufacturer of your vehicle
recommends having it checked by a dealer’s
service center or another qualified service cen‐
ter or repair shop.
Bi-xenon headlights
These bulbs have a very long life and the likeli‐
hood of failure is very low, provided that they
are not switched on and off excessively. If a
bulb should nevertheless fail, you can continueSeite 175Replacing componentsMOBILITY175
Online Edition for Part no. 01 40 2 964 433 - VI/15