airbag off MITSUBISHI ASX 2018 (in English) User Guide
[x] Cancel search | Manufacturer: MITSUBISHI, Model Year: 2018, Model line: ASX, Model: MITSUBISHI ASX 2018Pages: 514, PDF Size: 34.89 MB
Page 97 of 514

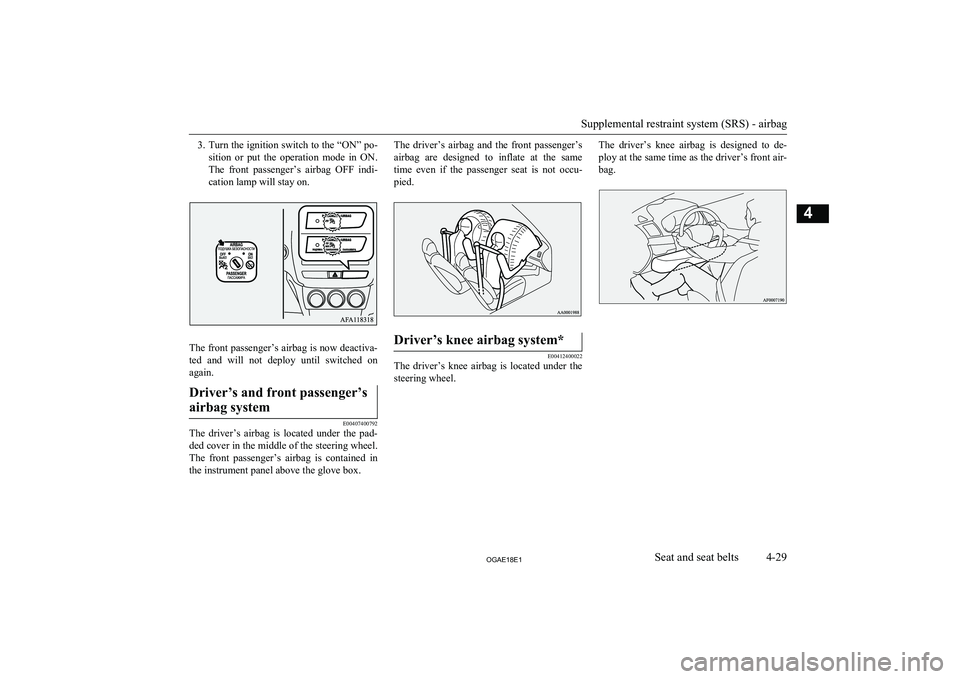
3.Turn the ignition switch to the “ON” po-
sition or put the operation mode in ON. The front passenger’s airbag OFF indi-
cation lamp will stay on.
The front passenger’s airbag is now deactiva- ted and will not deploy until switched on
again.
Driver’s and front passenger’s
airbag system
E00407400792
The driver’s airbag is located under the pad- ded cover in the middle of the steering wheel. The front passenger’s airbag is contained in
the instrument panel above the glove box.
The driver’s airbag and the front passenger’s
airbag are designed to inflate at the same
time even if the passenger seat is not occu- pied.Driver’s knee airbag system*
E00412400022
The driver’s knee airbag is located under the steering wheel.
The driver’s knee airbag is designed to de-
ploy at the same time as the driver’s front air- bag.
Supplemental restraint system (SRS) - airbag
4-29OGAE18E1Seat and seat belts4
Page 354 of 514

CAUTIONlThe surface of the compressor will get hot
while the compressor is running. Do not
keep the compressor running continuously for more than 10 minutes. After using the compressor, wait for the compressor to cool
before using it again.
l If the compressor becomes sluggish or hot
while operating, it is overheating. Immedi- ately place the switch in the OFF positionand let the compressor cool down for at least30 minutes.NOTEl If the tyre pressure does not rise to the speci-
fied level within 10 minutes, the tyre may be
so severely damaged that the tyre sealant
cannot be used to effect an emergency re- pair. Please contact a MITSUBISHI
MOTORS Authorized Service Point or an-
other specialist in this event.
16. Turn OFF the compressor switch, then
pull the power cord plug out of the sock- et.
NOTEl Simply putting sealant and air into the tyre
using the tyre repair kit does not seal the
puncture hole. Air will leak through the puncture hole until the emergency repair procedure is completed (through step 19 of
these instructions).
17. Affix the speed restriction sticker (Q) to
the steering wheel at the position shown
in the illustration. Then immediately drive with great care to a MITSUBISHI
MOTORS Authorized Service Point or
another specialist and have tyre repair/
replacement performed.
CAUTIONl Do not affix the sticker anywhere except the
specified position on the pad of the steeringwheel. Affixing the sticker in an incorrect
position could prevent the SRS airbag from working normally.
l Be sure to check the tyre pressure for confir-
mation that the emergency repair procedureis complete.
18. When you have inflated the tyre to the
specified pressure, stow the compressor,
bottle, and other items in the vehicle and
promptly start driving the vehicle so that the tyre sealant can spread evenly in the
tyre. Drive with great care. Do not ex- ceed a speed of 80 km/h (50 mph). Ob-
serve local speed limits.
CAUTIONl If you sense any abnormality while driving,
stop the vehicle and contact a MITSUBISHI
MOTORS Authorized Service Point or an-
other specialist. Otherwise the tyre pressure
may drop before the emergency repair pro- cedure is completed, rendering the vehicle
unsafe.NOTEl Driving faster than 80 km/h (50 mph)
can
make the vehicle vibrate.
Tyre repair kit*
8-12OGAE18E1For emergencies8