oil dipstick MITSUBISHI ENDEAVOR 2004 Service Repair Manual
[x] Cancel search | Manufacturer: MITSUBISHI, Model Year: 2004, Model line: ENDEAVOR, Model: MITSUBISHI ENDEAVOR 2004Pages: 3870, PDF Size: 98.47 MB
Page 470 of 3870

1. Remove the transfer and O-ring < W4A5A >
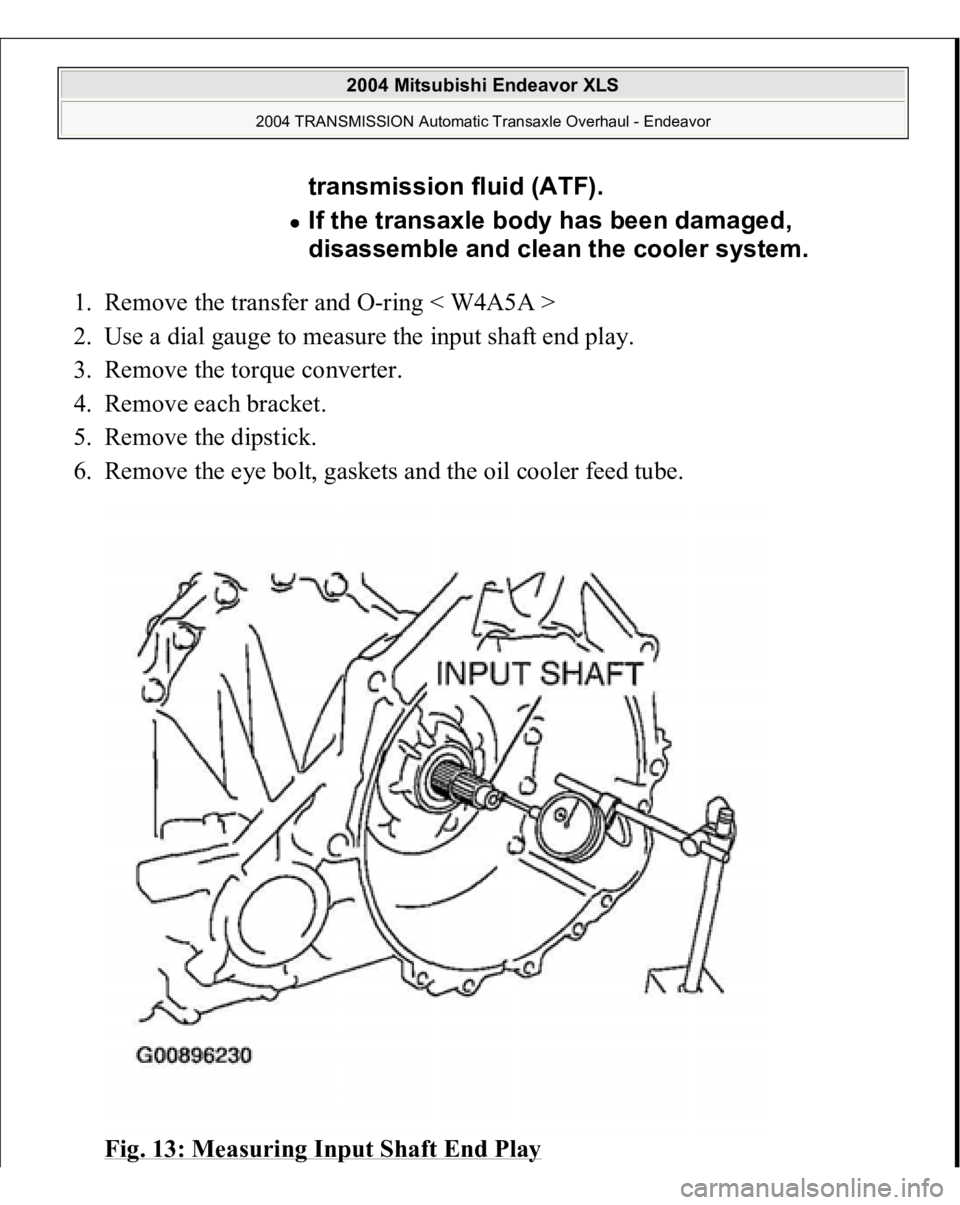
2. Use a dial gauge to measure the input shaft end play.
3. Remove the torque converter.
4. Remove each bracket.
5. Remove the dipstick.
6. Remove the eye bolt, gaskets and the oil cooler feed tube.
Fig. 13: Measuring Input Shaft End Play
transmission fluid (ATF). If the transaxle body has been damaged,
disassemble and clean the cooler system.
2004 Mitsubishi Endeavor XLS
2004 TRANSMISSION Automatic Transaxle Overhaul - Endeavor
Page 1302 of 3870

cleaned regularly and kept separate from personal clothing. Where there is a risk of eye contact, eye protection should be worn i.e.
chemical goggles or face shields. In addition, an eye wash facility should be
provided. Obtain First Aid treatment immediately for open cuts and wounds. Wash regularly with soap and water to ensure all oil is removed, especially
before meals (skin cleansers and nail brushes will help). After cleaning, apply
lotion, etc., containing lanolin to replace natural skin oils is advised. Do not use gasoline, kerosene, diesel fuel, gas oil, thinner or solvents for
cleaning skin. Apply barrier creams before each work period to help clean the skin after
work. If skin disorders develop, obtain medical advice immediately.
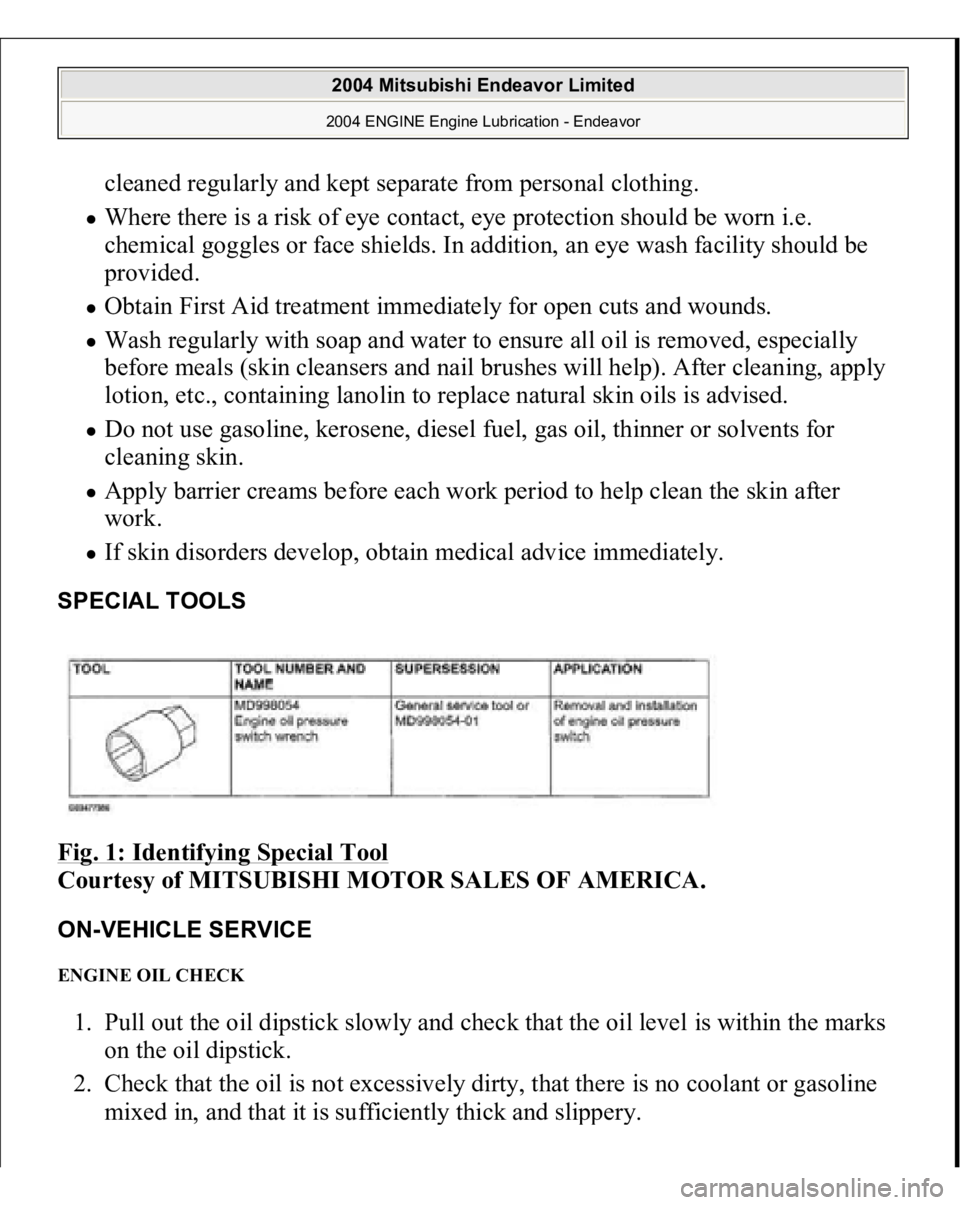
SPECIAL TOOLS Fig. 1: Identifying Special Tool
Courtesy of MITSUBISHI MOTOR SALES OF AMERICA.
ON-VEHICLE SERVICE ENGINE OIL CHECK 1. Pull out the oil dipstick slowly and check that the oil level is within the marks
on the oil dipstick.
2. Check that the oil is not excessively dirty, that there is no coolant or gasoline
mixed in, and that it is sufficientl
y thick and sli
ppery.
2004 Mitsubishi Endeavor Limited 2004 ENGINE Engine Lubrication - Endeavor
Page 2856 of 3870

Perform air bleeding procedure as necessary after replacing the steering gear, oil
pump or the steering fluid lines.
1. Raise and support the front wheels.
2. Disconnect the ignition coil connectors (Refer to IGNITION COIL
).
3. Turn the steering wheel all the way to the left and right five or six times while
using the starter motor to crank the engine intermittently several times (for 15
to 20 seconds).
4. Connect the ignition coil connectors (Refer to IGNITION COIL
).
5. Start the engine and allow to idle.
6. Turn the steering wheel to the left and right until there are no air bubbles in the
oil reservoir.
7. Confirm that the fluid is not milky, and that the level is between the high and
low dipstick marks.
8. Confirm that there is very little change in the fluid level when the steering
wheel is turned left and right.
9. Confirm that the change in the fluid level is no more than 5 mm (0.2 inch)
when the en
gine is sto
pped.
CAUTION: Perform air bleeding only while cranking the
engine. Do not perform air bleeding while the
en
gine is runnin
g. If
you do so, air in the fluid will
be increased and air bleeding will become more
difficult. During air bleeding, refill the steering
fluid so that the level never falls below the lower
mark on the dipstick.
CAUTION: If the fluid level rises suddenly after the engine is
stopped, the air has not been completely bled. If
air bleeding is not complete, there will be
abnormal noises from the pump and the flow-
control valve, and this condition could reduce
the life of the power steering components.
2004 Mitsubishi Endeavor LS
2004 STEERING Power Steering - Endeavor