tow MITSUBISHI L200 2004 (in English) User Guide
[x] Cancel search | Manufacturer: MITSUBISHI, Model Year: 2004, Model line: L200, Model: MITSUBISHI L200 2004Pages: 264, PDF Size: 4.14 MB
Page 94 of 264
STARTING AND DRIVING
5-8 Maximum towable weight with brake
and maximum trailer-nose weight
Never exceed the maximum towable
weight with brake and the maximum trailer-
nose weight as listed in the specifications.
(Refer to page 10-6, 10-12, 10-19.)
If you tow a trailer at an altitude of more
than 1000 m above sea-level, reduce your
weight by 10% of the gross combination
weight for every increase of 1000 m above
sea-level, as the engine output is lowered
owing to decrease in atmospheric pres-
sure.
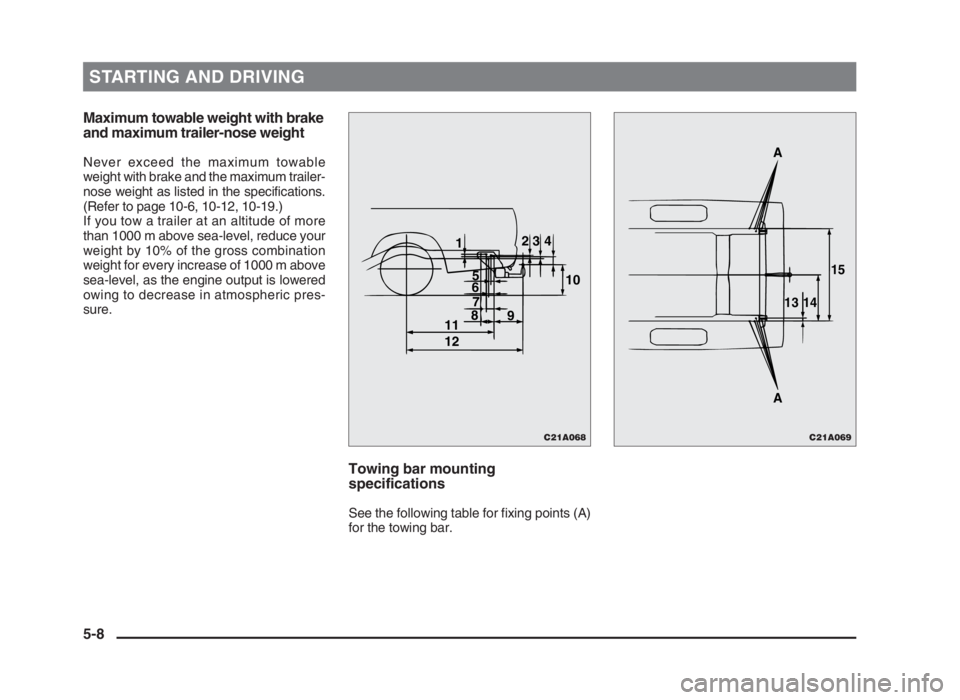
Towing bar mounting
specifications
See the following table for fixing points (A)
for the towing bar.
12
5
6
7
8
9
11
1210 34
C21A068C21A069
A
A131415
05engL2_240082_4 22-01-2004 13:04 Page 5-8
Page 95 of 264
STARTING AND DRIVING
5-9
mm
*
1: Single cab, double cab
*2: Club cab
NOTE
The values under item 10 are applicable
to unladen vehicles. These values can
also be varied depending on the tyre size,
optional equipment and suspension con-
ditions.
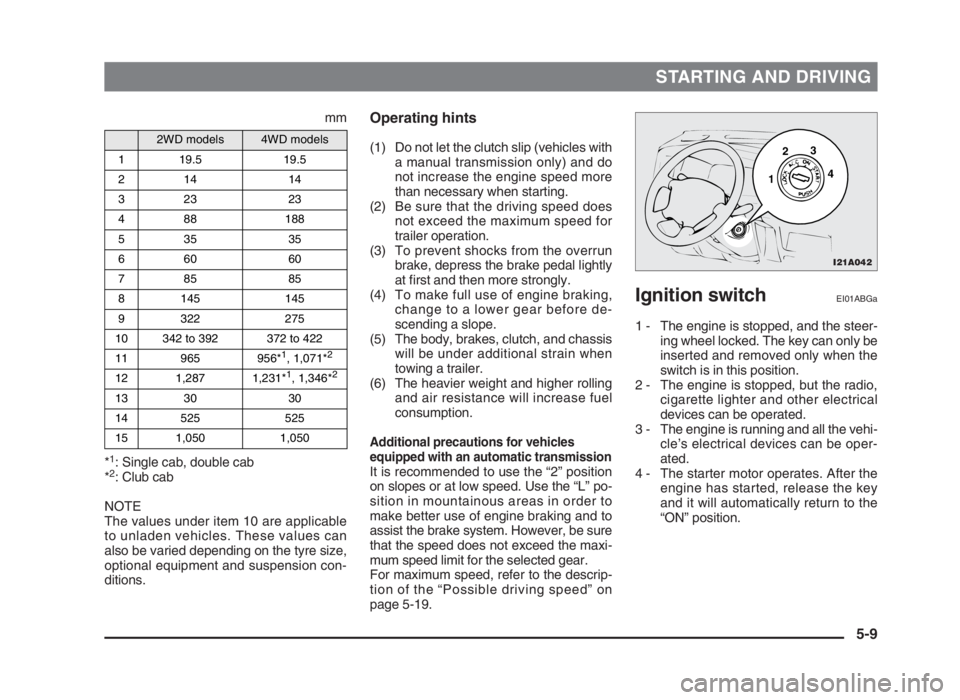
Ignition switchEI01ABGa
1 - The engine is stopped, and the steer-
ing wheel locked. The key can only be
inserted and removed only when the
switch is in this position.
2 - The engine is stopped, but the radio,
cigarette lighter and other electrical
devices can be operated.
3 - The engine is running and all the vehi-
cle’s electrical devices can be oper-
ated.
4 - The starter motor operates. After the
engine has started, release the key
and it will automatically return to the
“ON” position.
Operating hints
(1) Do not let the clutch slip (vehicles with
a manual transmission only) and do
not increase the engine speed more
than necessary when starting.
(2) Be sure that the driving speed does
not exceed the maximum speed for
trailer operation.
(3) To prevent shocks from the overrun
brake, depress the brake pedal lightly
at first and then more strongly.
(4) To make full use of engine braking,
change to a lower gear before de-
scending a slope.
(5) The body, brakes, clutch, and chassis
will be under additional strain when
towing a trailer.
(6) The heavier weight and higher rolling
and air resistance will increase fuel
consumption.
Additional precautions for vehicles
equipped with an automatic transmission
It is recommended to use the “2” position
on slopes or at low speed. Use the “L” po-
sition in mountainous areas in order to
make better use of engine braking and to
assist the brake system. However, be sure
that the speed does not exceed the maxi-
mum speed limit for the selected gear.
For maximum speed, refer to the descrip-
tion of the “Possible driving speed” on
page 5-19.
2WD models4WD models
1 19.5 19.5
214 14
323 23
4 88 188
535 35
660 60
785 85
8 145 145
9 322 275
10 342 to 392 372 to 422
11 965 956*
1, 1,071*2
12 1,287 1,231*1, 1,346*2
13 30 30
14 525 525
15 1,050 1,050
I21A042
2
13
4
05engL2_240082_4 22-01-2004 13:04 Page 5-9
Page 117 of 264
STARTING AND DRIVING
5-31
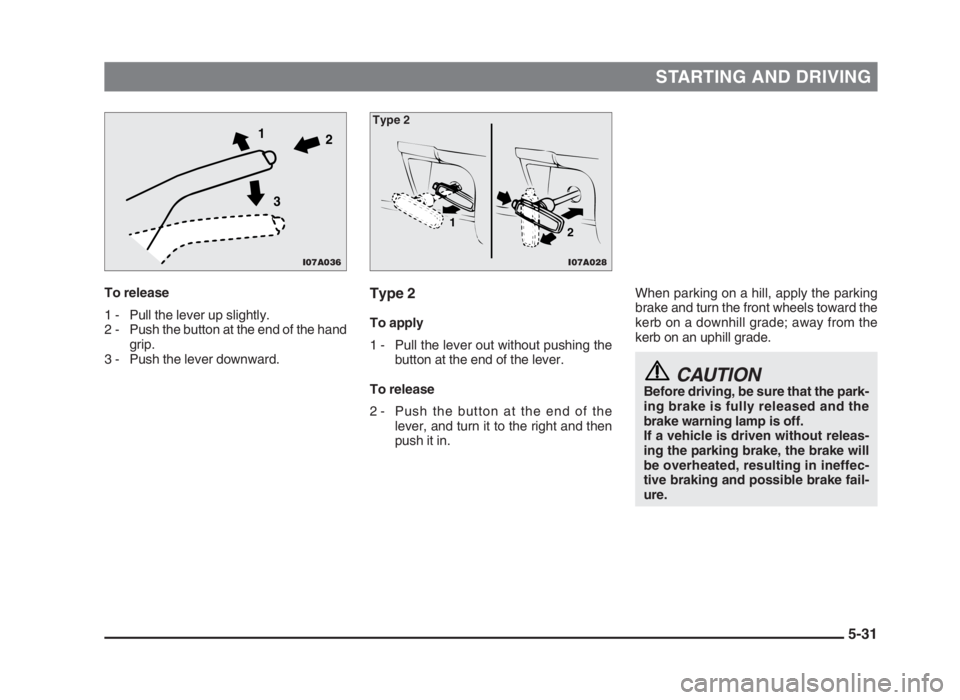
To release
1 - Pull the lever up slightly.
2 - Push the button at the end of the hand
grip.
3 - Push the lever downward.When parking on a hill, apply the parking
brake and turn the front wheels toward the
kerb on a downhill grade; away from the
kerb on an uphill grade.
CAUTIONBefore driving, be sure that the park-
ing brake is fully released and the
brake warning lamp is off.
If a vehicle is driven without releas-
ing the parking brake, the brake will
be overheated, resulting in ineffec-
tive braking and possible brake fail-
ure.
Type 2
To apply
1 - Pull the lever out without pushing the
button at the end of the lever.
To release
2 - Push the button at the end of the
lever, and turn it to the right and then
push it in.
I07A036
1
2
3
I07A028
1
2
Type 2
05engL2_240082_4 22-01-2004 13:05 Page 5-31
Page 118 of 264
STARTING AND DRIVING
5-32
ParkingEI22A-Ak
Parking on a slope
Fully engage the parking brake, and then
move the gearshift lever to 1st (on an up-
hill) or reverse (on a downhill) position on
manual transmission vehicle.
On automatic transmission vehicle, move
the selector lever to “P” (PARK) position.
When parking on a hill, apply chocks to
wheels for greater safety.
Parking with the engine running
Do not keep the engine running in a
closed or poorly ventilated place. Carbon
monoxide gas is odourless and extremely
poisonous and dangerous.
Where you park
Do not park in a place where there are in-
flammable objects such as dry grass,
leaves, etc. because the exhaust system
with catalyst produces very high tempera-
tures. This may cause a fire.
When leaving the vehicle
Always remove the key from the ignition
switch and lock all doors when leaving the
vehicle unattended.
Always try to park your vehicle in a well lit
area.
BrakingEI23A-Me
All the parts of the brake system are cri-
tical to safety. Have the vehicle serviced
by an authorized MITSUBISHI dealer at
regular intervals according to the service
booklet.
Brake system
(1) The service brake is divided into two
brake circuits so that when one brake
circuit fails, the other is available to
stop the vehicle. If this occurs, how-
ever, the brake pedal must be de-
pressed further than usual; stop driv-
ing as soon as possible and have the
brake system repaired at the nearest
authorized MITSUBISHI dealer.
(2) The brake boosting force is lost after
the brake pedal is depressed once or
twice while the engine is off. If this oc-
curs, the brake will require greater force
than usual. This is especially important
when the vehicle is being towed.
(3) On diesel-powered vehicles, the
brake booster will no longer function if
the V-belt is broken, and the brake
failure warning lamp will illuminate to
inform the driver. If this happens, use
engine braking (down-shifting) to re-
duce the speed of the vehicle and
then depress the brake pedal withmore force than usual to stop the
vehicle in a safe place, and have the
brake system serviced at the nearest
authorized MITSUBISHI dealer.
Warning lamp
The brake warning lamp lets you know if
your brake system is working properly.
Read “Brake warning lamp” on page 4-9.
When brakes are wet
Check the brake system while driving at a
low speed immediately after starting, es-
pecially when the brakes are wet, to con-
firm they work normally.
A film of water can form on the brake discs
or brake drums and prevent normal func-
tioning after driving in heavy rain or
through large puddles, or after the vehicle
is washed. If this occurs, dry the brakes
out by driving slowly while lightly depress-
ing the brake pedal.
When driving downhill
It is important to take advantage of the en-
gine braking by shifting to a lower gear
while driving on steep downhill roads in
order to prevent the brakes from overheat-
ing.
05engL2_240082_4 22-01-2004 13:05 Page 5-32
Page 123 of 264
STARTING AND DRIVING
5-37
Power steering system*
EC13A-Gc
When the engine is stopped, the power
steering system will not function and it will
require greater manual effort to operate
the steering wheel. Keep this in mind in
particular when towing the vehicle. Never
turn off the engine while driving.
Periodically check the power steering fluid
level.
CAUTIONOn vehicles with power steering, do
not hold the steering wheel in the
fully turned position (either left or
right), for longer than 10 seconds.
This can cause damage to the power
steering pump due to reduced lubri-
cation.
Manual outside rear-view
mirrors*
EI08BAEa
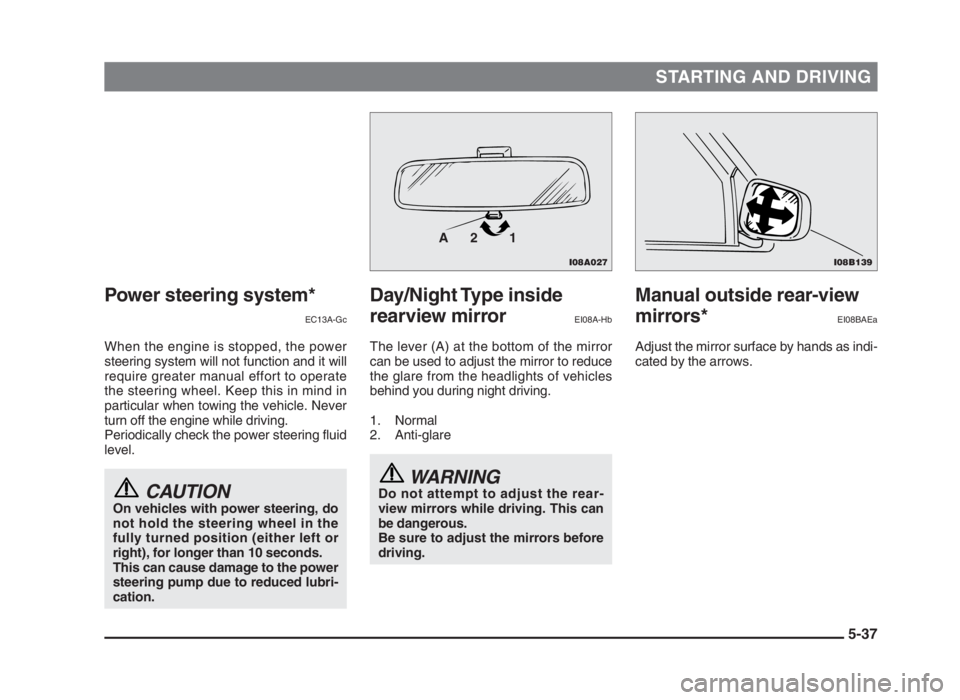
Adjust the mirror surface by hands as indi-
cated by the arrows.
Day/Night Type inside
rearview mirror
EI08A-Hb
The lever (A) at the bottom of the mirror
can be used to adjust the mirror to reduce
the glare from the headlights of vehicles
behind you during night driving.
1. Normal
2. Anti-glare
WARNINGDo not attempt to adjust the rear-
view mirrors while driving. This can
be dangerous.
Be sure to adjust the mirrors before
driving.
I08B139I08A027
1 2 A
05engL2_240082_4 22-01-2004 13:05 Page 5-37
Page 125 of 264
STARTING AND DRIVING
5-39
WARNING
(1) Do not attempt to adjust the
rear-view mirror while driving.
This can be dangerous.
Be sure to adjust the mirrors be-
fore driving.
(2) The glass of the mirror is con-
vex. Objects you see in the mir-
ror will look smaller and farther
away compared to a normal flat
mirror.
Do not use this mirror to esti-
mate distance of following vehi-
cles when changing lanes.
NOTE
The outside mirror can be folded in toward
the side window to prevent damage when
parking in narrow areas.
Mirror heater*
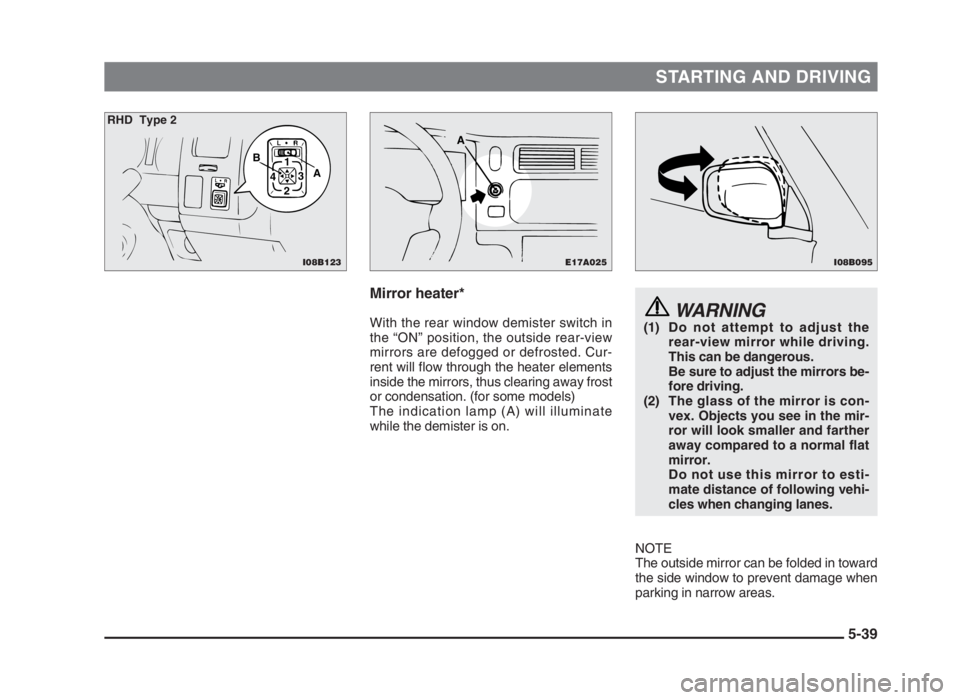
With the rear window demister switch in
the “ON” position, the outside rear-view
mirrors are defogged or defrosted. Cur-
rent will flow through the heater elements
inside the mirrors, thus clearing away frost
or condensation. (for some models)
The indication lamp (A) will illuminate
while the demister is on.
I08B095I08B123
A B
1
3
2 4
RHD Type 2
E17A025
A
05engL2_240082_4 22-01-2004 13:05 Page 5-39
Page 130 of 264
FOR PLEASANT DRIVING
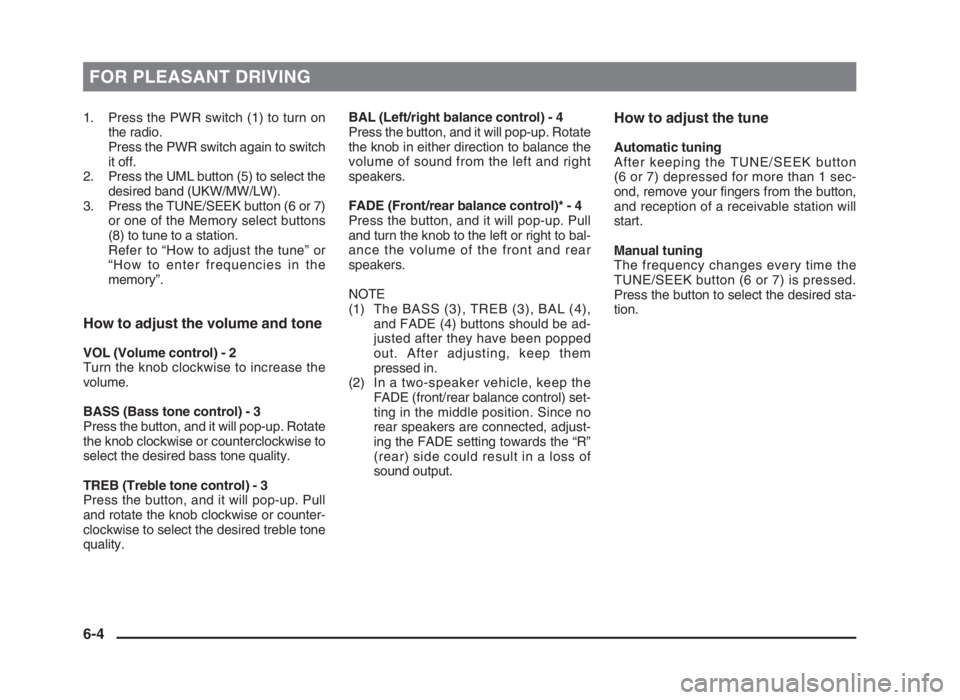
1. Press the PWR switch (1) to turn on
the radio.
Press the PWR switch again to switch
it off.
2. Press the UML button (5) to select the
desired band (UKW/MW/LW).
3. Press the TUNE/SEEK button (6 or 7)
or one of the Memory select buttons
(8) to tune to a station.
Refer to “How to adjust the tune” or
“How to enter frequencies in the
memory”.
How to adjust the volume and tone
VOL (Volume control) - 2
Turn the knob clockwise to increase the
volume.
BASS (Bass tone control) - 3
Press the button, and it will pop-up. Rotate
the knob clockwise or counterclockwise to
select the desired bass tone quality.
TREB (Treble tone control) - 3
Press the button, and it will pop-up. Pull
and rotate the knob clockwise or counter-
clockwise to select the desired treble tone
quality.BAL (Left/right balance control) - 4
Press the button, and it will pop-up. Rotate
the knob in either direction to balance the
volume of sound from the left and right
speakers.
FADE (Front/rear balance control)* - 4
Press the button, and it will pop-up. Pull
and turn the knob to the left or right to bal-
ance the volume of the front and rear
speakers.
NOTE
(1) The BASS (3), TREB (3), BAL (4),
and FADE (4) buttons should be ad-
justed after they have been popped
out. After adjusting, keep them
pressed in.
(2) In a two-speaker vehicle, keep the
FADE (front/rear balance control) set-
ting in the middle position. Since no
rear speakers are connected, adjust-
ing the FADE setting towards the “R”
(rear) side could result in a loss of
sound output.
How to adjust the tune
Automatic tuning
After keeping the TUNE/SEEK button
(6 or 7) depressed for more than 1 sec-
ond, remove your fingers from the button,
and reception of a receivable station will
start.
Manual tuning
The frequency changes every time the
TUNE/SEEK button (6 or 7) is pressed.
Press the button to select the desired sta-
tion.
6-4
06engL2_240082_4 22-01-2004 13:07 Page 6-4
Page 143 of 264
FOR PLEASANT DRIVING
Handling of compact discsEH12E-Dc
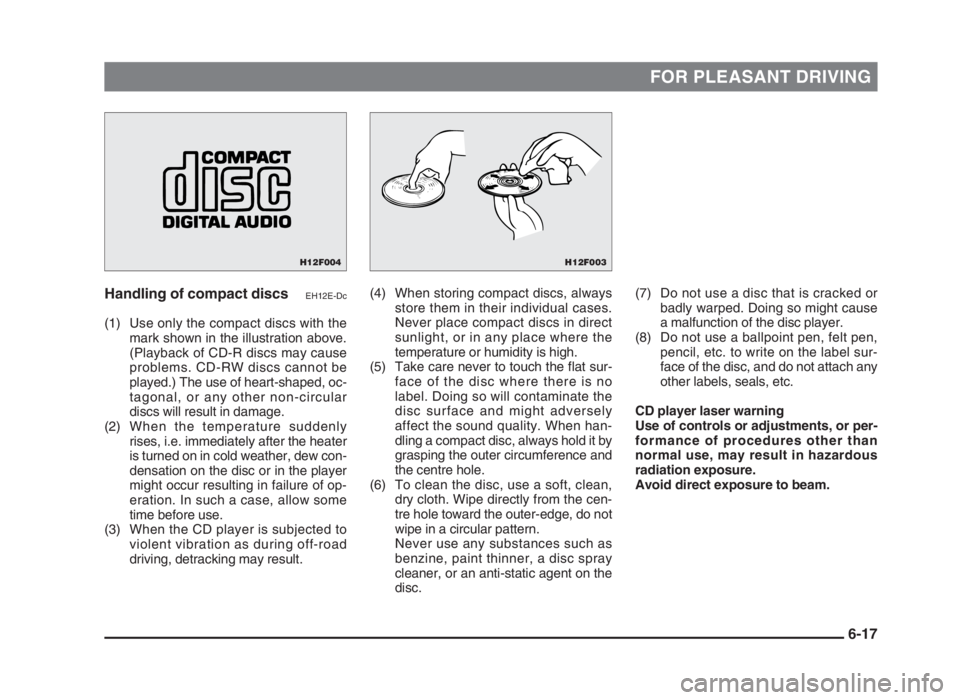
(1) Use only the compact discs with the
mark shown in the illustration above.
(Playback of CD-R discs may cause
problems. CD-RW discs cannot be
played.) The use of heart-shaped, oc-
tagonal, or any other non-circular
discs will result in damage.
(2) When the temperature suddenly
rises, i.e. immediately after the heater
is turned on in cold weather, dew con-
densation on the disc or in the player
might occur resulting in failure of op-
eration. In such a case, allow some
time before use.
(3) When the CD player is subjected to
violent vibration as during off-road
driving, detracking may result.(7) Do not use a disc that is cracked or
badly warped. Doing so might cause
a malfunction of the disc player.
(8) Do not use a ballpoint pen, felt pen,
pencil, etc. to write on the label sur-
face of the disc, and do not attach any
other labels, seals, etc.
CD player laser warning
Use of controls or adjustments, or per-
formance of procedures other than
normal use, may result in hazardous
radiation exposure.
Avoid direct exposure to beam. (4) When storing compact discs, always
store them in their individual cases.
Never place compact discs in direct
sunlight, or in any place where the
temperature or humidity is high.
(5) Take care never to touch the flat sur-
face of the disc where there is no
label. Doing so will contaminate the
disc surface and might adversely
affect the sound quality. When han-
dling a compact disc, always hold it by
grasping the outer circumference and
the centre hole.
(6) To clean the disc, use a soft, clean,
dry cloth. Wipe directly from the cen-
tre hole toward the outer-edge, do not
wipe in a circular pattern.
Never use any substances such as
benzine, paint thinner, a disc spray
cleaner, or an anti-static agent on the
disc.
6-17
H12F004H12F003
06engL2_240082_4 22-01-2004 13:07 Page 6-17
Page 150 of 264
FOR PLEASANT DRIVING
NOTE
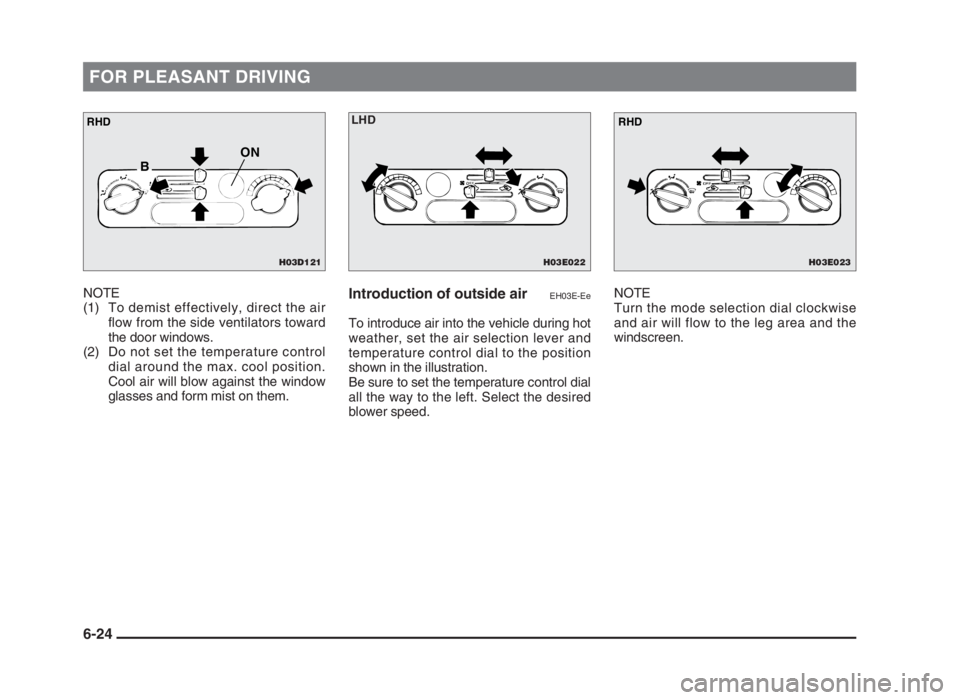
(1) To demist effectively, direct the air
flow from the side ventilators toward
the door windows.
(2) Do not set the temperature control
dial around the max. cool position.
Cool air will blow against the window
glasses and form mist on them.Introduction of outside airEH03E-Ee
To introduce air into the vehicle during hot
weather, set the air selection lever and
temperature control dial to the position
shown in the illustration.
Be sure to set the temperature control dial
all the way to the left. Select the desired
blower speed.NOTE
Turn the mode selection dial clockwise
and air will flow to the leg area and the
windscreen.
6-24
H03D121
BON
RHD
H03E023
RHD
H03E022
LHD
06engL2_240082_4 22-01-2004 13:07 Page 6-24
Page 157 of 264
FOR PLEASANT DRIVING
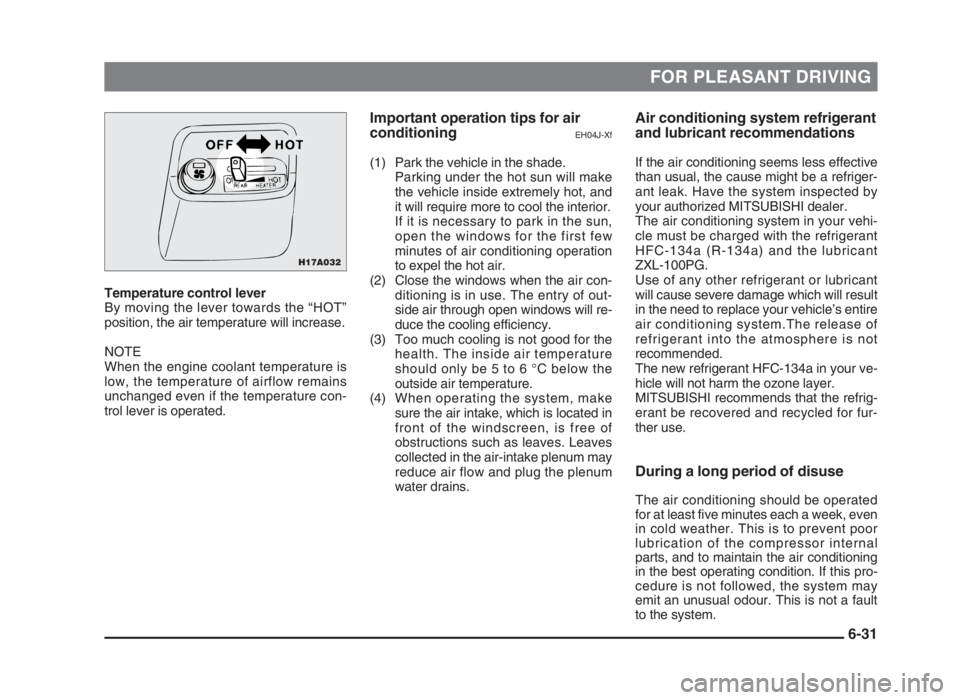
Temperature control lever
By moving the lever towards the “HOT”
position, the air temperature will increase.
NOTE
When the engine coolant temperature is
low, the temperature of airflow remains
unchanged even if the temperature con-
trol lever is operated.
Air conditioning system refrigerant
and lubricant recommendations
If the air conditioning seems less effective
than usual, the cause might be a refriger-
ant leak. Have the system inspected by
your authorized MITSUBISHI dealer.
The air conditioning system in your vehi-
cle must be charged with the refrigerant
HFC-134a (R-134a) and the lubricant
ZXL-100PG.
Use of any other refrigerant or lubricant
will cause severe damage which will result
in the need to replace your vehicle’s entire
air conditioning system.The release of
refrigerant into the atmosphere is not
recommended.
The new refrigerant HFC-134a in your ve-
hicle will not harm the ozone layer.
MITSUBISHI recommends that the refrig-
erant be recovered and recycled for fur-
ther use.
During a long period of disuse
The air conditioning should be operated
for at least five minutes each a week, even
in cold weather. This is to prevent poor
lubrication of the compressor internal
parts, and to maintain the air conditioning
in the best operating condition. If this pro-
cedure is not followed, the system may
emit an unusual odour. This is not a fault
to the system.
Important operation tips for air
conditioning
EH04J-Xf
(1) Park the vehicle in the shade.
Parking under the hot sun will make
the vehicle inside extremely hot, and
it will require more to cool the interior.
If it is necessary to park in the sun,
open the windows for the first few
minutes of air conditioning operation
to expel the hot air.
(2) Close the windows when the air con-
ditioning is in use. The entry of out-
side air through open windows will re-
duce the cooling efficiency.
(3) Too much cooling is not good for the
health. The inside air temperature
should only be 5 to 6 °C below the
outside air temperature.
(4) When operating the system, make
sure the air intake, which is located in
front of the windscreen, is free of
obstructions such as leaves. Leaves
collected in the air-intake plenum may
reduce air flow and plug the plenum
water drains.
6-31
H17A032
06engL2_240082_4 22-01-2004 13:08 Page 6-31