ECO mode MITSUBISHI LANCER 2014 8.G Repair Manual
[x] Cancel search | Manufacturer: MITSUBISHI, Model Year: 2014, Model line: LANCER, Model: MITSUBISHI LANCER 2014 8.GPages: 434, PDF Size: 57.5 MB
Page 325 of 434

Listen to Audio Files on a USB Device 7-50 Comfort controls
7
Press the MEDIA key to set USB as the source. The selected source is indicated on the dis- play.
Press the key or key to select the track. This enables selection of the next or previous track. Hold down the 3 key or the 4 key. Fast forward/rewind is possible. Repeat playback, random playback, and scan playback are possible. Press the 1RPT key. Repeat playback of th
e track currently being
played.
NOTE
Regarding details such as types of USB devices that can be connected, and USB input ports, refer to “Device types” on page 5-185. Regarding details of types of files that can be played back in equipment by type (vehicles with a Bluetooth
® 2.0 interface), refer to
“File specifications” on page 5-186. Regarding how to connect USB devices, refer to “How to connect a USB memory device” on page 5-184. When connecting a USB device, use a con- nection cable. Failure to use a connection cable when connecting may place undue loadon, or damage the USB connector. Set up the device in order that no unsafe actions, such as plugging in the connection cable are taken while driving. When inserting and removing the USB device, for safety’s sake first stop the vehi-cle. Do not insert other than audio devices into the USB port. Damage to the device or equipment may result. Depending on the status of the USB device, it may take some time until the device is rec- ognized, or playback starts. Depending on USB devices, buttons on the product will not operate while the USBdevice is connected. USB device specifications and settings may mean that connection is not possible, or result in differences in operation or display.
Depending on audio data in the USB device, track information may not be displayed cor- rectly. Depending on the status of the vehicle and device, the iPod/iPhone may not play back after starting the engine. Data containing copyright information may not play back. This product can play back MP3, WMA, and AAC format audio files. Depending on the type of USB device, usage may not be possible, or functions that can be used may be restricted. The recommended file system for USB memory is FAT32. The maximum supported capacity for USB memory is 32GB. Operate the USB device containing recorded audio files while connected to this product.
Play Back of Audio Files on a USB Device
NOTE
Select the Track (File) Fast Forward or Rewind Switch Playback Mode Repeat Playback (RPT)
NOTE
Pressing again will cancel.
Page 327 of 434
Listen to Bluetooth Audio (if so equipped) 7-52 Comfort controls
7
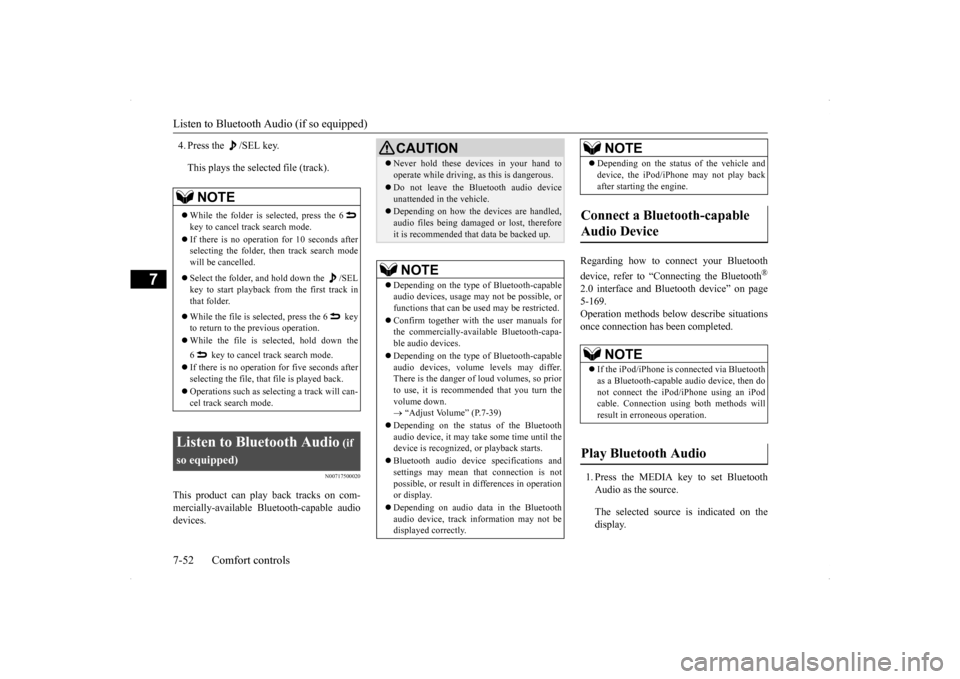
4. Press the /SEL key. This plays the selected file (track).
N00717500020
This product can play back tracks on com- mercially-available Bluetooth-capable audiodevices.
Regarding how to connect your Bluetooth device, refer to “Connecting the Bluetooth
®
2.0 interface and Bluetooth device” on page 5-169. Operation methods below describe situationsonce connection has been completed. 1. Press the MEDIA key to set Bluetooth Audio as the source. The selected source is indicated on the display.
NOTE
While the folder is selected, press the 6 key to cancel track search mode. If there is no operation for 10 seconds after selecting the folder, then track search modewill be cancelled. Select the folder, and hold down the /SEL key to start playback from the first track inthat folder. While the file is selected, press the 6 key to return to the previous operation. While the file is selected, hold down the 6 key to cancel track search mode. If there is no operation for five seconds after selecting the file, that file is played back. Operations such as selecting a track will can- cel track search mode.
Listen to Bluetooth Audio
(if
so equipped)
CAUTION Never hold these devices in your hand to operate while driving, as this is dangerous. Do not leave the Bluetooth audio device unattended in the vehicle. Depending on how the devices are handled, audio files being damaged or lost, thereforeit is recommended that data be backed up.NOTE
Depending on the type of Bluetooth-capable audio devices, usage may not be possible, orfunctions that can be used may be restricted. Confirm together with the user manuals for the commercially-available Bluetooth-capa- ble audio devices. Depending on the type of Bluetooth-capable audio devices, volume levels may differ. There is the danger of loud volumes, so priorto use, it is recommended that you turn the volume down. “Adjust Volume” (P.7-39)
Depending on the status of the Bluetooth audio device, it may take some time until thedevice is recognized, or playback starts. Bluetooth audio device specifications and settings may mean that connection is not possible, or result in differences in operationor display. Depending on audio data in the Bluetooth audio device, track information may not be displayed correctly.
Depending on the status of the vehicle and device, the iPod/iPhone may not play back after starting the engine.
Connect a Bluetooth-capable Audio Device
NOTE
If the iPod/iPhone is connected via Bluetooth as a Bluetooth-capable audio device, then do not connect the iPod/iPhone using an iPod cable. Connection using both methods willresult in erroneous operation.
Play Bluetooth Audio
NOTE
Page 328 of 434
Use AUX (if so equipped) Comfort controls 7-53
7
2. Press the 5 key. Bluetooth Audio play- back starts.
Press the key or key to select the track. This enables selection of the next or previous track. Hold down the 3 key or the 4 key. Fast forward/rewind is possible. Repeat playback, random playback, and scan playback are possible.
Press the 1RPT key. Repeat playback of th
e track currently being
played. Press the 2RDM key. Play the tracks in the Bluetooth Audio device in a random order. Press the SCAN key. Play the first 10 seconds of each of the tracks on the whole Bluetooth Audio device inorder.
N00717600034
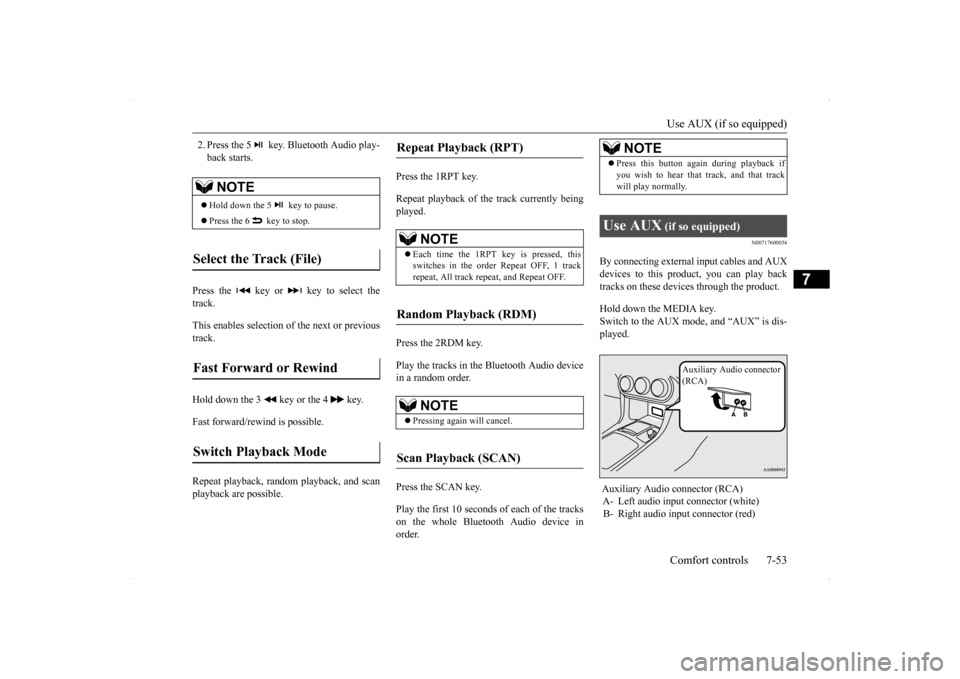
By connecting external input cables and AUXdevices to this product, you can play back tracks on these devices
through the product.
Hold down the MEDIA key. Switch to the AUX mode, and “AUX” is dis-played.
NOTE
Hold down the 5 key to pause. Press the 6 key to stop.
Select the Track (File)
Fast Forward or Rewind
Switch Playback Mode
Repeat Playback (RPT)
NOTE
Each time the 1RPT key is pressed, this switches in the order Repeat OFF, 1 trackrepeat, All track repeat, and Repeat OFF.
Random Playback (RDM)
NOTE
Pressing again will cancel.
Scan Playback (SCAN)
NOTE
Press this button again during playback if you wish to hear that track, and that track will play normally.
Use AUX
(if so equipped)
Auxiliary Audio connector (RCA) A- Left audio input connector (white) B- Right audio input connector (red)
Auxiliary Audio connector (RCA)
Page 334 of 434
System Settings
Comfort controls 7-59
7
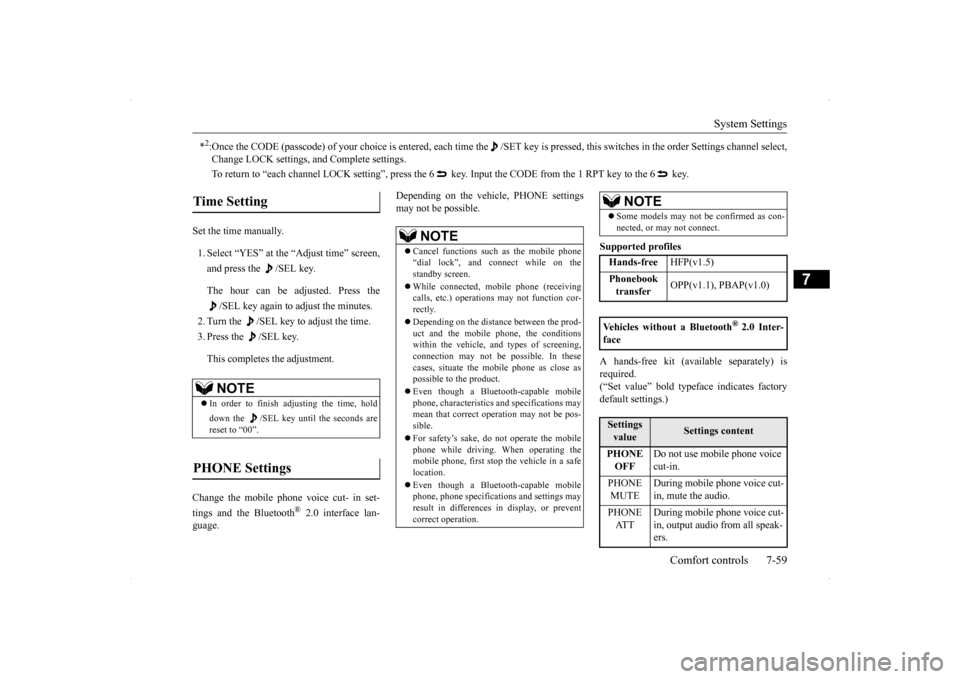
Set the time manually. 1. Select “YES” at the “Adjust time” screen, and press the /SEL key. The hour can be adjusted. Press the
/SEL key again to adjust the minutes.
2. Turn the /SEL key to adjust the time.3. Press the /SEL key. This completes the adjustment.
Change the mobile phone voice cut- in set- tings and the Bluetooth
® 2.0 interface lan-
guage.
Depending on the vehicle, PHONE settings may not be possible.
Supported profiles A hands-free kit (available separately) is required.(“Set value” bold typeface indicates factory default settings.)
*2:Once the CODE (passcode) of your choice is entered, each time th
e /SET key is pressed, this switches in the order Settings chan
nel select,
Change LOCK settings, and Complete settings. To return to “each channel LOCK setting”, press the 6
key. Input the CODE from the 1 RPT key to the 6 key.
Time Setting
NOTE
In order to finish adjusting the time, hold down the /SEL key until the seconds are reset to “00”.
PHONE Settings
NOTE
Cancel functions such as the mobile phone “dial lock”, and connect while on the standby screen. While connected, mobile phone (receiving calls, etc.) operations may not function cor- rectly. Depending on the distance between the prod- uct and the mobile phone, the conditions within the vehicle, and types of screening, connection may not be possible. In thesecases, situate the mobile phone as close as possible to the product. Even though a Bluetooth-capable mobile phone, characteristics and specifications may mean that correct operation may not be pos-sible. For safety’s sake, do not operate the mobile phone while driving. When operating the mobile phone, first stop the vehicle in a safe location. Even though a Bluetooth-capable mobile phone, phone specifications and settings mayresult in differences in display, or prevent correct operation.
Some models may not be confirmed as con- nected, or may not connect.Hands-free
HFP(v1.5)
Phonebook transfer
OPP(v1.1), PBAP(v1.0)
Vehicles without a Bluetooth
® 2.0 Inter-
faceSettings value
Settings content
PHONE OFF
Do not use mobile phone voice cut-in.
PHONE MUTE
During mobile phone voice cut- in, mute the audio.
PHONE AT T
During mobile phone voice cut- in, output audio from all speak- ers.
NOTE
Page 356 of 434
Operation under adverse driving conditions
For emergencies 8-15
8
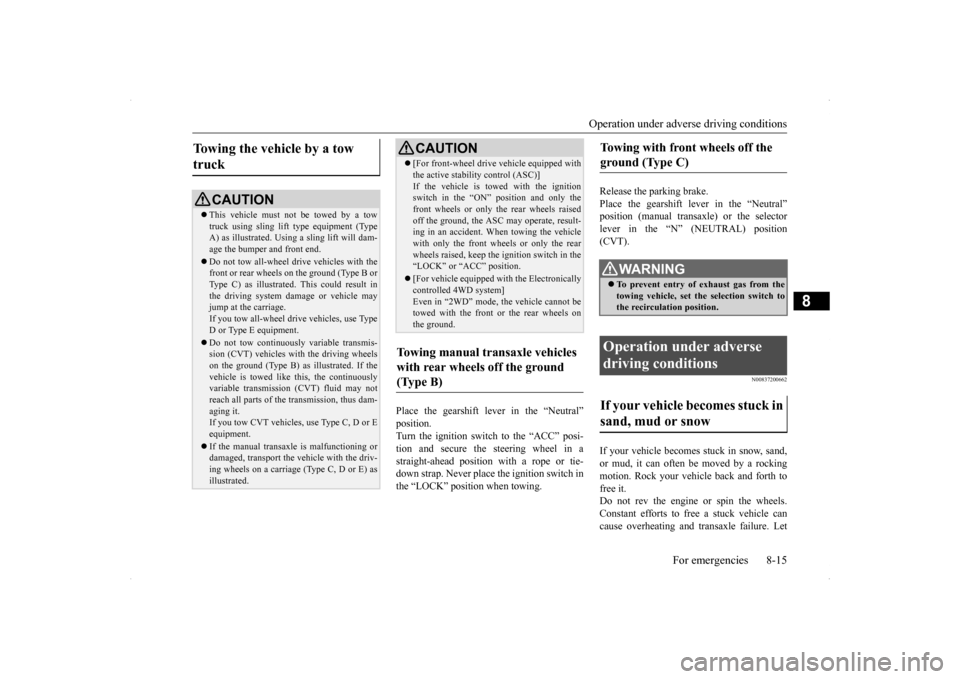
Place the gearshift lever in the “Neutral” position. Turn the ignition switch to the “ACC” posi-tion and secure the steering wheel in a straight-ahead position with a rope or tie- down strap. Never place the ignition switch inthe “LOCK” position when towing.
Release the parking brake. Place the gearshift lever in the “Neutral” position (manual transaxle) or the selectorlever in the “N” (NEUTRAL) position (CVT).
N00837200662
If your vehicle becomes stuck in snow, sand, or mud, it can often be moved by a rockingmotion. Rock your vehicle back and forth to free it. Do not rev the engine or spin the wheels.Constant efforts to free a stuck vehicle can cause overheating and transaxle failure. Let
Towing the vehicle by a tow truck
CAUTION This vehicle must not be towed by a tow truck using sling lift type equipment (TypeA) as illustrated. Using a sling lift will dam- age the bumper and front end. Do not tow all-wheel dr
ive vehicles with the
front or rear wheels on the ground (Type B or Type C) as illustrated. This could result inthe driving system damage or vehicle may jump at the carriage. If you tow all-wheel drive vehicles, use TypeD or Type E equipment. Do not tow continuously variable transmis- sion (CVT) vehicles with the driving wheels on the ground (Type B) as illustrated. If the vehicle is towed like this, the continuouslyvariable transmission (CVT) fluid may not reach all parts of the transmission, thus dam- aging it.If you tow CVT vehicles, use Type C, D or E equipment. If the manual transaxle is malfunctioning or damaged, transport the vehicle with the driv- ing wheels on a carriage (Type C, D or E) as illustrated.
[For front-wheel drive vehicle equipped with the active stability control (ASC)] If the vehicle is towed with the ignition switch in the “ON” position and only the front wheels or only the rear wheels raisedoff the ground, the ASC may operate, result- ing in an accident. When towing the vehicle with only the front wheels or only the rearwheels raised, keep the ignition switch in the “LOCK” or “ACC” position. [For vehicle equipped with the Electronically controlled 4WD system] Even in “2WD” mode, the vehicle cannot betowed with the front or the rear wheels on the ground.
Towing manual transaxle vehicles with rear wheels off the ground (Type B)
CAUTION
Towing with front wheels off the ground (Type C)
WA R N I N G To prevent entry of exhaust gas from the towing vehicle, set the selection switch to the recirculation position.
Operation under adverse driving conditions If your vehicle becomes stuck in sand, mud or snow
Page 376 of 434
Tires
Vehicle care and maintenance 9-17
9
N00939201563
It is important to fami
liarize yourself with the
following terms: Cold tire pressure: • The measured pressure after the vehiclehas been parked for at least three hours, or • The measured pressure when the vehicleis driven less than 1 mile (1.6 km) after having been parked for three hours.
Maximum inflation pressure: the maxi- mum permissible cold tire inflation pres- sure for this tire.
Recommended inflation pressure: the inflation pressure for optimum tire perfor- mance. Intended outboard sidewall: • The sidewall that contains a whitewall, bears white lettering or bears manufac- turer, brand, and/or model name moldingthat is higher or deeper than the same molding on the other sidewall of the tire, or• The outward facing sidewall of an asym-metrical tire that has a particular side that must always face outward when mounted on a vehicle.
Passenger car tire: a tire intended for use on passenger cars, multipurpose passen- ger vehicles, and trucks, that have a grossvehicle weight rating (GVWR) of 10,000 pounds or less. Light truck (LT) tire: a tire designated by its manufacturer as primarily intended for use on lightweight trucks or multipurpose passenger vehicles. Tread: portion of a tire that comes into contact with the road. Tread rib: a tread section running circum- ferentially around a tire. Tread separation: pulling away of the tread from the tire carcass. Carcass: the tire structure, except tread and sidewall rubber which, when inflated, bears the load.
Battery terminals and related accessories contain lead and lead compounds. Wash hands after handling. NOTE
Check each battery terminal for corrosion. You can stop more corrosion by washing with a solution of baking soda and water.Grease the posts and clamps after cleaning or tightening them. Check to see that the battery is securely installed and cannot be moved. Also check each terminal for tightness. If you will not be driving your vehicle for a long period of time, remove the battery andstore it in a place where the battery fluid will not freeze. Memory data for settings made by the user may be erased when the battery isremoved. If this happens, reset the settings again using the relevant procedures. The bat- tery only should be stored with a full charge. Before cleaning the battery, tighten all the filler port caps to keep dirt and moisture out.WA R N I N G
Tires
WA R N I N G Driving with tires that are worn, damaged or improperly inflated is dangerous. These type tire conditions will adversely affect vehicle performance.These type tire conditions can also cause a tread separation or blowout which may result in an accident causing seriousinjury or death. Tires, including spare tire, degrade over time with age even when they are not being used. It is recommended that tires over 6 years generally be replaced even ifdamage is not obvious.
Page 426 of 434
Alphabetical index
12-1
12
A
Accessory (installation)
.........................
3-6
ACD (Active center differential system) 5-83
ACD control mode display
..............
5-84
ACD control mode switch
...............
5-84
ACD warning display
......................
5-84
Active stability control (ASC)
..............
5-95
ASC OFF display or ASC indicator
..5-96
ASC operation display
....................
5-96
Air cleaner filter
...................
................
9-9
Air conditioning
Automatic air conditioning
.....
7-17
, 7-23
Important air conditioning operating tips
..
7-28 Manual air conditioning
...........
7-7
, 7-12
Air purifier
....................
.....................
7-28
All-wheel driving operation
.................
5-87
Aluminum wheels
...............................
9-52
AM/FM radio
....................
.................
7-29
Antenna
Roof antenna
.........................
7-62
, 7-63
Anti-lock braking system
.....................
5-92
Warning light / display
...........
5-93
, 5-94
Arm rest
........................
.......................
4-6
Assist grip
.....................
...................
5-194
Audio
AM/FM radio
................
.................
7-29
CD player
.....................
.................
7-29
Troubleshooting
.............................
7-60
Automatic air conditioning
..........
7-17
, 7-23
AWC control fluid
...............
...............
9-12
B
Back-up lights
Bulb capacity
..................
...............
9-34
Replacement
...................
...............
9-45
Ball joint, steering linkage seals and drive shaft boots
.....................
..................
9-27
Battery
........................
......................
9-14
Charging system warning light
.......
5-147
Checking battery electrolyte level
....
9-15
Disconnection and connection
.........
9-16
During cold weather
.......................
9-16
Removing and installing the battery uppercover (vehicles with turbocharger)
.9-14
Specification
...................
...............
11-5
Bluetooth 2.0 interface
.......................
5-161
Bottle holder
....................
.................
5-193
Brake
Anti-lock braking system
................
5-92
Braking
.......................
....................
6-5
Fluid
....................
.................
9-13
, 11-6
Hose
.......................
......................
9-27
Parking brake
..................
...............
5-49
Parking brake lever stroke
...............
9-24
Pedal
.......................
......................
5-90
Pedal free play
................
...............
9-24
Power brakes
..................
...............
5-90
Service brake
.................
.................
5-90
Brake assist
...................
.....................
5-91
Break-in recommendations
....................
5-3
Bulb capacity
.....................
.................
9-34
C
California Perchlorate Materials Requirements
.....................
................
3-7
Capacities
.....................
.....................
11-6
Card holder
............................
5-187
, 5-191
Cargo loads
...................
.....................
6-11
Catalytic converter
................
................
9-2
CD player
......................
.....................
7-29
Certification label
...............................
11-3
Charging system warning light
...........
5-147
Chassis number
..................
.................
11-2
Child restraint
....................
.................
4-14
Child safety locks for rear door
............
5-40
Cleaning
Inside of your vehicle
......................
9-48
Outside of your vehicle
...................
9-49
Clutch
Fluid
..................
...................
9-13
, 11-6
Pedal free play
...............
.................
9-24
Coat hooks
....................
...................
5-194
Combination headlights and dimmer switch
.
5-149
Page 434 of 434

N09348201032
NOTE Name of Owner Date of Purchase
Address of Owner Model of Vehicle
Name and Address of Dealer Vehicle Identification NumberMaintenance record
Service Performed DateKilometers
MilesInspection and Maintenance Item