seat adjustment MITSUBISHI LANCER EVOLUTION 2014 10.G Owners Manual
[x] Cancel search | Manufacturer: MITSUBISHI, Model Year: 2014, Model line: LANCER EVOLUTION, Model: MITSUBISHI LANCER EVOLUTION 2014 10.GPages: 338, PDF Size: 40.99 MB
Page 13 of 338

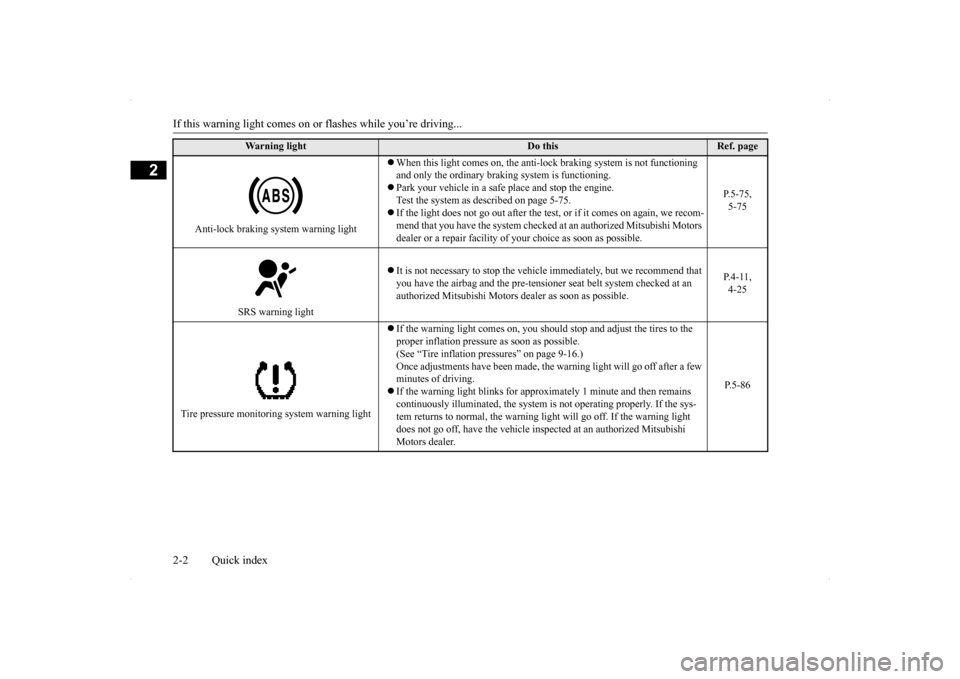
If this warning light comes on or
flashes while you’re driving...
2-2 Quick index
2
Anti-lock braking system warning light
When this light comes on, the anti-lock braking system is not functioning and only the ordinary braking system is functioning. Park your vehicle in a safe
place and stop the engine.
Test the system as described on page 5-75. If the light does not go out after the test
, or if it comes on again, we recom-
mend that you have the system checked at
an authorized Mitsubishi Motors
dealer or a repair facility of your choice as soon as possible.
P.5-75, 5-75
SRS warning light
It is not necessary to stop the vehicl
e immediately, but we recommend that
you have the airbag and the pre-tensione
r seat belt system checked at an
authorized Mitsubishi Motors dealer as soon as possible.
P.4-11, 4-25
Tire pressure monitoring system warning light
If the warning light comes on, you should
stop and adjust the tires to the
proper inflation pressure as soon as possible. (See “Tire inflation pressures” on page 9-16.)Once adjustments have been made, the
warning light will go off after a few
minutes of driving. If the warning light blinks for approximately 1 minute and then remains continuously illuminated, the system is not operating properly. If the sys- tem returns to normal, the warning light will go off. If the warning light does not go off, have the vehicle inspected at an authorized Mitsubishi Motors dealer.
P.5-86
Warning light
Do this
Ref. page
BK0200800US.bo
ok 2 ページ 2013年2月14日 木曜日 午後2時28分
Page 31 of 338

Head restraints 4-6 Seat and restraint systems
4
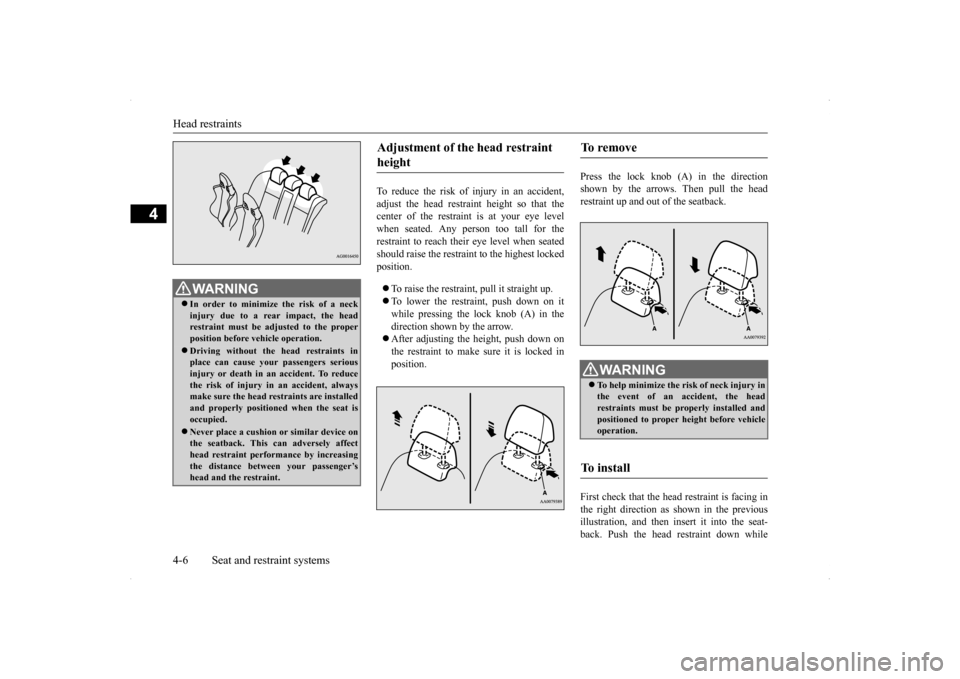
To reduce the risk of injury in an accident, adjust the head restraint height so that the center of the restraint is at your eye levelwhen seated. Any person too tall for the restraint to reach their eye level when seated should raise the restraint to the highest lockedposition. To raise the restraint, pull it straight up. To lower the restraint, push down on it while pressing the lock knob (A) in the direction shown by the arrow. After adjusting the height, push down on the restraint to make sure it is locked in position.
Press the lock knob (A) in the direction shown by the arrows. Then pull the headrestraint up and out of the seatback. First check that the head restraint is facing in the right direction as shown in the previousillustration, and then insert it into the seat- back. Push the head restraint down while
WA R N I N G In order to minimize the risk of a neck injury due to a rear impact, the head restraint must be adjusted to the properposition before vehicle operation. Driving without the head restraints in place can cause your passengers serious injury or death in an accident. To reduce the risk of injury in an accident, alwaysmake sure the head restraints are installed and properly positioned when the seat is occupied. Never place a cushion or similar device on the seatback. This can adversely affecthead restraint performance by increasing the distance between your passenger’s head and the restraint.
Adjustment of the head restraint height
To remove
WA R N I N G To help minimize the risk of neck injury in the event of an accident, the head restraints must be properly installed and positioned to proper height before vehicleoperation.
To i n s t a l l
BK0200800US.bo
ok 6 ページ 2013年2月14日 木曜日 午後2時28分
Page 109 of 338

Inside day/night rearview mirror 5-48 Features and controls
5
N00548600070
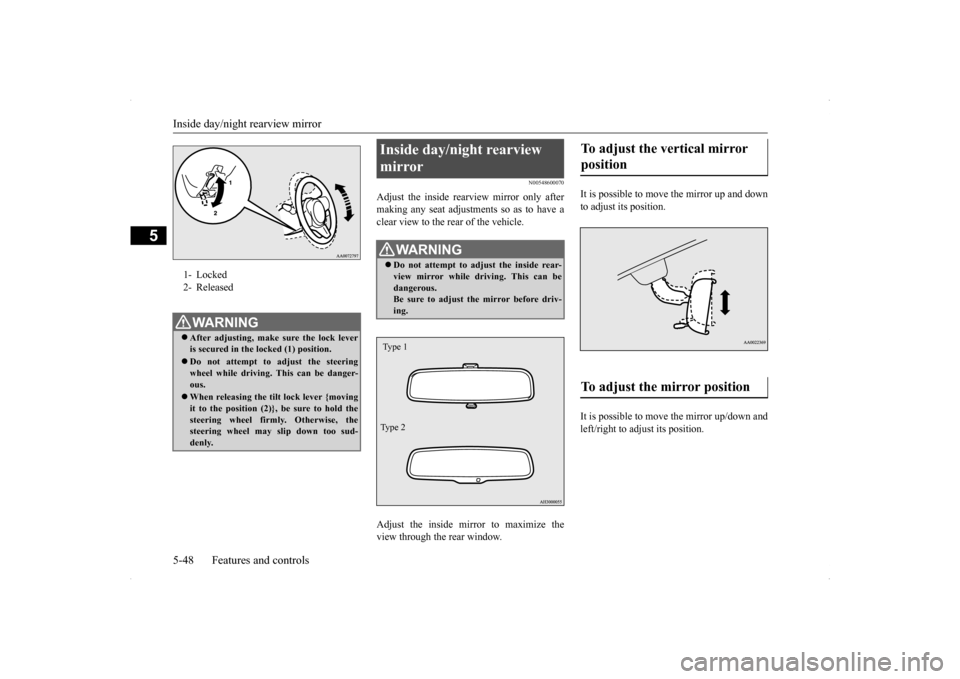
Adjust the inside rear
view mirror only after
making any seat adjustments so as to have aclear view to the rear of the vehicle. Adjust the inside mirror to maximize the view through the rear window.
It is possible to move
the mirror up and down
to adjust its position. It is possible to move the mirror up/down and left/right to adjust its position.
1- Locked 2- ReleasedWA R N I N G After adjusting, make sure the lock lever is secured in the locked (1) position. Do not attempt to adjust the steering wheel while driving. This can be danger- ous. When releasing the tilt lock lever {moving it to the position (2)}, be sure to hold thesteering wheel firmly. Otherwise, the steering wheel may slip down too sud- denly.
�ç
Inside day/night rearview mirror
WA R N I N G Do not attempt to adjust the inside rear- view mirror while driving. This can be dangerous.Be sure to adjust the mirror before driv- ing.Type 1 Ty p e 2
To adjust the vertical mirror position To adjust the mirror position
BK0200800US.bo
ok 48 ページ 2013年2月14日 木曜日 午後2時28分
Page 110 of 338

Outside rearview mirrors
Features and controls 5-49
5
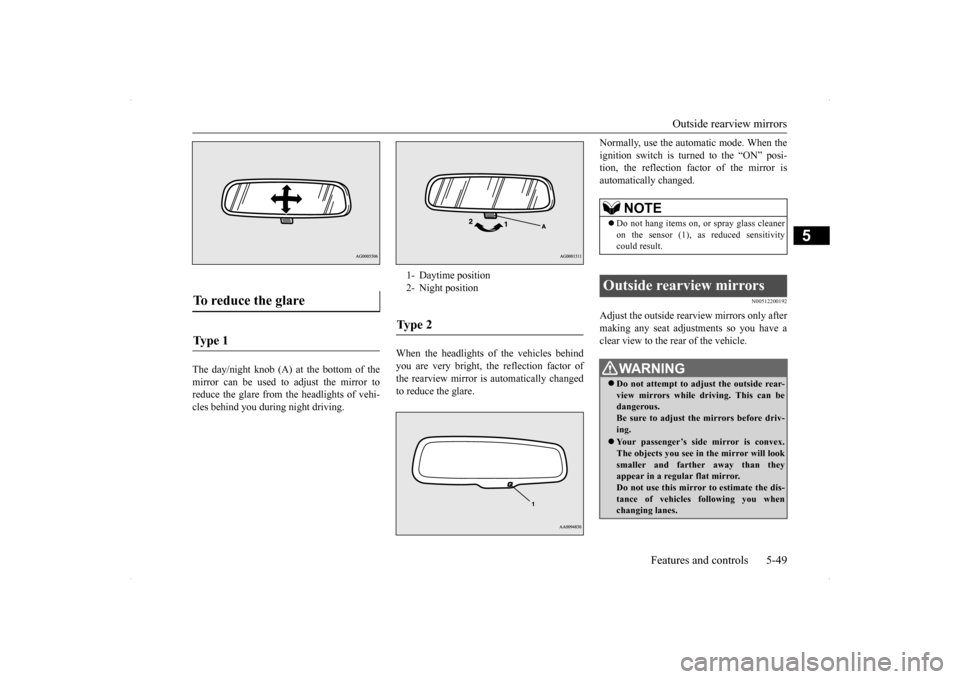
The day/night knob (A) at the bottom of the mirror can be used to adjust the mirror toreduce the glare from the headlights of vehi-cles behind you during night driving.
When the headlights of the vehicles behind you are very bright, the reflection factor of the rearview mirror is automatically changedto reduce the glare.
Normally, use the automatic mode. When the ignition switch is turned to the “ON” posi- tion, the reflection fact
or of the mirror is
automatically changed.
N00512200192
Adjust the outside rearview mirrors only aftermaking any seat adjustments so you have aclear view to the rear of the vehicle.
To reduce the glare Ty p e 1
1- Daytime position2- Night positionTy p e 2
NOTE
Do not hang items on, or spray glass cleaner on the sensor (1), as reduced sensitivitycould result.
Outside rearview mirrors
WA R N I N G Do not attempt to adjust the outside rear- view mirrors while driving. This can be dangerous. Be sure to adjust the mirrors before driv-ing. Your passenger’s side mirror is convex. The objects you see in the mirror will look smaller and farther away than theyappear in a regular flat mirror. Do not use this mirror to estimate the dis- tance of vehicles following you whenchanging lanes.
BK0200800US.bo
ok 49 ページ 2013年2月14日 木曜日 午後2時28分