buttons MITSUBISHI MIRAGE 2014 6.G MMCS Manual
[x] Cancel search | Manufacturer: MITSUBISHI, Model Year: 2014, Model line: MIRAGE, Model: MITSUBISHI MIRAGE 2014 6.GPages: 135, PDF Size: 26.9 MB
Page 45 of 135
45
Searching for a Place of Interest
by its phone number
You can search for Places of Interest by their
phone number:
1. If you are on the Map screen, tap
to return to the
Navigation menu.
2. In the Navigation menu, tap the following
buttons:
, .
3. The numeric keyboard appears. Enter the
phone number you are looking for or a
part of it.
4. Tap
.5. The list of Places with the entered
sequence in their phone number appears.
6. (optional) The Places in the list are
ordered by their distance from the
current or last known position, from the
selected city/town, from the destination
or by the length of the necessary detour.
If you need to reorder the list, tap
.
7. Browse the list if necessary and tap one
of the list items. A full screen map appears
with the selected point in the middle.
The name and address of the Place is
displayed at the top of the screen.
8. (optional) Tap
to see the details of
the selected Place. Tap
to return to the map.9. If necessary, tap the map somewhere
else to modify the destination. The Cursor
(
) appears at the new location.
Tap
to confirm the
destination, or tap
to
select a different destination.
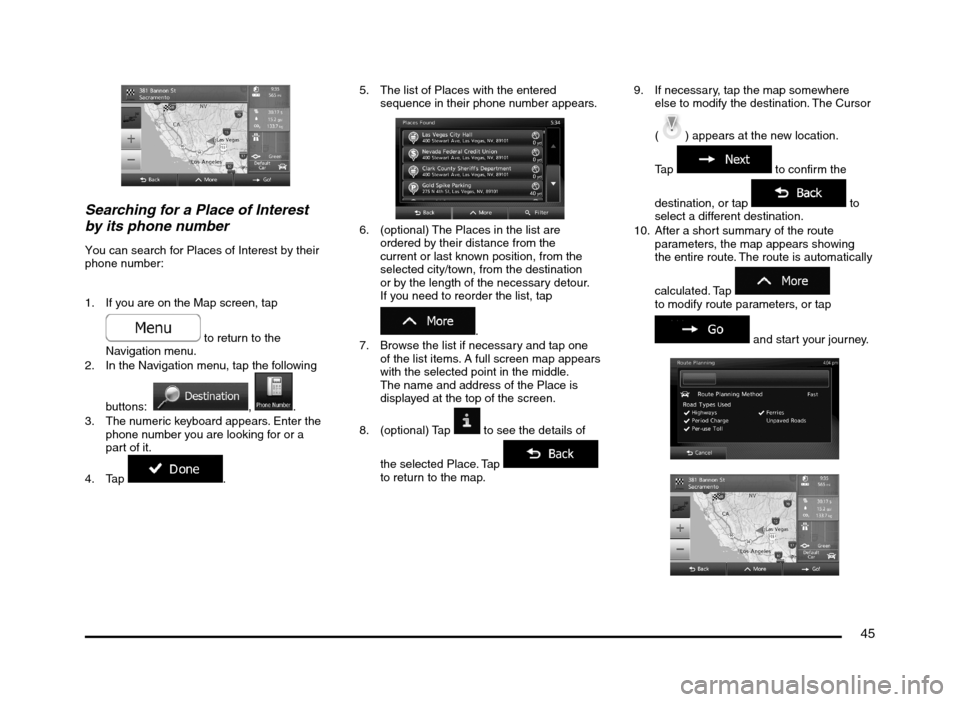
10. After a short summary of the route
parameters, the map appears showing
the entire route. The route is automatically
calculated. Tap
to modify route parameters, or tap
and start your journey.
205-0010-00_QY-7375M-A_EN.indb 45205-0010-00_QY-7375M-A_EN.indb 453/12/2013 9:57:21 AM3/12/2013 9:57:21 AM
Page 46 of 135
46
Selecting nearby assistance from
‘Where Am I?’
You can quickly search for nearby assistance
from the ‘Where Am I?’ screen.
1. On the Map screen, tap
to open the
Quick menu.
2. Tap , and then .
3. Preset search categories appear, all for
searching around the current position:
: Car repair and
roadside assistance services
: Medical and
emergency services
: Police stations
: Gas stations
4. Tap any of the quick search buttons to get
an instant list of that type of Places.
5. (optional) The Places in the list are
ordered by their distance from the current
position, from the selected city/town, from
the destination or by the length of the
necessary detour. If you need to reorder
the list, tap
.
6. Browse the list if necessary and tap one
of the list items. A full screen map appears
with the selected point in the middle.
The name and address of the Place is
displayed at the top of the screen.
7. (optional) Tap
to see the details of
the selected Place. Tap
to return to the map.8. If necessary, tap the map somewhere
else to modify the destination. The Cursor
(
) appears at the new location.
Tap
to confirm the
destination, or tap
to
select a different destination.
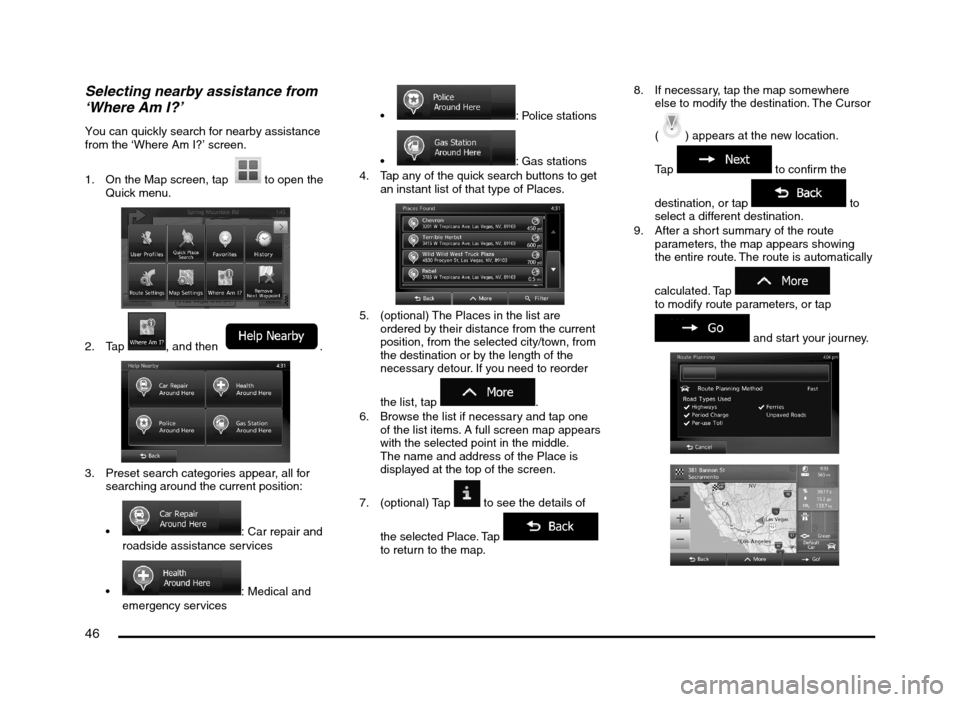
9. After a short summary of the route
parameters, the map appears showing
the entire route. The route is automatically
calculated. Tap
to modify route parameters, or tap
and start your journey.
205-0010-00_QY-7375M-A_EN.indb 46205-0010-00_QY-7375M-A_EN.indb 463/12/2013 9:57:21 AM3/12/2013 9:57:21 AM
Page 47 of 135
47
q
Selecting a map location as
the destination
1. If you are on the Map screen, tap
to return to the
Navigation menu.
2. In the Navigation menu, tap the following
buttons:
, .
3. Locate your destination on the map: move
and scale the map as needed.
4. Tap the location that you want to select
as your destination. The Cursor (
)
appears.
5. Tap
to select the
Cursor as the destination.
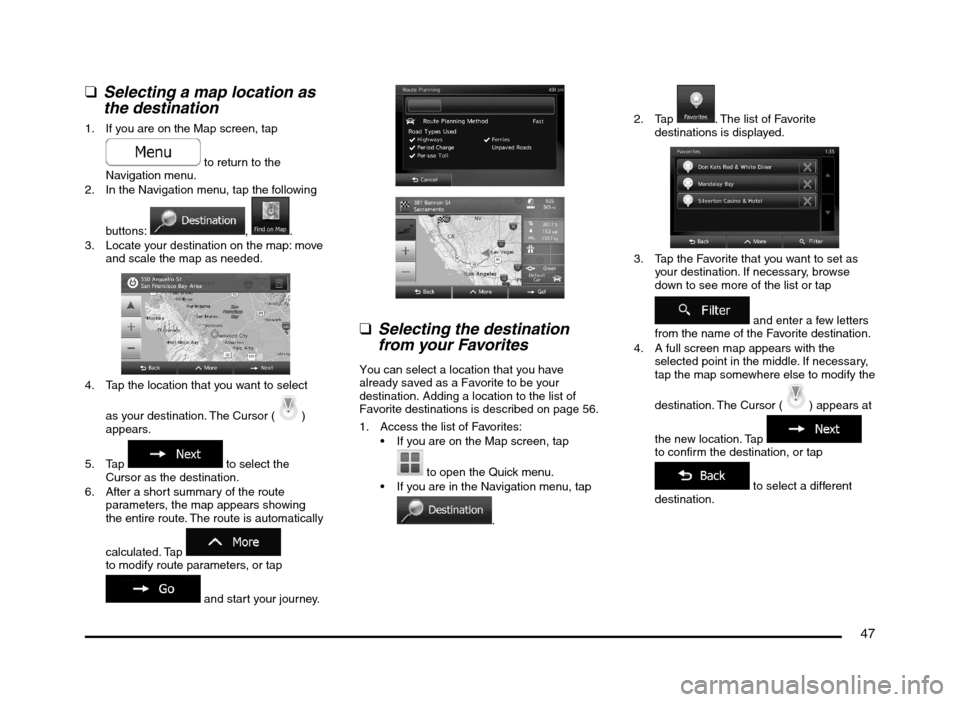
6. After a short summary of the route
parameters, the map appears showing
the entire route. The route is automatically
calculated. Tap
to modify route parameters, or tap
and start your journey.
q
Selecting the destination
from your Favorites
You can select a location that you have
already saved as a Favorite to be your
destination. Adding a location to the list of
Favorite destinations is described on page 56.
1. Access the list of Favorites:
If you are on the Map screen, tap
to open the Quick menu.
If you are in the Navigation menu, tap
.2. Tap
. The list of Favorite
destinations is displayed.
3. Tap the Favorite that you want to set as
your destination. If necessary, browse
down to see more of the list or tap
and enter a few letters
from the name of the Favorite destination.
4. A full screen map appears with the
selected point in the middle. If necessary,
tap the map somewhere else to modify the
destination. The Cursor (
) appears at
the new location. Tap
to confirm the destination, or tap
to select a different
destination.
205-0010-00_QY-7375M-A_EN.indb 47205-0010-00_QY-7375M-A_EN.indb 473/12/2013 9:57:21 AM3/12/2013 9:57:21 AM
Page 58 of 135
58
5. Tap to save the
changes to the alert point.
Watching the simulation
of the route
You can run a simulated navigation that
demonstrates the active route. Do as follows:
1. If you are on the Map screen, tap
to return to the
Navigation menu.
2. In the Navigation menu, tap
.
3. Tap
.
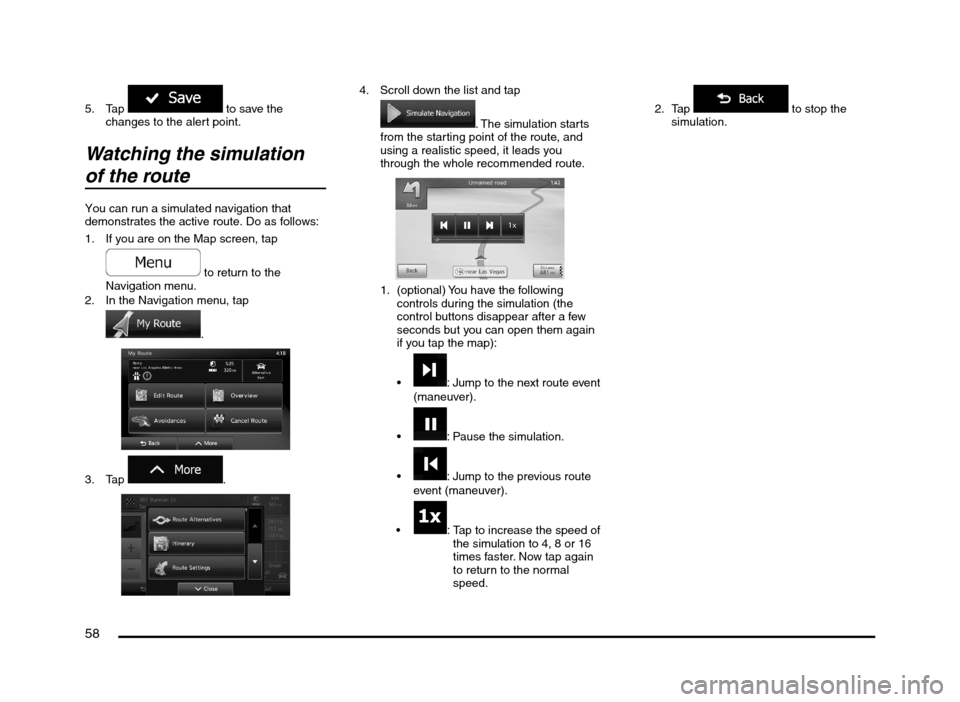
4. Scroll down the list and tap
. The simulation starts
from the starting point of the route, and
using a realistic speed, it leads you
through the whole recommended route.
1. (optional) You have the following
controls during the simulation (the
control buttons disappear after a few
seconds but you can open them again
if you tap the map):
: Jump to the next route event
(maneuver).
: Pause the simulation.
: Jump to the previous route
event (maneuver).
: Tap to increase the speed of
the simulation to 4, 8 or 16
times faster. Now tap again
to return to the normal
speed.2. Tap
to stop the
simulation.
205-0010-00_QY-7375M-A_EN.indb 58205-0010-00_QY-7375M-A_EN.indb 583/12/2013 9:57:23 AM3/12/2013 9:57:23 AM
Page 63 of 135
63
‘More’ menu
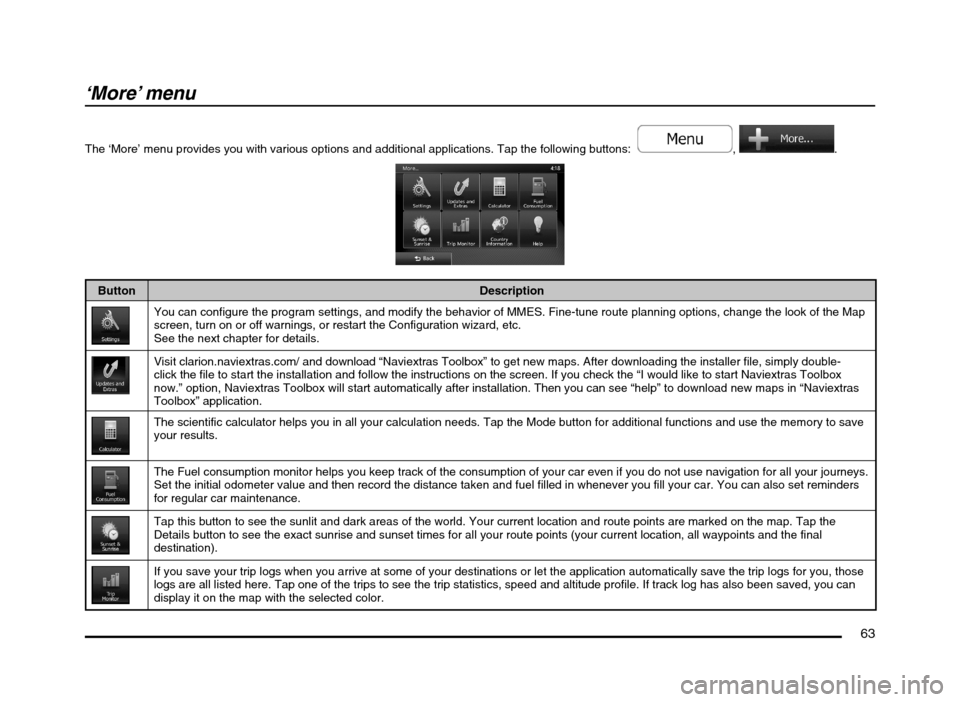
The ‘More’ menu provides you with various options and additional applications. Tap the following buttons: , .
Button Description
You can configure the program settings, and modify the behavior of MMES. Fine-tune route planning options, change the look of the Map
screen, turn on or off warnings, or restart the Configuration wizard, etc.
See the next chapter for details.
Visit clarion.naviextras.com/ and download “Naviextras Toolbox” to get new maps. After downloading the installer file, simply double-
click the file to start the installation and follow the instructions on the screen. If you check the “I would like to start Naviextras Toolbox
now.” option, Naviextras Toolbox will start automatically after installation. Then you can see “help” to download new maps in “Naviextras
Toolbox” application.
The scientific calculator helps you in all your calculation needs. Tap the Mode button for additional functions and use the memory to save
your results.
The Fuel consumption monitor helps you keep track of the consumption of your car even if you do not use navigation for all your journeys.
Set the initial odometer value and then record the distance taken and fuel filled in whenever you fill your car. You can also set reminders
for regular car maintenance.
Tap this button to see the sunlit and dark areas of the world. Your current location and route points are marked on the map. Tap the
Details button to see the exact sunrise and sunset times for all your route points (your current location, all waypoints and the final
destination).
If you save your trip logs when you arrive at some of your destinations or let the application automatically save the trip logs for you, those
logs are all listed here. Tap one of the trips to see the trip statistics, speed and altitude profile. If track log has also been saved, you can
display it on the map with the selected color.
205-0010-00_QY-7375M-A_EN.indb 63205-0010-00_QY-7375M-A_EN.indb 633/12/2013 9:57:24 AM3/12/2013 9:57:24 AM
Page 64 of 135
64
Button Description
Select a country from the list and see useful driving information about the selected country. Information may include speed limits on
different road types, the maximum blood alcohol level and any compulsory equipment you need to show when stopped by the police.
Run the Demo and watch sample route simulations to see how navigation works.
The About section provides you with product information. You can also access program usage statistics.
Settings menu
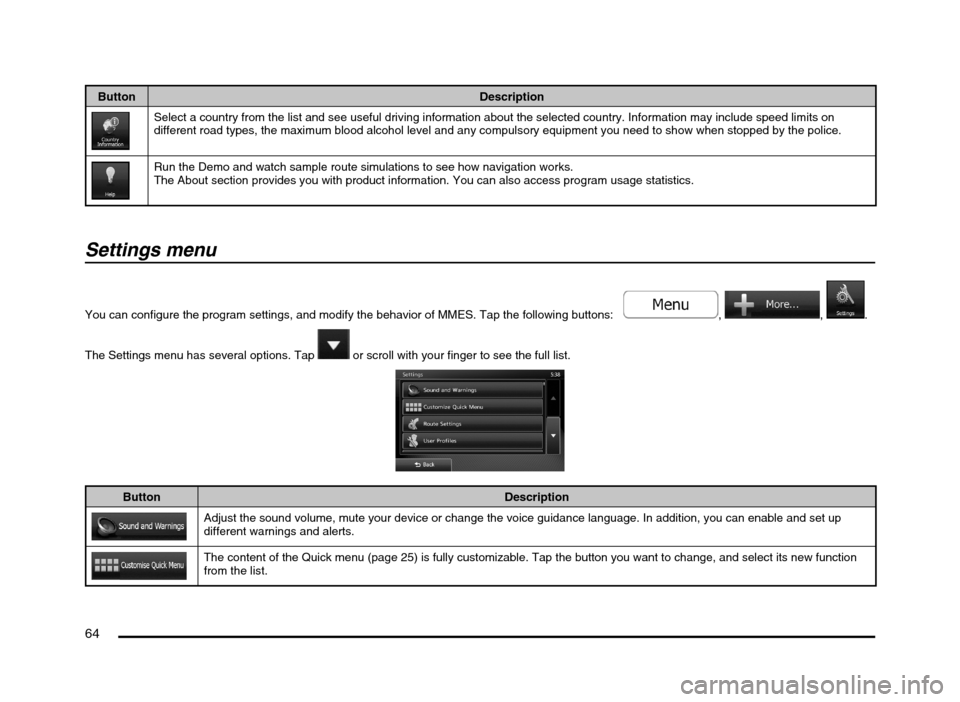
You can configure the program settings, and modify the behavior of MMES. Tap the following buttons: , , .
The Settings menu has several options. Tap
or scroll with your finger to see the full list.
Button Description
Adjust the sound volume, mute your device or change the voice guidance language. In addition, you can enable and set up
different warnings and alerts.
The content of the Quick menu (page 25) is fully customizable. Tap the button you want to change, and select its new function
from the list.
205-0010-00_QY-7375M-A_EN.indb 64205-0010-00_QY-7375M-A_EN.indb 643/12/2013 9:57:24 AM3/12/2013 9:57:24 AM
Page 73 of 135
73
qDisplay settings
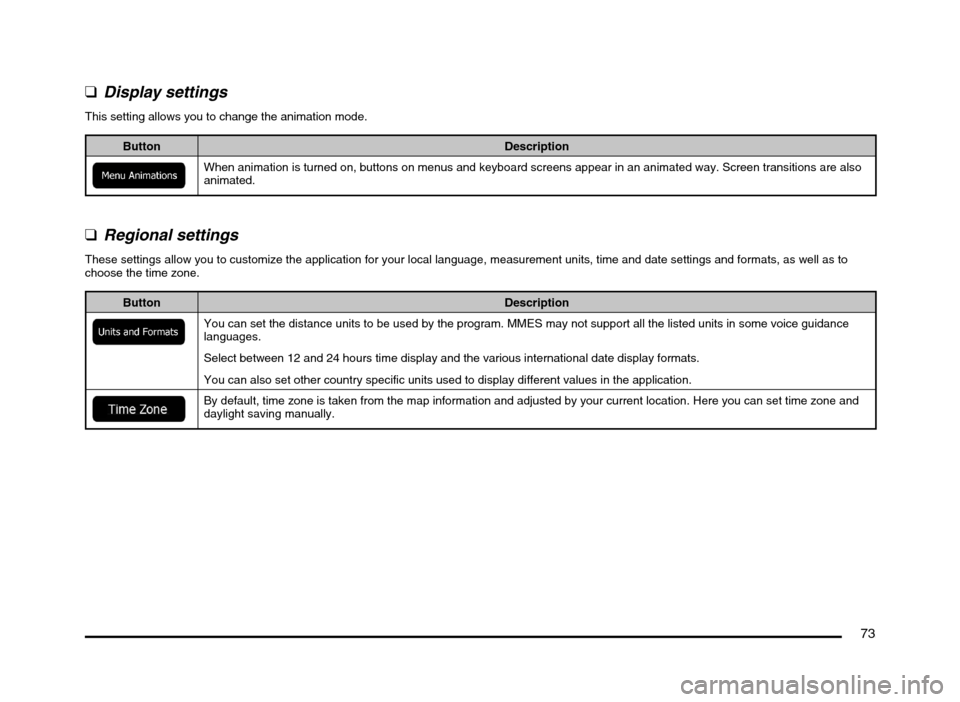
This setting allows you to change the animation mode.
Button Description
When animation is turned on, buttons on menus and keyboard screens appear in an animated way. Screen transitions are also
animated.
q
Regional settings
These settings allow you to customize the application for your local language, measurement units, time and date settings and formats, as well as to
choose the time zone.
Button Description
You can set the distance units to be used by the program. MMES may not support all the listed units in some voice guidance
languages.
Select between 12 and 24 hours time display and the various international date display formats.
You can also set other country specific units used to display different values in the application.
By default, time zone is taken from the map information and adjusted by your current location. Here you can set time zone and
daylight saving manually.
205-0010-00_QY-7375M-A_EN.indb 73205-0010-00_QY-7375M-A_EN.indb 733/12/2013 9:57:25 AM3/12/2013 9:57:25 AM
Page 75 of 135
75
Fuel Consumption
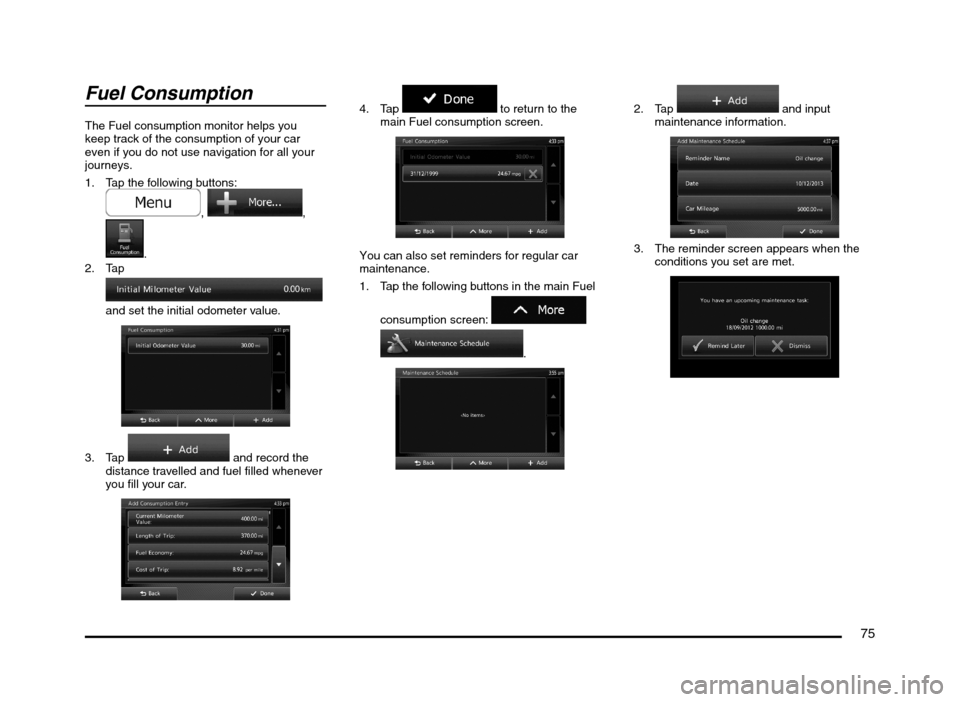
The Fuel consumption monitor helps you
keep track of the consumption of your car
even if you do not use navigation for all your
journeys.
1. Tap the following buttons:
, ,
.
2. Tap
and set the initial odometer value.
3. Tap and record the
distance travelled and fuel filled whenever
you fill your car.
4. Tap to return to the
main Fuel consumption screen.
You can also set reminders for regular car
maintenance.
1. Tap the following buttons in the main Fuel
consumption screen:
.
2. Tap and input
maintenance information.
3. The reminder screen appears when the
conditions you set are met.
205-0010-00_QY-7375M-A_EN.indb 75205-0010-00_QY-7375M-A_EN.indb 753/12/2013 9:57:25 AM3/12/2013 9:57:25 AM
Page 76 of 135
76
Trip Monitor
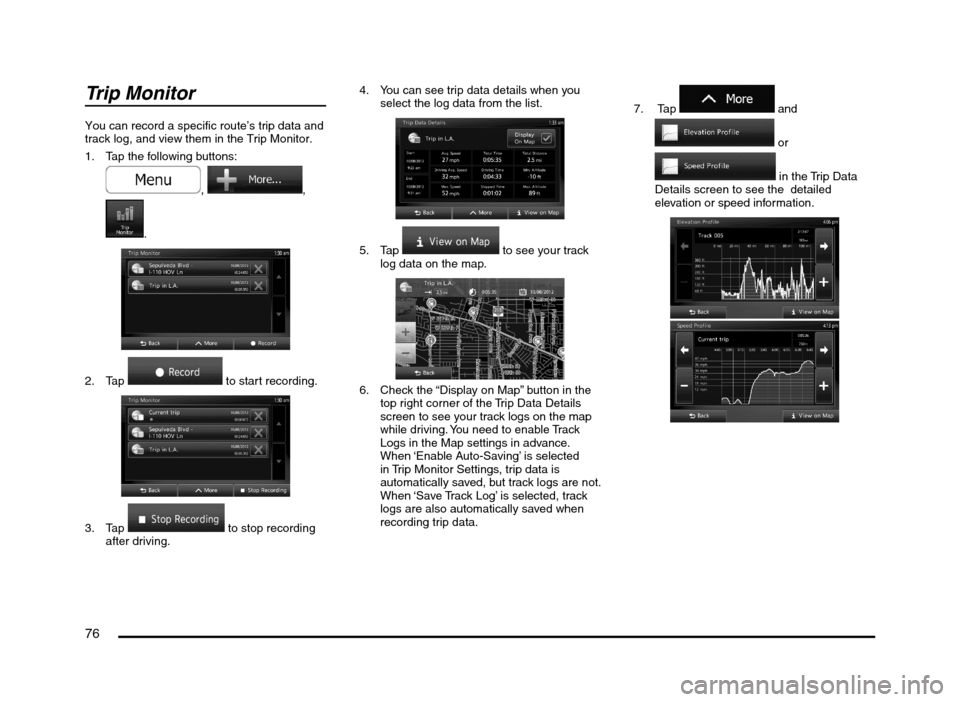
You can record a specific route’s trip data and
track log, and view them in the Trip Monitor.
1. Tap the following buttons:
, ,
.
2. Tap to start recording.
3. Tap to stop recording
after driving.4. You can see trip data details when you
select the log data from the list.
5. Tap to see your track
log data on the map.
6. Check the “Display on Map” button in the
top right corner of the Trip Data Details
screen to see your track logs on the map
while driving. You need to enable Track
Logs in the Map settings in advance.
When ‘Enable Auto-Saving’ is selected
in Trip Monitor Settings, trip data is
automatically saved, but track logs are not.
When ‘Save Track Log’ is selected, track
logs are also automatically saved when
recording trip data.7. Tap
and
or
in the Trip Data
Details screen to see the detailed
elevation or speed information.
205-0010-00_QY-7375M-A_EN.indb 76205-0010-00_QY-7375M-A_EN.indb 763/12/2013 9:57:25 AM3/12/2013 9:57:25 AM
Page 91 of 135
91
10. CONTROLS
CAUTION
When not updating the map data, do not
remove the map SD memory card. If you
remove the map SD memory card, the
unit will not start.
When removing the SD memory card
to update the map data, make sure the
vehicle is set to ACC-OFF.
Do not edit any data on the map SD
memory card or connect the map SD
memory card to a personal computer,
etc. This may cause errors.
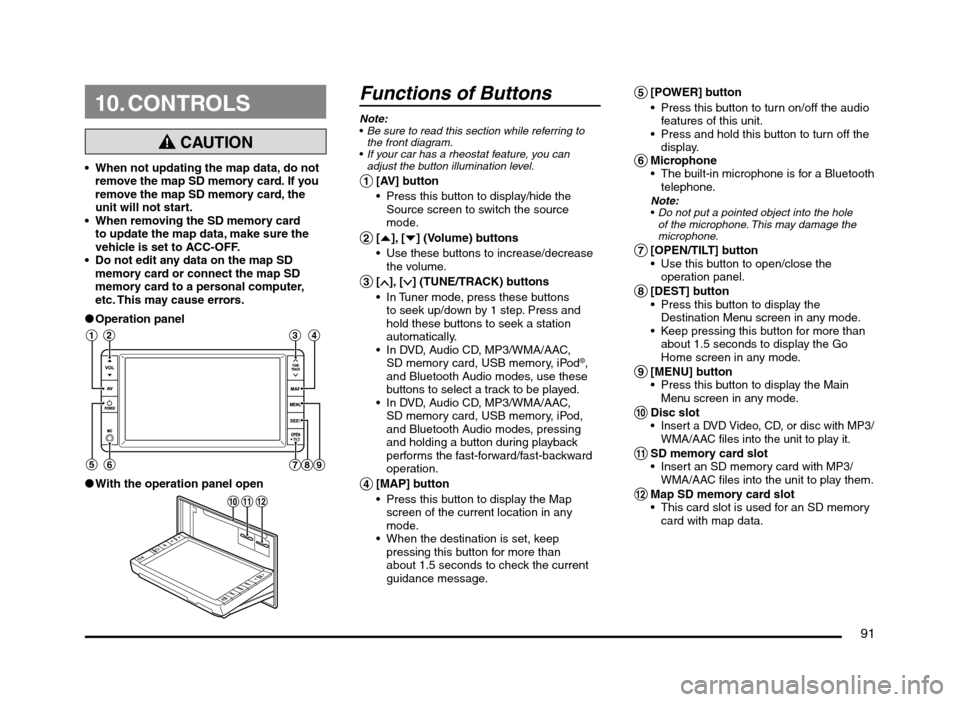
lOperation panel
12 3 4
56
789
lWith the operation panel open
!
@ 0
Functions of Buttons
Note:
Be sure to read this section while referring to
the front diagram.
If your car has a rheostat feature, you can
adjust the button illumination level.
1 [AV] button
Press this button to display/hide the
Source screen to switch the source
mode.
2 [{], [}] (Volume) buttons
Use these buttons to increase/decrease
the volume.
3 [], [] (TUNE/TRACK) buttons
In Tuner mode, press these buttons
to seek up/down by 1 step. Press and
hold these buttons to seek a station
automatically.
In DVD, Audio CD, MP3/WMA/AAC,
SD memory card, USB memory, iPod
®,
and Bluetooth Audio modes, use these
buttons to select a track to be played.
In DVD, Audio CD, MP3/WMA/AAC,
SD memory card, USB memory, iPod,
and Bluetooth Audio modes, pressing
and holding a button during playback
performs the fast-forward/fast-backward
operation.
4 [MAP] button
Press this button to display the Map
screen of the current location in any
mode.
When the destination is set, keep
pressing this button for more than
about 1.5 seconds to check the current
guidance message.
5 [POWER] button
Press this button to turn on/off the audio
features of this unit.
Press and hold this button to turn off the
display.
6 Microphone
The built-in microphone is for a Bluetooth
telephone.
Note:
Do not put a pointed object into the hole
of the microphone. This may damage the
microphone.
7 [OPEN/TILT] button
Use this button to open/close the
operation panel.
8 [DEST] button
Press this button to display the
Destination Menu screen in any mode.
Keep pressing this button for more than
about 1.5 seconds to display the Go
Home screen in any mode.
9 [MENU] button
Press this button to display the Main
Menu screen in any mode.
0 Disc slot Insert a DVD Video, CD, or disc with MP3/
WMA/AAC files into the unit to play it.
! SD memory card slot
Insert an SD memory card with MP3/
WMA/AAC files into the unit to play them.
@ Map SD memory card slot
This card slot is used for an SD memory
card with map data.
205-0010-00_QY-7375M-A_EN.indb 91205-0010-00_QY-7375M-A_EN.indb 913/12/2013 9:57:26 AM3/12/2013 9:57:26 AM