headlamp MITSUBISHI OUTLANDER PHEV 2016 (in English) User Guide
[x] Cancel search | Manufacturer: MITSUBISHI, Model Year: 2016, Model line: OUTLANDER PHEV, Model: MITSUBISHI OUTLANDER PHEV 2016Pages: 490, PDF Size: 22.02 MB
Page 185 of 490
When you want to keep the
lamps on:
1. Turn the lamp switch in the “OFF” posi-
tion while the operation mode of the power switch is in OFF or ACC.
2. Turn on the lamps with the switch in the
“”
or “” position again, then the
lamps will remain on.
LED headlamp warning lamp*
E00538101041
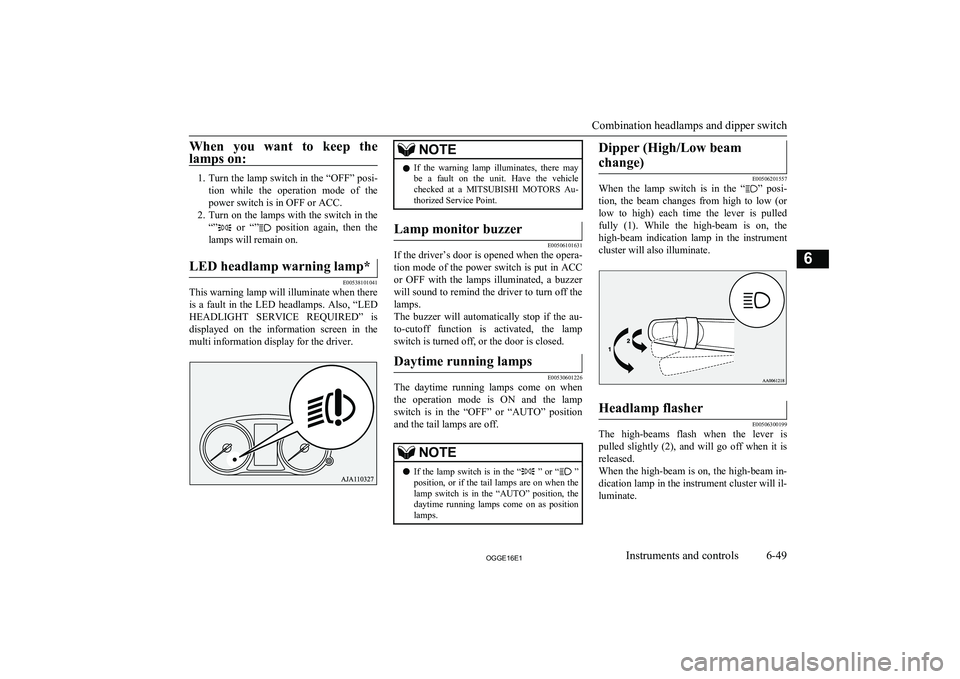
This warning lamp will illuminate when there is a fault in the LED headlamps. Also, “LED
HEADLIGHT SERVICE REQUIRED” is displayed on the information screen in the
multi information display for the driver.
NOTEl If the warning lamp illuminates, there may
be a fault on the unit. Have the vehicle
checked at a MITSUBISHI MOTORS Au-
thorized Service Point.Lamp monitor buzzer
E00506101631
If the driver’s door is opened when the opera-
tion mode of the power switch is put in ACCor OFF with the lamps illuminated, a buzzer
will sound to remind the driver to turn off the
lamps.
The buzzer will automatically stop if the au- to-cutoff function is activated, the lamp switch is turned off, or the door is closed.
Daytime running lamps
E00530601226
The daytime running lamps come on when
the operation mode is ON and the lamp switch is in the “OFF” or “AUTO” position
and the tail lamps are off.
NOTEl If the lamp switch is in the “ ” or “
”
position, or if the tail lamps are on when the
lamp switch is in the “AUTO” position, the daytime running lamps come on as positionlamps.Dipper (High/Low beam
change)
E00506201557
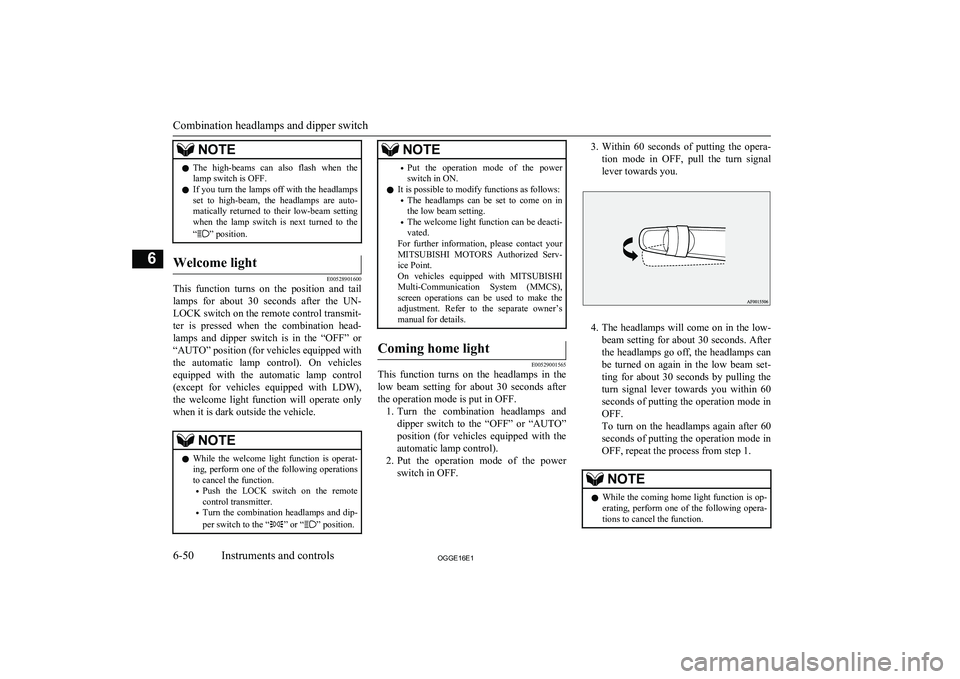
When the lamp switch is in the “” posi-
tion, the beam changes from high to low (or
low to high) each time the lever is pulled fully (1). While the high-beam is on, the
high-beam indication lamp in the instrument
cluster will also illuminate.
Headlamp flasher
E00506300199
The high-beams flash when the lever is pulled slightly (2), and will go off when it is
released.
When the high-beam is on, the high-beam in- dication lamp in the instrument cluster will il-
luminate.
Combination headlamps and dipper switch
6-49OGGE16E1Instruments and controls6
Page 186 of 490
NOTElThe high-beams can also flash when the
lamp switch is OFF.
l If you turn the lamps off with the headlamps
set to high-beam, the headlamps are auto- matically returned to their low-beam setting
when the lamp switch is next turned to the
“
” position.
Welcome light
E00528901600
This function turns on the position and tail
lamps for about 30 seconds after the UN- LOCK switch on the remote control transmit-
ter is pressed when the combination head-
lamps and dipper switch is in the “OFF” or
“AUTO” position (for vehicles equipped with
the automatic lamp control). On vehicles equipped with the automatic lamp control
(except for vehicles equipped with LDW),
the welcome light function will operate only
when it is dark outside the vehicle.
NOTEl While the welcome light function is operat-
ing, perform one of the following operations to cancel the function.
• Push the LOCK switch on the remote
control transmitter.
• Turn the combination headlamps and dip-
per switch to the “
” or “” position.
NOTE• Put the operation mode of the power
switch in ON.
l It is possible to modify functions as follows:
• The headlamps can be set to come on in
the low beam setting.
• The welcome light function can be deacti-
vated.
For further information, please contact your
MITSUBISHI MOTORS Authorized Serv-
ice Point.
On vehicles equipped with MITSUBISHI
Multi-Communication System (MMCS),
screen operations can be used to make the adjustment. Refer to the separate owner’s
manual for details.Coming home light
E00529001565
This function turns on the headlamps in the
low beam setting for about 30 seconds after the operation mode is put in OFF. 1. Turn the combination headlamps and
dipper switch to the “OFF” or “AUTO”
position (for vehicles equipped with the
automatic lamp control).
2. Put the operation mode of the power
switch in OFF.
3. Within 60 seconds of putting the opera-
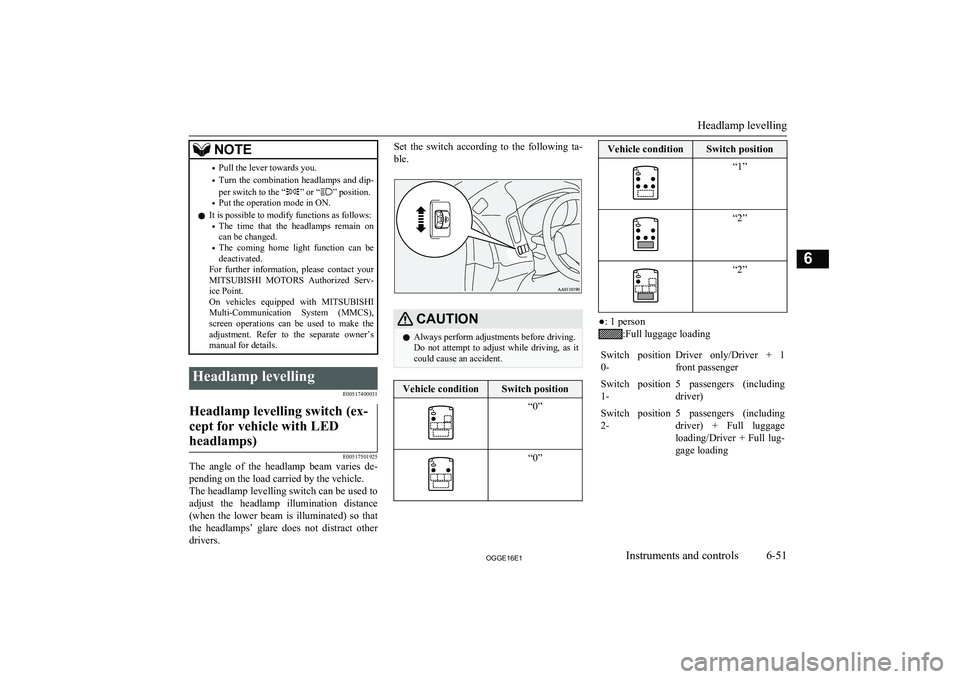
tion mode in OFF, pull the turn signal
lever towards you.
4. The headlamps will come on in the low-
beam setting for about 30 seconds. After
the headlamps go off, the headlamps can be turned on again in the low beam set-
ting for about 30 seconds by pulling the turn signal lever towards you within 60seconds of putting the operation mode in
OFF.
To turn on the headlamps again after 60
seconds of putting the operation mode in
OFF, repeat the process from step 1.
NOTEl While the coming home light function is op-
erating, perform one of the following opera-
tions to cancel the function.
Combination headlamps and dipper switch
6-50OGGE16E1Instruments and controls6
Page 187 of 490
NOTE•Pull the lever towards you.
• Turn the combination headlamps and dip-
per switch to the “
” or “” position.
• Put the operation mode in ON.
l It is possible to modify functions as follows:
• The time that the headlamps remain on
can be changed.
• The coming home light function can be
deactivated.
For further information, please contact your
MITSUBISHI MOTORS Authorized Serv-
ice Point.
On vehicles equipped with MITSUBISHI
Multi-Communication System (MMCS),
screen operations can be used to make the adjustment. Refer to the separate owner’s
manual for details.
Headlamp levelling
E00517400031Headlamp levelling switch (ex-cept for vehicle with LEDheadlamps)
E00517501925
The angle of the headlamp beam varies de-
pending on the load carried by the vehicle.
The headlamp levelling switch can be used to adjust the headlamp illumination distance(when the lower beam is illuminated) so that the headlamps’ glare does not distract other
drivers.
Set the switch according to the following ta-
ble.CAUTIONl Always perform adjustments before driving.
Do not attempt to adjust while driving, as it could cause an accident.Vehicle conditionSwitch position“0”“0”Vehicle conditionSwitch position“1”“2”“2”
●: 1 person
:Full luggage loading
Switch position
0-Driver only/Driver + 1
front passengerSwitch position 1-5 passengers (including
driver)Switch position 2-5 passengers (including
driver) + Full luggage loading/Driver + Full lug-
gage loading
Headlamp levelling
6-51OGGE16E1Instruments and controls6
Page 188 of 490
Automatic headlamp levelling(vehicles with LED headlamps)
E00517601652
This mechanism automatically adjusts the di-
rection of the headlamps (beam position) de- pending on changes in the condition of the
vehicle, such as the number of occupants or
luggage weight. When the headlamps are il- luminated with the operation mode of the power switch in ON, the beam position of theheadlamps is automatically adjusted when the
vehicle stops.
Turn-signal lever
E00506502658
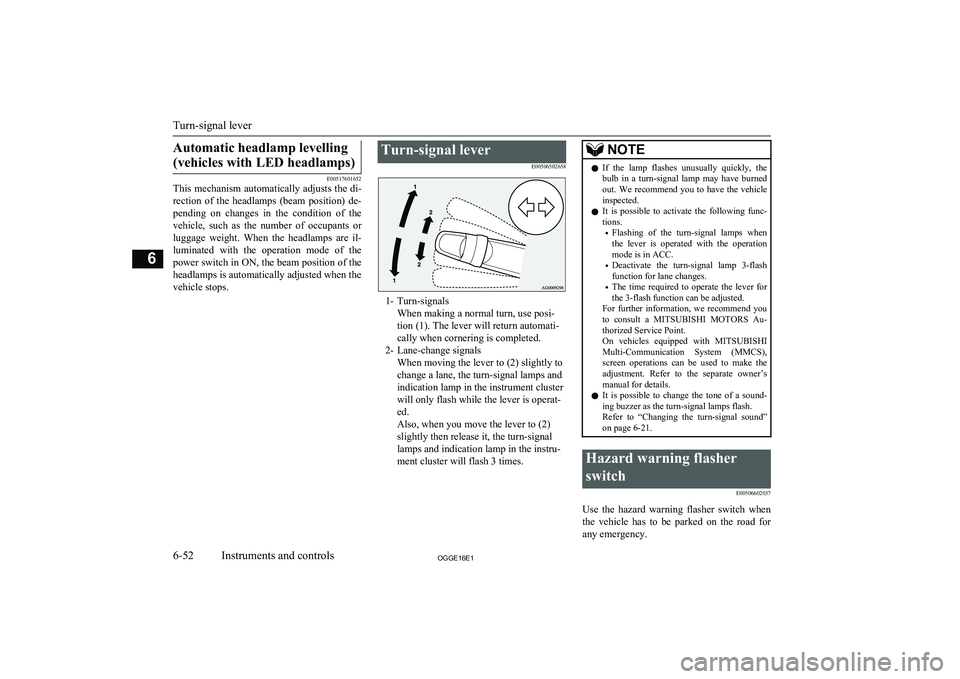
1- Turn-signalsWhen making a normal turn, use posi-
tion (1). The lever will return automati-
cally when cornering is completed.
2- Lane-change signals When moving the lever to (2) slightly to
change a lane, the turn-signal lamps and
indication lamp in the instrument cluster
will only flash while the lever is operat-
ed.
Also, when you move the lever to (2)
slightly then release it, the turn-signal
lamps and indication lamp in the instru-
ment cluster will flash 3 times.
NOTEl If the lamp flashes unusually quickly, the
bulb in a turn-signal lamp may have burned out. We recommend you to have the vehicle
inspected.
l It is possible to activate the following func-
tions.
• Flashing of the turn-signal lamps when
the lever is operated with the operation
mode is in ACC.
• Deactivate the turn-signal lamp 3-flash
function for lane changes.
• The time required to operate the lever for
the 3-flash function can be adjusted.
For further information, we recommend you
to consult a MITSUBISHI MOTORS Au-
thorized Service Point.
On vehicles equipped with MITSUBISHI
Multi-Communication System (MMCS), screen operations can be used to make theadjustment. Refer to the separate owner’s
manual for details.
l It is possible to change the tone of a sound-
ing buzzer as the turn-signal lamps flash.
Refer to “Changing the turn-signal sound” on page 6-21.Hazard warning flasher
switch E00506602037
Use the hazard warning flasher switch when
the vehicle has to be parked on the road for
any emergency.
Turn-signal lever
6-52OGGE16E1Instruments and controls6
Page 190 of 490
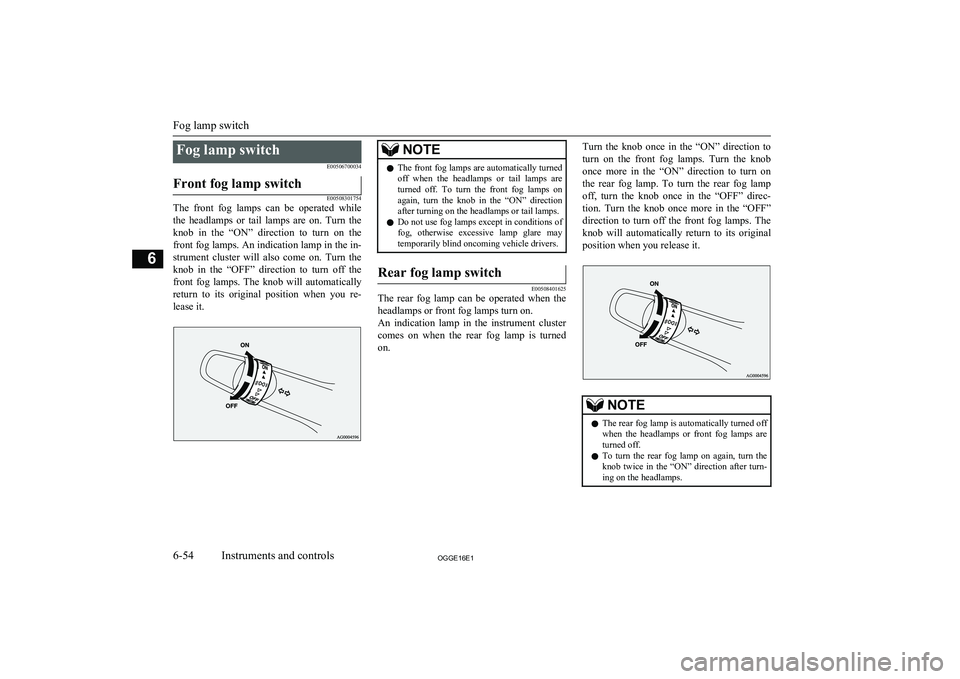
Fog lamp switchE00506700034Front fog lamp switch
E00508301754
The front fog lamps can be operated while
the headlamps or tail lamps are on. Turn the knob in the “ON” direction to turn on the
front fog lamps. An indication lamp in the in- strument cluster will also come on. Turn theknob in the “OFF” direction to turn off the front fog lamps. The knob will automatically
return to its original position when you re- lease it.
NOTEl The front fog lamps are automatically turned
off when the headlamps or tail lamps are turned off. To turn the front fog lamps on again, turn the knob in the “ON” directionafter turning on the headlamps or tail lamps.
l Do not use fog lamps except in conditions of
fog, otherwise excessive lamp glare maytemporarily blind oncoming vehicle drivers.Rear fog lamp switch
E00508401625
The rear fog lamp can be operated when the
headlamps or front fog lamps turn on.
An indication lamp in the instrument cluster
comes on when the rear fog lamp is turned on.
Turn the knob once in the “ON” direction to
turn on the front fog lamps. Turn the knob once more in the “ON” direction to turn on
the rear fog lamp. To turn the rear fog lamp off, turn the knob once in the “OFF” direc- tion. Turn the knob once more in the “OFF”
direction to turn off the front fog lamps. The
knob will automatically return to its original
position when you release it.NOTEl The rear fog lamp is automatically turned off
when the headlamps or front fog lamps are
turned off.
l To turn the rear fog lamp on again, turn the
knob twice in the “ON” direction after turn- ing on the headlamps.
Fog lamp switch
6-54OGGE16E1Instruments and controls6
Page 194 of 490
NOTEscreen operations can be used to make theadjustment. Refer to the separate owner’s
manual for details.
Misting function
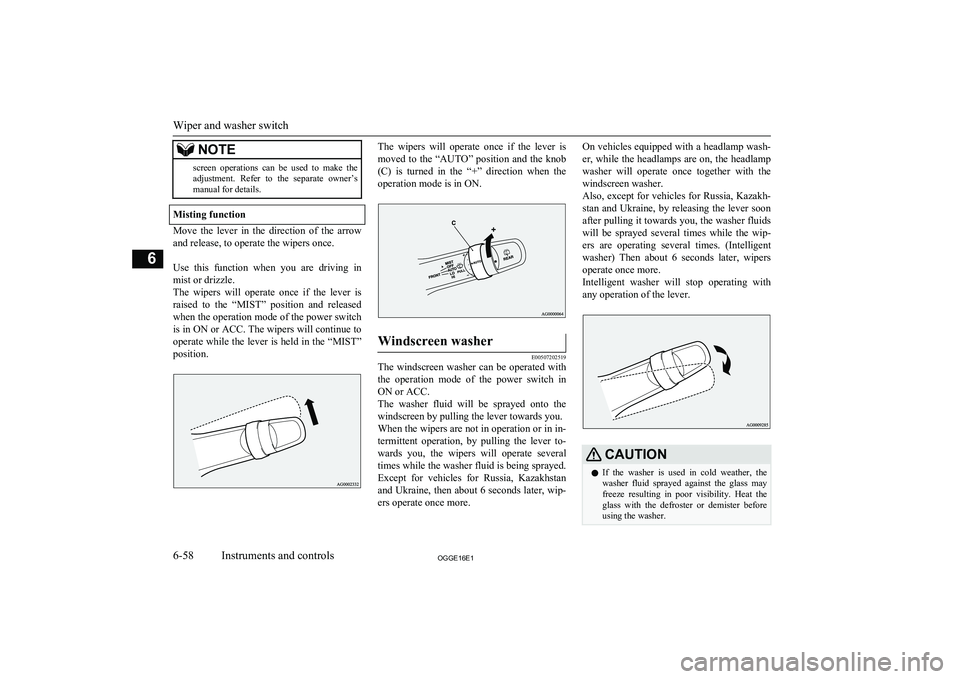
Move the lever in the direction of the arrow
and release, to operate the wipers once.
Use this function when you are driving in
mist or drizzle.
The wipers will operate once if the lever is raised to the “MIST” position and released
when the operation mode of the power switch is in ON or ACC. The wipers will continue to
operate while the lever is held in the “MIST”
position.
The wipers will operate once if the lever is
moved to the “AUTO” position and the knob
(C) is turned in the “+” direction when the operation mode is in ON.Windscreen washer
E00507202519
The windscreen washer can be operated withthe operation mode of the power switch in
ON or ACC.
The washer fluid will be sprayed onto the windscreen by pulling the lever towards you.When the wipers are not in operation or in in-
termittent operation, by pulling the lever to-
wards you, the wipers will operate several
times while the washer fluid is being sprayed. Except for vehicles for Russia, Kazakhstan
and Ukraine, then about 6 seconds later, wip- ers operate once more.
On vehicles equipped with a headlamp wash-
er, while the headlamps are on, the headlamp washer will operate once together with thewindscreen washer.
Also, except for vehicles for Russia, Kazakh- stan and Ukraine, by releasing the lever soon
after pulling it towards you, the washer fluids will be sprayed several times while the wip-
ers are operating several times. (Intelligent
washer) Then about 6 seconds later, wipers
operate once more.
Intelligent washer will stop operating with
any operation of the lever.CAUTIONl If the washer is used in cold weather, the
washer fluid sprayed against the glass may
freeze resulting in poor visibility. Heat the
glass with the defroster or demister before using the washer.
Wiper and washer switch
6-58OGGE16E1Instruments and controls6
Page 196 of 490
NOTElThe interval for intermittent operation can be
adjusted.
For further information, we recommend you to consult a MITSUBISHI MOTORS Au-
thorized Service Point.
On vehicles equipped with MITSUBISHI
Multi-Communication System (MMCS), screen operations can be used to make theadjustment. Refer to the separate owner’s
manual for details.Headlamp washer switch
E00510101502
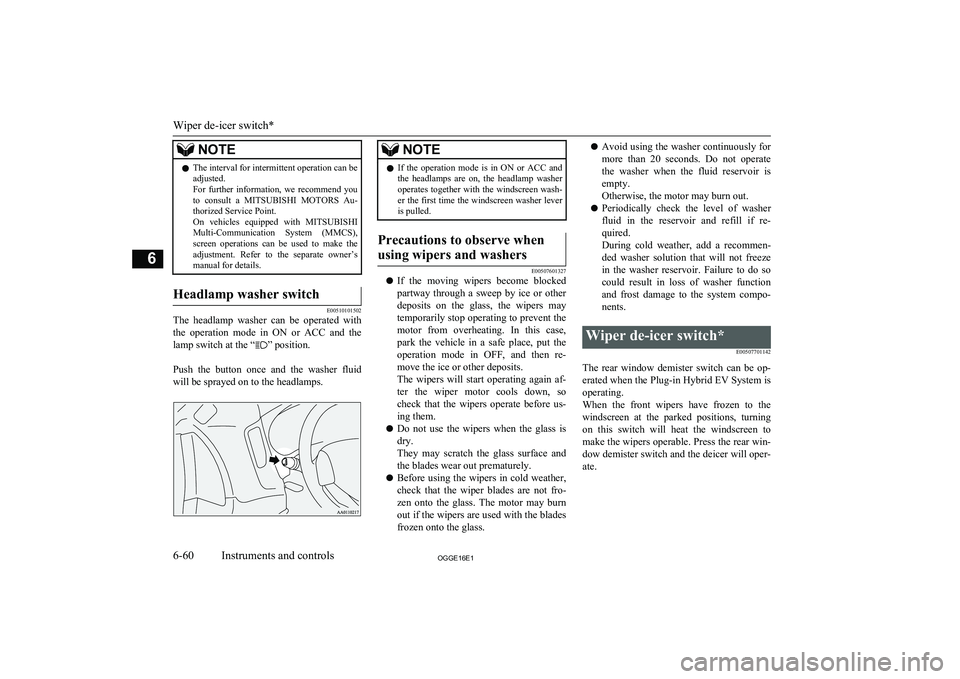
The headlamp washer can be operated with
the operation mode in ON or ACC and the lamp switch at the “
” position.
Push the button once and the washer fluid will be sprayed on to the headlamps.
NOTEl If the operation mode is in ON or ACC and
the headlamps are on, the headlamp washer operates together with the windscreen wash-
er the first time the windscreen washer lever is pulled.Precautions to observe when
using wipers and washers
E00507601327
l If the moving wipers become blocked
partway through a sweep by ice or other deposits on the glass, the wipers maytemporarily stop operating to prevent the
motor from overheating. In this case,
park the vehicle in a safe place, put the operation mode in OFF, and then re-
move the ice or other deposits.
The wipers will start operating again af- ter the wiper motor cools down, so
check that the wipers operate before us- ing them.
l Do not use the wipers when the glass is
dry.
They may scratch the glass surface and the blades wear out prematurely.
l Before using the wipers in cold weather,
check that the wiper blades are not fro-
zen onto the glass. The motor may burn out if the wipers are used with the blades
frozen onto the glass.
l Avoid using the washer continuously for
more than 20 seconds. Do not operate the washer when the fluid reservoir isempty.
Otherwise, the motor may burn out.
l Periodically check the level of washer
fluid in the reservoir and refill if re- quired.
During cold weather, add a recommen- ded washer solution that will not freeze
in the washer reservoir. Failure to do so
could result in loss of washer function and frost damage to the system compo- nents.Wiper de-icer switch*
E00507701142
The rear window demister switch can be op-erated when the Plug-in Hybrid EV System is
operating.
When the front wipers have frozen to the
windscreen at the parked positions, turning
on this switch will heat the windscreen to
make the wipers operable. Press the rear win- dow demister switch and the deicer will oper-
ate.
Wiper de-icer switch*
6-60OGGE16E1Instruments and controls6
Page 206 of 490
To adjust the vertical mirrorposition
It is possible to move the mirror up and down to adjust its position.
To adjust the mirror position
It is possible to move the mirror up/down and left/right to adjust its position.
To reduce the glare
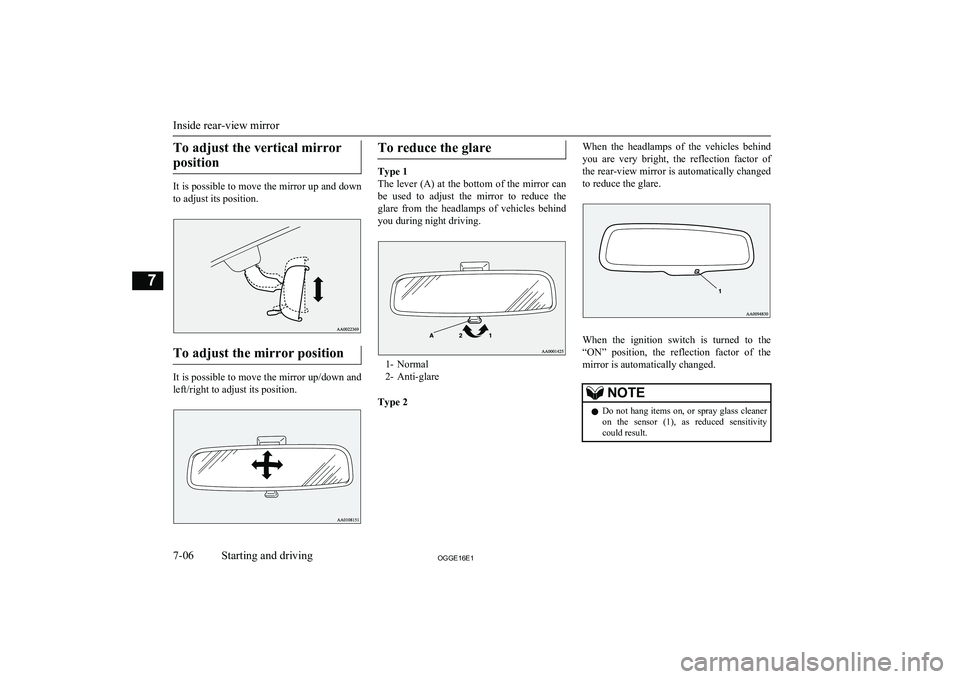
Type 1
The lever (A) at the bottom of the mirror can be used to adjust the mirror to reduce the
glare from the headlamps of vehicles behind
you during night driving.
1- Normal
2- Anti-glare
Type 2
When the headlamps of the vehicles behind you are very bright, the reflection factor ofthe rear-view mirror is automatically changed
to reduce the glare.
When the ignition switch is turned to the
“ON” position, the reflection factor of the mirror is automatically changed.
NOTEl Do not hang items on, or spray glass cleaner
on the sensor (1), as reduced sensitivitycould result.
Inside rear-view mirror
7-06OGGE16E1Starting and driving7
Page 221 of 490
lInspect the headlamps. If the headlamp
bulb is flooded with water, we recom- mend you to have it drained.Cautions on handling of 4-
wheel drive vehicles E00606801844
Tyres and wheels
Since the driving torque can be applied to the
4 wheels, the driving performance of the ve- hicle when operating in 4-wheel drive is
greatly affected by the condition of the tyres.
Pay close attention to the tyres.
l Install only the specified tyres on all
wheels. Refer to “Tyres and wheels” on page 12-08.
l Be sure all 4 tyres and wheels are the
same size and type.
When it is necessary to replace any of
the tyres or wheels, replace all 4 tyres.
l All tyres should be rotated before the
wear difference between the front and
rear tyres is recognizable.
Good vehicle performance cannot be expec- ted if there is a difference in wear between tyres. Refer to “Tyre rotation” on page 11-11.
l Check the tyre inflation pressure regular-
ly.CAUTIONl Always use tyres of the same size, same
type, and same brand, and which have no wear differences. Using tyres of differentsize, type, brands or degree of wear, will in-
crease the differential oil temperature, result-
ing in possible damage to the driving sys-
tem. Further, the drive train will be subjec- ted to excessive loading possibly leading tooil leakage, component seizure, or other seri-
ous faults.
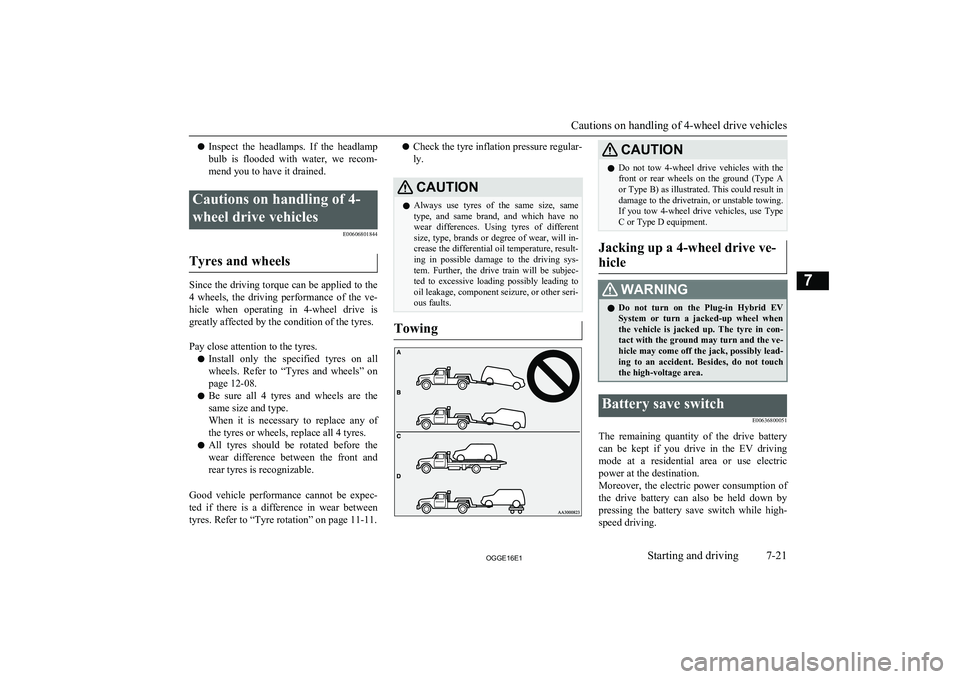
Towing
CAUTIONl Do not tow 4-wheel drive vehicles with the
front or rear wheels on the ground (Type Aor Type B) as illustrated. This could result in
damage to the drivetrain, or unstable towing. If you tow 4-wheel drive vehicles, use Type
C or Type D equipment.
Jacking up a 4-wheel drive ve-
hicle
WARNINGl Do not turn on the Plug-in Hybrid EV
System or turn a jacked-up wheel whenthe vehicle is jacked up. The tyre in con-
tact with the ground may turn and the ve- hicle may come off the jack, possibly lead-
ing to an accident. Besides, do not touch
the high-voltage area.Battery save switch
E00636800051
The remaining quantity of the drive battery
can be kept if you drive in the EV driving mode at a residential area or use electric
power at the destination.
Moreover, the electric power consumption of
the drive battery can also be held down by
pressing the battery save switch while high- speed driving.
Cautions on handling of 4-wheel drive vehicles
7-21OGGE16E1Starting and driving7
Page 231 of 490
After driving on icy roads
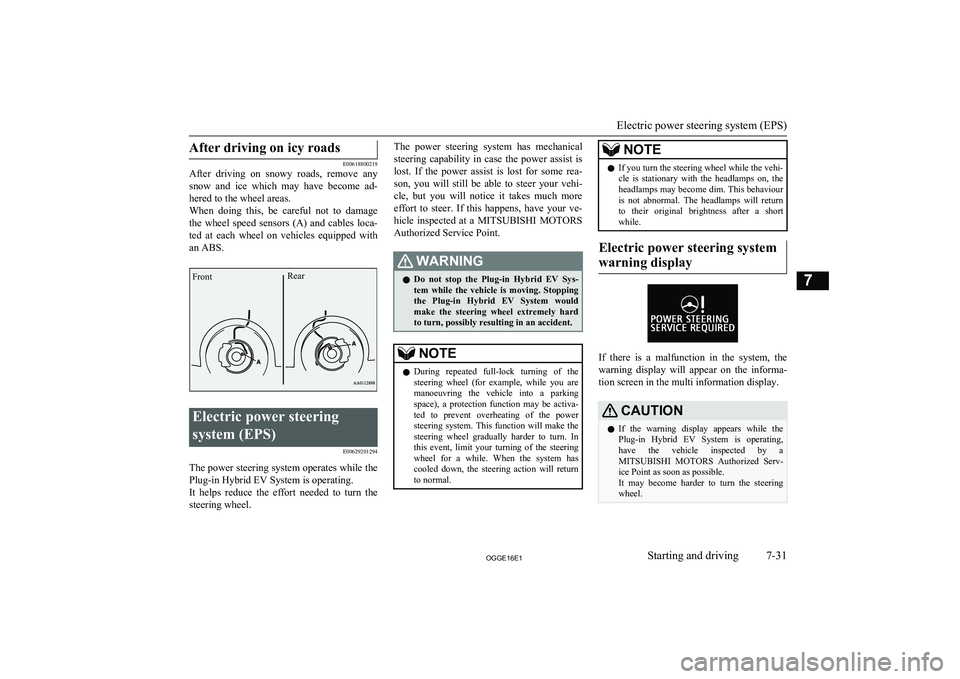
E00618800219
After driving on snowy roads, remove any
snow and ice which may have become ad-
hered to the wheel areas.
When doing this, be careful not to damage the wheel speed sensors (A) and cables loca-ted at each wheel on vehicles equipped with an ABS.
Electric power steering
system (EPS) E00629201294
The power steering system operates while thePlug-in Hybrid EV System is operating.
It helps reduce the effort needed to turn the steering wheel.
The power steering system has mechanical
steering capability in case the power assist is lost. If the power assist is lost for some rea-
son, you will still be able to steer your vehi-
cle, but you will notice it takes much more
effort to steer. If this happens, have your ve- hicle inspected at a MITSUBISHI MOTORS
Authorized Service Point.WARNINGl Do not stop the Plug-in Hybrid EV Sys-
tem while the vehicle is moving. Stopping the Plug-in Hybrid EV System would
make the steering wheel extremely hard to turn, possibly resulting in an accident.NOTEl During repeated full-lock turning of the
steering wheel (for example, while you are manoeuvring the vehicle into a parking space), a protection function may be activa-
ted to prevent overheating of the power steering system. This function will make the
steering wheel gradually harder to turn. In
this event, limit your turning of the steering wheel for a while. When the system has
cooled down, the steering action will return to normal.NOTEl If you turn the steering wheel while the vehi-
cle is stationary with the headlamps on, the headlamps may become dim. This behaviour
is not abnormal. The headlamps will return to their original brightness after a shortwhile.
Electric power steering system
warning display
If there is a malfunction in the system, the warning display will appear on the informa-
tion screen in the multi information display.
CAUTIONl If the warning display appears while the
Plug-in Hybrid EV System is operating,
have the vehicle inspected by a
MITSUBISHI MOTORS Authorized Serv-
ice Point as soon as possible.
It may become harder to turn the steering wheel.
Electric power steering system (EPS)
7-31OGGE16E1Starting and driving7FrontRear