check engine MITSUBISHI PAJERO IV 2011 Owners Manual
[x] Cancel search | Manufacturer: MITSUBISHI, Model Year: 2011, Model line: PAJERO IV, Model: MITSUBISHI PAJERO IV 2011Pages: 377, PDF Size: 29.43 MB
Page 13 of 377
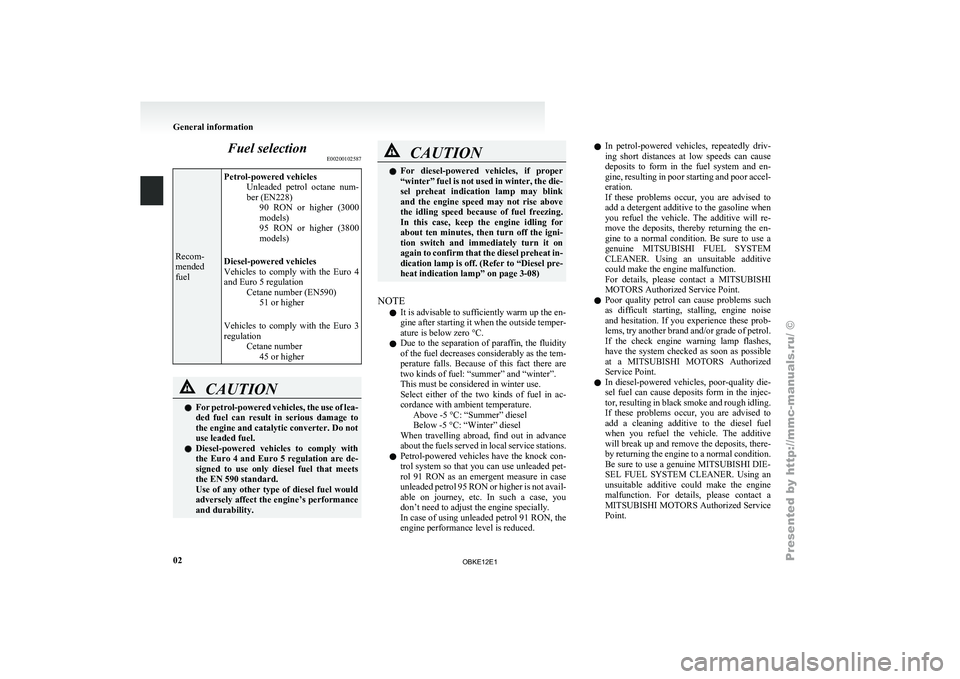
Fuel selection
E00200102587Recom-
mended
fuel
Petrol-powered vehicles
Unleaded petrol octane
num-
ber (EN228) 90 RON or higher (3000
models)
95 RON or higher (3800
models)
Diesel-powered vehicles
Vehicles to comply with the Euro 4
and Euro 5 regulation Cetane number (EN590)51 or higher
Vehicles to comply with the Euro 3
regulation Cetane number45 or higher CAUTION
l
For petrol-powered vehicles,
the use of lea-
ded fuel can result in serious damage to
the engine and catalytic converter. Do not
use leaded fuel.
l Diesel-powered vehicles to comply with
the Euro 4 and Euro 5 regulation are de-
signed to use only diesel fuel that meets
the EN 590 standard.
Use of any other type of diesel fuel would
adversely affect the engine’s performance
and durability. CAUTION
l
For diesel-powered vehicles,
if proper
“winter” fuel is not used in winter, the die-
sel preheat indication lamp may blink
and the engine speed may not rise above
the idling speed because of fuel freezing.
In this case, keep the engine idling for
about ten minutes, then turn off the igni-
tion switch and immediately turn it on
again to confirm that the diesel preheat in-
dication lamp is off. (Refer to “Diesel pre-
heat indication lamp” on page 3-08)
NOTE l It is advisable to sufficiently warm up the en-
gine
after starting
it when the outside temper-
ature is below zero °C.
l Due to the separation of paraffin, the fluidity
of the fuel decreases considerably as the tem-
perature falls. Because of this fact there are
two kinds of fuel: “summer” and “winter”.
This must be considered in winter use.
Select either of the two kinds of fuel in ac-
cordance with ambient temperature.
Above -5 °C: “Summer” diesel
Below -5 °C: “Winter” diesel
When travelling abroad, find out in advance
about the fuels served in local service stations.
l Petrol-powered vehicles have the knock con-
trol system so that you can use unleaded pet-
rol 91 RON as an emergent measure in case
unleaded petrol 95 RON or higher is not avail-
able on journey, etc. In such a case, you
don’t need to adjust the engine specially.
In case of using unleaded petrol 91 RON, the
engine performance level is reduced. l
In petrol-powered
vehicles,
repeatedly driv-
ing short distances at low speeds can cause
deposits to form in the fuel system and en-
gine, resulting in poor starting and poor accel-
eration.
If these problems occur, you are advised to
add a detergent additive to the gasoline when
you refuel the vehicle. The additive will re-
move the deposits, thereby returning the en-
gine to a normal condition. Be sure to use a
genuine MITSUBISHI FUEL SYSTEM
CLEANER. Using an unsuitable additive
could make the engine malfunction.
For details, please contact a MITSUBISHI
MOTORS Authorized Service Point.
l Poor quality petrol can cause problems such
as difficult starting, stalling, engine noise
and hesitation. If you experience these prob-
lems, try another brand and/or grade of petrol.
If the check engine warning lamp flashes,
have the system checked as soon as possible
at a MITSUBISHI MOTORS Authorized
Service Point.
l In diesel-powered vehicles, poor-quality die-
sel fuel can cause deposits form in the injec-
tor, resulting in black smoke and rough idling.
If these problems occur, you are advised to
add a cleaning additive to the diesel fuel
when you refuel the vehicle. The additive
will break up and remove the deposits, there-
by returning the engine to a normal condition.
Be sure to use a genuine MITSUBISHI DIE-
SEL FUEL SYSTEM CLEANER. Using an
unsuitable additive could make the engine
malfunction. For details, please contact a
MITSUBISHI MOTORS Authorized Service
Point. General information
02
OBKE12E1
Page 36 of 377
l
Release the
switch as soon as the sunroof rea-
ches the fully open or fully closed position.
l If the sunroof does not operate when the sun-
roof switch is operated, release the switch
and check whether something is trapped by
the sunroof. If nothing is trapped, we recom-
mend you to have the sunroof checked.
l Depending on the model of ski carriers or
roof carriers, the sunroof may make contact
with the carrier when the sunroof is tilted up.
Be careful when tilting up the sunroof if such
a ski carrier or a roof carrier is installed.
l Be sure to close the sunroof completely
when washing the vehicle or when leaving
the vehicle.
l Be careful, not to put any wax on the weath-
erstrip (black rubber) around the sunroof
opening. If stained with wax, the weather-
strip cannot maintain a weatherproof seal
with the sunroof.
l After washing the vehicle or after it has
rained, wipe off any water that is on the sun-
roof before operating it.
l Operating the sunroof repeatedly with the en-
gine stationary will run down the battery. Op-
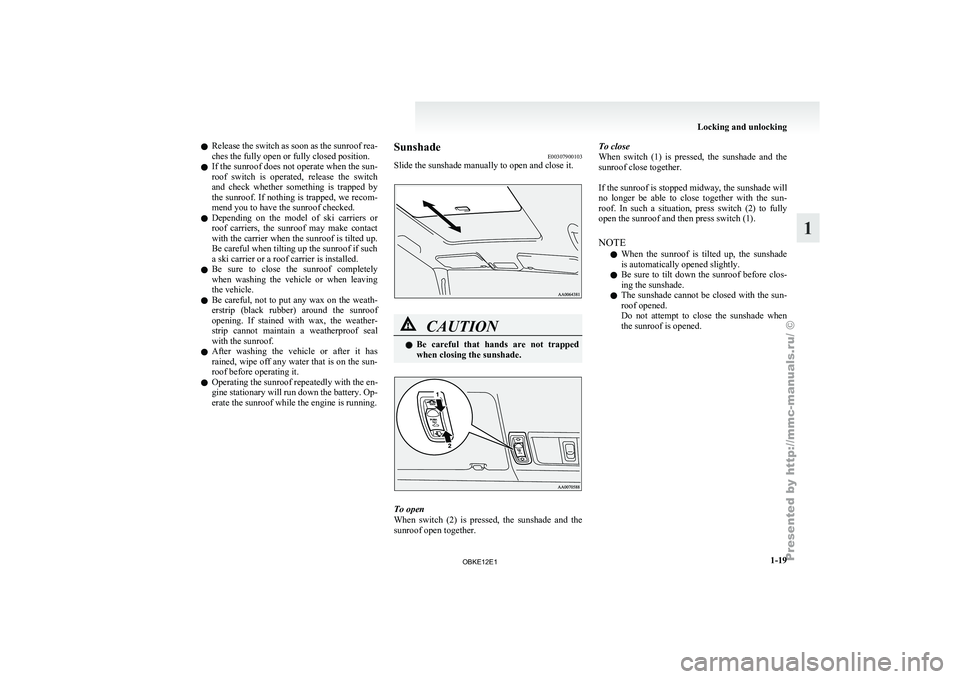
erate the sunroof while the engine is running. Sunshade
E00307900103
Slide the sunshade manually to open and close it. CAUTION
l
Be careful that
hands are not trapped
when closing the sunshade. To open
When switch
(2)
is pressed, the sunshade and the
sunroof open together. To close
When switch
(1)
is pressed, the sunshade and the
sunroof close together.
If the sunroof is stopped midway, the sunshade will
no longer be able to close together with the sun-
roof. In such a situation, press switch (2) to fully
open the sunroof and then press switch (1).
NOTE
l When the sunroof is tilted up, the sunshade
is automatically opened slightly.
l Be sure to tilt down the sunroof before clos-
ing the sunshade.
l The sunshade cannot be closed with the sun-
roof opened.
Do not attempt to close the sunshade when
the sunroof is opened. Locking and unlocking
1-19 1
OBKE12E1
Page 88 of 377
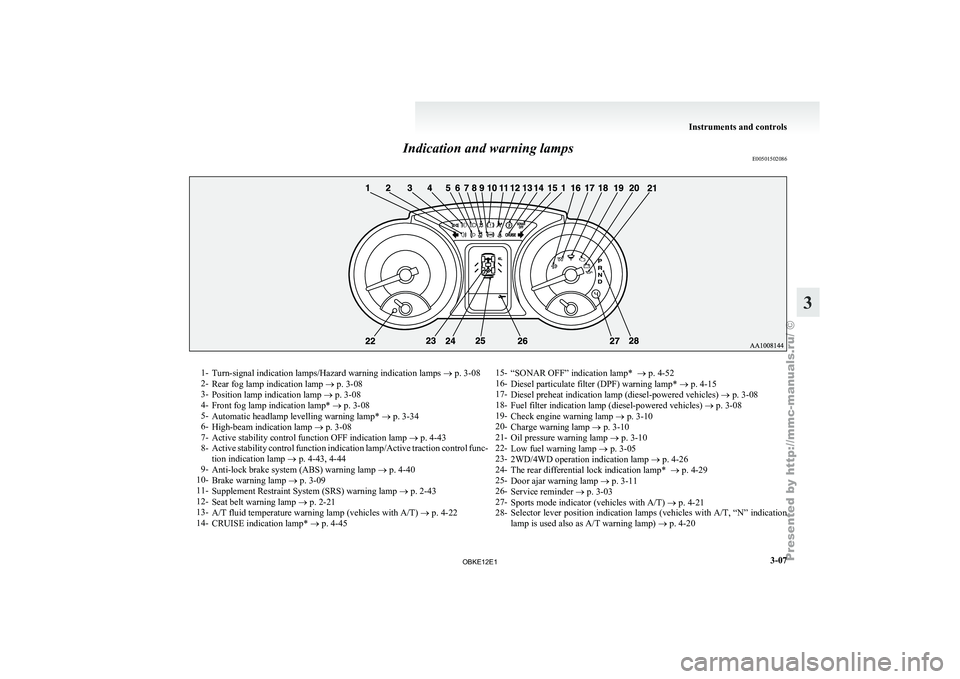
Indication and warning lamps
E005015020861-
Turn-signal indication lamps/Hazard warning indication lamps ® p. 3-08
2- Rear fog lamp indication lamp
® p. 3-08
3- Position lamp indication lamp ® p. 3-08
4- Front fog lamp indication lamp* ® p. 3-08
5- Automatic headlamp levelling warning lamp* ® p. 3-34
6- High-beam indication lamp ® p. 3-08
7- Active stability control function OFF indication lamp ® p. 4-43
8- Active stability control function indication lamp/Active traction control func-
tion indication lamp ® p. 4-43, 4-44
9- Anti-lock brake system (ABS) warning lamp ® p. 4-40
10- Brake warning lamp ® p. 3-09
11- Supplement Restraint System (SRS) warning lamp ® p. 2-43
12- Seat belt warning lamp ® p. 2-21
13- A/T fluid temperature warning lamp (vehicles with A/T) ® p. 4-22
14- CRUISE indication lamp* ® p. 4-45 15-
“SONAR OFF” indication lamp* ® p. 4-52
16- Diesel particulate filter (DPF) warning lamp* ®
p. 4-15
17- Diesel preheat indication lamp (diesel-powered vehicles) ® p. 3-08
18- Fuel filter indication lamp (diesel-powered vehicles) ® p. 3-08
19- Check engine warning lamp ® p. 3-10
20- Charge warning lamp ® p. 3-10
21- Oil pressure warning lamp ® p. 3-10
22- Low fuel warning lamp ® p. 3-05
23- 2WD/4WD operation indication lamp ® p. 4-26
24- The rear differential lock indication lamp* ® p. 4-29
25- Door ajar warning lamp ® p. 3-11
26- Service reminder ® p. 3-03
27- Sports mode indicator (vehicles with A/T) ® p. 4-21
28- Selector lever position indication lamps (vehicles with A/T, “N” indication
lamp is used also as A/T warning lamp) ® p. 4-20 Instruments and controls
3-07 3
OBKE12E1
Page 90 of 377
Warning lamps
E00502400017Brake warning lamp (brake
warning buzzer)
E00502501712
This lamp illuminates
when the ignition
switch is turned to the “ON” position,
and goes off after a few seconds.
Always make sure that the lamp goes off
before driving.
With the ignition switch in the “ON” po-
sition, the brake warning lamp illumi-
nates under the following conditions:
l When the parking brake lever has
been engaged.
l When the brake fluid level in the
reservoir falls to a low level.
l When the brake force distribution
function or the brake system is not
operating correctly.
Brake warning buzzer
When there is a danger of brake perform-
ance becoming compromised,
a buzzer
will sound to alert the driver. If this buz-
zer should continue to sound, park your
vehicle in a safe place and we recom-
mend you to have it checked. NOTE
l Depressing
the brake
pedal repeat-
edly may turn on the brake warn-
ing lamp, ABS warning lamp and
brake warning buzzer. It is normal
if the lamp goes out and the buz-
zer stops sounding after a few sec-
onds. CAUTION
l
In the
situations
listed below,
brake performance may be com-
promised or the vehicle may be-
come unstable if brakes are ap-
plied suddenly; consequently,
avoid driving at high speeds or
applying the brakes suddenly.
Furthermore, the vehicle
should be brought to a stop in a
safe location and to have it
checked. • The brake warning lampdoes not illuminate when
the parking brake is applied
or does not turn off when
the parking brake is re-
leased.
• The ABS warning lamp and brake warning lamp illumi-
nate at the same time.
For details, refer to “ABS
warning lamp” on page
4-40.
• The brake warning buzzer does not turn off.
l The vehicle should be brought
to a halt in the following man- CAUTION
ner when brake performance
has deteriorated.
• Depress the brake
pedal
harder than usual.
Even if the brake pedal
moves down to the very end
of its possible stroke, keep it
pressed down hard.
• Should the brakes fail, use engine braking to reduce
your speed and pull the park-
ing brake lever.
Depress the brake pedal to
operate the stop lamp to
alert the vehicles behind you.
NOTE l In
certain cases
immediately after
the engine has been started or
when the brake pedal is depressed
repeatedly, a noise generated by
operation of brake devices may be
heard coming from the engine com-
partment. At this time, you may
feel a shock from the brake pedal
if you depress it. This type of
noise or shock is normal and there
is no need for concern. In fact,
they indicate that the correspond-
ing devices are operating normally.
l The brake system uses brake fluid
pressurized by the pump.
Please refer to “Braking” on page
4-37. Instruments and controls
3-09 3
OBKE12E1
Page 91 of 377
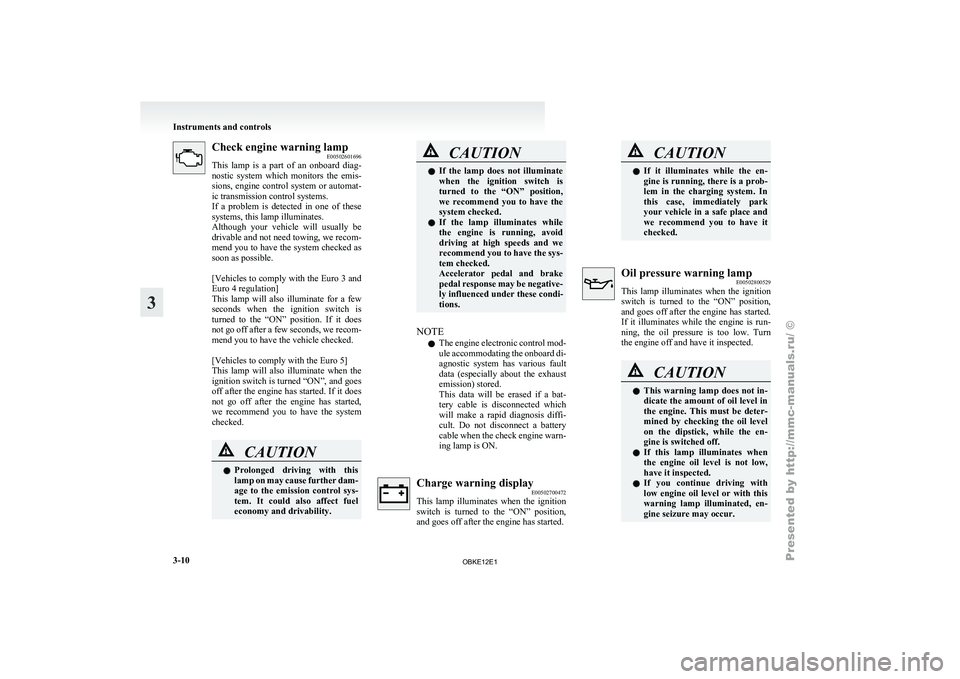
Check engine warning lamp
E00502601696
This lamp is
a part of an onboard diag-
nostic system which monitors the emis-
sions, engine control system or automat-
ic transmission control systems.
If a problem is detected in one of these
systems, this lamp illuminates.
Although your vehicle will usually be
drivable and not need towing, we recom-
mend you to have the system checked as
soon as possible.
[Vehicles to comply with the Euro 3 and
Euro 4 regulation]
This lamp will also illuminate for a few
seconds when the ignition switch is
turned to the “ON” position. If it does
not go off after a few seconds, we recom-
mend you to have the vehicle checked.
[Vehicles to comply with the Euro 5]
This lamp will also illuminate when the
ignition switch is turned “ON”, and goes
off after the engine has started. If it does
not go off after the engine has started,
we recommend you to have the system
checked. CAUTION
l
Prolonged driving
with
this
lamp on may cause further dam-
age to the emission control sys-
tem. It could also affect fuel
economy and drivability. CAUTION
l
If the lamp
does not illuminate
when the ignition switch is
turned to the “ON” position,
we recommend you to have the
system checked.
l If the lamp illuminates while
the engine is running, avoid
driving at high speeds and we
recommend you to have the sys-
tem checked.
Accelerator pedal and brake
pedal response may be negative-
ly influenced under these condi-
tions.
NOTE l The
engine electronic
control mod-
ule accommodating the onboard di-
agnostic system has various fault
data (especially about the exhaust
emission) stored.
This data will be erased if a bat-
tery cable is disconnected which
will make a rapid diagnosis diffi-
cult. Do not disconnect a battery
cable when the check engine warn-
ing lamp is ON. Charge warning display
E00502700472
This lamp illuminates
when the ignition
switch is turned to the “ON” position,
and goes off after the engine has started. CAUTION
l
If it illuminates
while the en-
gine is running, there is a prob-
lem in the charging system. In
this case, immediately park
your vehicle in a safe place and
we recommend you to have it
checked. Oil pressure warning lamp
E00502800529
This lamp illuminates
when the ignition
switch is turned to the “ON” position,
and goes off after the engine has started.
If it illuminates while the engine is run-
ning, the oil pressure is too low. Turn
the engine off and have it inspected. CAUTION
l
This warning
lamp
does not in-
dicate the amount of oil level in
the engine. This must be deter-
mined by checking the oil level
on the dipstick, while the en-
gine is switched off.
l If this lamp illuminates when
the engine oil level is not low,
have it inspected.
l If you continue driving with
low engine oil level or with this
warning lamp illuminated, en-
gine seizure may occur. Instruments and controls
3-10
3
OBKE12E1
Page 112 of 377
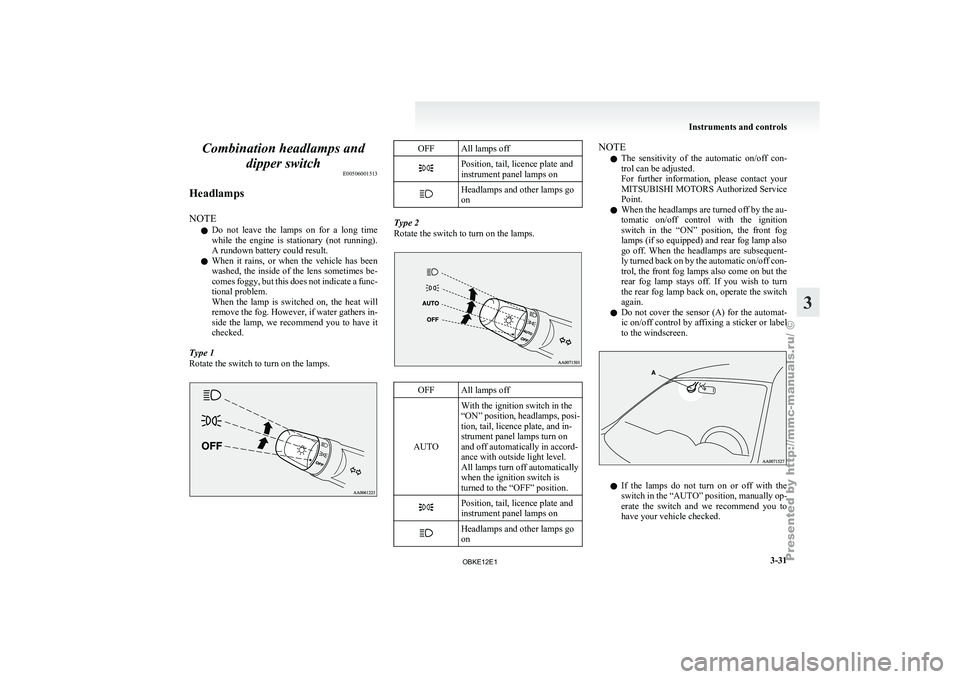
Combination headlamps and
dipper switch E00506001513
Headlamps
NOTE l Do
not leave
the lamps on for a long time
while the engine is stationary (not running).
A rundown battery could result.
l When it rains, or when the vehicle has been
washed, the inside of the lens sometimes be-
comes foggy, but this does not indicate a func-
tional problem.
When the lamp is switched on, the heat will
remove the fog. However, if water gathers in-
side the lamp, we recommend you to have it
checked.
Type 1
Rotate the switch to turn on the lamps. OFF All lamps off
Position, tail, licence plate and
instrument panel lamps on
Headlamps and other lamps go
on
Type 2
Rotate the switch to turn on the lamps.
OFF All lamps off
AUTO With the ignition switch in the
“ON” position, headlamps,
posi-
tion, tail, licence plate, and in-
strument panel lamps turn on
and off automatically in accord-
ance with outside light level.
All lamps turn off automatically
when the ignition switch is
turned to the “OFF” position. Position, tail, licence plate and
instrument panel lamps on
Headlamps and other lamps go
on NOTE
l The
sensitivity of
the automatic on/off con-
trol can be adjusted.
For further information, please contact your
MITSUBISHI MOTORS Authorized Service
Point.
l When the headlamps are turned off by the au-
tomatic on/off control with the ignition
switch in the “ON” position, the front fog
lamps (if so equipped) and rear fog lamp also
go off. When the headlamps are subsequent-
ly turned back on by the automatic on/off con-
trol, the front fog lamps also come on but the
rear fog lamp stays off. If you wish to turn
the rear fog lamp back on, operate the switch
again.
l Do not cover the sensor (A) for the automat-
ic on/off control by affixing a sticker or label
to the windscreen. l
If
the
lamps
do not turn on or off with the
switch in the “AUTO” position, manually op-
erate the switch and we recommend you to
have your vehicle checked. Instruments and controls
3-31 3
OBKE12E1
Page 127 of 377
Economical driving
E00600100561
For economical driving,
there are some technical re-
quirements that have to be met. The prerequisite
for low fuel consumption is a properly adjusted en-
gine. In order to achieve longer life of the vehicle
and the most economical operation, we recommend
you to have the vehicle checked at regular intervals
in accordance with the service standards.
Fuel economy and generation of exhaust gas and
noise are highly influenced by personal driving hab-
its as well as the particular operating conditions.
The following points should be observed in order
to minimize wear of brakes, tyres and engine as
well as to reduce environmental pollution.
Starting
Avoid rapid acceleration and sudden starts; such op-
eration will result in higher fuel consumption.
Shifting
Shift only at an appropriate speed and engine
speed. Always use the highest gear possible.
The transfer shift lever should be set to “2H” when
driving on normal roads and express ways to obtain
best possible fuel economy.
City traffic
Frequent starting and stopping increases the aver-
age fuel consumption. Use roads with smooth traf-
fic flow whenever possible. When driving on con-
gested roads, avoid use of a low gear at high en-
gine speeds.
Idling
The vehicle consumes fuel even during idling.
Avoid extended idling whenever possible. Speed
At higher
vehicle
speed, more fuel is consumed.
Avoid driving at full speed. Even a slight release of
the accelerator pedal will save a significant amount
of fuel.
Tyre inflation pressure
Check the tyre inflation pressures at regular inter-
vals. Low tyre inflation pressure increases road re-
sistance and fuel consumption. In addition, low
tyre pressures adversely affect tyre wear and driv-
ing stability.
Load
Do not drive with unnecessary articles in the lug-
gage compartment. Especially during city driving
where frequent starting and stopping is necessary,
the increased weight of the vehicle will greatly af-
fect fuel consumption. Also avoid driving with un-
necessary luggage or carriers, etc., on the roof; the
increased air resistance will increase fuel consump-
tion.
Cold engine starting
Starting of a cold engine consumes more fuel.
Unnecessary fuel consumption is also caused by
keeping a hot engine running. After the engine is
started, commence driving as soon as possible.
Air conditioning
The use of the air conditioning will increase the
fuel consumption. Driving, alcohol and drugs
E00600200067
Driving after drinking
alcohol is one of the most fre-
quent causes of accidents.
Your driving ability can be seriously impaired even
with blood alcohol levels far below the legal mini-
mum. If you have been drinking, don’t drive. Ride
with a designated non-drinking driver, call a cab or
a friend, or use public transportation. Drinking cof-
fee or taking a cold shower will not make you sober.
Similarly, prescription and nonprescription drugs af-
fect your alertness, perception and reaction time.
Consult with your doctor or pharmacist before driv-
ing while under the influence of any of these medi-
cations. WARNING
l NEVER DRINK AND DRIVE.
Your perceptions
are
less accurate, your
reflexes are slower and your judgment is
impaired. Starting and driving
4-02
4
OBKE12E1
Page 139 of 377
Starting
E00601600811
Tips for starting l Do not
operate
the starter motor continuous-
ly longer than 10 seconds; doing so could
run down the battery. If the engine does not
start, turn the ignition key back to “LOCK”
position, wait a few seconds, and then try
again. Trying repeatedly with the starter mo-
tor still turning will damage the starter mech-
anism. WARNING
l Never
run
the
engine in a closed or poor-
ly ventilated area any longer than is nee-
ded to move your vehicle in or out of the
area. Carbon monoxide gases are odour-
less and can be fatal. CAUTION
l
Never attempt to
start the engine by push-
ing or pulling the vehicle.
l Do not run the engine at high rpm or
drive the vehicle at high speed until the en-
gine has had a chance to warm up.
l Release the ignition key as soon as the en-
gine starts to avoid damaging the starter
motor.
l If your vehicle is equipped with a turbo-
charger, do not stop the engine immedi-
ately after high-speed or uphill driving.
First allow the engine to idle to give the
turbocharger a chance to cool down. Starting the engine (petrol-powered ve-
hicles)
E00601701994
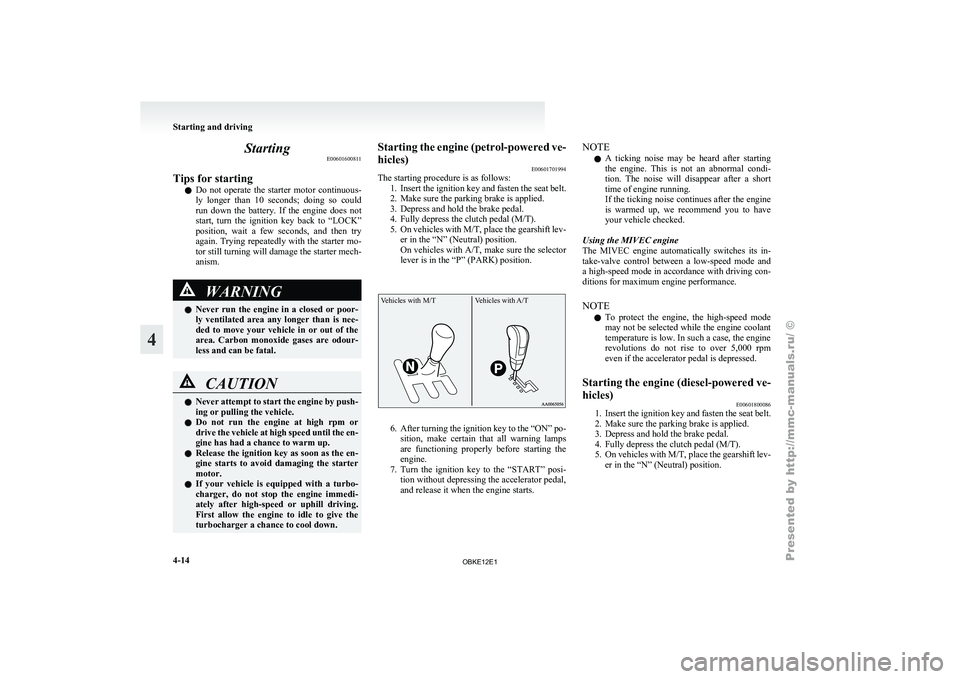
The starting procedure is as follows:
1. Insert the ignition
key and fasten the seat belt.
2. Make sure the parking brake is applied.
3. Depress and hold the brake pedal.
4. Fully depress the clutch pedal (M/T).
5. On vehicles with M/T, place the gearshift lev- er in the “N” (Neutral) position.
On vehicles with A/T, make sure the selector
lever is in the “P” (PARK) position.
Vehicles with M/T Vehicles with A/T 6. After turning the ignition key to the “ON” po-
sition, make
certain that all warning lamps
are functioning properly before starting the
engine.
7. Turn the ignition key to the “START” posi- tion without depressing the accelerator pedal,
and release it when the engine starts. NOTE
l A
ticking noise
may be heard after starting
the engine. This is not an abnormal condi-
tion. The noise will disappear after a short
time of engine running.
If the ticking noise continues after the engine
is warmed up, we recommend you to have
your vehicle checked.
Using the MIVEC engine
The MIVEC engine automatically switches its in-
take-valve control between a low-speed mode and
a high-speed mode in accordance with driving con-
ditions for maximum engine performance.
NOTE l To protect the engine, the high-speed mode
may not be selected while the engine coolant
temperature is low. In such a case, the engine
revolutions do not rise to over 5,000 rpm
even if the accelerator pedal is depressed.
Starting the engine (diesel-powered ve-
hicles) E00601800086
1. Insert the ignition key and fasten the seat belt.
2. Make sure the parking brake is applied.
3.
Depress and hold the brake pedal.
4. Fully depress the clutch pedal (M/T).
5. On vehicles with M/T, place the gearshift lev- er in the “N” (Neutral) position. Starting and driving
4-14
4
OBKE12E1
Page 148 of 377
CAUTION
l
Do not race the engine with brake pedal
pressed when the vehicle is stationary.
This can damage the A/T.
Also, when you depress the accelerator
pedal while holding down the brake ped-
al with the selector lever in the “P”
(PARK), “N” (NEUTRAL) or “D”
(DRIVE) position, the increase in engine
revolutions may be limited.
Passing acceleration E00604500156
To gain extra acceleration in “D” (DRIVE) posi-
tion, push the
accelerator to the floor. The automat-
ic transmission will automatically downshift.
NOTE
l In “Sports mode”, downshifts do not take
place when the accelerator is depressed all
the way to the floor.
Uphill/downhill driving E00610500089
DRIVING UPHILL
The transmission
may
not upshift to a higher gear
if the computer determines the current speed can-
not be maintained once a higher gear is engaged.
For smoother vehicle performance, if you release
the throttle while climbing a steep grade, the trans-
mission may not upshift. This is normal, as the com-
puter is temporarily preventing shifting. After reach-
ing the top of the hill, normal gear shift function
will resume. DRIVING DOWNHILL
When travelling down
steep grades, the computer
may automatically select a lower gear. This func-
tion assists engine braking efforts, reducing the
need for using the service brakes.
Waiting E00604600245
For short waiting periods, such as at traffic signals,
the vehicle can
be left in gear and held stationary
with the service brake.
For longer waiting periods with the engine running,
place the selector lever in the “N” (NEUTRAL) po-
sition and apply the parking brake, while holding
the vehicle stationary with the service brake. CAUTION
l
Never hold
the
vehicle stationary on a hill
using the accelerator pedal (without us-
ing the brake pedal). Always apply the
parking brake and/or service brakes.
Parking E00604700161
To park the vehicle, first bring it to a complete
stop, fully engage
the parking brake, and then
move the selector lever to the “P” (PARK) position.
If you are going to leave the vehicle unattended, al-
ways switch off the engine and remove the ignition
key. NOTE
l On
a slope,
be sure to apply the parking
brake before moving the selector lever to the
“P” (PARK) position. If you move the selec-
tor lever to the “P” (PARK) position before
applying the parking brake, it may be diffi-
cult to disengage the selector lever from the
“P” (PARK) position when next you drive
the vehicle, requiring application of a strong
force to the selector lever to move from the
“P” (PARK) position.
When the A/T makes no speed change E00604800348
If the transmission does not change speeds while
driving, or
your
vehicle does not pick up enough
speed when starting on an uphill slope, it may be
that there is something unusual happening in the
transmission, causing a safety device to activate.
We recommend you to have your vehicle checked
as soon as possible. 1. If your vehicle has difficulty moving uphill,
shift the selector lever into 2 nd
gear of the
“Sports mode”.
This method might not work depending on
the transmission malfunction.
2. Once the vehicle is moving on a level road, move the selector lever back to “D” (DRIVE). Starting and driving
4-23 4
OBKE12E1
Page 153 of 377
NOTE
l The
2WD/4WD operation
indication lamp
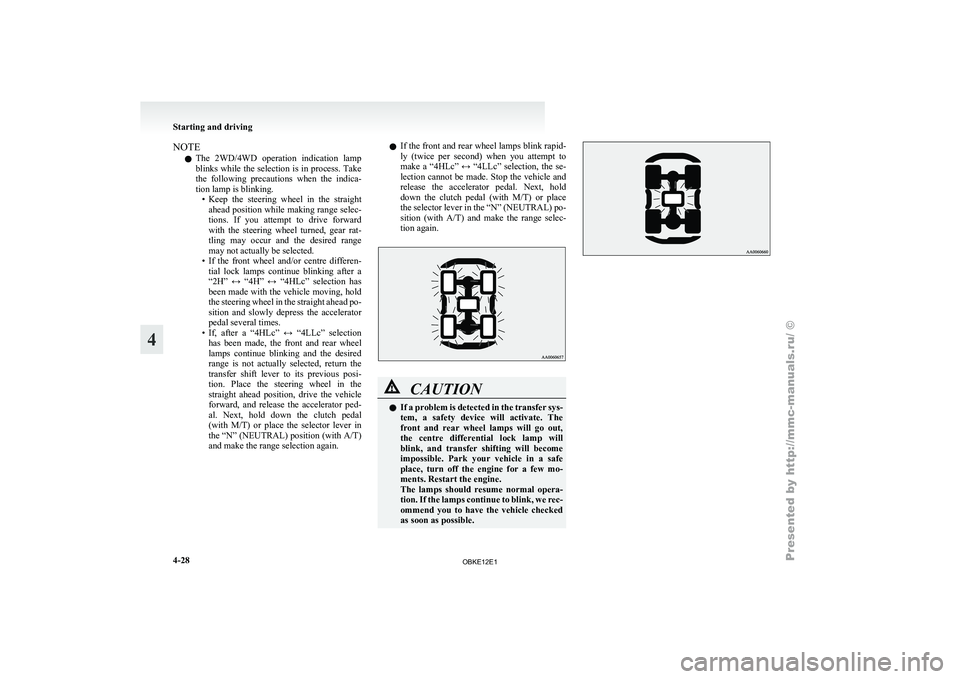
blinks while the selection is in process. Take
the following precautions when the indica-
tion lamp is blinking. • Keep the steering wheel in the straightahead position while making range selec-
tions. If you attempt to drive forward
with the steering wheel turned, gear rat-
tling may occur and the desired range
may not actually be selected.
• If the front wheel and/or centre differen- tial lock lamps continue blinking after a
“2H” ↔ “4H” ↔ “4HLc” selection has
been made with the vehicle moving, hold
the steering wheel in the straight ahead po-
sition and slowly depress the accelerator
pedal several times.
• If, after a “4HLc” ↔ “4LLc” selection has been made, the front and rear wheel
lamps continue blinking and the desired
range is not actually selected, return the
transfer shift lever to its previous posi-
tion. Place the steering wheel in the
straight ahead position, drive the vehicle
forward, and release the accelerator ped-
al. Next, hold down the clutch pedal
(with M/T) or place the selector lever in
the “N” (NEUTRAL) position (with A/T)
and make the range selection again. l
If
the
front and rear wheel lamps blink rapid-
ly (twice per second) when you attempt to
make a “4HLc” ↔ “4LLc” selection, the se-
lection cannot be made. Stop the vehicle and
release the accelerator pedal. Next, hold
down the clutch pedal (with M/T) or place
the selector lever in the “N” (NEUTRAL) po-
sition (with A/T) and make the range selec-
tion again. CAUTION
l
If a
problem
is detected in the transfer sys-
tem, a safety device will activate. The
front and rear wheel lamps will go out,
the centre differential lock lamp will
blink, and transfer shifting will become
impossible. Park your vehicle in a safe
place, turn off the engine for a few mo-
ments. Restart the engine.
The lamps should resume normal opera-
tion. If the lamps continue to blink, we rec-
ommend you to have the vehicle checked
as soon as possible. Starting and driving
4-28
4
OBKE12E1