NISSAN 370Z 2016 Z34 08IT Navigation Manual
Manufacturer: NISSAN, Model Year: 2016, Model line: 370Z, Model: NISSAN 370Z 2016 Z34Pages: 241, PDF Size: 4.34 MB
Page 91 of 241
![NISSAN 370Z 2016 Z34 08IT Navigation Manual After setting the route, select [Start] to begin
route guidance.
Throughout route guidance, the system navi-
gates through the guide points using visual and
voice guidance.
CAUTION
.The navigation sys NISSAN 370Z 2016 Z34 08IT Navigation Manual After setting the route, select [Start] to begin
route guidance.
Throughout route guidance, the system navi-
gates through the guide points using visual and
voice guidance.
CAUTION
.The navigation sys](/img/5/457/w960_457-90.png)
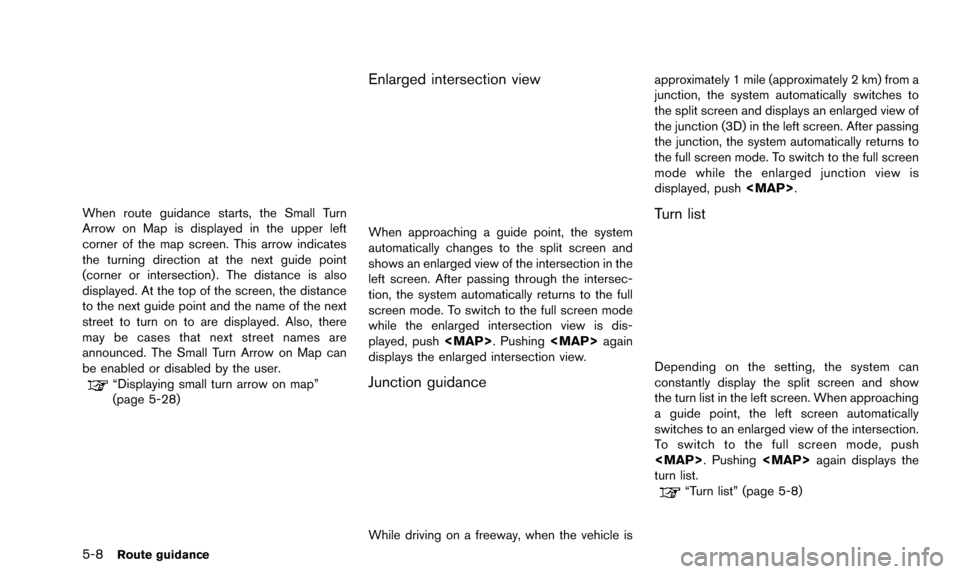
After setting the route, select [Start] to begin
route guidance.
Throughout route guidance, the system navi-
gates through the guide points using visual and
voice guidance.
CAUTION
.The navigation system’s visual and
voice guidance is for reference pur-
poses only. The contents of the
guidance may be inappropriate de-
pending on the situation.
. When driving along the suggested
route, follow all traffic regulations
(e.g., one-way traffic) .
“Route guidance” (page 10-9)
VOICE GUIDANCE DURING ROUTE
GUIDANCE
When approaching a guide point (intersection or
corner) , destination, etc. during route guidance,
voice guidance announces the remaining dis-
tance and/or turning direction. Push
to repeat voice guidance.
Example of voice guidance
*1“In about one quarter mile (400 meters) ,
right (left) turn.”
“Right (left) turn ahead.”
*2“In about one quarter mile (400 meters)
freeway entrance on your right onto (road
number and direction) .”
“Freeway entrance on your right onto (road
number and direction) .”
*3“In about one mile (1.6 kilometers) , exit on
your right.”
“Exit on your right.”
*4“You have arrived at your destination. End-
ing route guidance.”
GUIDANCE SCREENS AND PREVIEW
MODE
Route guidance displays map screens and
various information according to the situation.
Route guidance5-7
ABOUT ROUTE GUIDANCE
Page 92 of 241

5-8Route guidance
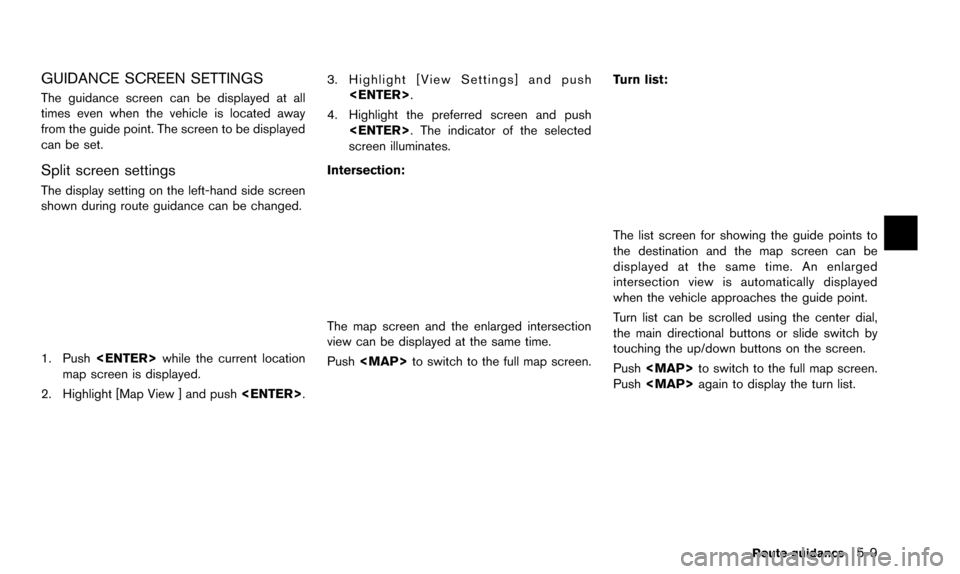
When route guidance starts, the Small Turn
Arrow on Map is displayed in the upper left
corner of the map screen. This arrow indicates
the turning direction at the next guide point
(corner or intersection) . The distance is also
displayed. At the top of the screen, the distance
to the next guide point and the name of the next
street to turn on to are displayed. Also, there
may be cases that next street names are
announced. The Small Turn Arrow on Map can
be enabled or disabled by the user.
“Displaying small turn arrow on map”
(page 5-28)
Enlarged intersection view
When approaching a guide point, the system
automatically changes to the split screen and
shows an enlarged view of the intersection in the
left screen. After passing through the intersec-
tion, the system automatically returns to the full
screen mode. To switch to the full screen mode
while the enlarged intersection view is dis-
played, push
Page 93 of 241

GUIDANCE SCREEN SETTINGS
The guidance screen can be displayed at all
times even when the vehicle is located away
from the guide point. The screen to be displayed
can be set.
Split screen settings
The display setting on the left-hand side screen
shown during route guidance can be changed.
1. Push
map screen is displayed.
2. Highlight [Map View ] and push
3. Highlight [View Settings] and push
4. Highlight the preferred screen and push
screen illuminates.
Intersection:
The map screen and the enlarged intersection
view can be displayed at the same time.
Push
The list screen for showing the guide points to
the destination and the map screen can be
displayed at the same time. An enlarged
intersection view is automatically displayed
when the vehicle approaches the guide point.
Turn list can be scrolled using the center dial,
the main directional buttons or slide switch by
touching the up/down buttons on the screen.
Push
Push
Route guidance5-9
Page 94 of 241

5-10Route guidance
Fuel Economy:
The current fuel consumption rate, average fuel
consumption rate, instantaneous fuel consump-
tion rate and distance to empty can be displayed
on the map screen. An enlarged intersection
view is automatically displayed when the vehicle
approaches the guide point.
Push
Push
screen. When approaching a guide point, the
enlarged view of the intersection is automatically
displayed. To display the fuel economy informa-
tion, push
push
NOTE:
Use the values displayed on the fuel
economy screen as a guide. When the fuel
gauge indicates empty or the low fuel
warning light illuminates even if the dis- tance to entry reading indicates a suffi-
cient amount of fuel remains, refuel the
vehicle as soon as possible.
Full map:
The current location map is displayed. An
enlarged intersection view is automatically dis-
played when the vehicle approaches the guide
point.
When an enlarged intersection view is dis-
played, pushing
screen.
Show exit information on freeways
When the vehicle travels on a highway or a toll
road, the display automatically provides exit
information in the turn list.
1. Push
map screen is displayed.
2. Highlight [Map View] and push
3. Highlight [Map Settings] and push
Page 95 of 241
![NISSAN 370Z 2016 Z34 08IT Navigation Manual 4. Highlight [Show all Freeway Exits on Route]or [Auto. Show Turn List on Freeway] and
push <ENTER>. The indicator illuminates
when the item is set.
5. Push <MAP>to return to the current
location map NISSAN 370Z 2016 Z34 08IT Navigation Manual 4. Highlight [Show all Freeway Exits on Route]or [Auto. Show Turn List on Freeway] and
push <ENTER>. The indicator illuminates
when the item is set.
5. Push <MAP>to return to the current
location map](/img/5/457/w960_457-94.png)
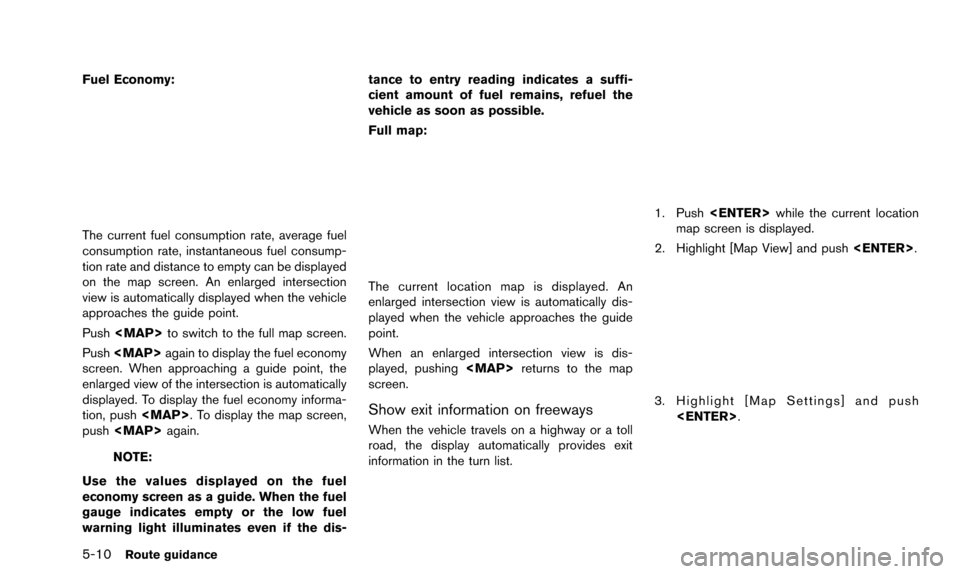
4. Highlight [Show all Freeway Exits on Route]or [Auto. Show Turn List on Freeway] and
push
when the item is set.
5. Push
location map screen.
Showing freeway exit information:
When [Show all Freeway Exits on Route] is set
to ON and the route includes a freeway or toll
road, all exits along the route which have exit
information will be shown in the turn list. The exit information is shown as icons.
Displaying turn list automatically on free-
way:
When [Auto. Show Turn List on Freeway] is set
to ON, the turn list will be automatically
displayed while the vehicle travels on a freeway
or a toll road.
Selecting a waypoint from the exit infor-
mation list:
When exit information is displayed in the turn list,
a waypoint to a facility located near the freeway
exit can be set as a waypoint.
1. Highlight the exit where the exit information
icon is displayed, and push
category list screen is displayed.
2. Highlight the landmark category and push
facilities located near the freeway exit is
displayed.
3. Highlight the preferred facility for the way-point and push
Route guidance5-11
Page 96 of 241

5-12Route guidance
4. The waypoint is set, and the route search isperformed.
“Procedures after setting destination”
(page 5-2)
WARNING
Always stop the vehicle in a safe
location before modifying the route
conditions.
Modifying the route conditions while
driving may cause an accident.
During route guidance, the route conditions can
be modified and the route information can be
confirmed. Set route conditions according to
personal preference.
BASIC OPERATION
1. Push
2. Highlight the preferred setting item and push
3. Push
location map screen.
Available setting items
. [Cancel Route/Resume Route]:
Cancel the current route guidance. A
canceled route can also be reactivated. If
the suggested route is canceled, [Cancel
Route] changes to [Resume Route].
“Canceling/reactivating route”
(page 5-13)
. [Edit/Add to Route]:
Edit or add a destination or waypoints to the
route that is already set.
“Editing route” (page 5-14)
. [Route Info]:
Confirm the route by the route information or
simulation. The confirmed route can also be
stored.
“Confirming route” (page 5-18)
. [Guidance Settings]:
Activate or deactivate route, voice guidance
and/or traffic announcement and adjust the
volume level of voice guidance.
“Guidance settings” (page 5-20)
. [Recalculate]:
Manually search for the route again after
changing the search condition.
“Recalculating route” (page 5-21)
ROUTE SCREEN
Page 97 of 241
![NISSAN 370Z 2016 Z34 08IT Navigation Manual .[Detour]:
To detour from the suggested route, calcu-
late a route detouring for a specified
distance.
“Setting detour route” (page 5-22)
. [Traffic Detour]:
Manually search for an alternative det NISSAN 370Z 2016 Z34 08IT Navigation Manual .[Detour]:
To detour from the suggested route, calcu-
late a route detouring for a specified
distance.
“Setting detour route” (page 5-22)
. [Traffic Detour]:
Manually search for an alternative det](/img/5/457/w960_457-96.png)
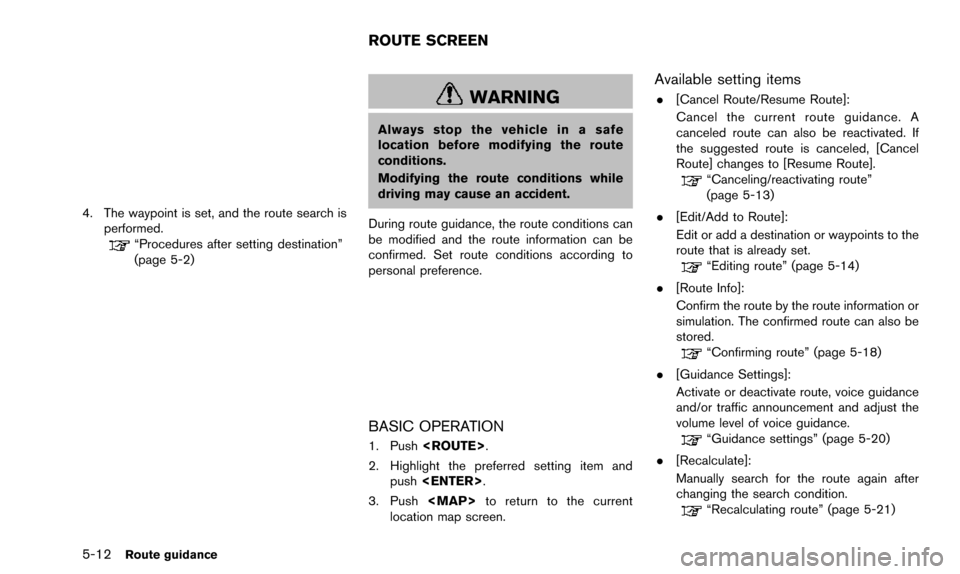
.[Detour]:
To detour from the suggested route, calcu-
late a route detouring for a specified
distance.
“Setting detour route” (page 5-22)
. [Traffic Detour]:
Manually search for an alternative detour
route taking the traffic information into
consideration.
“Searching for detour route taking
traffic information into consideration”
(page 5-22)
. [Route Settings]:
Change the route calculation conditions
anywhere along the route.
“Setting conditions for route calcula-
tion” (page 5-23)
CANCELING/REACTIVATING ROUTE
A route that is already set can be canceled at
any time. If a route is canceled, the destination
and waypoints are also deleted.
It is also possible to reactivate a canceled route.
Canceling route
1. Push
2. Highlight [Cancel Route] and push
3. A confirmation message is displayed.
Highlight [Yes] and push
The route is canceledd along with the
destination and waypoints.
INFO:
Canceling a route does not delete destination
and waypoint information completely.
“Delete destination” (page 4-21)
Voice command
1. Push
wheel switch.
2. After the tone sounds, speak a command. To cancel a route:
“Cancel Route” (Alternate Command Mode)
Reactivating route
1. Push
2. Highlight [Resume Route] and push
Route guidance5-13
Page 98 of 241
![NISSAN 370Z 2016 Z34 08IT Navigation Manual 5-14Route guidance
3. A confirmation message is displayed. High-light [Yes] and push <ENTER>. The can-
celed route is reactivated.
INFO:
If a new route is set, the canceled route cannot
be reactivated NISSAN 370Z 2016 Z34 08IT Navigation Manual 5-14Route guidance
3. A confirmation message is displayed. High-light [Yes] and push <ENTER>. The can-
celed route is reactivated.
INFO:
If a new route is set, the canceled route cannot
be reactivated](/img/5/457/w960_457-97.png)
5-14Route guidance
3. A confirmation message is displayed. High-light [Yes] and push
celed route is reactivated.
INFO:
If a new route is set, the canceled route cannot
be reactivated.
EDITING ROUTE
1. Push
2. Highlight [Edit/Add to Route] and push
4. Push
screen. Push
current location map screen.
Available setting items
*1[Add Destination]: Add a new destination.“Setting destination or waypoint”
(page 5-14)
*2Current destination:
Change or delete the destination.
“Editing/deleting destination or way-
point” (page 5-15)
*3Condition for calculating a route to the
destination:
Change the conditions for calculating a
route to the destination.
“Changing route calculation condi-
tions” (page 5-17)
*4[Add Waypoint]: Add a new waypoint.“Setting destination or waypoint”
(page 5-14)
*5Current waypoint:
Change or delete the waypoint.
“Editing/deleting destination or way-
point” (page 5-15)
*6Condition for calculating a route to a
waypoint:
Change the conditions for calculating a
route to a waypoint.
“Changing route calculation condi-
tions” (page 5-17)
*7[Calculate]:
Manually search for the route again after
changing the search conditions.
“Changing route calculation condi-
tions” (page 5-17)
Setting destination or waypoint
Add a destination or waypoint to the route that is
already set. A total of 6 destinations or
waypoints can be set.
Page 99 of 241
![NISSAN 370Z 2016 Z34 08IT Navigation Manual 1. Push<ROUTE>.
2. Highlight [Edit/Add to Route] and push <ENTER>.
3. Highlight [Add Destination] or [Add Way- point] and push <ENTER>.
If [Add Destination] is selected, the current
destination change NISSAN 370Z 2016 Z34 08IT Navigation Manual 1. Push<ROUTE>.
2. Highlight [Edit/Add to Route] and push <ENTER>.
3. Highlight [Add Destination] or [Add Way- point] and push <ENTER>.
If [Add Destination] is selected, the current
destination change](/img/5/457/w960_457-98.png)
1. Push
2. Highlight [Edit/Add to Route] and push
3. Highlight [Add Destination] or [Add Way- point] and push
If [Add Destination] is selected, the current
destination changes to a waypoint.
4. Set a destination or waypoint. The method of searching for a destination or waypoint is the
same as the one for a destination.
“4. Setting destination”
5. The selected location is displayed at thecenter of the map. Highlight [Add to Route]
after confirming the location and push
INFO:
Even after setting a destination/waypoint,
the destination/waypoint location can be
adjusted, the route can be stored, etc.
“Editing/deleting destination or way-
point” (page 5-15)
6. Return to the Edit Route screen. Set the route conditions as necessary.
7. Highlight [Calculate] and push
The system will recalculate the routes. After
the route search is completed, the display
will automatically return to the present
location screen.
INFO:
. The prior route is automatically deleted.
. Added waypoints and search conditions will
not be taken into consideration for the route
calculation until [Calculate] is highlighted
and
Editing/deleting destination or waypoint
The destination or waypoint that is already set
can be modified or deleted.
If a location is modified or deleted when a
suggested route is already set, the prior
suggested route will be recalculated accord-
ingly.
Route guidance5-15
Page 100 of 241
![NISSAN 370Z 2016 Z34 08IT Navigation Manual 5-16Route guidance
1. Push<ROUTE>.
2. Highlight [Edit/Add to Route] and push <ENTER>.
3. Highlight a destination or waypoint that is already set and push <ENTER>.
4. Highlight [Move Dest.] to modify t NISSAN 370Z 2016 Z34 08IT Navigation Manual 5-16Route guidance
1. Push<ROUTE>.
2. Highlight [Edit/Add to Route] and push <ENTER>.
3. Highlight a destination or waypoint that is already set and push <ENTER>.
4. Highlight [Move Dest.] to modify t](/img/5/457/w960_457-99.png)
5-16Route guidance
1. Push
2. Highlight [Edit/Add to Route] and push
3. Highlight a destination or waypoint that is already set and push
4. Highlight [Move Dest.] to modify the location
and push
“Moving location of destination”
(page 5-4)
5. Highlight [Delete] and push
delete the location.
6. A confirmation message is displayed. Con- firm the contents of the message, highlight
[Yes] and push
or waypoint is deleted from the route. Return
to the [Edit Route] screen.
7. By highlighting [Calculate] and pushing
routes. After the route search is completed,
the display will automatically return to the
present location screen.
INFO:
. If the destination is deleted, the final
waypoint of the route becomes the destina-
tion.
. When the map screen is touched, the same
map screen as when [Move Dest.] is
selected is displayed.
Changing order of destination and way-
points
The order of a destination and waypoints that
are already set can be changed.