torque NISSAN ALTIMA 1997 U13 / 1.G Owners Manual
[x] Cancel search | Manufacturer: NISSAN, Model Year: 1997, Model line: ALTIMA, Model: NISSAN ALTIMA 1997 U13 / 1.GPages: 203, PDF Size: 1.64 MB
Page 118 of 203

Installing wheel
The T-type spare tire is designed for
emergency use. See specific instruc-
tions under the heading ``Wheels and
tires'' in the ``Do-it- yourself operations''
section.
1. Clean any mud or dirt from the surface
between the wheel and hub.
2. Carefully put the wheel on and install the
wheel nuts finger-tight.
3. With the wheel nut wrench, tighten wheel
nuts alternately and evenly until they are
tight.4. Lower the vehicle slowly until the tire
touches the ground. Then, with the wheel
nut wrench, tighten the wheel nuts se-
curely in the sequence as illustrated.
WARNING
cIncorrect wheel nuts or improperly
tightened wheel nuts can cause the
wheel to become loose or come off.
This could cause an accident.
cDo not use oil or grease on the wheel
studs or nuts. This could cause the
nuts to become loose.As soon as possible tighten the wheel
nuts to the specified torque with a torque
wrench.
Wheel nut tightening torque:
72 to 87 ft-lb
(98 to 118 Nzm)
Adjust tire pressure to the COLD pres-
sure.
COLD pressure: After vehicle has been
parked for three hours or more or driven
less than 1 mile (1.6 km).
COLD tire pressures are shown on the tire
placard affixed to the center console lid.
cRetighten the wheel nuts when the
vehicle has been run for 600 miles
(1,000 km).
5. Securely store the spare tire and jacking
equipment in the vehicle.
WARNING
cAlways make sure that the spare tire
and jacking equipment are properly
secured after use. Such items can
become dangerous projectiles in an
accident or sudden stop.
CE1030CE1082
5-6
ZX
Page 138 of 203

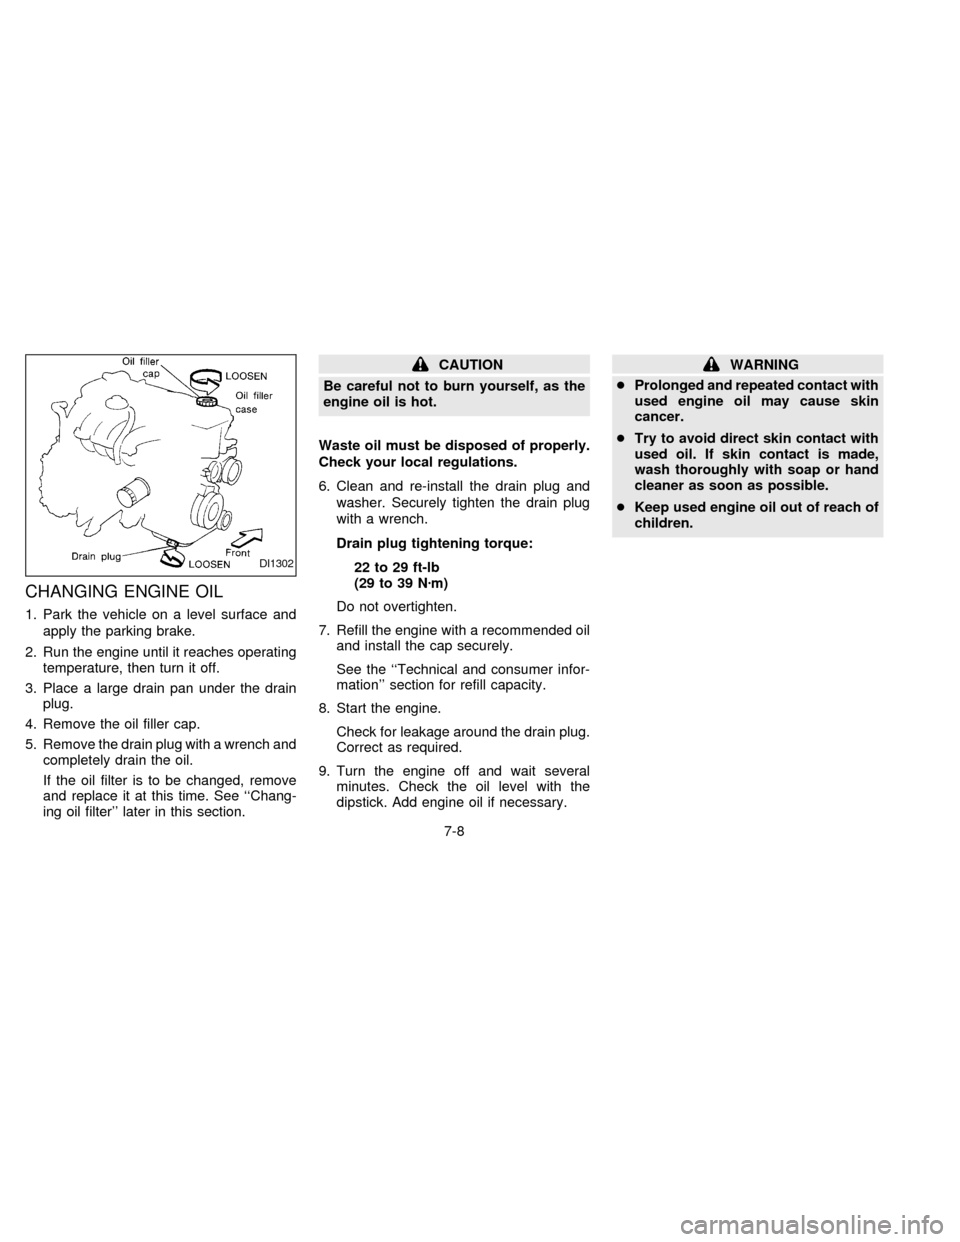
CHANGING ENGINE OIL
1. Park the vehicle on a level surface and
apply the parking brake.
2. Run the engine until it reaches operating
temperature, then turn it off.
3. Place a large drain pan under the drain
plug.
4. Remove the oil filler cap.
5. Remove the drain plug with a wrench and
completely drain the oil.
If the oil filter is to be changed, remove
and replace it at this time. See ``Chang-
ing oil filter'' later in this section.
CAUTION
Be careful not to burn yourself, as the
engine oil is hot.
Waste oil must be disposed of properly.
Check your local regulations.
6. Clean and re-install the drain plug and
washer. Securely tighten the drain plug
with a wrench.
Drain plug tightening torque:
22 to 29 ft-lb
(29 to 39 Nzm)
Do not overtighten.
7. Refill the engine with a recommended oil
and install the cap securely.
See the ``Technical and consumer infor-
mation'' section for refill capacity.
8. Start the engine.
Check for leakage around the drain plug.
Correct as required.
9. Turn the engine off and wait several
minutes. Check the oil level with the
dipstick. Add engine oil if necessary.WARNING
cProlonged and repeated contact with
used engine oil may cause skin
cancer.
cTry to avoid direct skin contact with
used oil. If skin contact is made,
wash thoroughly with soap or hand
cleaner as soon as possible.
cKeep used engine oil out of reach of
children.
DI1302
7-8
ZX
Page 146 of 203

5. Fit the new plugs, one at a time, into the
spark plug socket and install them. Turn
each plug several full turns by hand, then
tighten with a spark plug socket to the
correct torque. Do not overtighten.
Spark plug tightening torque:
14 to 22 ft-lb
(20 to 29 Nzm)
6. Holding the boot, reconnect each high
tension cable to its proper spark plug by
pushing it on until you feel a snap.
7. Reinstall all brackets as necessary.
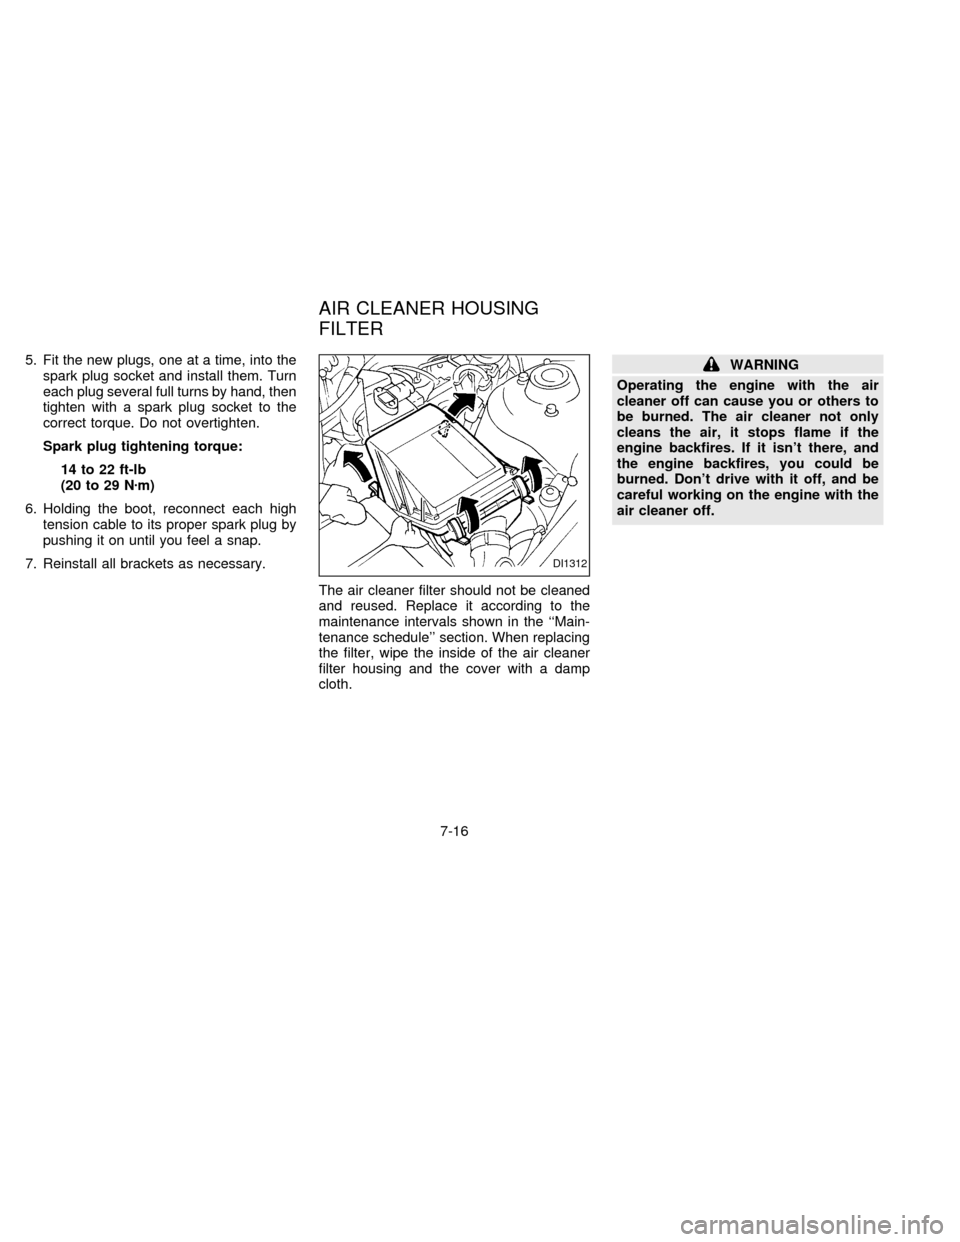
The air cleaner filter should not be cleaned
and reused. Replace it according to the
maintenance intervals shown in the ``Main-
tenance schedule'' section. When replacing
the filter, wipe the inside of the air cleaner
filter housing and the cover with a damp
cloth.WARNING
Operating the engine with the air
cleaner off can cause you or others to
be burned. The air cleaner not only
cleans the air, it stops flame if the
engine backfires. If it isn't there, and
the engine backfires, you could be
burned. Don't drive with it off, and be
careful working on the engine with the
air cleaner off.
DI1312
AIR CLEANER HOUSING
FILTER
7-16
ZX