ESP NISSAN ALTIMA 2007 L32A / 4.G Navigation Manual
[x] Cancel search | Manufacturer: NISSAN, Model Year: 2007, Model line: ALTIMA, Model: NISSAN ALTIMA 2007 L32A / 4.GPages: 240, PDF Size: 3.29 MB
Page 13 of 240
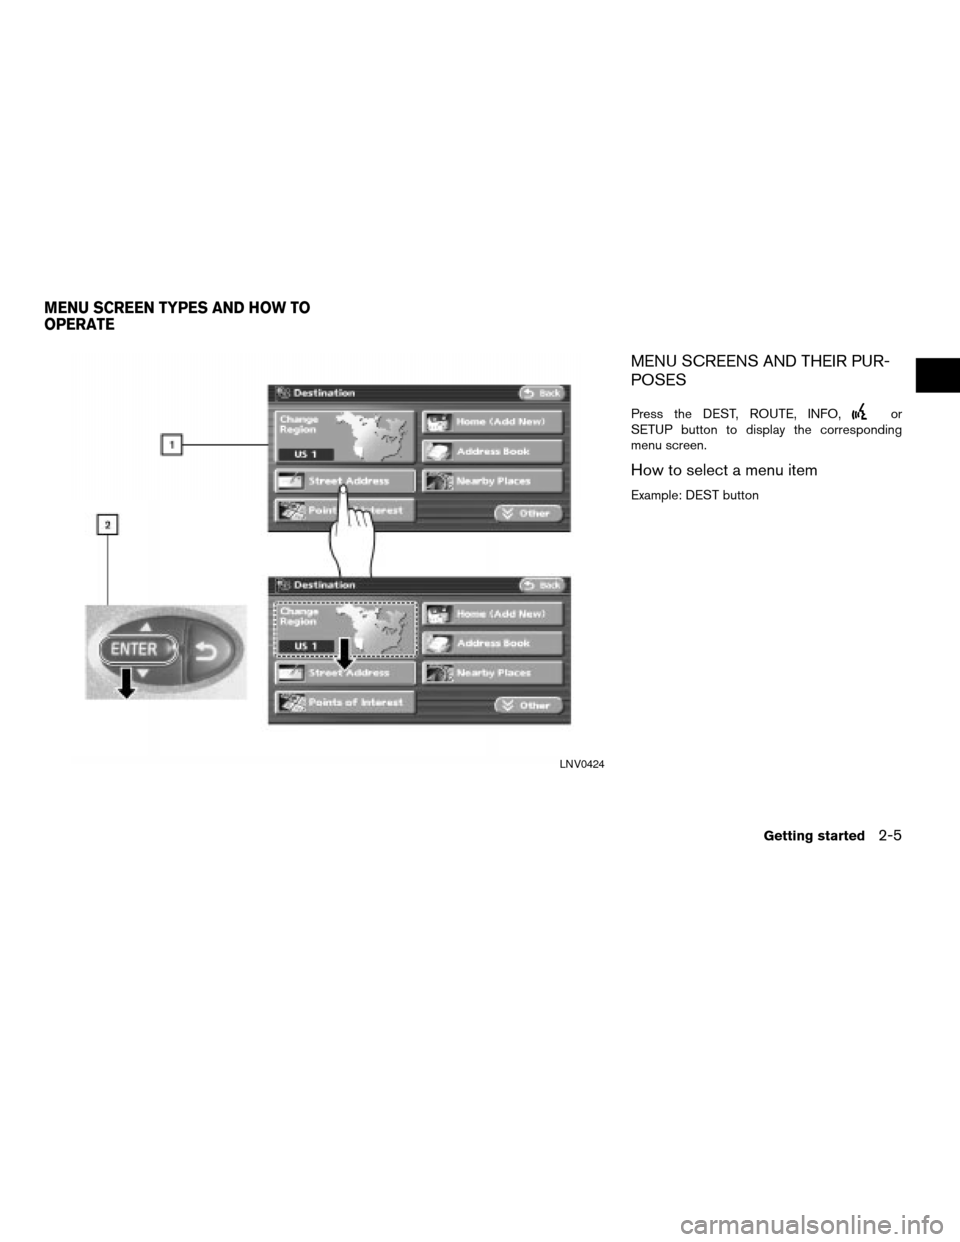
MENU SCREENS AND THEIR PUR-
POSES
Press the DEST, ROUTE, INFO,or
SETUP button to display the corresponding
menu screen.
How to select a menu item
Example: DEST button
LNV0424
MENU SCREEN TYPES AND HOW TO
OPERATE
Getting started2-5
ZREVIEW COPYÐ2007 Altima(alt)
Navigation System OMÐUSA_English(nna)
08/17/06Ðpattie
X
Page 16 of 240
USING CONTROLS TO ADJUST
VALUES, LEVELS, ETC.
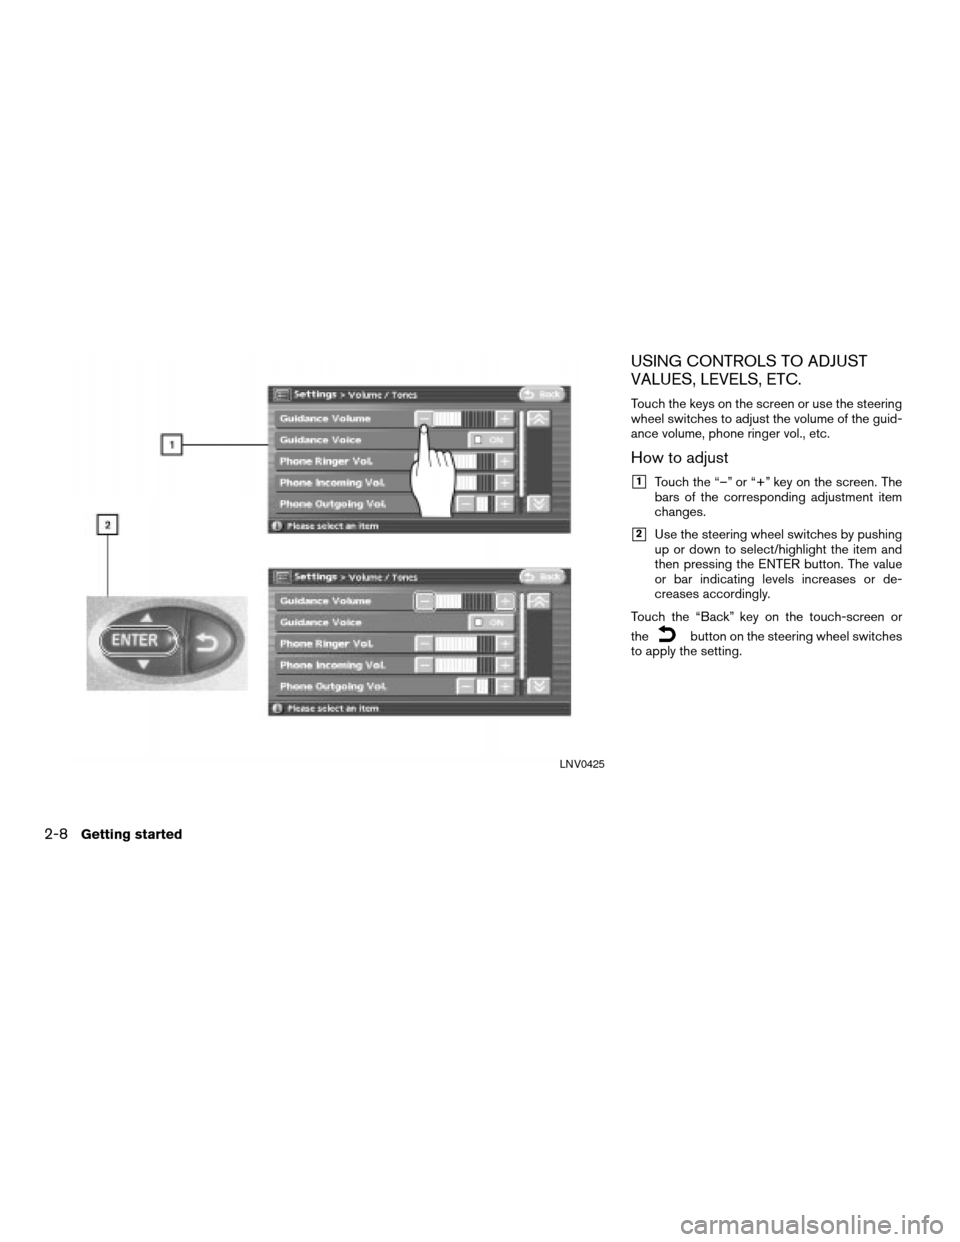
Touch the keys on the screen or use the steering
wheel switches to adjust the volume of the guid-
ance volume, phone ringer vol., etc.
How to adjust
h1Touch the “–” or “+” key on the screen. The
bars of the corresponding adjustment item
changes.
h2Use the steering wheel switches by pushing
up or down to select/highlight the item and
then pressing the ENTER button. The value
or bar indicating levels increases or de-
creases accordingly.
Touch the “Back” key on the touch-screen or
the
button on the steering wheel switches
to apply the setting.
LNV0425
2-8Getting started
ZREVIEW COPYÐ2007 Altima(alt)
Navigation System OMÐUSA_English(nna)
08/17/06Ðpattie
X
Page 17 of 240
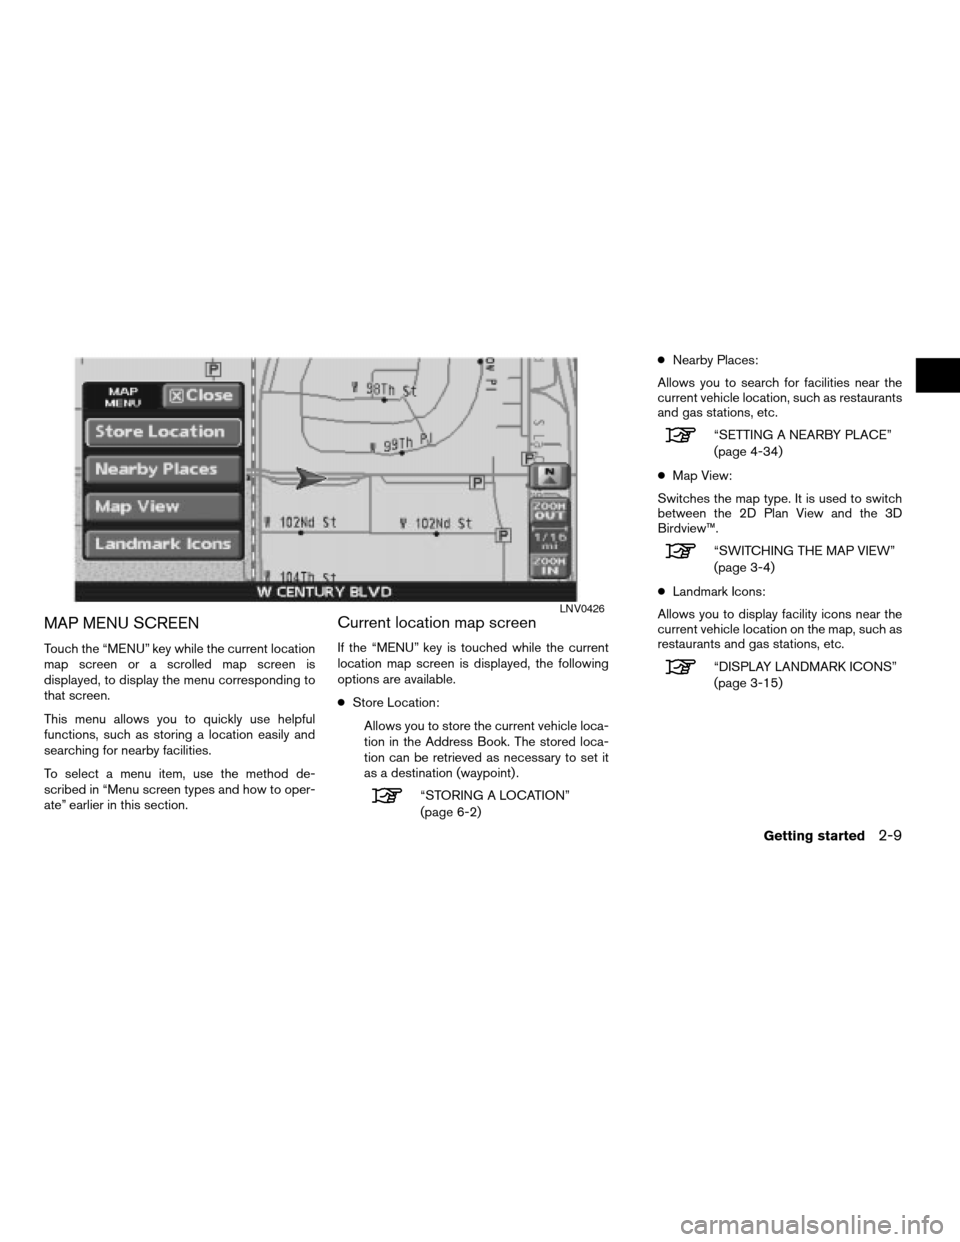
MAP MENU SCREEN
Touch the “MENU” key while the current location
map screen or a scrolled map screen is
displayed, to display the menu corresponding to
that screen.
This menu allows you to quickly use helpful
functions, such as storing a location easily and
searching for nearby facilities.
To select a menu item, use the method de-
scribed in “Menu screen types and how to oper-
ate” earlier in this section.
Current location map screen
If the “MENU” key is touched while the current
location map screen is displayed, the following
options are available.
cStore Location:
Allows you to store the current vehicle loca-
tion in the Address Book. The stored loca-
tion can be retrieved as necessary to set it
as a destination (waypoint) .
“STORING A LOCATION”
(page 6-2)cNearby Places:
Allows you to search for facilities near the
current vehicle location, such as restaurants
and gas stations, etc.
“SETTING A NEARBY PLACE”
(page 4-34)
cMap View:
Switches the map type. It is used to switch
between the 2D Plan View and the 3D
Birdview™.
“SWITCHING THE MAP VIEW”
(page 3-4)
cLandmark Icons:
Allows you to display facility icons near the
current vehicle location on the map, such as
restaurants and gas stations, etc.
“DISPLAY LANDMARK ICONS”
(page 3-15)
LNV0426
Getting started2-9
ZREVIEW COPYÐ2007 Altima(alt)
Navigation System OMÐUSA_English(nna)
08/17/06Ðroot
X
Page 18 of 240
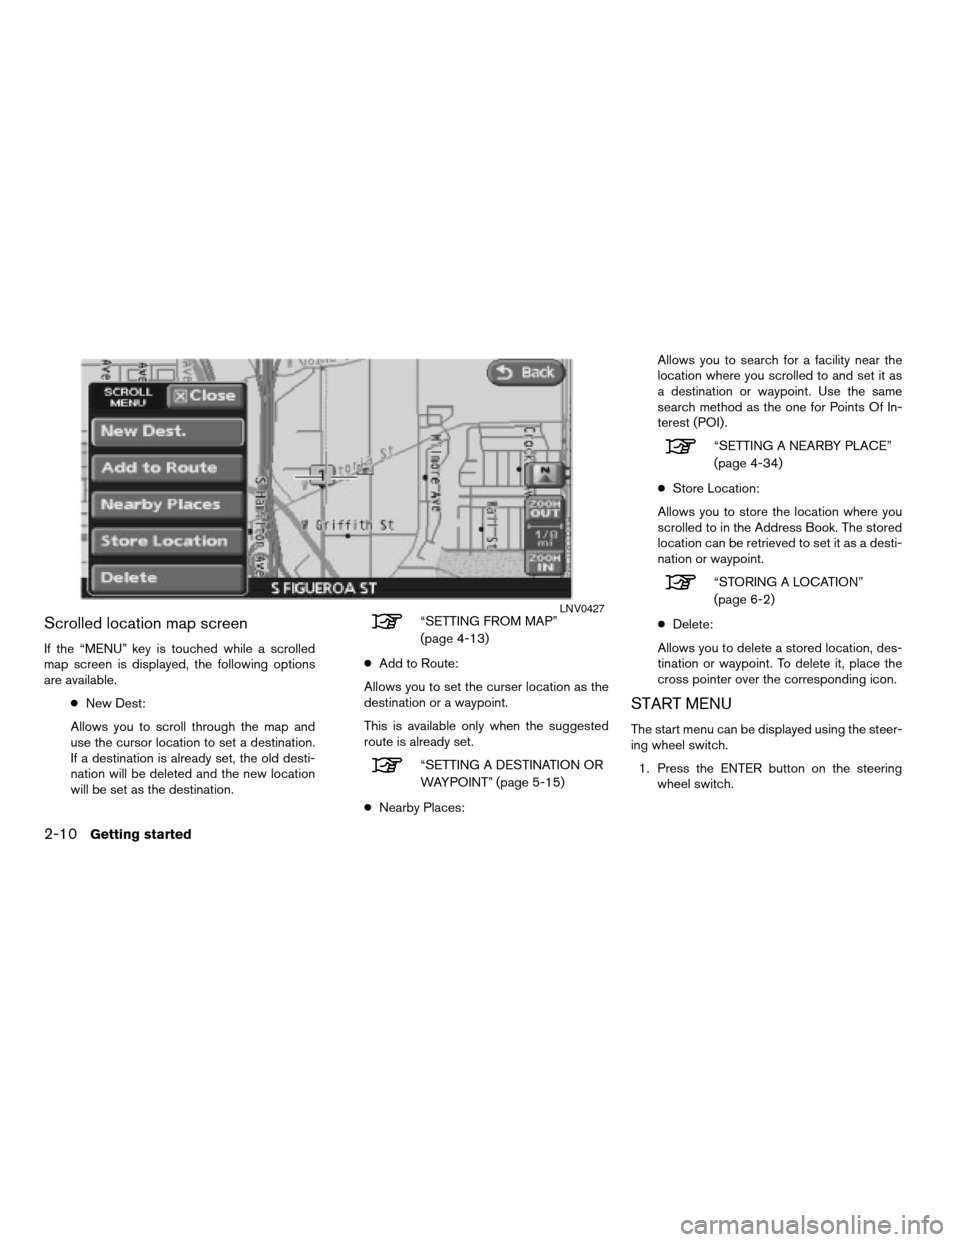
Scrolled location map screen
If the “MENU” key is touched while a scrolled
map screen is displayed, the following options
are available.
cNew Dest:
Allows you to scroll through the map and
use the cursor location to set a destination.
If a destination is already set, the old desti-
nation will be deleted and the new location
will be set as the destination.
“SETTING FROM MAP”
(page 4-13)
cAdd to Route:
Allows you to set the curser location as the
destination or a waypoint.
This is available only when the suggested
route is already set.
“SETTING A DESTINATION OR
WAYPOINT” (page 5-15)
cNearby Places:Allows you to search for a facility near the
location where you scrolled to and set it as
a destination or waypoint. Use the same
search method as the one for Points Of In-
terest (POI) .
“SETTING A NEARBY PLACE”
(page 4-34)
cStore Location:
Allows you to store the location where you
scrolled to in the Address Book. The stored
location can be retrieved to set it as a desti-
nation or waypoint.
“STORING A LOCATION”
(page 6-2)
cDelete:
Allows you to delete a stored location, des-
tination or waypoint. To delete it, place the
cross pointer over the corresponding icon.
START MENU
The start menu can be displayed using the steer-
ing wheel switch.
1. Press the ENTER button on the steering
wheel switch.
LNV0427
2-10Getting started
ZREVIEW COPYÐ2007 Altima(alt)
Navigation System OMÐUSA_English(nna)
08/17/06Ðpattie
X
Page 29 of 240
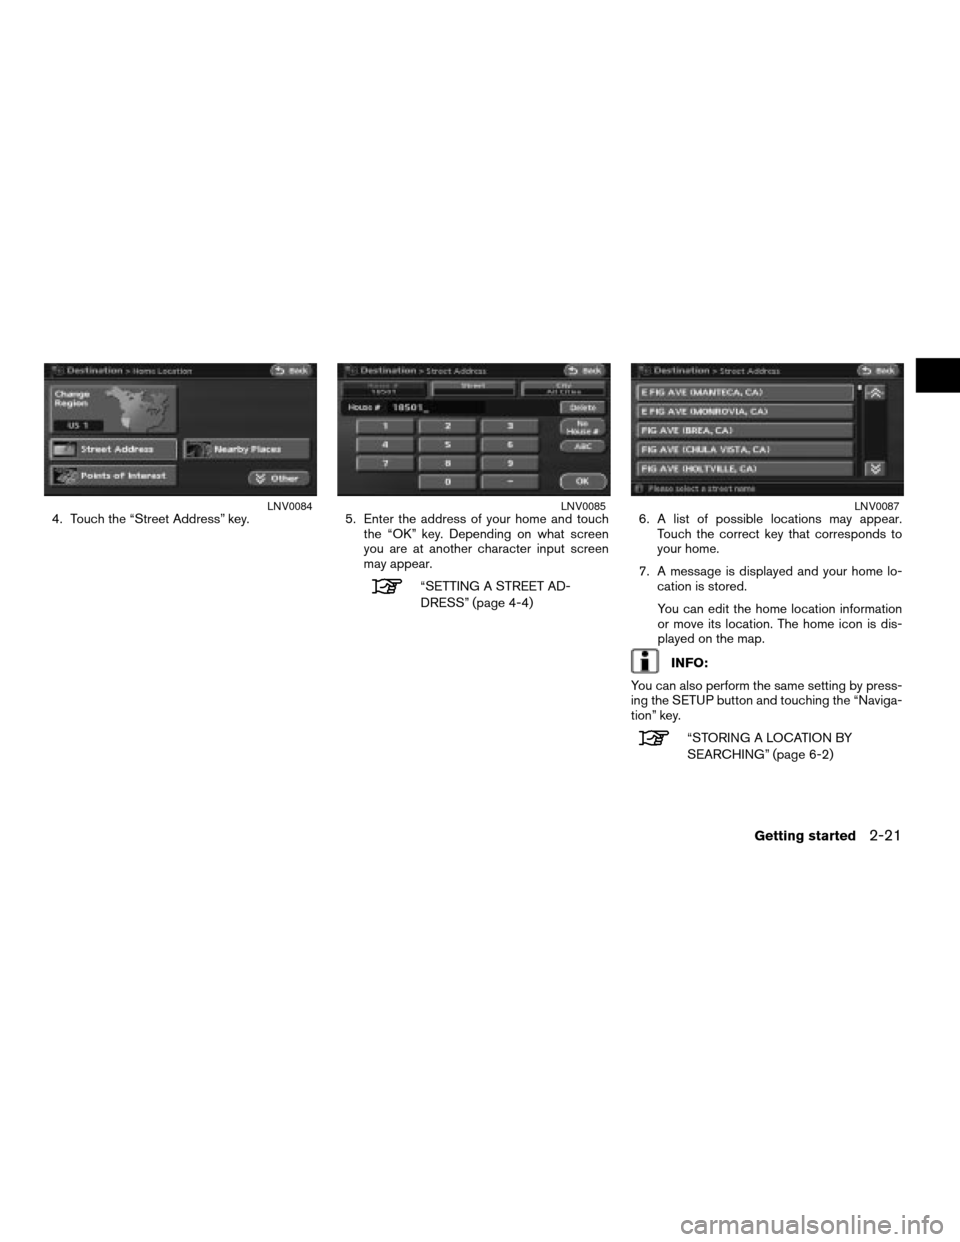
4. Touch the “Street Address” key. 5. Enter the address of your home and touch
the “OK” key. Depending on what screen
you are at another character input screen
may appear.
“SETTING A STREET AD-
DRESS” (page 4-4)6. A list of possible locations may appear.
Touch the correct key that corresponds to
your home.
7. A message is displayed and your home lo-
cation is stored.
You can edit the home location information
or move its location. The home icon is dis-
played on the map.
INFO:
You can also perform the same setting by press-
ing the SETUP button and touching the “Naviga-
tion” key.
“STORING A LOCATION BY
SEARCHING” (page 6-2)
LNV0084LNV0085LNV0087
Getting started2-21
ZREVIEW COPYÐ2007 Altima(alt)
Navigation System OMÐUSA_English(nna)
08/17/06Ðpattie
X
Page 46 of 240
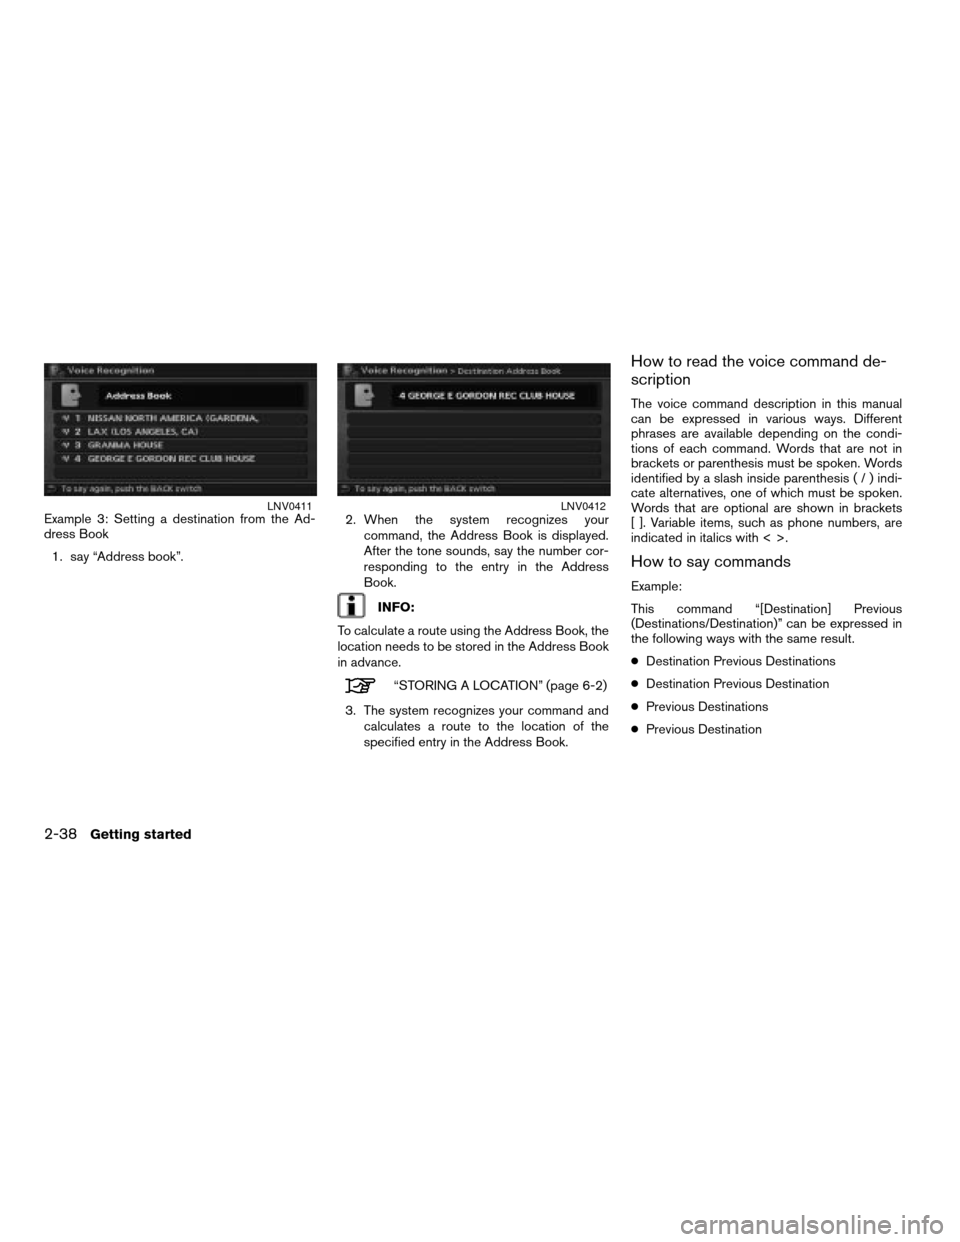
Example 3: Setting a destination from the Ad-
dress Book
1. say “Address book”.2. When the system recognizes your
command, the Address Book is displayed.
After the tone sounds, say the number cor-
responding to the entry in the Address
Book.
INFO:
To calculate a route using the Address Book, the
location needs to be stored in the Address Book
in advance.
“STORING A LOCATION” (page 6-2)
3. The system recognizes your command and
calculates a route to the location of the
specified entry in the Address Book.
How to read the voice command de-
scription
The voice command description in this manual
can be expressed in various ways. Different
phrases are available depending on the condi-
tions of each command. Words that are not in
brackets or parenthesis must be spoken. Words
identified by a slash inside parenthesis(/)indi-
cate alternatives, one of which must be spoken.
Words that are optional are shown in brackets
[ ]. Variable items, such as phone numbers, are
indicated in italics with < >.
How to say commands
Example:
This command “[Destination] Previous
(Destinations/Destination)” can be expressed in
the following ways with the same result.
cDestination Previous Destinations
cDestination Previous Destination
cPrevious Destinations
cPrevious Destination
LNV0411LNV0412
2-38Getting started
ZREVIEW COPYÐ2007 Altima(alt)
Navigation System OMÐUSA_English(nna)
08/17/06Ðpattie
X
Page 51 of 240
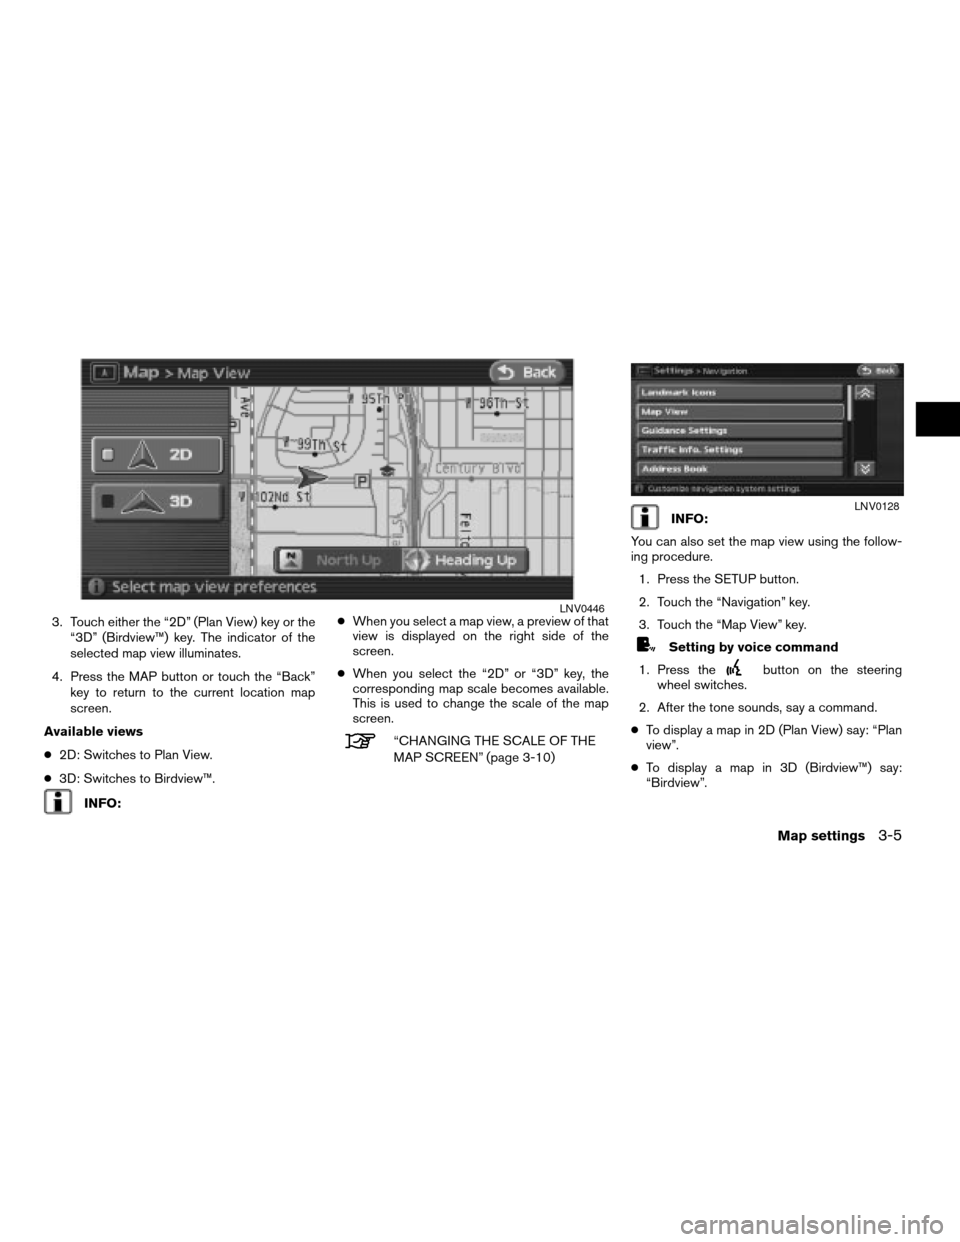
3. Touch either the “2D” (Plan View) key or the
“3D” (Birdview™) key. The indicator of the
selected map view illuminates.
4. Press the MAP button or touch the “Back”
key to return to the current location map
screen.
Available views
c2D: Switches to Plan View.
c3D: Switches to Birdview™.
INFO:cWhen you select a map view, a preview of that
view is displayed on the right side of the
screen.
cWhen you select the “2D” or “3D” key, the
corresponding map scale becomes available.
This is used to change the scale of the map
screen.
“CHANGING THE SCALE OF THE
MAP SCREEN” (page 3-10)
INFO:
You can also set the map view using the follow-
ing procedure.
1. Press the SETUP button.
2. Touch the “Navigation” key.
3. Touch the “Map View” key.
Setting by voice command
1. Press the
button on the steering
wheel switches.
2. After the tone sounds, say a command.
cTo display a map in 2D (Plan View) say: “Plan
view”.
cTo display a map in 3D (Birdview™) say:
“Birdview”.
LNV0446
LNV0128
Map settings3-5
ZREVIEW COPYÐ2007 Altima(alt)
Navigation System OMÐUSA_English(nna)
09/05/06Ðarosenma
X
Page 81 of 240
The following setting methods are available
when setting the destination to your home or any
location stored in the Address Book.
cSetting your home
This allows you to set your home as the desti-
nation and have the system calculate a route.
It is useful especially when you are searching
for a route to return to your home.
“STORING A LOCATION”
(page 6-2)
cSetting from Address Book
This allows you to set the destination to a lo-
cation stored in the Address Book and have
the system calculate a route. To utilize this
function more effectively, destinations that
you often travel to should be stored in
advance.
“STORING A LOCATION”
(page 6-2)
cSetting a Previous Destination
This allows you to set the destination to a lo-
cation that you have previously set as the des-
tination and have the system calculate a route.
Up to 100 previous destinations will be auto-
matically stored. If the number of previous
destinations exceeds 100, the oldest one will
be replaced by the new one.cSetting the Previous Starting Point
This allows you to set the destination to the
starting point of the previous route guidance
and have the system calculate a route.
SETTING YOUR HOME
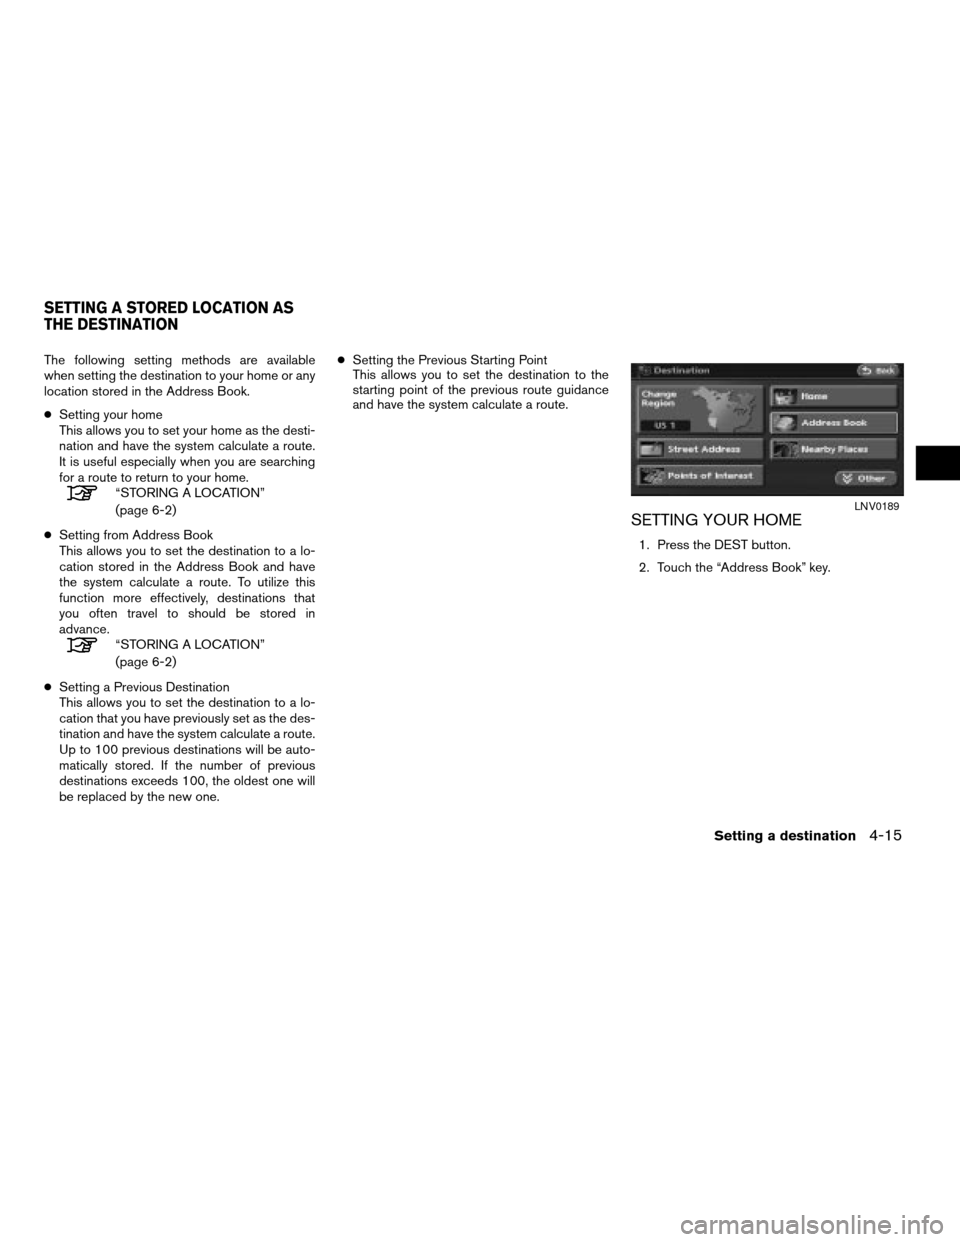
1. Press the DEST button.
2. Touch the “Address Book” key.
LNV0189
SETTING A STORED LOCATION AS
THE DESTINATION
Setting a destination4-15
ZREVIEW COPYÐ2007 Altima(alt)
Navigation System OMÐUSA_English(nna)
08/17/06Ðpattie
X
Page 107 of 240
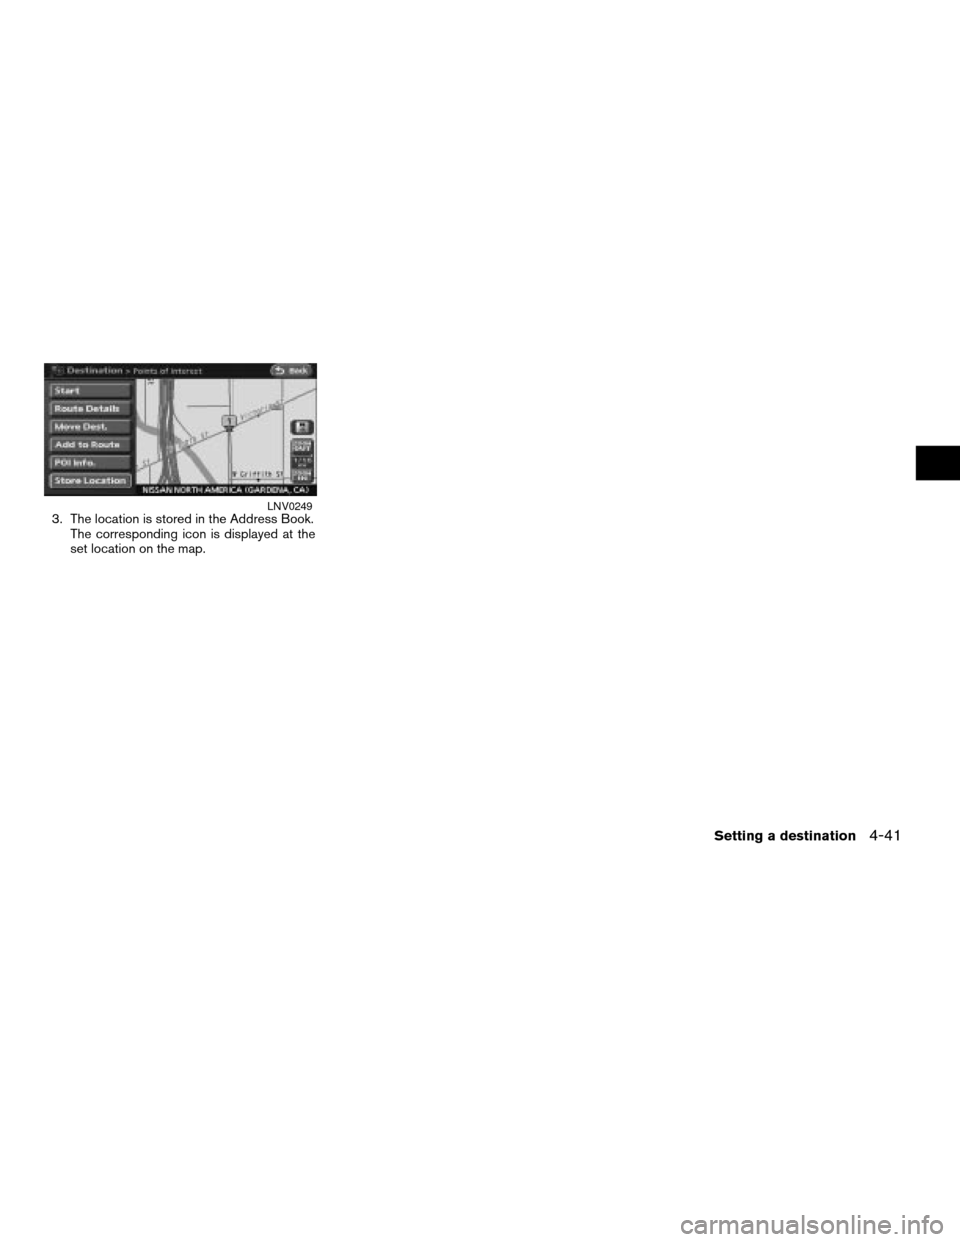
3. The location is stored in the Address Book.
The corresponding icon is displayed at the
set location on the map.LNV0249
Setting a destination4-41
ZREVIEW COPYÐ2007 Altima(alt)
Navigation System OMÐUSA_English(nna)
08/17/06Ðpattie
X
Page 127 of 240
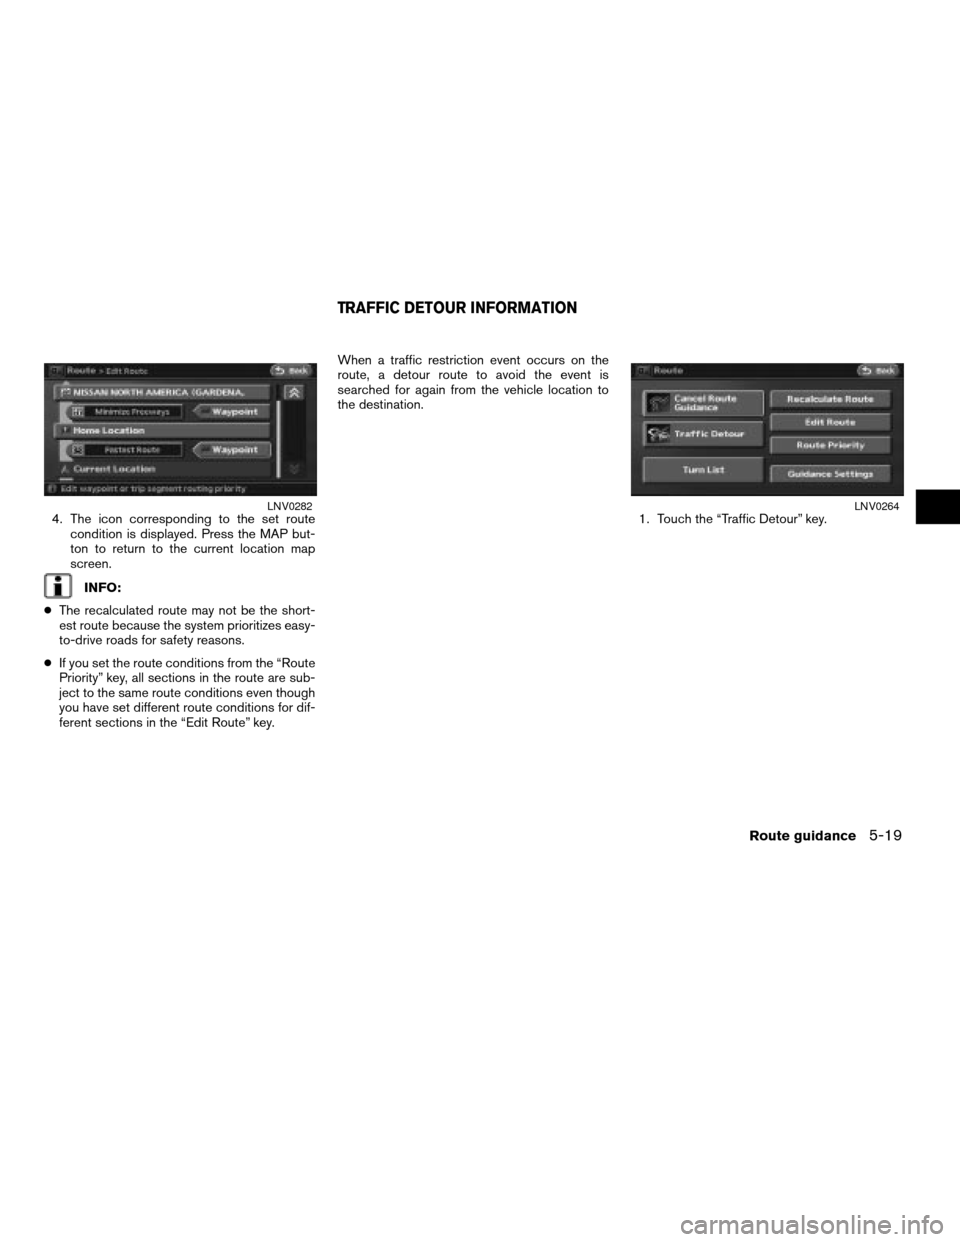
4. The icon corresponding to the set route
condition is displayed. Press the MAP but-
ton to return to the current location map
screen.
INFO:
cThe recalculated route may not be the short-
est route because the system prioritizes easy-
to-drive roads for safety reasons.
cIf you set the route conditions from the “Route
Priority” key, all sections in the route are sub-
ject to the same route conditions even though
you have set different route conditions for dif-
ferent sections in the “Edit Route” key.When a traffic restriction event occurs on the
route, a detour route to avoid the event is
searched for again from the vehicle location to
the destination.
1. Touch the “Traffic Detour” key.
LNV0282LNV0264
TRAFFIC DETOUR INFORMATION
Route guidance5-19
ZREVIEW COPYÐ2007 Altima(alt)
Navigation System OMÐUSA_English(nna)
08/17/06Ðpattie
X