ignition NISSAN ALTIMA 2007 L32A / 4.G Quick Reference Guide
[x] Cancel search | Manufacturer: NISSAN, Model Year: 2007, Model line: ALTIMA, Model: NISSAN ALTIMA 2007 L32A / 4.GPages: 14, PDF Size: 1.35 MB
Page 3 of 14

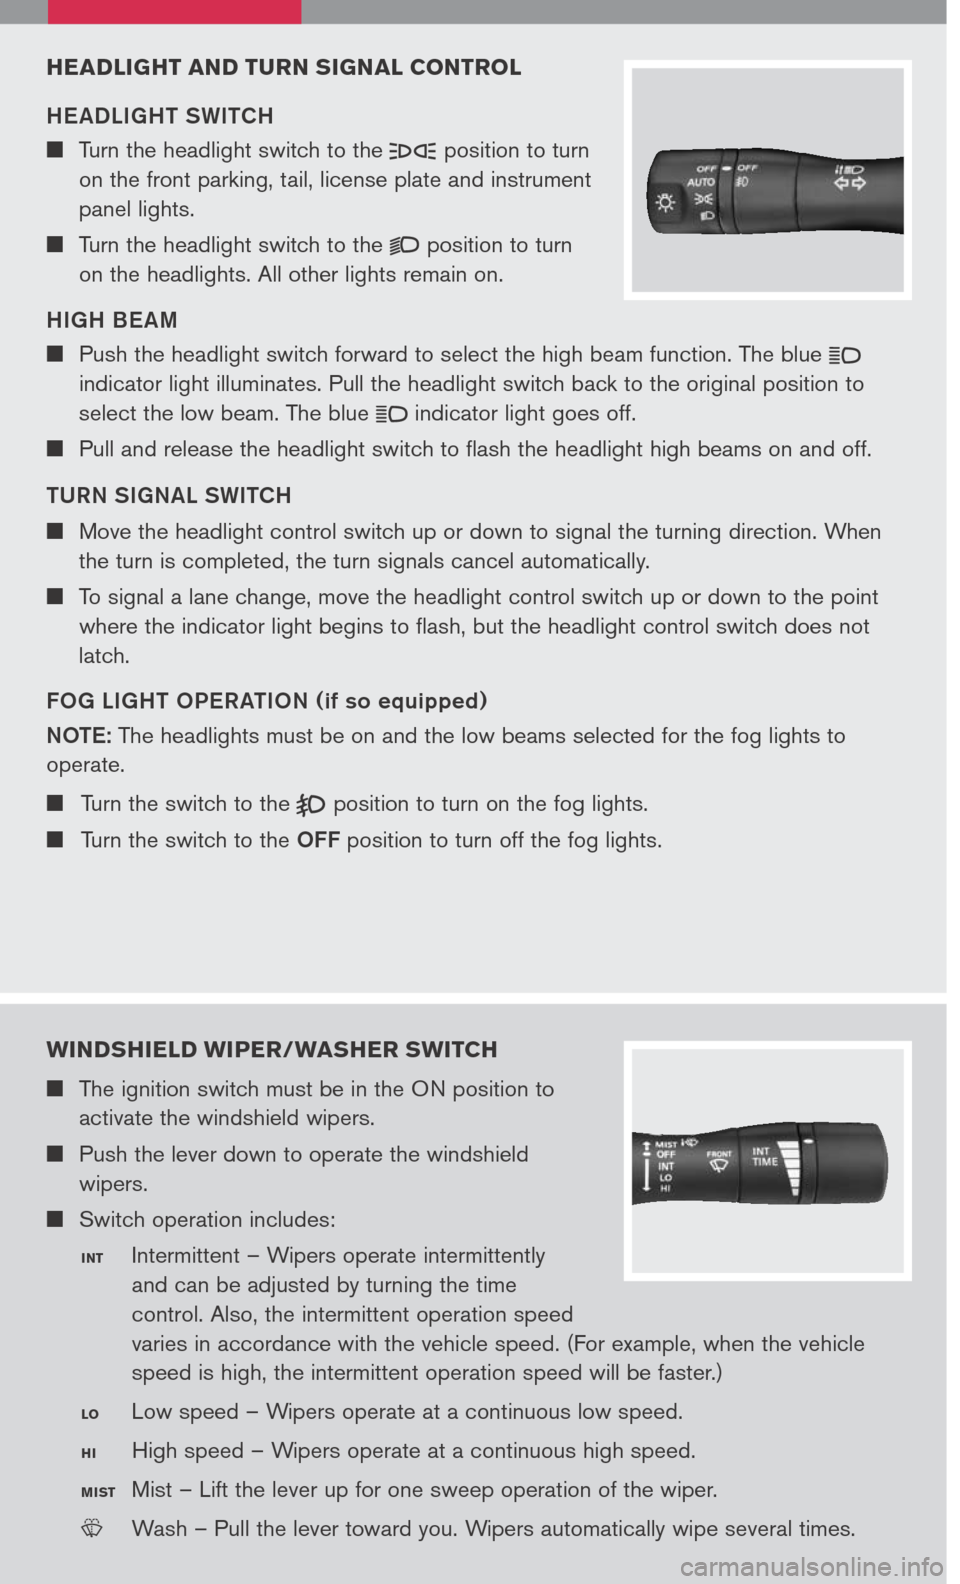
HEADLIGHT AND TURN SIGNAL CONTROL
HE ADLIGHT SWITCH
Turn the headlight switch to the position to turn
on the front parking, tail, license plate and instrument
panel lights.
Turn the headlight switch to the position to turn
on the headlights. All other lights remain on.
HIGH BE AM
Push the headlight switch forward to select the high beam function. The blue
indicator light illuminates. Pull the headlight switch back to the original position to
select the low beam. The blue indicator light goes off.
Pull and release the headlight switch to flash the headlight high beams on and off.
TURN SIGNAL SWITCH
Move the headlight control switch up or down to signal the turning direction. When
the turn is completed, the turn signals cancel automatically.
To signal a lane change, move the headlight control switch up or down to the point
where the indicator light begins to flash, but the headlight control switch does not
latch.
FOG LIGHT OPER ATION (if so equipped)
NOTE:
The headlights must be on and the low beams selected for the fog lights to
operate.
Turn the switch to the position to turn on the fog lights.
Turn the switch to the OFF position to turn off the fog lights.
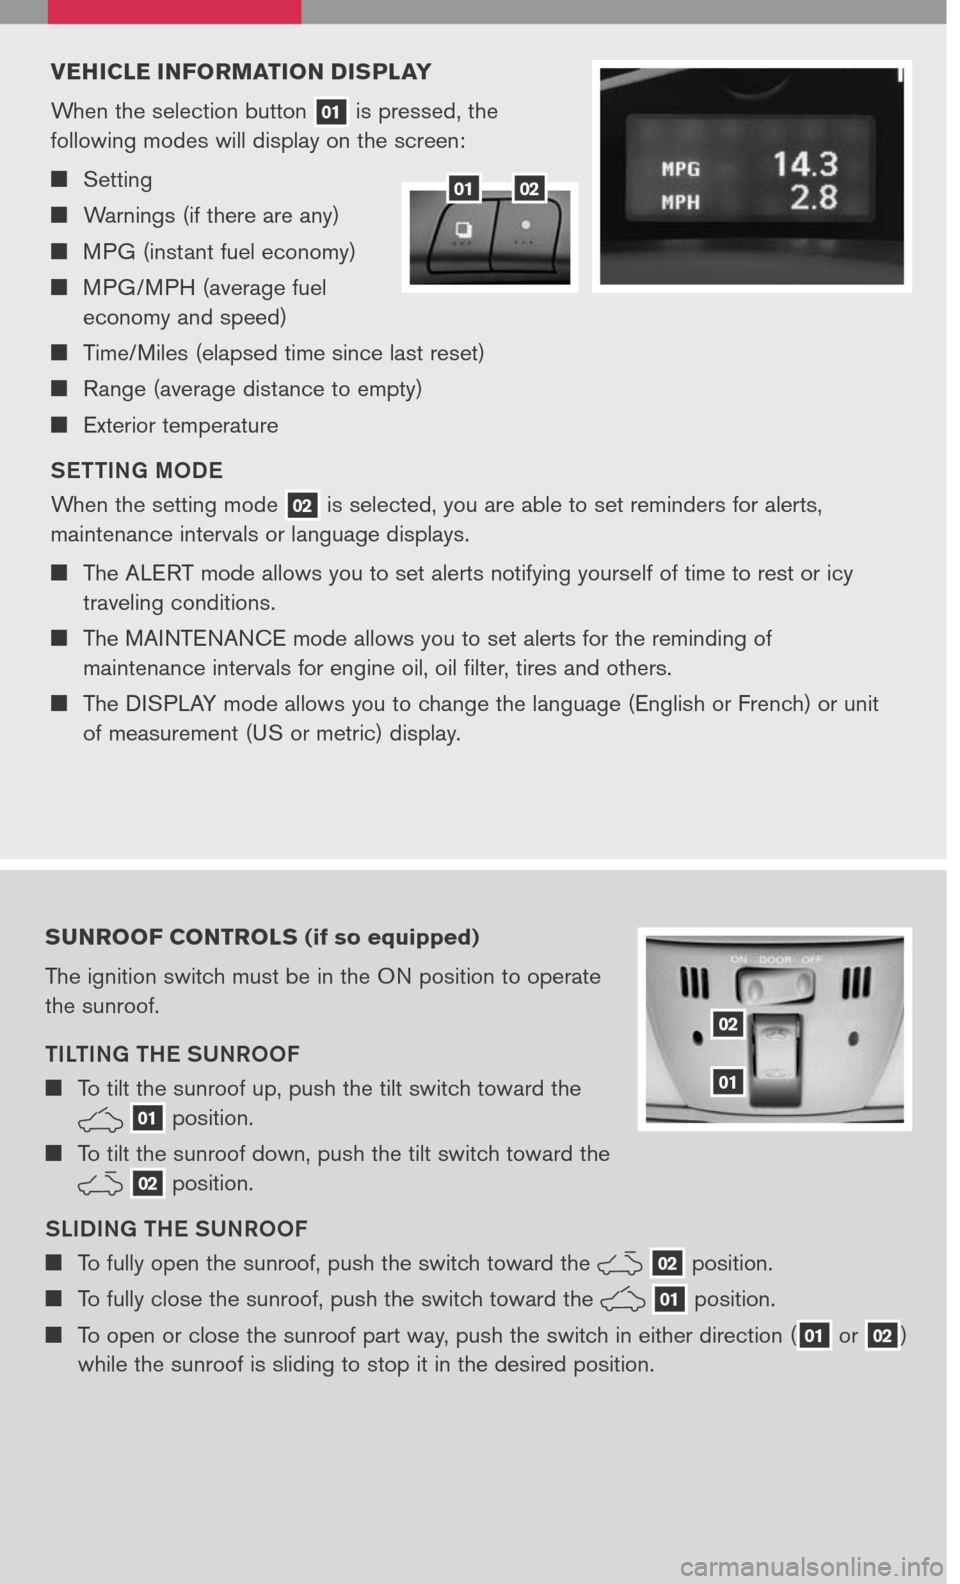
WINDSHIELD WIPER/WASHER SWITCH
The ignition switch must be in the ON position to
activate the windshield wipers.
Push the lever down to operate the windshield
wipers.
Switch operation includes:
Intermittent – Wipers operate intermittently
and can be adjusted by turning the time
control. Also, the intermittent operation speed
varies in accordance with the vehicle speed. (For example, when the vehicle
speed is high, the intermittent operation speed will be faster.)
Low speed – Wipers operate at a continuous low speed.
High speed – Wipers operate at a continuous high speed.
Mist – Lift the lever up for one sweep operation of the wiper.
LCN0042
Wash – Pull the lever toward you. Wipers automatically wipe several times.
INT
LO
HI
MIST
Page 5 of 14

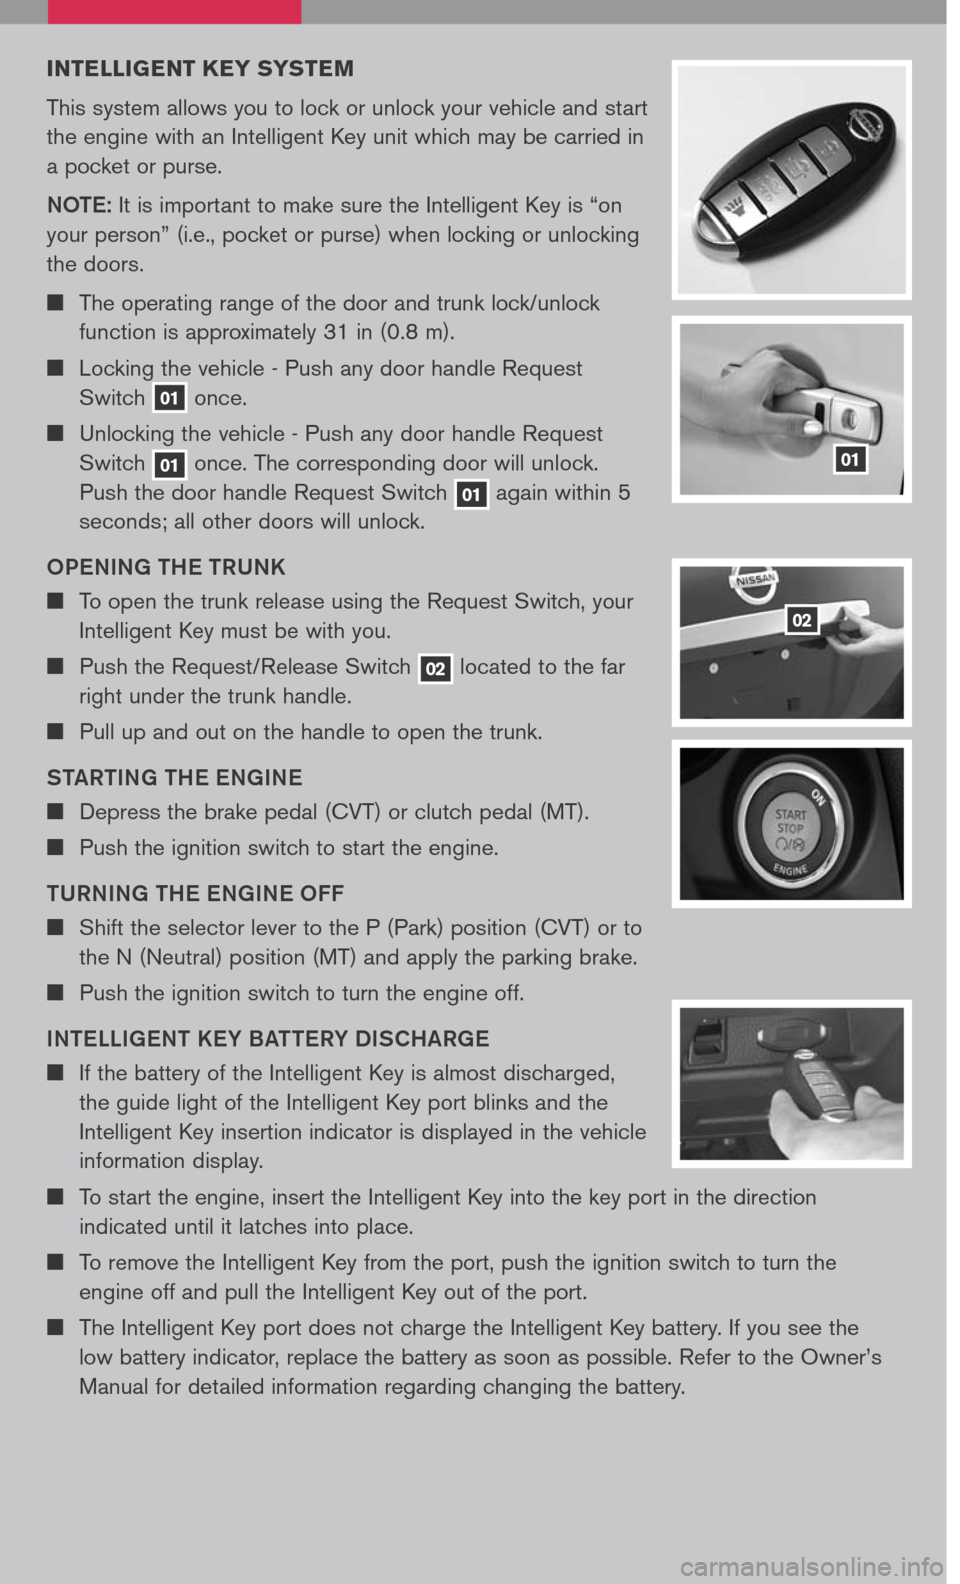
VEHICLE INFORMATION DISPLAY
When the selection button 01 is pressed, the
following modes will display on the screen:
Setting
Warnings (if there are any)
MPG (instant fuel economy)
MPG/MPH (average fuel
economy and speed)
Time/Miles (elapsed time since last reset)
Range (average distance to empty)
Exterior temperature
SETTING MODE
When the setting mode 02 is selected, you are able to set reminders for alerts,
maintenance intervals or language displays.
The ALERT mode allows you to set alerts notifying yourself of time to rest or icy
traveling conditions.
The MAINTENANCE mode allows you to set alerts for the reminding of
maintenance intervals for engine oil, oil filter, tires and others.
The DISPLAY mode allows you to change the language (English or French) or unit
of measurement (US or metric) display.
SUNROOF CONTROLS (if so equipped)
The ignition switch must be in the ON position to operate
the sunroof.
TILTING THE SUNROOF
To tilt the sunroof up, push the tilt switch toward the
01 position.
To tilt the sunroof down, push the tilt switch toward the
02 position.
SLIDING THE SUNROOF
To fully open the sunroof, push the switch toward the 02 position.
To fully close the sunroof, push the switch toward the 01 position.
To open or close the sunroof part way, push the switch in either direction (01 or 02)
while the sunroof is sliding to stop it in the desired position.
02
01
0102
Page 6 of 14

INTELLIGENT K EY SYSTEM
This system allows you to lock or unlock your vehicle and start
the engine with an Intelligent Key unit which may be carried in
a pocket or purse.
NOTE
: It is important to make sure the Intelligent Key is “on
your person” (i.e., pocket or purse) when locking or unlocking
the doors.
The operating range of the door and trunk lock/unlock
function is approximately 31 in (0.8 m).
Locking the vehicle - Push any door handle Request
Switch 01 once.
Unlocking the vehicle - Push any door handle Request
Switch 01 once. The corresponding door will unlock.
Push the door handle Request Switch 01 again within 5
seconds; all other doors will unlock.
OPENING THE TRUNK
To open the trunk release using the Request Switch, your
Intelligent Key must be with you.
Push the Request/Release Switch 02 located to the far
right under the trunk handle.
Pull up and out on the handle to open the trunk.
STARTING THE ENGINE
Depress the brake pedal (CVT) or clutch pedal (MT).
Push the ignition switch to start the engine.
TURNING THE ENGINE OFF
Shift the selector lever to the P (Park) position (CVT) or to
the N (Neutral) position (MT) and apply the parking brake.
Push the ignition switch to turn the engine off.
INTELLIGENT KEY BATTERY DISCHARGE
If the battery of the Intelligent Key is almost discharged,
the guide light of the Intelligent Key port blinks and the
Intelligent Key insertion indicator is displayed in the vehicle
information display.
To start the engine, insert the Intelligent Key into the key port in the direction
indicated until it latches into place.
To remove the Intelligent Key from the port, push the ignition switch to turn the
engine off and pull the Intelligent Key out of the port.
The Intelligent Key port does not charge the Intelligent Key battery. If you see the
low battery indicator, replace the battery as soon as possible. Refer to the Owner’s
Manual for detailed information regarding changing the battery.
01
02
Page 7 of 14

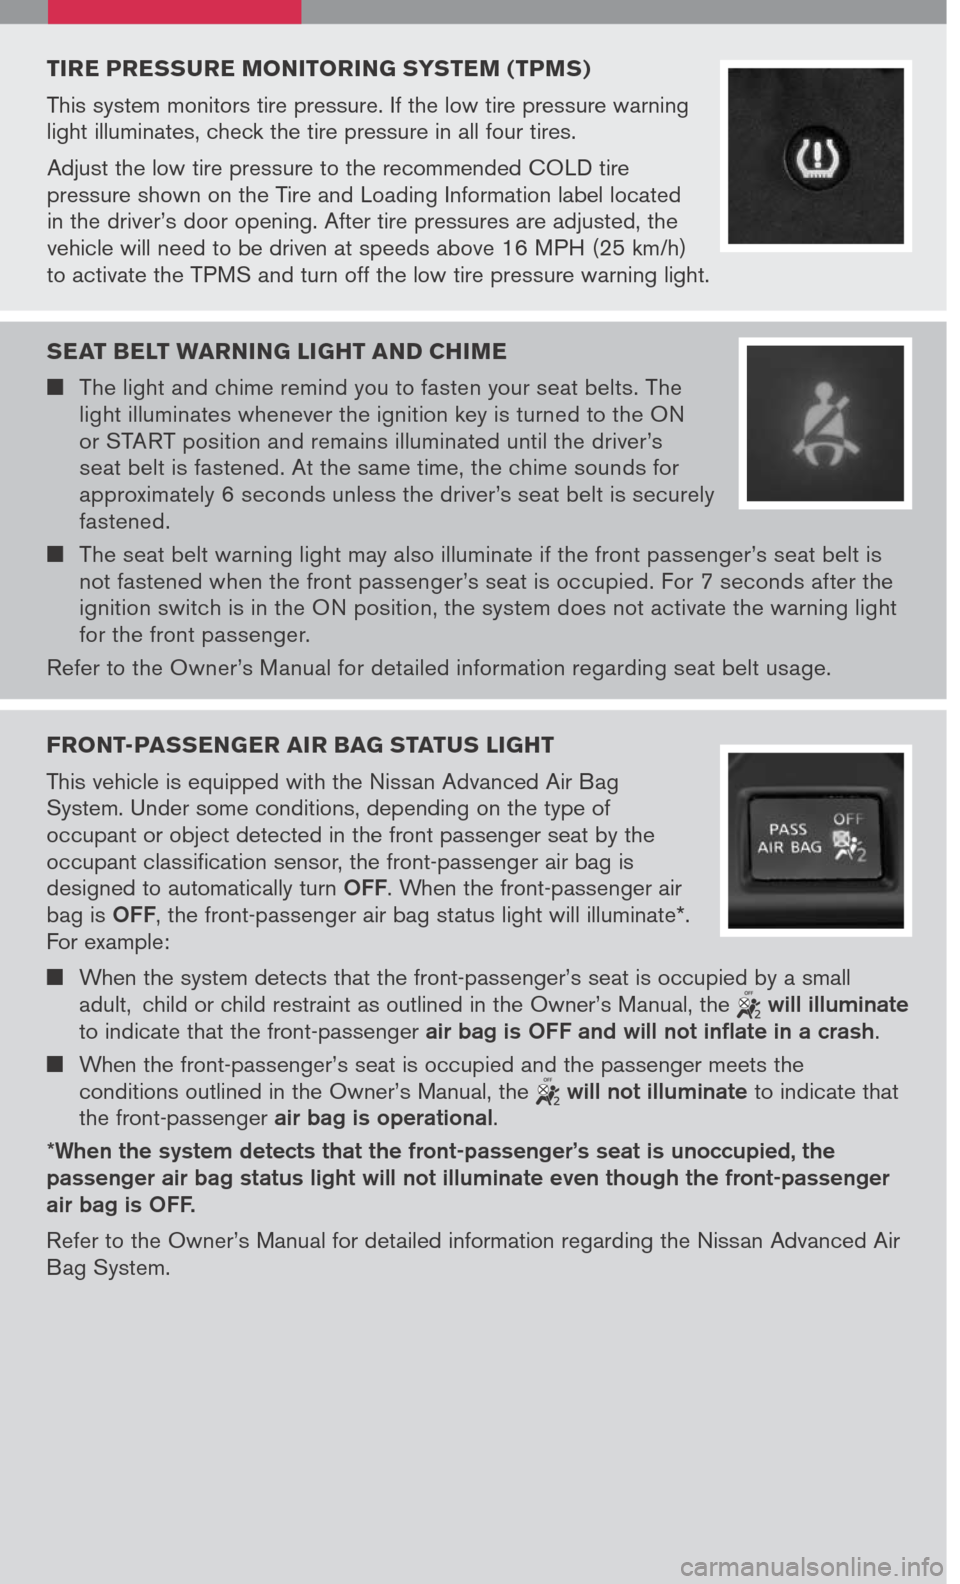
TIRE PRESSURE MONITORING SYSTEM (TPMS)
This system monitors tire pressure. If the low tire pressure warning light illuminates, check the tire pressure in all four tires.
Adjust the low tire pressure to the recommended COLD tire pressure shown on the Tire and Loading Information label located in the driver’s door opening. After tire pressures are adjusted, the vehicle will need to be driven at speeds above 16 MPH (25 km/h) to activate the TPMS and turn off the low tire pressure warning light.
FRONT-PASSENGER AIR BAG STATUS LIGHT
This vehicle is equipped with the Nissan Advanced Air Bag System. Under some conditions, depending on the type of occupant or object detected in the front passenger seat by the occupant classification sensor, the front-passenger air bag is designed to automatically turn OFF. When the front-passenger air
bag is OFF, the front-passenger air bag status light will illuminate*. For example:
When the system detects that the front-passenger’s seat is occupied by a small
adult, child or child restraint as outlined in the Owner’s Manual, the
will illuminate to indicate that the front-passenger air bag is OFF and will not inflate in a crash.
When the front-passenger’s seat is occupied and the passenger meets the conditions outlined in the Owner’s Manual, the will not illuminate to indicate that the front-passenger air bag is operational.
*When the system detects that the front-passenger’s seat is unoccupied, the passenger air bag status light will not illuminate even though the front-passenger air bag is OFF.
Refer to the Owner’s Manual for detailed information regarding the Nissan Advanced Air Bag System.
SEAT BELT WARNING LIGHT AND CHIME
The light and chime remind you to fasten your seat belts. The light illuminates whenever the ignition key is turned to the ON or START position and remains illuminated until the driver’s seat belt is fastened. At the same time, the chime sounds for approximately 6 seconds unless the driver’s seat belt is securely fastened.
The seat belt warning light may also illuminate if the front passenger’s seat belt is not fastened when the front passenger’s seat is occupied. For 7 seconds after the ignition switch is in the ON position, the system does not activate the warning light for the front passenger.
Refer to the Owner’s Manual for detailed information regarding seat belt usage.