manual transmission NISSAN ALTIMA 2023 Owners Manual
[x] Cancel search | Manufacturer: NISSAN, Model Year: 2023, Model line: ALTIMA, Model: NISSAN ALTIMA 2023Pages: 644, PDF Size: 4.12 MB
Page 138 of 644
Shipping Mode On Push Storage Fuse
This warning may appear if the extended
storage switch is not pushed in. When this
warning appears, push in the extended
storage switch to turn off the warning. For
additional information, see “Extended stor-
age switch” (P. 2-70).
Timer Alert Time for a
break?
This message appears when the set time
is reached. This time can be set up to six
hours. For additional information, see
“Driver Assistance” (P. 2-38)
Tire Pressure Low - Add Air
This warning appears when the low tire
pressure warning light in the meter illumi-
nates and low tire pressure is detected. The
warning appears each time the ignition
switch is placed in the ON position as long
as the low tire pressure warning light re-
mains illuminated. If this warning appears,
stop the vehicle and adjust the tire pres-
sures of all four tires to the recommended
COLD tire pressure shown on the Tire and
Loading Information label. For additional
information, see “Low tire pressure warning
light” (P. 2-13) and “Tire Pressure Monitoring
System (TPMS)” (P. 5-5).
Transmission Shif t Position
indicator
This indicator shows the transmission shif t
position.
AWD Error: See Owner’s
Manual
This warning appears when the All-Wheel
Drive (AWD) system is not functioning prop-
erly while the engine is running.
AWD High Temp. Stop
Vehicle
This warning may appear while trying to
free a stuck vehicle due to increased oil
temperature. The driving mode may
change to 2-Wheel Drive (2WD). If this
warning is displayed, stop the vehicle with
the engine idling, as soon as it is safe to do
so. Then if the warning turns off, you can
continue driving.
Tire Size Incorrect See
Owner’s Manual
This warning may appear if there is a large
difference between the diameters of the
front and rear wheels. Pull off the road in a
safe area, with the engine idling. Check that
all the tire sizes are the same, that the tirepressure is correct and that the tires are
not excessively worn.
CVT (AT) Malfunction
Service now
This warning appears when there is a
problem with the CVT system. If this
warning appears, have the system
checked. It is recommended that you visit a
NISSAN dealer for this service.
CVT (AT) hot Power reduced
This transmission has a high fluid tem-
perature protection mode. If the fluid tem-
perature becomes too high (for example,
climbing steep grades in high tempera-
tures with heavy loads, such as when tow-
ing a trailer), engine power and, under
some conditions, vehicle speed will be de-
creased automatically to reduce the
chance of transmission damage. Vehicle
speed can be controlled with the accelera-
tor pedal, but the engine and vehicle speed
may be reduced.
2-48Instruments and controls
Page 173 of 644
4. At the receiver located on the garagedoor opener motor in the garage, locate
the “learn” or “smart” button (the name
and color of the button may vary by
manufacturer but it is usually located
near where the hanging antenna wire is
attached to the unit). If there is difficulty
locating the button, reference the ga-
rage door opener’s manual.
5. Press and release the “learn” or “smart” button.
NOTE:Once the button is pressed, you have ap-
proximately 30 seconds to initiate the
next step.
6. Return to the vehicle and firmly press and hold the trained HomeLink® button
for 2 seconds and release. Repeat the
“press/hold/release” sequence up to
three times to complete the training
process. HomeLink® should now acti-
vate your rolling code equipped device.
7. If you have any questions or are having difficulty programming your HomeLink®
buttons, refer to the HomeLink® web site
at: www.homelink.com or call
1-800-355-3515.
PROGRAMMING HOMELINK® FOR
CANADIAN CUSTOMERS AND GATE
OPENERS
Canadian radio-frequency laws require
transmitter signals to “time-out” (or quit)
af ter several seconds of transmission –
which may not be long enough for
HomeLink® to pick up the signal during
training. Similar to this Canadian law, some
U.S. gate operators are designed to “tim-
eout” in the same manner.
If you live in Canada or you are having diffi-
culties training a gate operator orgarage
door opener by using the “Training” proce-
dures, replace “Programming HomeLink®”
step 2 with the following:
NOTE:
When programming a garage door
opener, etc., unplug the device during
the “cycling” process to prevent possible
damage to the garage door opener
components.
1. For additional information, see “Pro-
gramming HomeLink®” step 1, (P. 2-81). 2. Using both hands, simultaneously press
and hold the desired HomeLink® button
and the hand-held transmitter button.
During training, your hand-held trans-
mitter may automatically stop transmit-
ting. Continue to press and hold the de-
sired HomeLink® button while you press
and re-press (“cycle”) your hand-held
transmitter every 2 seconds until the
frequency signal has been learned. The
HomeLink® indicator light will flash
slowly and then rapidly af ter several
seconds upon successful training. DO
NOT release until the HomeLink® indica-
tor light flashes slowly and then rapidly.
When the indicator light flashes rapidly,
both buttons may be released. The rapid
flashing indicates successful training.
Proceed with “Programming
HomeLink®” step 3 to complete.
If the device was unplugged during the
programming procedure, remember to
plug it back in when programming is
completed.
Instruments and controls2-83
Page 296 of 644
5 Starting and driving
Precautions when starting and driving..........5-4
Exhaust gas (carbon monoxide) ..............5-4
Three-way catalyst ...........................5-4
Tire Pressure Monitoring System
(TPMS) .......................................5-5
Avoiding collision and rollover ................5-9
Off-roadrecovery ............................5-9
Rapid air pressure loss .......................5-9
Drinking alcohol/drugs and driving ..........5-10
Driving safety precautions ...................5-10
Push-button ignition switch ....................5-13
Operating range ............................ 5-14
Push-button ignition switch positions .......5-14
Emergency engine shut off ..................5-15
NISSAN Intelligent Key® battery
discharge ................................... 5-15
NISSAN Vehicle Immobilizer System .........5-16
Before starting the engine .....................5-16
Starting the engine ............................. 5-16
Remote Engine Start ........................ 5-17
Driving the vehicle .............................. 5-18
Continuously Variable Transmission
(CVT) ........................................ 5-18
Parking brake .................................. 5-25
Manual parking brake (pedal type) ...........5-25
Electronic parking brake (switch type) .......5-25 Automatic brake hold (if so equipped)
..........5-27
How to activate/deactivate the
automatic brake hold function ..............5-28
How to use the automatic brake hold
function ..................................... 5-29
Traffic Sign Recognition (TSR) (if so equipped) . . . 5-30 System operation ........................... 5-31
Turning the Traffic Sign Recognition
(TSR) system on and off .....................5-32
System temporarily unavailable .............5-32
System malfunction ......................... 5-32
System maintenance .......................5-33
Lane Departure Warning (LDW) .................5-33
LDW system operation ......................5-34
How to enable/disable the LDW system .....5-36
LDW system limitations .....................5-38
System temporarily unavailable .............5-39
System malfunction ......................... 5-39
System maintenance .......................5-39
Intelligent
Lane Intervention (I-LI)
(if so equipped) ................................. 5-40
I-LI system operation ........................ 5-41
How to enable/disable the I-LI system ......5-42
I-LI system limitations .......................5-43
System temporarily unavailable .............5-44
System malfunction ......................... 5-45
Page 314 of 644
CONTINUOUSLY VARIABLE
TRANSMISSION (CVT)
WARNING
• Do not depress the accelerator pedal
while shif ting from P (Park) or N (Neu-
tral) to R (Reverse), D (Drive), L (Low) or
manual shif t mode (if so equipped).
Always depress the brake pedal until
shif ting is completed. Failure to do so
could cause you to lose control and
have an accident.
• Cold engine idle speed is high, so use
caution when shif ting into a forward
or reverse gear before the engine has
warmed up.
• Do not downshif t abruptly on slip-
pery roads. This may cause a loss of
control.
• Never shif t to either the P (Park) or R
(Reverse) position while the vehicle is
moving forward and P (Park) or D
(Drive) position while the vehicle is
reversing. This could cause an acci-
dent or damage the transmission.
CAUTION
• Except in an emergency, do not shif t
to the N (Neutral) position while driv-
ing. Coasting with the transmission
in the N (Neutral) position may cause
serious damage to the transmission.
• To avoid possible damage to your ve-
hicle, when stopping the vehicle on
an uphill grade, do not hold the ve-
hicle by depressing the accelerator
pedal. The foot brake should be used
for this purpose.
The CVT in your vehicle is electronically
controlled to produce maximum power
and smooth operation.
Follow these procedures for maximum ve-
hicle performance and driving enjoyment.
NOTE:
Engine power may be automatically re-
duced to protect the CVT if the engine
speed increases quickly when driving on
slippery roads or while being tested on
some dynamometers.
Starting the vehicle
1. Af ter starting the engine, fully depress the foot brake pedal before moving the
shif t lever out of the P (Park) position. The
Continuously Variable Transmission is
designed so the foot brake pedal
MUST be depressed before shif ting
from P (Park) to any drive position
while the ignition switch is in the ON
position. The shif t lever cannot be
moved out of P (Park) and into any of
the other gear positions if the ignition
switch is placed in the LOCK position.
LSD3074
DRIVING THE VEHICLE
5-18Starting and driving
Page 315 of 644
2. A screen is displayed for a period of timethat indicates the status of the driving
aid functions (if so equipped).
– AEB with Pedestrian Detection, LDW, and BSW are enabled when the speci-
fied driving aid is shaded.
– I-LI is enabled when the driving aid is solid.
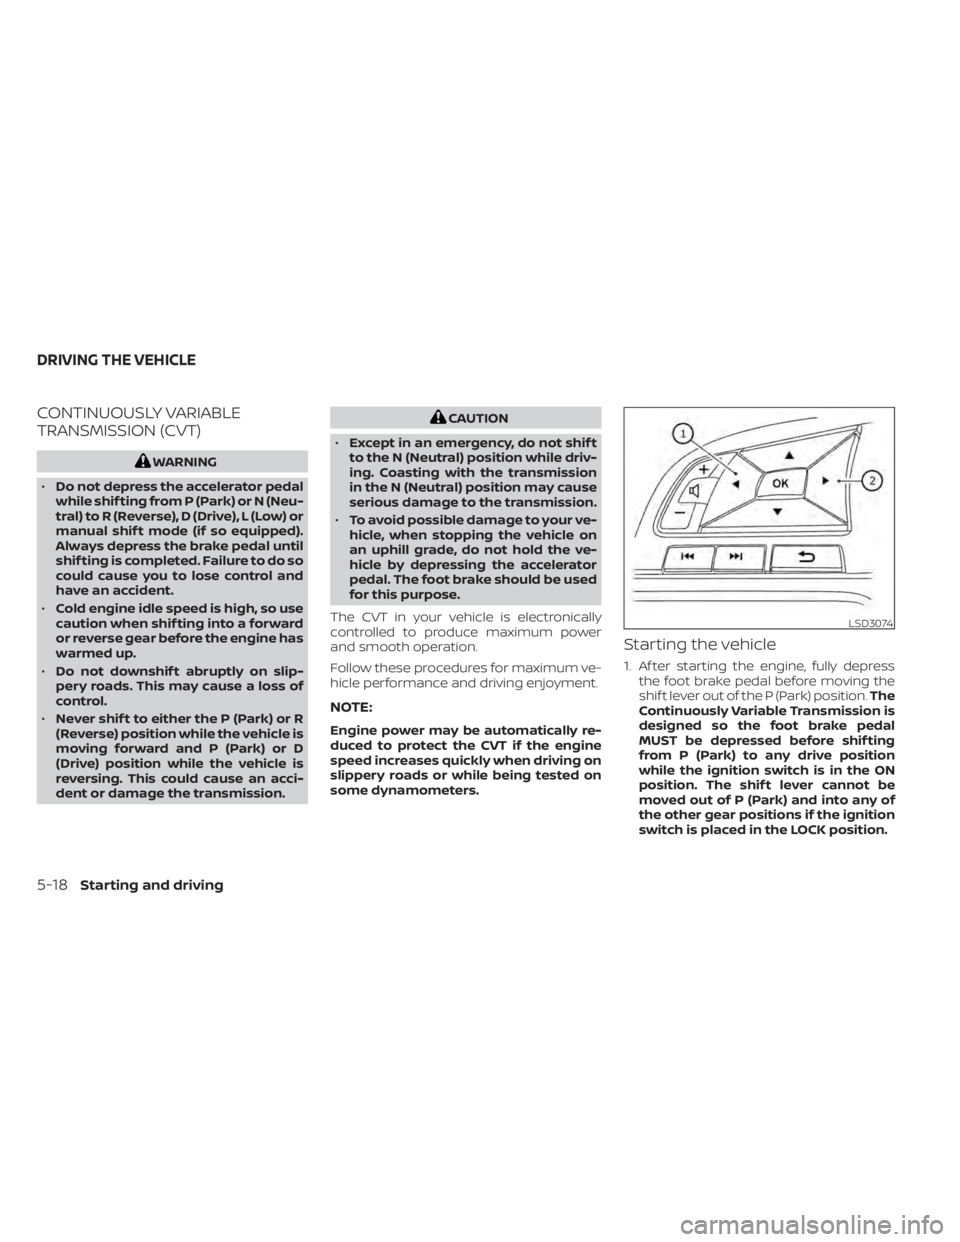
– Use the
O1orO2button to
navigate the settings screen. For ad-
ditional information, see “How to use
the vehicle information display ”
(P. 2-19) or (P. 2-35)
3. Keep the foot brake pedal depressed and move the shif t lever to a driving
position.
4. Release the foot brake, then gradually start the vehicle in motion.
5. Stop the vehicle completely before mov- ing the shif t lever to the P (Park) position.
WARNING
• Do not depress the accelerator pedal
while shif ting from P (Park) or N (Neu-
tral) to R (Reverse), D (Drive), L (Low) or
manual shif t mode (if so equipped).
Always depress the brake pedal until
shif ting is completed. Failure to do so
could cause you to lose control and
have an accident.
• Cold engine idle speed is high, so use
caution when shif ting into a forward
or reverse gear before the engine has
warmed up.
• Do not downshif t abruptly on slip-
pery roads. This may cause a loss of
control.
• Never shif t to either the P (Park) or R
(Reverse) position while the vehicle is
moving forward and P (Park) or D
(Drive) position while the vehicle is
reversing. This could cause an acci-
dent or damage the transmission.CAUTION
• Except in an emergency, do not shif t
to the N (Neutral) position while driv-
ing. Coasting with the transmission
in the N (Neutral) position may cause
serious damage to the transmission.
• To avoid possible damage to your ve-
hicle, when stopping the vehicle on
an uphill grade, do not hold the ve-
hicle by depressing the accelerator
pedal. The foot brake should be used
for this purpose.
Starting and driving5-19
Page 317 of 644
L(Low)
Use this position for engine braking on
steep downhill gradients/climbing steep
slopes and whenever approaching sharp
bends. Do not use the L (Low) position in
any other circumstances.
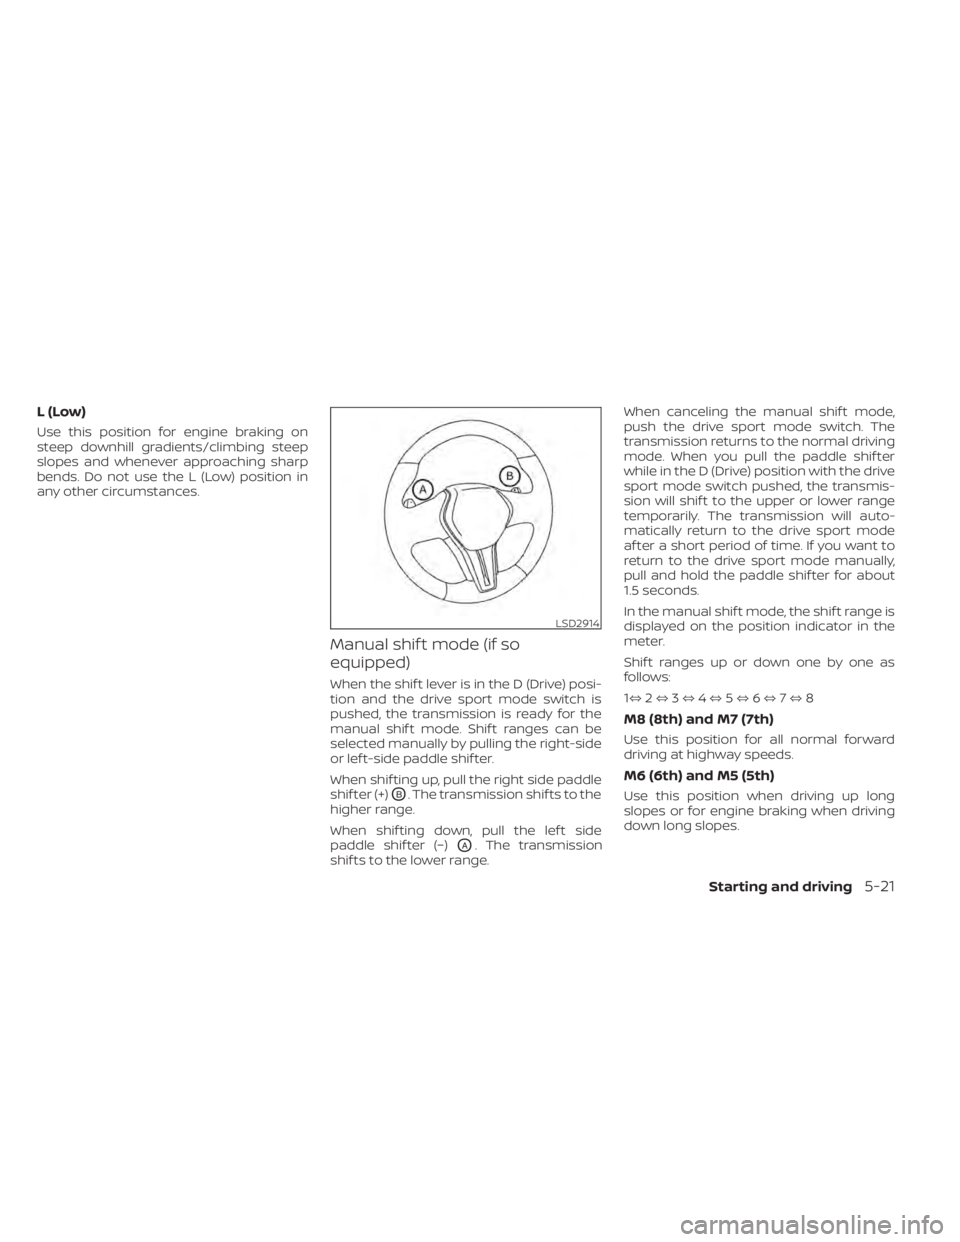
Manual shif t mode (if so
equipped)
When the shif t lever is in the D (Drive) posi-
tion and the drive sport mode switch is
pushed, the transmission is ready for the
manual shif t mode. Shif t ranges can be
selected manually by pulling the right-side
or lef t-side paddle shif ter.
When shif ting up, pull the right side paddle
shif ter (+)
OB. The transmission shif ts to the
higher range.
When shif ting down, pull the lef t side
paddle shif ter (−)
OA. The transmission
shif ts to the lower range. When canceling the manual shif t mode,
push the drive sport mode switch. The
transmission returns to the normal driving
mode. When you pull the paddle shif ter
while in the D (Drive) position with the drive
sport mode switch pushed, the transmis-
sion will shif t to the upper or lower range
temporarily. The transmission will auto-
matically return to the drive sport mode
af ter a short period of time. If you want to
return to the drive sport mode manually,
pull and hold the paddle shif ter for about
1.5 seconds.
In the manual shif t mode, the shif t range is
displayed on the position indicator in the
meter.
Shif t ranges up or down one by one as
follows:
1⇔
2⇔ 3⇔ 4⇔ 5⇔ 6⇔ 7⇔ 8
M8 (8th) and M7 (7th)
Use this position for all normal forward
driving at highway speeds.
M6 (6th) and M5 (5th)
Use this position when driving up long
slopes or for engine braking when driving
down long slopes.
LSD2914
Starting and driving5-21
Page 318 of 644
M4 (4th), M3 (3rd) and M2 (2nd)
Use for hill climbing or engine braking on
downhill grades.
M1 (1st)
Use this position when climbing steep hills
slowly or driving slowly through deep snow,
sand or mud, or for maximum engine brak-
ing on steep downhill grades.
• Remember not to drive at high speeds forextended periods of time in lower than
the 8th range. This reduces fuel economy.
When shif ting up
Use the + (up) side paddle shif ter. (Shif ts to
higher range.)
When shif ting down
Use the − (down) side paddle shif ter. (Shif ts
to lower range.)
When canceling the manual shif t mode
To cancel manual shif t mode, push the
drive sport mode switch on the shif t lever
or press and hold either paddle shif ter.
• In the manual shif t mode, the trans-
mission may not shif t to the selected
gear. This helps maintain driving per-
formance and reduces the chance of
vehicle damage or loss of control. •
In the manual shif t mode, the trans-
mission may shif t up automatically to a
higher range than selected if the en-
gine speed is too high. When the ve-
hicle speed decreases, the transmis-
sion automatically shif ts down and
shif ts to 1st gear before the vehicle
comes to a stop.
• Continuously Variable Transmission (CVT) operation is limited to automatic
drive mode when CVT fluid temperature
is extremely low even if manual shif t
mode is selected. This is not a malfunc-
tion. When CVT fluid warms up, manual
mode can be selected.
• When the CVT fluid temperature is high, the shif t range may upshif t in lower rpm
than usual. This is not a malfunction.
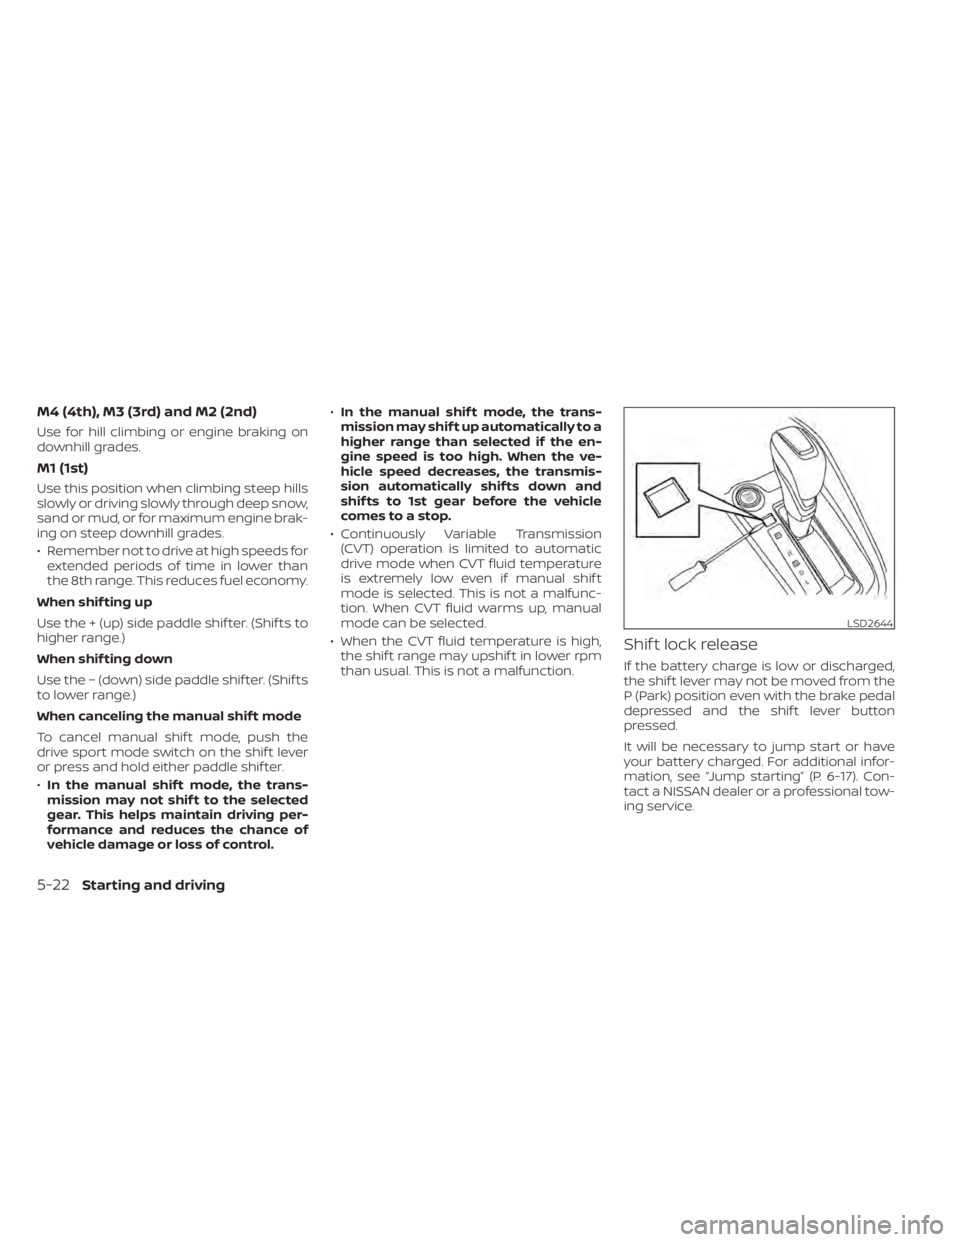
Shif t lock release
If the battery charge is low or discharged,
the shif t lever may not be moved from the
P (Park) position even with the brake pedal
depressed and the shif t lever button
pressed.
It will be necessary to jump start or have
your battery charged. For additional infor-
mation, see “Jump starting” (P. 6-17). Con-
tact a NISSAN dealer or a professional tow-
ing service.
LSD2644
5-22Starting and driving
Page 521 of 644
The engine cooling system is filled at the
factory with a pre-diluted mixture of 50%
Genuine NISSAN Long Life Antifreeze/
Coolant (blue) and 50% water to provide
year-round antifreeze and coolant protec-
tion. The antifreeze solution contains rust
and corrosion inhibitors. Additional engine
cooling system additives are not
necessary.
WARNING
• Never remove the radiator or coolant
reservoir cap when the engine is hot.
Wait until the engine and radiator
cool down. Serious burns could be
caused by high pressure fluid escap-
ing from the radiator. For additional
information on precautions, see “If
your vehicle overheats” (P. 6-19).
• The radiator is equipped with a pres-
sure type radiator cap. To prevent en-
gine damage, use only a Genuine
NISSAN radiator cap.
CAUTION
• Never use any cooling system addi-
tives such as radiator sealer. Addi-
tives may clog the cooling system
and cause damage to the engine,
transmission and/or cooling system.
• When adding or replacing coolant, be
sure to use only Genuine NISSAN
Long Life Antifreeze/Coolant (blue)
or equivalent. Genuine NISSAN Long
Life Antifreeze/Coolant (blue) is pre-
diluted to provide antifreeze protec-
tion to -34° F (-37° C). If additional
freeze protection is needed due to
weather where you operate your ve-
hicle, add Genuine NISSAN Long Life
Antifreeze/Coolant (blue) concen-
trate following the directions on the
container. If an equivalent coolant
other than Genuine NISSAN Long Life
Antifreeze/Coolant (blue) is used, fol-
low the coolant manufacturer’s in-
structions to maintain minimum an-
tifreeze protection to -34° F (-37° C).
The use of other types of coolant so-
lutions other than Genuine NISSAN
Long Life Antifreeze/Coolant (blue)
or equivalent may damage the en-
gine cooling system. •
The life expectancy of the factory-fill
coolant is 105,000 miles (168,000 km)
or 7 years. Mixing any other type of
coolant other than Genuine NISSAN
Long Life Antifreeze/Coolant (blue)
(or equivalent coolant), including
Genuine NISSAN Long Life
Antifreeze/Coolant (green), or the
use of non-distilled water may re-
duce the life expectancy of the
factory-fill coolant. For additional in-
formation, see the "Maintenance and
schedules" section of this manual.
ENGINE COOLING SYSTEM
Do-it-yourself8-5
Page 528 of 644
CAUTION
• NISSAN recommends using Genuine
NISSAN CVT Fluid NS-3 (or equiva-
lent) ONLY in NISSAN CVTs. Do not mix
with other fluids.
• Do not use Automatic Transmission
Fluid (ATF) or manual transmission
fluid in a NISSAN CVT, as it may dam-
age the CVT. Damage caused by the
use of fluids other than as recom-
mended is not covered under
NISSAN's New Vehicle Limited War-
ranty outlined in your Warranty Infor-
mation Booklet.
• Using fluids that are not equivalent
to Genuine NISSAN CVT Fluid NS-3
may also damage the CVT. Damage
caused by the use of fluids other than
as recommended is not covered un-
der NISSAN's New Vehicle Limited
Warranty outlined in your Warranty
Information Booklet.
When checking or replacement of CVT fluid
is required, it is recommended that you visit
a NISSAN dealer for this service. For additional information on brake fluid
specification, see “Recommended fluids/
lubricants and capacities” (P. 10-2).
WARNING
• Use only new fluid from a sealed con-
tainer. Old, inferior or contaminated
fluid may damage the brake system.
The use of improper fluids can dam-
age the brake system and affect the
vehicle's stopping ability.
• Clean the filler cap before removing. •
Brake fluid is poisonous and should
be stored carefully in marked con-
tainers out of reach of children.
CAUTION
Do not spill the fluid on any painted sur-
faces. This will damage the paint. If fluid
is spilled, immediately wash the sur-
face with water.
Check the fluid level in the reservoir. If the
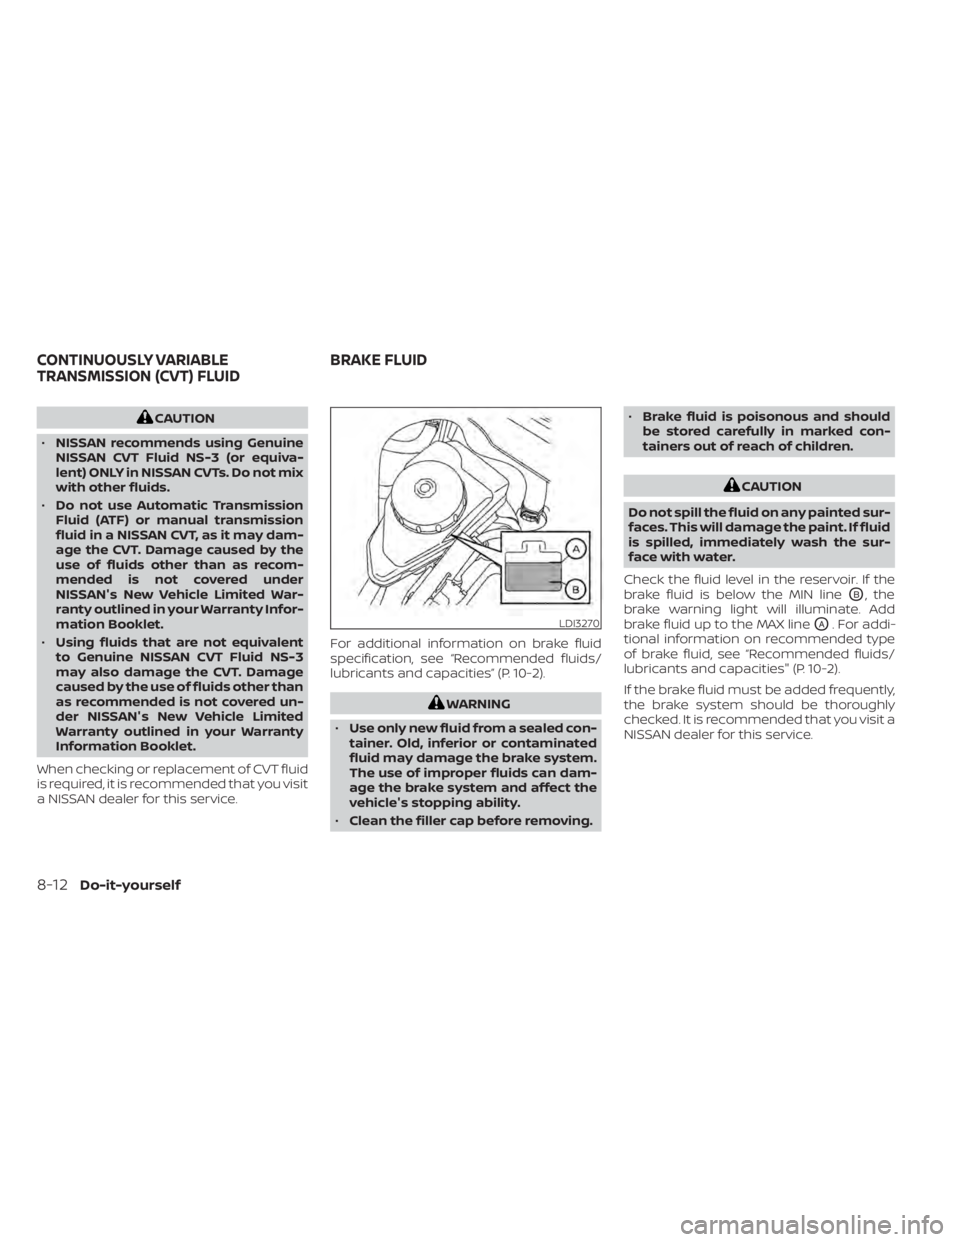
brake fluid is below the MIN line
OB, the
brake warning light will illuminate. Add
brake fluid up to the MAX line
OA. For addi-
tional information on recommended type
of brake fluid, see “Recommended fluids/
lubricants and capacities" (P. 10-2).
If the brake fluid must be added frequently,
the brake system should be thoroughly
checked. It is recommended that you visit a
NISSAN dealer for this service.LDI3270
CONTINUOUSLY VARIABLE
TRANSMISSION (CVT) FLUID BRAKE FLUID
8-12Do-it-yourself
Page 632 of 644
Rear power windows.............2-76Rear seat.....................1-6Rear Sonar System (RSS)..........5-179Rear window and outside mirror defroster
switch..................... .2-56Rearview mirror................3-29RearView Monitor................4-8Recommended Fluids............10-2Recorders
Event Data.............10-24, 10-25Refrigerant recommendation.......10-8Registering a vehicle in another
country.................... .10-12Remote Engine Start..........3-19,5-17Repairing flat tire................6-11Repairing tire..................6-13Reporting safety defects (US only). . . .10-22
S
Safety
Child safety rear door lock.........3-7Child seat belts.....1-23, 1-31, 1-38, 1-43Reporting safety defects (US only). .10-22Seat
Memory seat.........3-31, 3-32, 3-33Seat adjustmentFront manual seat adjustment......1-3Front power seat adjustment.......1-4Rear seat adjustment............1-6Seat beltChild safety..................1-21Infants and small children.....1-21,1-22
Injured person................1-15Larger children...............1-22Precautions on seat belt usage.....1-12Pregnant women..............1-15Seat belt extenders............1-20Seat belt maintenance..........1-20Seat belts................1-12,7-7Shoulder belt height adjustment. . . .1-19Three-point type with retractor.....1-15Seat belt extenders..............1-20Seat belt warning light.........1-14,2-12Seatback pockets...............2-71SeatsAdjustment..................1-2Armrests....................1-7Front seats..................1-2Manual front seat adjustment......1-3Rear seat.................. .1-6Security indicator light............2-12Security system (NISSAN Vehicle Immobilizer
System), engine start.........2-54, 5-16Security systems
Vehicle security system.........2-52Self-adjusting brakes.............8-20Service manual order form........10-26Servicing air conditioner...........4-44Shif t lever lock release............5-22Shif tingContinuously Variable Transmission
(CVT)
.....................5-20Shoulder belt height adjustment......1-19Siri® Eyes-Free................ .4-64Sonar
Rear system................5-179
Spark plug replacement...........8-17Spark plugs...................8-17Specifications................ .10-9Speedometer................. .2-4Spotlights (See map light)..........2-80SRS warning label...............1-67Stability control................5-175Standard maintenance........9-10,9-28Starting
Before starting the engine........5-16Jump starting............6-17,8-15Precautions when starting and
driving................. .5-4, 5-10Push starting................6-19Starting the engine............5-16Starting the engine..............5-16Steering
Heated steering wheel..........2-65Power steering system.........5-172Steering Assist switch
(for vehicles with ProPILOT Assist).....2-66Steering wheel.................3-27Stop light....................8-26Storage.....................2-71Sun visors....................3-28Sunglasses case................2-73Sunglasses holder...............2-73Sunroof...................2-77,7-6Supplemental air bag warning
light................... .1-67, 2-12Supplemental front impact air bag
system..................... .1-54Supplemental restraint system
Information and warning labels.....1-67
11-6