service reset NISSAN ALTIMA 2023 Owners Manual
[x] Cancel search | Manufacturer: NISSAN, Model Year: 2023, Model line: ALTIMA, Model: NISSAN ALTIMA 2023Pages: 644, PDF Size: 4.12 MB
Page 104 of 644
the vehicle must be driven at speeds
above 16 mph (25 km/h) to activate the
TPMS and turn off the low tire pressure
warning light. Use a tire pressure gauge
to check the tire pressure.
The “Tire Pressure Low - Add Air” warning
appears each time the ignition switch is
placed in the ON position as long as the low
tire pressure warning light remains
illuminated.
For additional information, see “Vehicle in-
formation display — 7 inch (18 cm) Type B”
(P. 2-34), and “Tire Pressure Monitoring Sys-
tem (TPMS)” (P. 5-5) and (P. 6-3).
TPMS malfunction
If the TPMS is not functioning properly, the
low tire pressure warning light will flash for
approximately 1 minute when the ignition
switch is placed in the ON position. The
light will remain on af ter 1 minute. Have the
system checked. It is recommended that
you visit a NISSAN dealer for this service.
The "Tire Pressure Low — Add Air" warning
does not appear if the low tire pressure
warning light illuminates to indicate a
TPMS malfunction.
For additional information, see “Tire Pres-
sure Monitoring System (TPMS)” (P. 5-5) and
(P. 6-3).
WARNING
• Radio waves could adversely affect
electric medical equipment. Those
who use a pacemaker should contact
the electric medical equipment
manufacturer for the possible influ-
ences before use.
• If the light does not illuminate with
the ignition switch placed in the ON
position, have the vehicle checked as
soon as possible. It is recommended
that you visit a NISSAN dealer for this
service.
• If the light illuminates while driving,
avoid sudden steering maneuvers or
abrupt braking, reduce vehicle
speed, pull off the road to a safe loca-
tion and stop the vehicle as soon as
possible. Driving with under-inflated
tires may permanently damage the
tires and increase the likelihood of
tire failure. Serious vehicle damage
could occur and may lead to an acci-
dent and could result in serious per-
sonal injury or death. Check the tire
pressure for all four tires. Adjust the
tire pressure to the recommended
COLD tire pressure show on the Tire
and Loading Information label lo-
cated in the driver’s door opening to turn the low tire pressure warning
light off. If the light still illuminates
while driving af ter adjusting the tire
pressure, a tire may be flat or the
TPMS may be malfunctioning. If you
have a flat tire, replace it with a spare
tire as soon as possible. If no tire is
flat and all tires are properly inflated,
have the vehicle checked. It is recom-
mended that you visit a NISSAN
dealer for this service.
• When using a wheel without the
TPMS such as the spare tire, the TPMS
will not function and the low tire
pressure warning light will flash for
approximately 1 minute. The light will
remain on af ter 1 minute. Have your
tires replaced and/or TPMS system
reset as soon as possible. It is recom-
mended that you visit a NISSAN
dealer for these services.
• Replacing tires with those not origi-
nally specified by NISSAN could af-
fect the proper operation of the
TPMS.
2-14Instruments and controls
Page 110 of 644
*Warnings will only display if there are any
present. For additional information, see
“Vehicle information display warnings and
indicators” (P. 2-28).
To control what items display in the vehicle
information display, see “How to use the
vehicle information display” (P. 2-19).
RESETTING THE DRIVE COMPUTER
The drive computer is divided across three
screens:
• Speed
• Trip Distance & Time
• Fuel Economy
1. Press the
orbuttons until the
desired drive computer screen is
displayed.
2. Press the OK button to bring up the drive computer Reset menu.
3. Use the
orto select the de-
sired option. Then press the OK button:
• “Cancel” — returns to the previous screen without resetting the trip computer.
• Drive computer value — resets only the displayed drive computer value.
– “Average Speed” - resets the average speed of the selected drive computer
screen. – “Distance & Time” - resets the distance
and time of the selected drive com-
puter screen.
– “Fuel Economy” - resets the fuel economy of the selected drive com-
puter screen.
• “All” — resets all linked drive computer val- ues. This includes distance & time, aver-
age fuel economy and average speed
information.
OIL CONTROL SYSTEM (if so
equipped)
The oil control system can be accessed in
the Maintenance portion of the vehicle in-
formation display settings.
Engine oil information informs the distance
to oil change. Never exceed one year or
7,500 miles (12,000 km) between oil change
intervals for the 2.0L 4 cylinder (KR20DDET
engine model) or 10,000 miles (16,000 km)
between oil change intervals for the 2.5L 4
cylinder (PR25DD engine model).
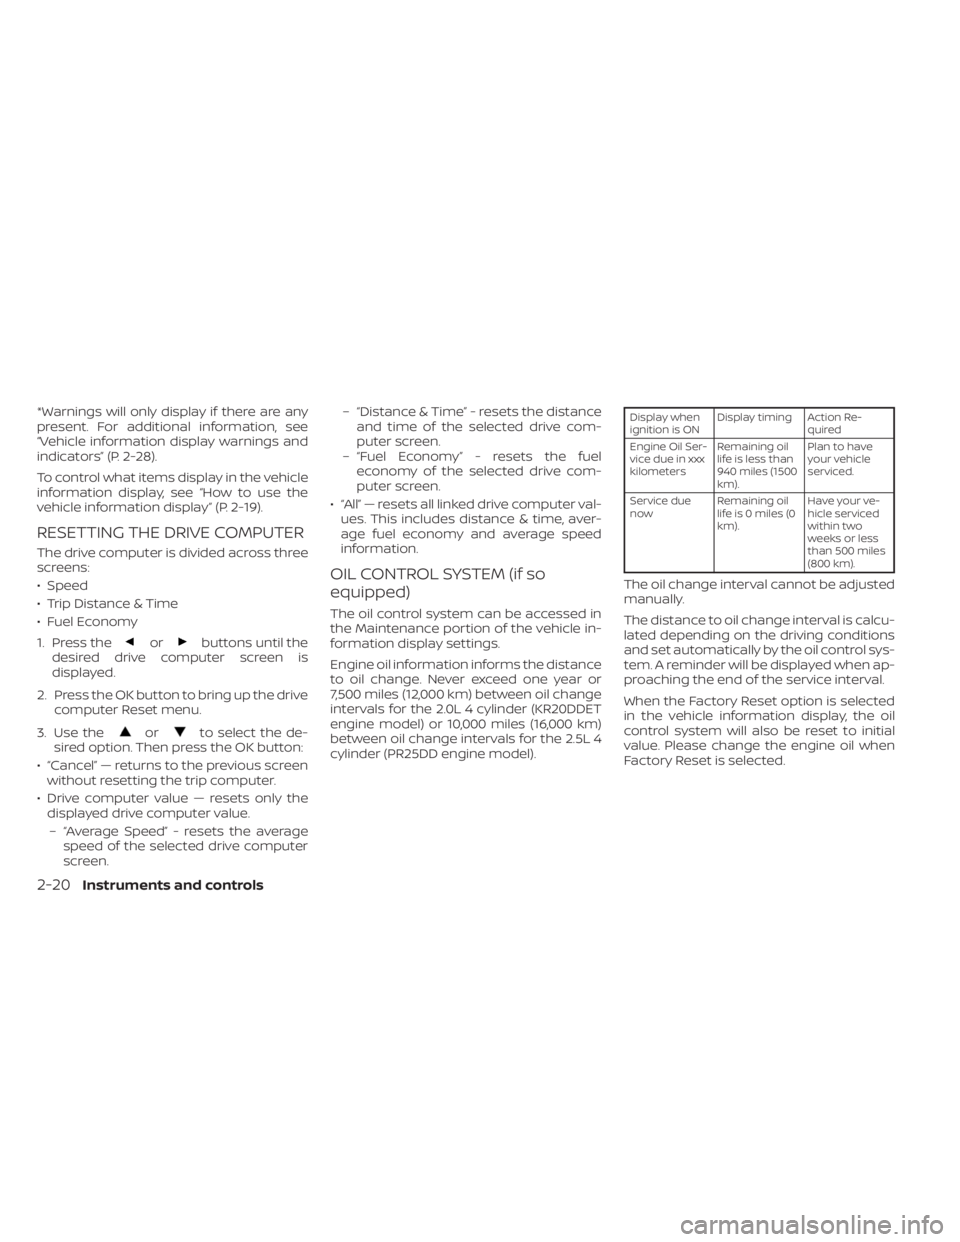
Display when
ignition is ON Display timing Action Re-
quired
Engine Oil Ser-
vice due in xxx
kilometers Remaining oil
life is less than
940 miles (1500
km). Plan to have
your vehicle
serviced.
Service due
now Remaining oil
lifeis0miles(0
km). Have your ve-
hicle serviced
within two
weeks or less
than 500 miles
(800 km).
The oil change interval cannot be adjusted
manually.
The distance to oil change interval is calcu-
lated depending on the driving conditions
and set automatically by the oil control sys-
tem. A reminder will be displayed when ap-
proaching the end of the service interval.
When the Factory Reset option is selected
in the vehicle information display, the oil
control system will also be reset to initial
value. Please change the engine oil when
Factory Reset is selected.
2-20Instruments and controls
Page 120 of 644
Engine Oil Service due now
This message will be displayed when re-
maining distance is 0, indicating service is
now due/overdue. Af ter service is com-
pleted, the Oil Control System should be
reset from the Maintenance settings
menu.
Loose Fuel Cap
This warning appears when the fuel-filler
cap is not tightened correctly af ter the ve-
hicle has been refueled. For additional in-
formation, see “Fuel-filler door” (P. 3-25).
Low Fuel
This warning appears when the fuel level in
the fuel tank is getting low. Refuel as soon
as it is convenient, preferably before the
fuel gauge reaches 0 (Empty).There will be
a small reserve of fuel in the tank when
the fuel gauge needle reaches 0 (Empty).
Low Oil Pressure Stop
Vehicle
This warning appears if low oil pressure is
detected.
If the warning appears during normal driv-
ing, pull off the road in a safe area and stop the engine
immediately . Have the system
checked. It is recommended that you visit a
NISSAN dealer or other authorized repair
shop for this service.
The low oil pressure warning is not de-
signed to indicate a low oil level. Use the
dipstick to check the oil level. For additional
information, see “Engine oil” (P. 8-7).
Low outside temperature
indicator
This indicator appears if the outside tem-
perature is below 37°F (3°C). The tempera-
ture can be changed to display in Fahren-
heit or Celsius. For additional information,
see “Unit” (P. 2-27).
Low Washer Fluid
This warning appears when the
windshield-washer fluid is at a low level.
Add windshield-washer fluid as necessary.
For additional information, see
“Windshield-washer fluid” (P. 8-13).
Power will turn off to save the battery
This message appears af ter a period of
time if the ignition switch is in the ON posi-
tion and if the vehicle is in P (Park). For ad-
ditional information, see “Push-button igni-
tion switch positions” (P. 5-14).
Power turned off to save the battery
This message appears af ter the ignition
switch is automatically turned off. For addi-
tional information, see “Push-button igni-
tion switch positions” (P. 5-14).
Push brake and start
button to drive
This indicator appears when the shif t lever
is in the P (Park) position and the vehicle
has not been started. Start the engine by
pushing the ignition switch with the brake
pedal depressed. You can start the engine
from any position of the ignition switch.
This message also appears when the ve-
hicle has been started using the Remote
Engine Start function (if so equipped). Push
the ignition switch with the brake pedal
depressed to place the ignition switch in
the ON position. For additional information,
see “Remote Engine Start” (P. 3-19).
Reminder Turn OFF
Headlights
This warning appears when the headlights
are lef t in the ON position when exiting the
vehicle. Place the headlight switch in the
OFF or AUTO position. For additional infor-
mation, see “Headlight and turn signal
switch” (P. 2-57).
2-30Instruments and controls
Page 126 of 644
2. Press and hold the OK button for ap-proximately 1 second to reset the infor-
mation on the currently displayed
screen.
NOTE:
If you wish to reset all drive computer
values at once, press and hold the OK
button for approximately 3 seconds until
a reset menu appears; and follow the
instructions.
OIL CONTROL SYSTEM (if so
equipped)
The oil control system can be accessed in
the Maintenance portion of the vehicle in-
formation display settings.
Engine oil information informs the distance
to oil change. Never exceed one year or
7,500 miles (12000 km) between oil change
intervals for the 2.0L 4 cylinder (KR20DDET
engine model) or 10,000 miles (16,000 km)
between oil change intervals for the 2.5L 4
cylinder (PR25DD engine model).
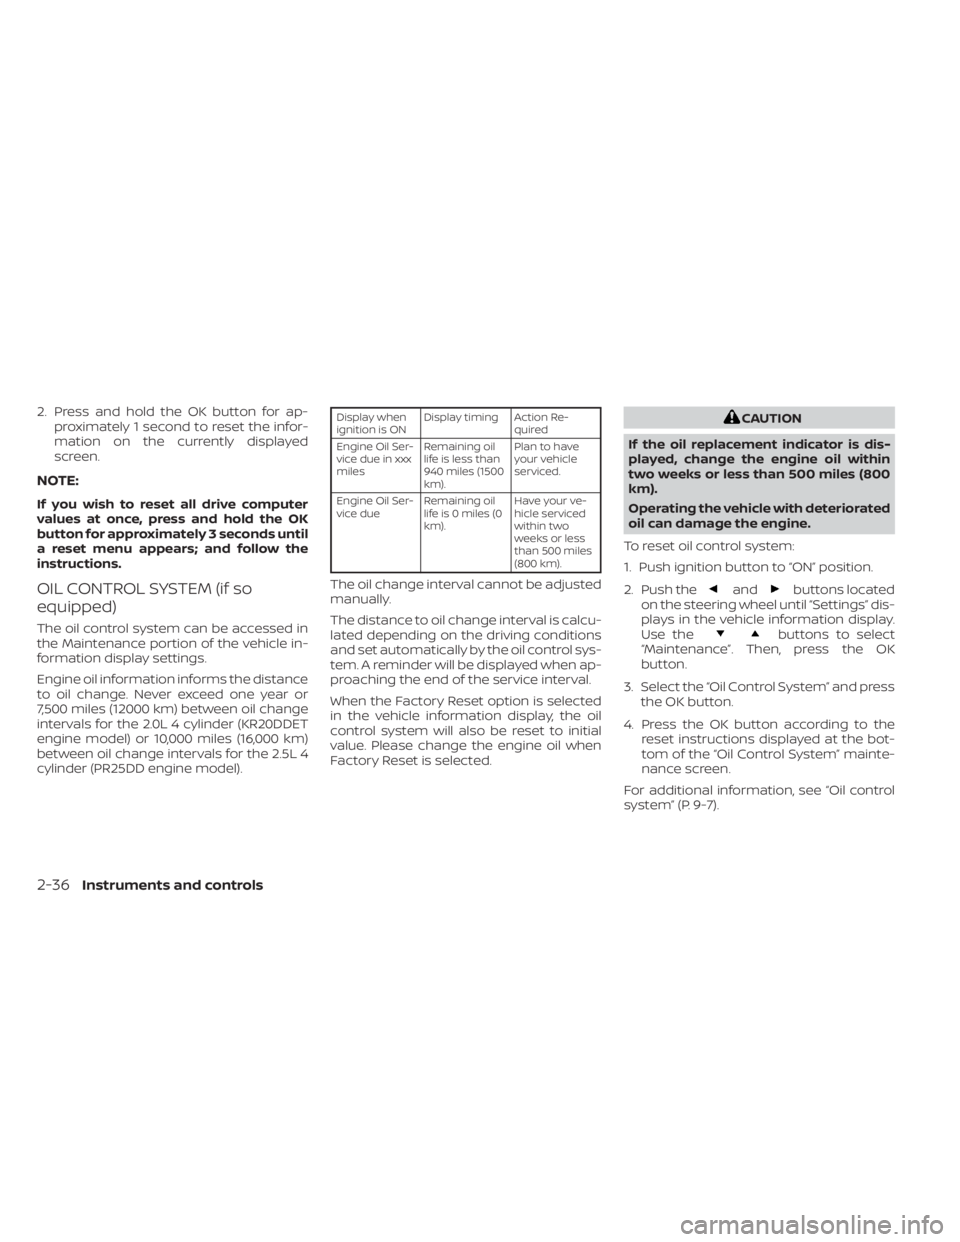
Display when
ignition is ON Display timing Action Re-
quired
Engine Oil Ser-
vice due in xxx
miles Remaining oil
life is less than
940 miles (1500
km). Plan to have
your vehicle
serviced.
Engine Oil Ser-
vice due Remaining oil
lifeis0miles(0
km). Have your ve-
hicle serviced
within two
weeks or less
than 500 miles
(800 km).
The oil change interval cannot be adjusted
manually.
The distance to oil change interval is calcu-
lated depending on the driving conditions
and set automatically by the oil control sys-
tem. A reminder will be displayed when ap-
proaching the end of the service interval.
When the Factory Reset option is selected
in the vehicle information display, the oil
control system will also be reset to initial
value. Please change the engine oil when
Factory Reset is selected.
CAUTION
If the oil replacement indicator is dis-
played, change the engine oil within
two weeks or less than 500 miles (800
km).
Operating the vehicle with deteriorated
oil can damage the engine.
To reset oil control system:
1. Push ignition button to “ON” position.
2. Push the
andbuttons located
on the steering wheel until “Settings” dis-
plays in the vehicle information display.
Use the
buttons to select
“Maintenance”. Then, press the OK
button.
3. Select the “Oil Control System” and press the OK button.
4. Press the OK button according to the reset instructions displayed at the bot-
tom of the “Oil Control System” mainte-
nance screen.
For additional information, see “Oil control
system” (P. 9-7).
2-36Instruments and controls
Page 136 of 644
WARNING
Selecting “Dismiss Message” during a
stop within a trip temporarily dis-
misses the message for that stop with-
out turning the system off. Alerts can
be provided for other stops during the
trip. Selecting “Disable Alert” turns off
the Rear Door Alert system for the re-
mainder of a trip and no audible alert
will be provided.
NOTE:
This system is disabled until a driver en-
ables it using the vehicle information
display. For additional information, see
“How to use the vehicle information dis-
play ” (P. 2-35).
For additional information, see “Rear Door
Alert” (P. 2-67).
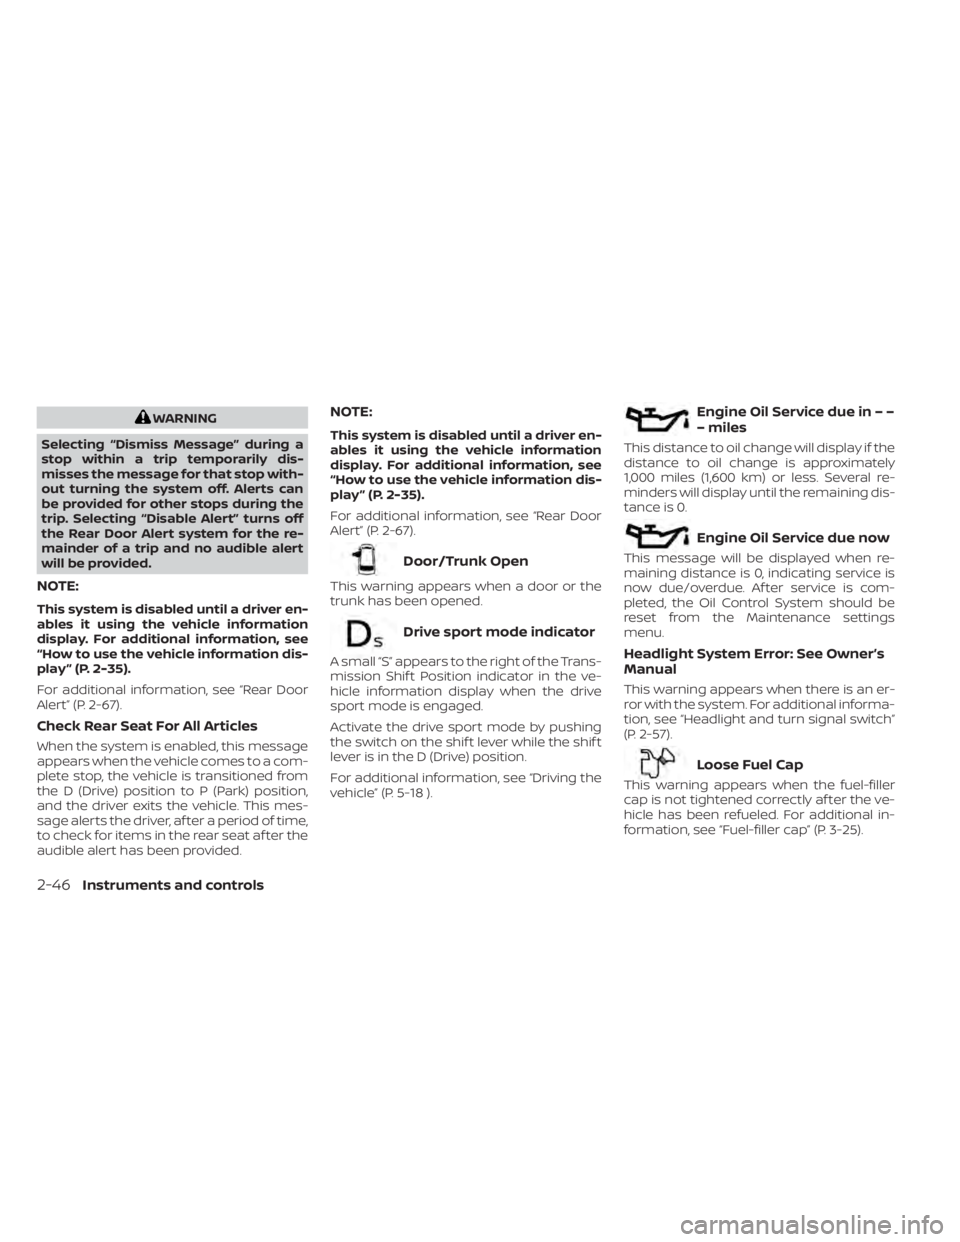
Check Rear Seat For All Articles
When the system is enabled, this message
appears when the vehicle comes to a com-
plete stop, the vehicle is transitioned from
the D (Drive) position to P (Park) position,
and the driver exits the vehicle. This mes-
sage alerts the driver, af ter a period of time,
to check for items in the rear seat af ter the
audible alert has been provided.
NOTE:
This system is disabled until a driver en-
ables it using the vehicle information
display. For additional information, see
“How to use the vehicle information dis-
play ” (P. 2-35).
For additional information, see “Rear Door
Alert” (P. 2-67).
Door/Trunk Open
This warning appears when a door or the
trunk has been opened.
Drive sport mode indicator
A small “S” appears to the right of the Trans-
mission Shif t Position indicator in the ve-
hicle information display when the drive
sport mode is engaged.
Activate the drive sport mode by pushing
the switch on the shif t lever while the shif t
lever is in the D (Drive) position.
For additional information, see “Driving the
vehicle” (P. 5-18 ).
Engine Oil Service due in – –
– miles
This distance to oil change will display if the
distance to oil change is approximately
1,000 miles (1,600 km) or less. Several re-
minders will display until the remaining dis-
tance is 0.
Engine Oil Service due now
This message will be displayed when re-
maining distance is 0, indicating service is
now due/overdue. Af ter service is com-
pleted, the Oil Control System should be
reset from the Maintenance settings
menu.
Headlight System Error: See Owner’s
Manual
This warning appears when there is an er-
ror with the system. For additional informa-
tion, see “Headlight and turn signal switch”
(P. 2-57).
Loose Fuel Cap
This warning appears when the fuel-filler
cap is not tightened correctly af ter the ve-
hicle has been refueled. For additional in-
formation, see “Fuel-filler cap” (P. 3-25).
2-46Instruments and controls
Page 168 of 644
roof will automatically open or close all the
way. To stop the roof, push the switch once
more while it is opening or closing.
Tilting the moonroof
To tilt up, first close the moonroof, then
push the switch
O3and release it; it need
not be held. To tilt down the moonroof,
push the switch to the tilt down position
O2.
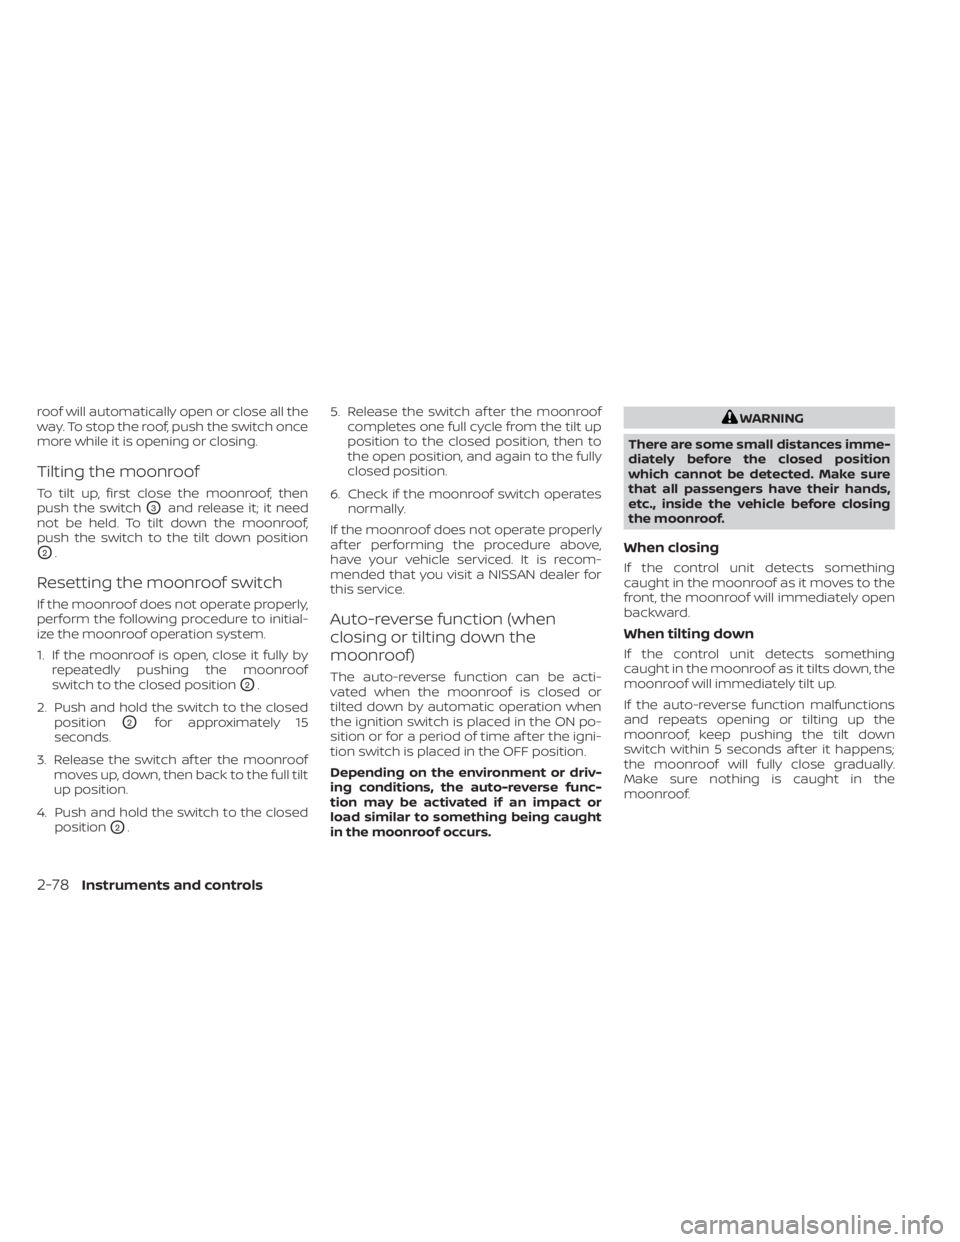
Resetting the moonroof switch
If the moonroof does not operate properly,
perform the following procedure to initial-
ize the moonroof operation system.
1. If the moonroof is open, close it fully by repeatedly pushing the moonroof
switch to the closed position
O2.
2. Push and hold the switch to the closed position
O2for approximately 15
seconds.
3. Release the switch af ter the moonroof moves up, down, then back to the full tilt
up position.
4. Push and hold the switch to the closed position
O2. 5. Release the switch af ter the moonroof
completes one full cycle from the tilt up
position to the closed position, then to
the open position, and again to the fully
closed position.
6. Check if the moonroof switch operates normally.
If the moonroof does not operate properly
af ter performing the procedure above,
have your vehicle serviced. It is recom-
mended that you visit a NISSAN dealer for
this service.
Auto-reverse function (when
closing or tilting down the
moonroof)
The auto-reverse function can be acti-
vated when the moonroof is closed or
tilted down by automatic operation when
the ignition switch is placed in the ON po-
sition or for a period of time af ter the igni-
tion switch is placed in the OFF position.
Depending on the environment or driv-
ing conditions, the auto-reverse func-
tion may be activated if an impact or
load similar to something being caught
in the moonroof occurs.
WARNING
There are some small distances imme-
diately before the closed position
which cannot be detected. Make sure
that all passengers have their hands,
etc., inside the vehicle before closing
the moonroof.
When closing
If the control unit detects something
caught in the moonroof as it moves to the
front, the moonroof will immediately open
backward.
When tilting down
If the control unit detects something
caught in the moonroof as it tilts down, the
moonroof will immediately tilt up.
If the auto-reverse function malfunctions
and repeats opening or tilting up the
moonroof, keep pushing the tilt down
switch within 5 seconds af ter it happens;
the moonroof will fully close gradually.
Make sure nothing is caught in the
moonroof.
2-78Instruments and controls
Page 487 of 644
TIRE PRESSURE MONITORING
SYSTEM (TPMS)
This vehicle is equipped with the Tire Pres-
sure Monitoring system (TPMS). It monitors
tire pressure of all tires except the spare.
When the low tire pressure warning light is
lit, and the “Tire Pressure Low - Add Air”
warning appears in the vehicle information
display, one or more of your tires is signifi-
cantly under-inflated. If equipped, the sys-
tem also displays pressure of all tires (ex-
cept the spare tire) on the display screen by
sending a signal from a sensor that is in-
stalled in each wheel. If the vehicle is being
driven with low tire pressure, the TPMS will
activate and warn you of it by the low tire
pressure warning light. This system will ac-
tivate only when the vehicle is driven at
speeds above 16 mph (25 km/h). For addi-
tional information, see “Warning lights, indi-
cator lights and audible reminders” (P. 2-9)
and “Tire Pressure Monitoring System
(TPMS)” (P. 5-5).
WARNING
• Radio waves could adversely affect
electric medical equipment. Those
who use a pacemaker should contact
the electric medical equipment
manufacturer for the possible influ-
ences before use.
• If the low tire pressure warning light
illuminates while driving, avoid sud-
den steering maneuvers or abrupt
braking, reduce vehicle speed, pull
off the road to a safe location and
stop the vehicle as soon as possible.
Driving with under-inflated tires may
permanently damage the tires and
increase the likelihood of tire failure.
Serious vehicle damage could occur
and may lead to an accident and
could result in serious personal in-
jury. Check the tire pressure for all
four tires. Adjust the tire pressure to
the recommended COLD tire pres-
sure shown on the Tire and Loading
Information label to turn the low tire
pressure warning light OFF. If the
light still illuminates while driving af-
ter adjusting the tire pressure, a tire
may be flat or the TPMS may be mal-
functioning. If you have a flat tire, re-
place it with a spare tire as soon as possible. If no tire is flat and all tires
are properly inflated, have the ve-
hicle checked. It is recommended
that you visit a NISSAN dealer for this
service.
• When using a wheel without the
TPMS such as the spare tire, the TPMS
will not function and the low tire
pressure warning light will flash for
approximately one minute. Have
your tires replaced and/or TPMS sys-
tem reset as soon as possible. It is
recommended that you visit a
NISSAN dealer for these services.
• Replacing tires with those not origi-
nally specified by NISSAN could af-
fect the proper operation of the
TPMS.
• The Genuine NISSAN Emergency Tire
Repair Sealant or equivalent can be
used for temporarily repairing a tire.
Do not inject any other tire liquid or
aerosol tire sealant into the tires, as
this may cause a malfunction of tire
pressure sensors.
FLAT TIRE
In case of emergency6-3
Page 557 of 644
WARNING
• The use of tires other than those rec-
ommended or the mixed use of tires
of different brands, construction
(bias, bias-belted or radial), or tread
patterns can adversely affect the
ride, braking, handling, Vehicle Dy-
namic Control (VDC) system, ground
clearance, body-to-tire clearance,
tire chain clearance, speedometer
calibration, headlight aim and bum-
per height. Some of these effects
may lead to accidents and could re-
sult in serious personal injury.
• If your vehicle was originally
equipped with four tires that were
the same size and you are only re-
placing two of the four tires, install
the new tires on the rear axle. Placing
new tires on the front axle may cause
loss of vehicle control in some driving
conditions and cause an accident
and personal injury. •
If the wheels are changed for any
reason, always replace with wheels
which have the same off-set dimen-
sion. Wheels of a different off-set
could cause premature tire wear, de-
grade vehicle handling characteris-
tics, affect the VDC system and/or in-
terference with the brake discs. Such
interference can lead to decreased
braking efficiency and/or early brake
pad wear. For additional information
on wheel off-set dimensions, see
“Wheels and tires” (P. 10-10).
• When using a wheel without the
TPMS, such as the spare tire, the
TPMS will not function and the low
tire pressure warning light will flash
for approximately 1 minute. The light
will remain on af ter 1 minute. Have
your tires replaced and/or TPMS sys-
tem reset as soon as possible. It is
recommended that you visit a
NISSAN dealer for this service.
• Replacing tires with those not origi-
nally specified by NISSAN could af-
fect the proper operation of the
TPMS.
• The TPMS sensor may be damaged if
it is not handled correctly. Be careful
when handling the TPMS sensor. •
When replacing the TPMS sensor, the
ID registration may be required. It is
recommended that you visit a
NISSAN dealer for ID registration.
• Do not use a valve stem cap that is
not specified by NISSAN. The valve
stem cap may become stuck.
• Be sure that the valve stem caps are
correctly fitted. Otherwise the valve
may be clogged up with dirt and
cause a malfunction or loss of
pressure.
• Do not install a damaged or de-
formed wheel or tire even if it has
been repaired. Such wheels or tires
could have structural damage and
could fail without warning.
• The use of retread tires is not
recommended.
• For additional information regarding
tires, refer to “Important Tire Safety
Information” (US) or “Tire Safety In-
formation” (Canada) in the Warranty
Information Booklet.
Do-it-yourself8-41