clock NISSAN ALTIMA COUPE 2010 D32 / 4.G Quick Reference Guide
[x] Cancel search | Manufacturer: NISSAN, Model Year: 2010, Model line: ALTIMA COUPE, Model: NISSAN ALTIMA COUPE 2010 D32 / 4.GPages: 40, PDF Size: 2.67 MB
Page 3 of 40

TABLe Of cOnTenTS
ni SSAn intelligent k ey™........................................... 2
Automatic door Locks ............................................. 3
Windshield Wiper/Washer Switch ................................... 3
Headlight and Turn Signal control ................................... 4
Steering Wheel Switches for Audio control/Bluetooth
® (if so equipped) ... 5
cruise control .................................................... 5
Automatic climate control (if so equipped) ............................6
f M/AM/XM
®* Radio with cd Player (vehicles with navigation) ............8
u SB Jack with iPod® connectivity (if so equipped) ..................... 9
Music BoxTM Hard drive Audio System (if so equipped) .................10
Bluetooth® Streaming Audio (if so equipped) ......................... 11
Vehicle information display ........................................ 11
clock Set/Adjustment ............................................ 12
RearView Monitor (if so equipped) .................................. 12
Twin Trip Odometer .............................................. 12
continuously Variable Transmission (cVT) (if so equipped) ..............13
6-Speed Manual Transmission (if so equipped) ........................14
Vehicle dynamic control (Vdc) Off Switch ...........................14
front Passenger Air Bag Status Light ............................... 14
Tire Pressure Monitoring System (TPMS) ............................ 15
Seat Belt Warning Light and chime ................................. 15
child Safety Rear door Locks (Sedan only) .......................... 15
fuel-filler door Release ........................................... 15
fuel-filler cap ................................................... 15
Trunk Lid cancel Switch (if so equipped) .............................16
Moonroof controls (if so equipped) ................................. 16
front Seat Adjustments ........................................... 16
Passenger Rear Seat entry (coupe only) .............................17
f olding down the Rear Seats . . . . . . . . . . . . . . . . . . . . . . . . . . . . . . . . . . . .\
. . 18
HomeLink
® universal Transceiver (if so equipped) ..................... 18
Bluetooth® Hands-free Phone System (vehicles without navigation -
if so equipped) .................................................. 19
Bluetooth
® Hands-free Phone System (vehicles with navigation -
if so equipped) .................................................. 22
ni SSAn Voice Recognition System (vehicles with navigation -
if so equipped) .................................................. 25
navigation System (if so equipped) ................................. 30
This easy-to-use Quick Reference Guide is intended to help you more fully
appreciate some of the unique features and functions of your new vehicle.
However, it is not intended to replace your Owner’s Manual. The Owner’s
Manual contains more detailed information to help you better understand
the important safety warnings, features, operation and maintenance of your
vehicle. All information, specifications, photographs and illustrations in this
publication are those in effect at the time of printing. niSSA n reserves the
right to change specifications or design without notice and without obligation.
Page 14 of 40

12
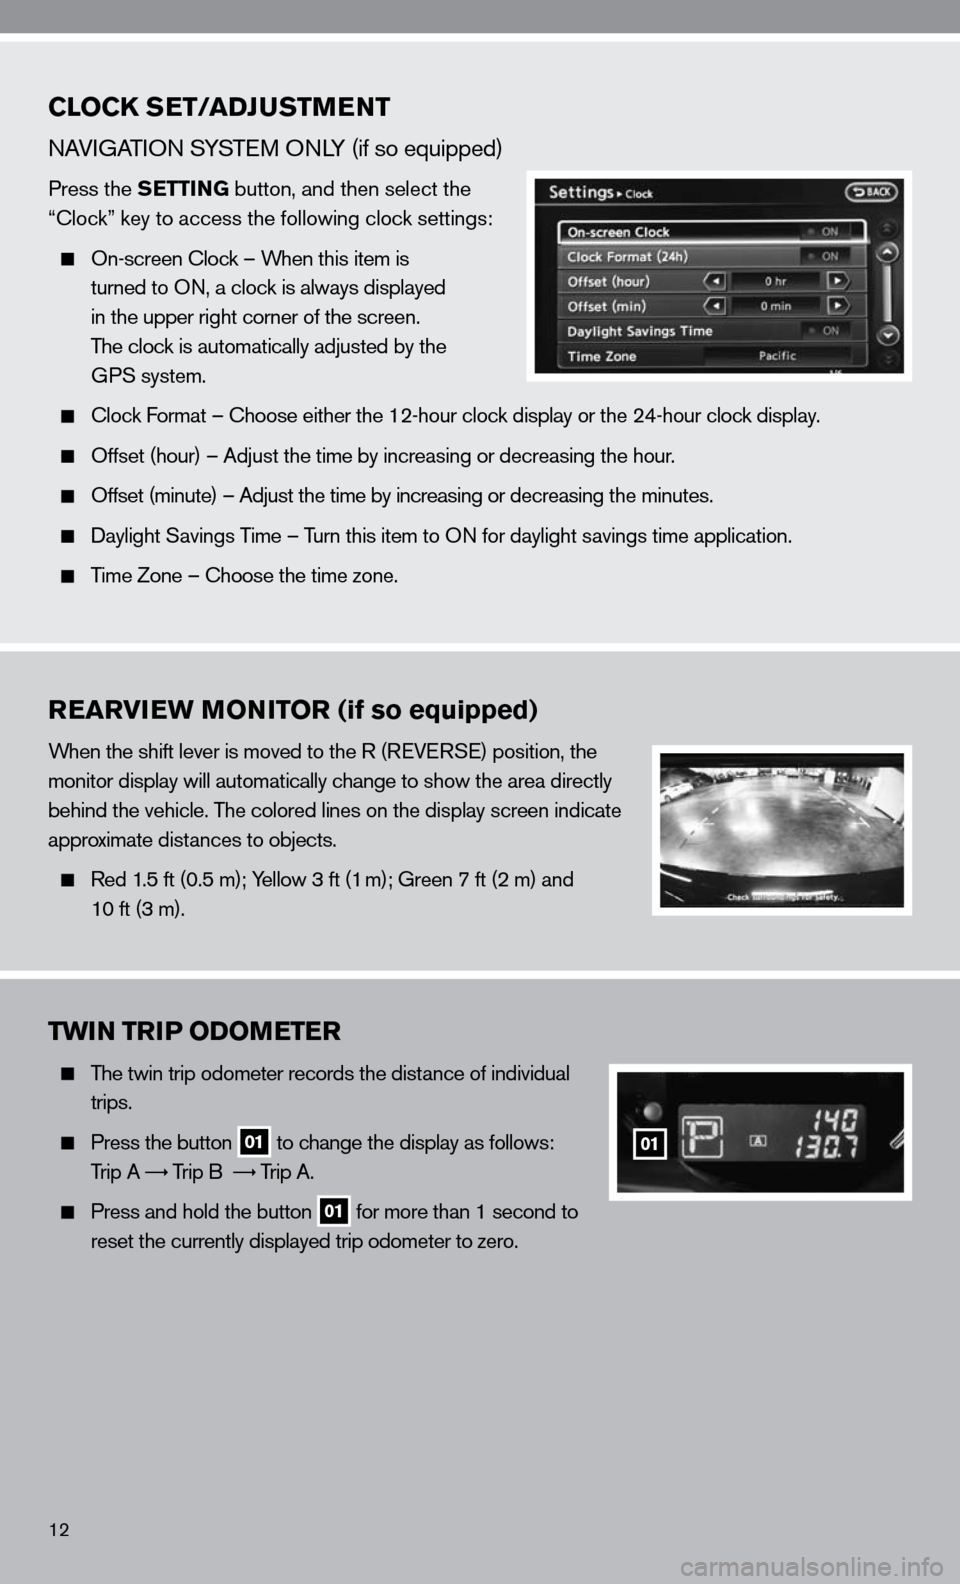
CLOCK SET/ADJUSTMENT
nAViGATi On SYSTe M OnLY (if so equipped)
Press the SETTING button, and then select the
“clock” key to access the following clock settings:
On-screen clock – When this item is
turned to O n, a clock is always displayed
in the upper right corner of the screen.
The clock is automatically adjusted by the
GPS system.
clock f ormat – choose either the 12-hour clock display or the 24-hour clock display.
Offset (hour) – Adjust the time by increasing or decreasing the hour.
Offset (minute) – Adjust the time by increasing or decreasing the minutes.
daylight Savings Time – Turn this item to O n for daylight savings time application.
Time Zone – choose the time zone.
REARVIEW MONITOR (if so equipped)
When the shift lever is moved to the R (R eVeRSe) position, the
monitor display will automatically change to show the area directly
behind the vehicle. The colored lines on the display screen indicate
approximate distances to objects.
Red 1.5 ft (0.5 m); Yellow 3 ft (1 m); Green 7 ft (2 m) and
10 ft (3 m).
TWIN TRIP ODOMETER
The twin trip odometer records the distance of individual
trips.
Press the button 01 to change the display as follows:
Trip A
Trip B
Trip A.
Press and hold the button 01 for more than 1 second to
reset the currently displayed trip odometer to zero.
01
Page 17 of 40

15
TIRE PRESSURE MONITORING SYSTEM (TPMS)
This system monitors tire pressure. if the low tire pressure warning light
illuminates, check the tire pressure in all four tires.
Adjust the low tire pressure to the recommended cOL d tire pressure
shown on the Tire and Loading information label located in the driver’s
door opening. After tire pressures are adjusted, the vehicle will need to
be driven at speeds above 16 MPH (25 km/h) to activate the TPMS and
turn off the low tire pressure warning light.
SEAT BELT WARNING LIGHT AND CHIME
The light and chime remind you to fasten your seat belts. The light
illuminates whenever the ignition switch is placed in the O n or
START position and remains illuminated until the driver’s seat belt
is fastened. At the same time, the chime sounds for approximately
6 seconds unless the driver’s seat belt is securely fastened.
With the ignition O n, the seat belt warning light may also illuminate
if the front-passenger’s seat is occupied with the front-passenger’s
seat belt unfastened.
CHILD SAFETY REAR DOOR LOCKS (Sedan Only)
child safety locks help prevent the rear doors from being opened
accidentally, especially when small children are in the vehicle. The
child safety lock levers are located on the edge of the rear doors.
When the lever is in the LO ck position, the door can only be opened
from the outside.
FUEL-FILLER DOOR RELEASE
The fuel-filler door release is located on the floor to the left of t\
he driver’s seat.
To open the fuel-filler door, pull the release up.
To lock, close the fuel-filler door securely.
FUEL-FILLER CAP
To tighten, turn the fuel-filler cap clockwise until ratcheting clicks
are heard. if the cap is not fully tightened, the
light may
illuminate.
if the
light illuminates because the fuel cap is loose or missing,
tighten or re-install the cap. The
light should turn off after a
few driving trips.