light NISSAN ARMADA 2007 1.G Quick Reference Guide
[x] Cancel search | Manufacturer: NISSAN, Model Year: 2007, Model line: ARMADA, Model: NISSAN ARMADA 2007 1.GPages: 14, PDF Size: 1.28 MB
Page 2 of 14
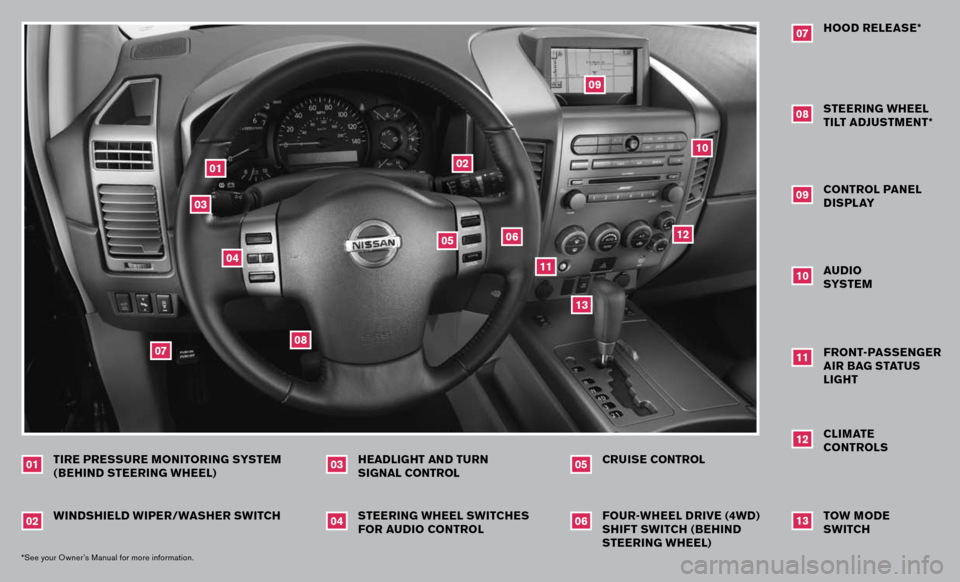
WINDSHIELD WIPER/ WASHER SWITCH
0102*See your Owner’s Manual for more information.
STEERING WHEEL SWITCHES FOR AUDIO CONTROLHEADLIGHT AND TURN SIGNAL CONTROL
0304
FOUR-WHEEL DRIVE (4WD)
SHIFT SWITCH ( BEHIND STEERING WHEEL)CRUISE CONTROL
0506
STEERING WHEEL TILT ADJUSTMENT*HOOD RELEASE*
0708
CONTROL PANEL DISPL AY
09
AUDIO SYSTEM
10
FRONT-PASSENGER
AIR BAG STATUS
LIGHT
11
TIRE PRESSURE MONITORING SYSTEM ( BEHIND STEERING WHEEL)
07
0301
04
08
0205
06
09
11
13
12
10
CLIMATE
CONTROLS
12
TOW MODE SWITCH
13
Page 3 of 14
HEADLIGHT AND TURN SIGNAL CONTROL
HEADLIGHT SWITCH
Turn the headlight switch to the position to turn
on the front parking, tail, license plate and instrument
panel lights.
Turn the headlight switch to the position to turn on
the headlights. All other lights remain on.
HIGH BEAM
Push the headlight switch forward to select the high beam function. The blue
indicator light illuminates. Pull the headlight switch back to the original position to
select the low beam. The blue indicator light goes off.
Pull and release the headlight switch to flash the headlight high beams on and off.
TURN SIGNAL SWITCH
Move the headlight control switch up or down to signal the turning direction. When
the turn is completed, the turn signals cancel automatically.
To signal a lane change, move the headlight control switch up or down to the point
where the indicator light begins to flash, but the headlight control switch does not
latch.
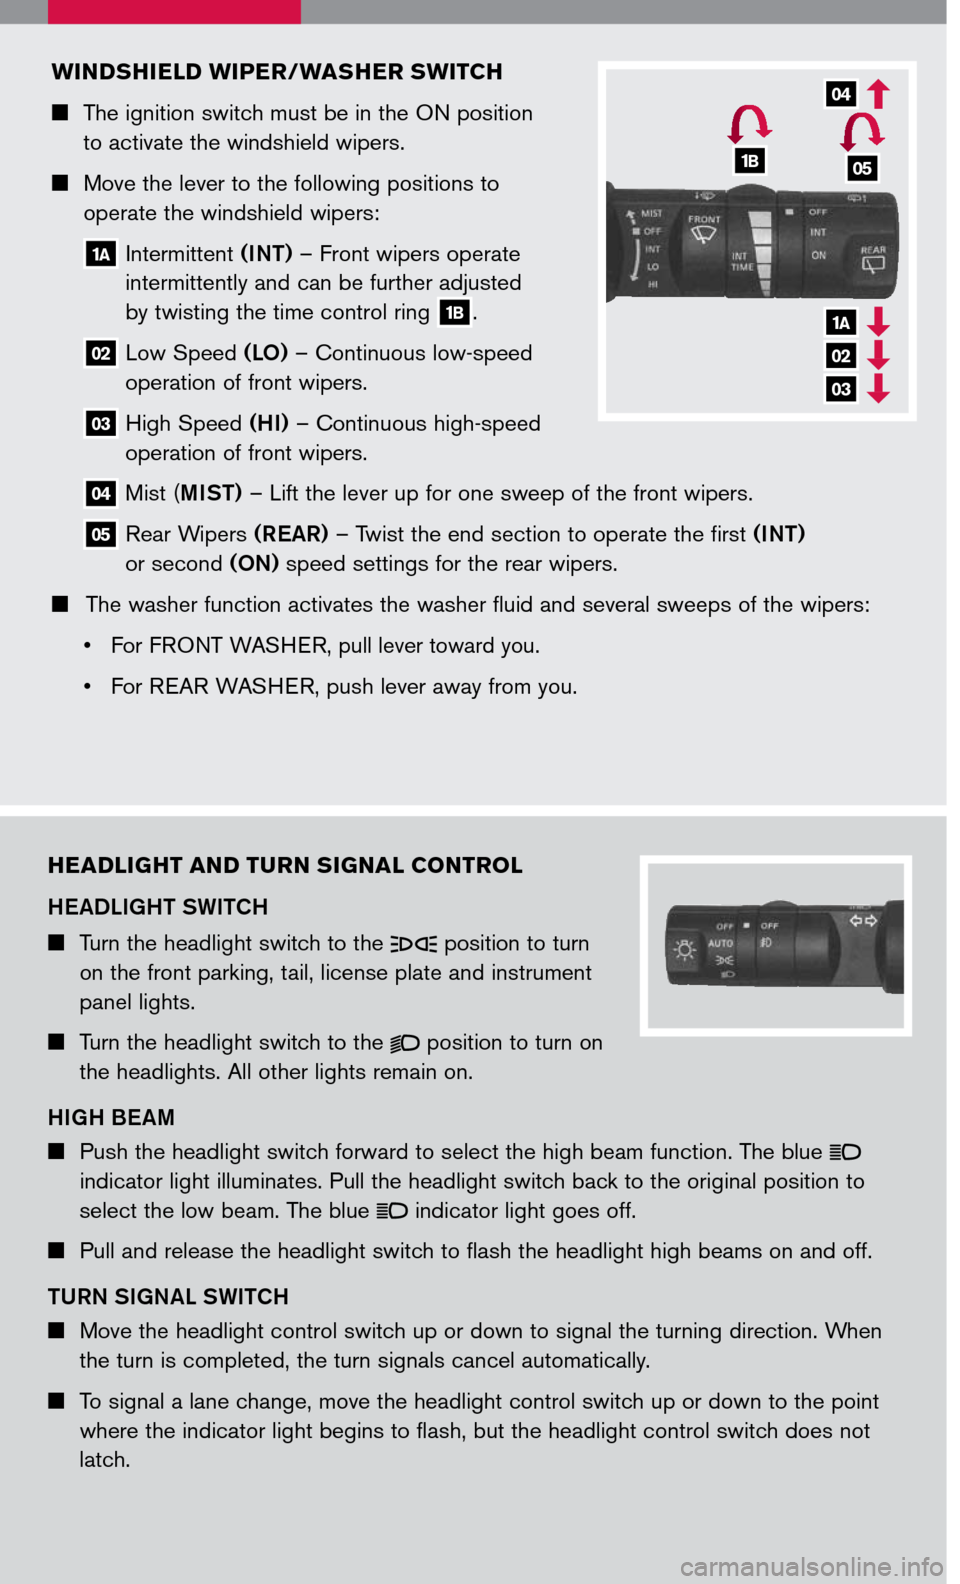
WINDSHIELD WIPER/WASHER SWITCH
The ignition switch must be in the ON position
to activate the windshield wipers.
Move the lever to the following positions to
operate the windshield wipers:
1A Intermittent (INT) – Front wipers operate
intermittently and can be further adjusted
by twisting the time control ring 1B.
02 Low Speed (LO) – Continuous low-speed
operation of front wipers.
03 High Speed (HI) – Continuous high-speed
operation of front wipers.
04 Mist (MIST) – Lift the lever up for one sweep of the front wipers.
05 Rear Wipers (REAR) – Twist the end section to operate the first (INT)
or second (ON) speed settings for the rear wipers.
The washer function activates the washer fluid and several sweeps of the wipers:
• For F
RONT WASHER, pull lever toward you.
• For REAR WASHER, push lever away from you.
1A
02
03
04
1B05
Page 4 of 14
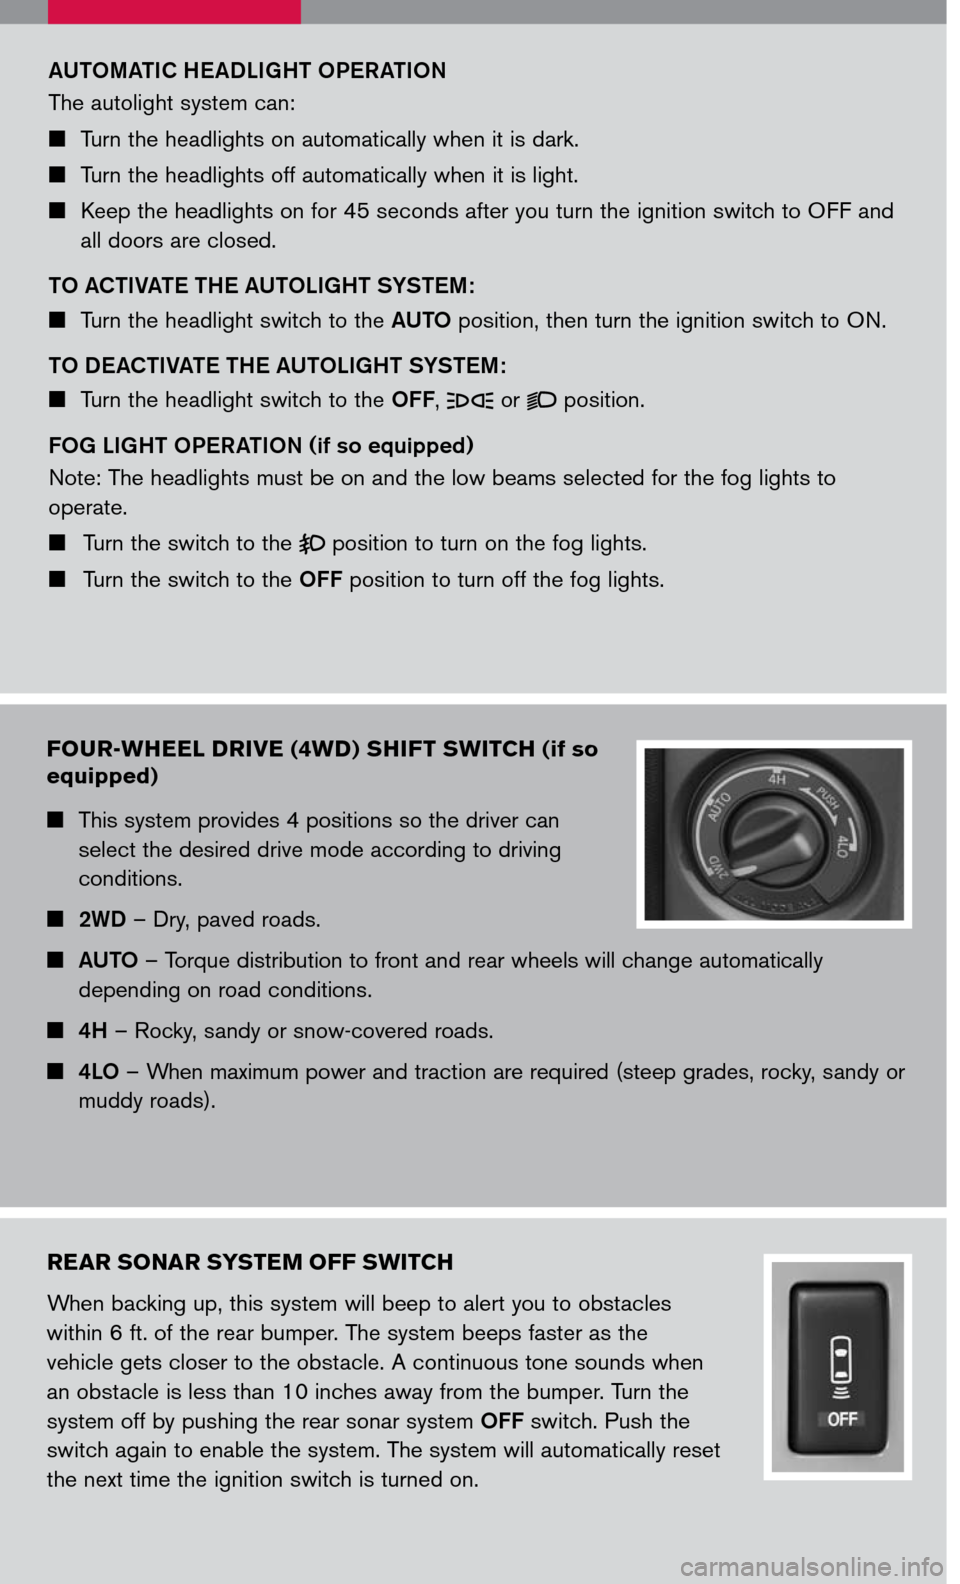
FOUR-WHEEL DRIVE (4WD) SHIFT SWITCH (if so
equipped)
This system provides 4 positions so the driver can
select the desired drive mode according to driving
conditions.
2WD – Dry, paved roads.
AUTO – Torque distribution to front and rear wheels will change automatically
depending on road conditions.
4H – Rocky, sandy or snow-covered roads.
4LO – When maximum power and traction are required (steep grades, rocky, sandy or
muddy roads).
REAR SONAR SYSTEM OFF SWITCH
When backing up, this system will beep to alert you to obstacles
within 6 ft. of the rear bumper. The system beeps faster as the
vehicle gets closer to the obstacle. A continuous tone sounds when
an obstacle is less than 10 inches away from the bumper. Turn the
system off by pushing the rear sonar system OFF switch. Push the
switch again to enable the system. The system will automatically reset
the next time the ignition switch is turned on.
AUTOMATIC HEADLIGHT OPERATION
The autolight system can:
Turn the headlights on automatically when it is dark.
Turn the headlights off automatically when it is light.
Keep the headlights on for 45 seconds after you turn the ignition switch to OFF and
all doors are closed.
TO ACTIVATE THE AUTOLIGHT SYSTEM :
Turn the headlight switch to the AUTO position, then turn the ignition switch to ON.
TO DEACTIVATE THE AUTOLIGHT SYSTEM :
Turn the headlight switch to the OFF, or position.
FOG LIGHT OPERATION (if so equipped)
Note: The headlights must be on and the low beams selected for the fog lights to
operate.
Turn the switch to the position to turn on the fog lights.
Turn the switch to the OFF position to turn off the fog lights.
Page 5 of 14
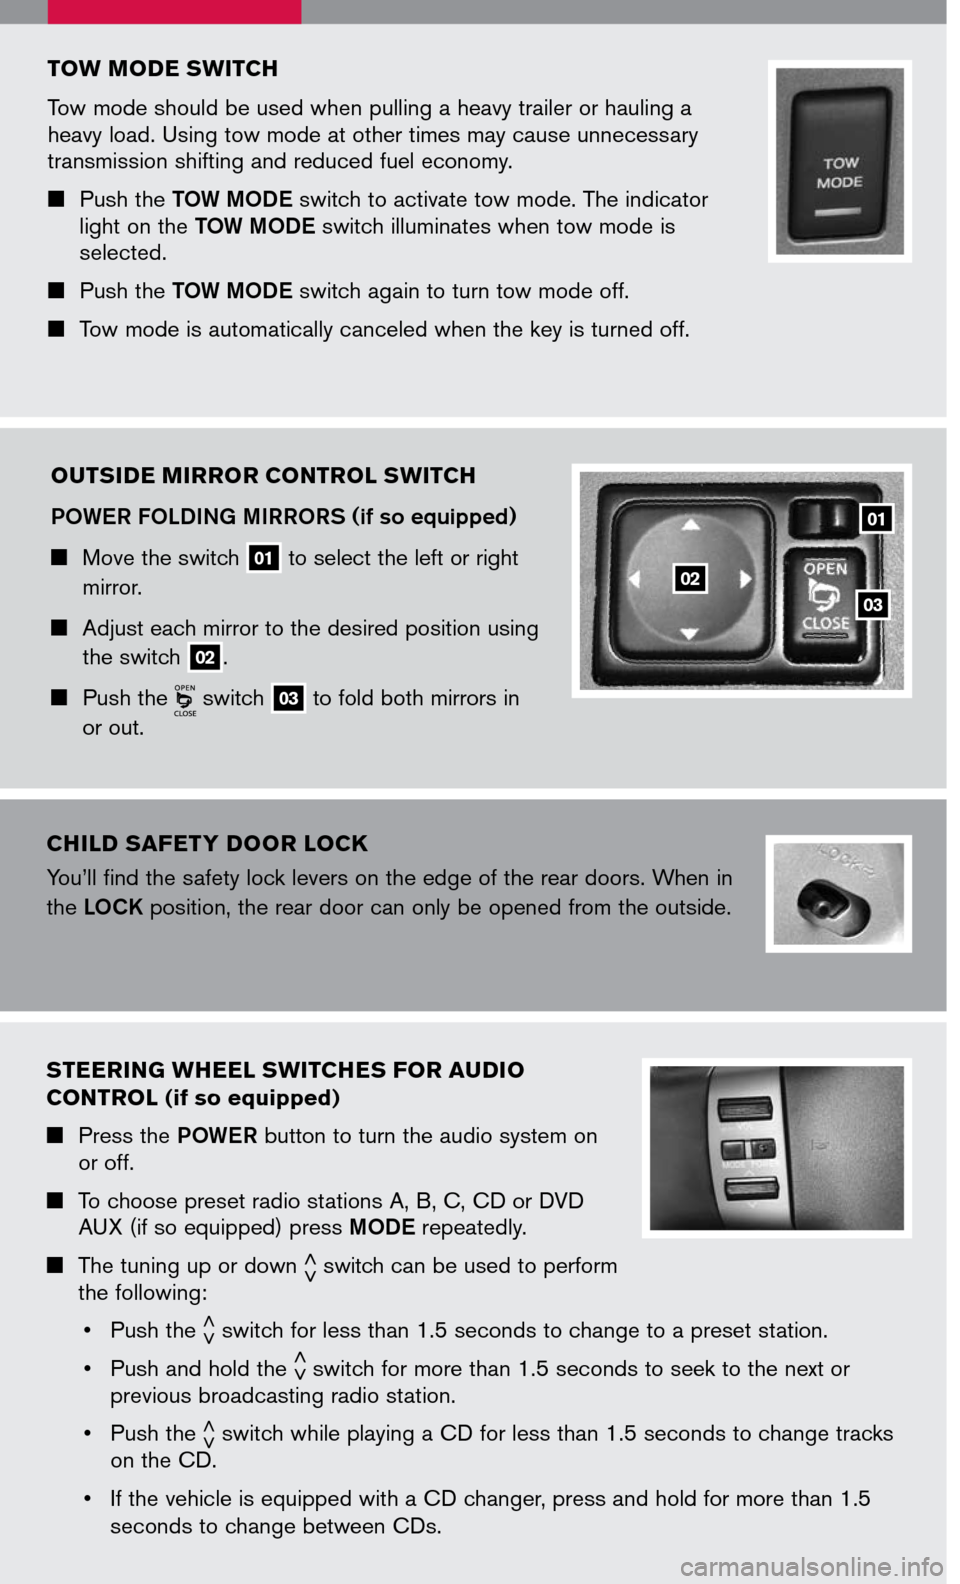
TOW MODE SWITCH
Tow mode should be used when pulling a heavy trailer or hauling a heavy load. Using tow mode at other times may cause unnecessary transmission shifting and reduced fuel economy.
Push the TOW MODE switch to activate tow mode. The indicator light on the TOW MODE switch illuminates when tow mode is selected.
Push the TOW MODE switch again to turn tow mode off.
Tow mode is automatically canceled when the key is turned off.
OUTSIDE MIRROR CONTROL SWITCH
POWER FOLDING MIRRORS (if so equipped)
Move the switch 01 to select the left or right
mirror.
Adjust each mirror to the desired position using
the switch 02.
Push the switch 03 to fold both mirrors in
or out.
03
01
02
STEERING WHEEL SWITCHES FOR AUDIO
CONTROL (if so equipped)
Press the POWER button to turn the audio system on or off.
To choose preset radio stations A, B, C, CD or DVD AUX (if so equipped) press MODE repeatedly.
The tuning up or down < >switch can be used to perform the following:
• Push the
< >switch for less than 1.5 seconds to change to a preset station.
• Push and hold the
< >switch for more than 1.5 seconds to seek to the next or previous broadcasting radio station.
• Push the
< >switch while playing a CD for less than 1.5 seconds to change tracks on the CD.
• If the vehicle is equipped with a CD changer, press and hold for more than 1.5
seconds to change between CDs.
CHILD SAFET Y DOOR LOCK
You’ll find the safety lock levers on the edge of the rear doors. When in
the LOCK position, the rear door can only be opened from the outside.
Page 6 of 14
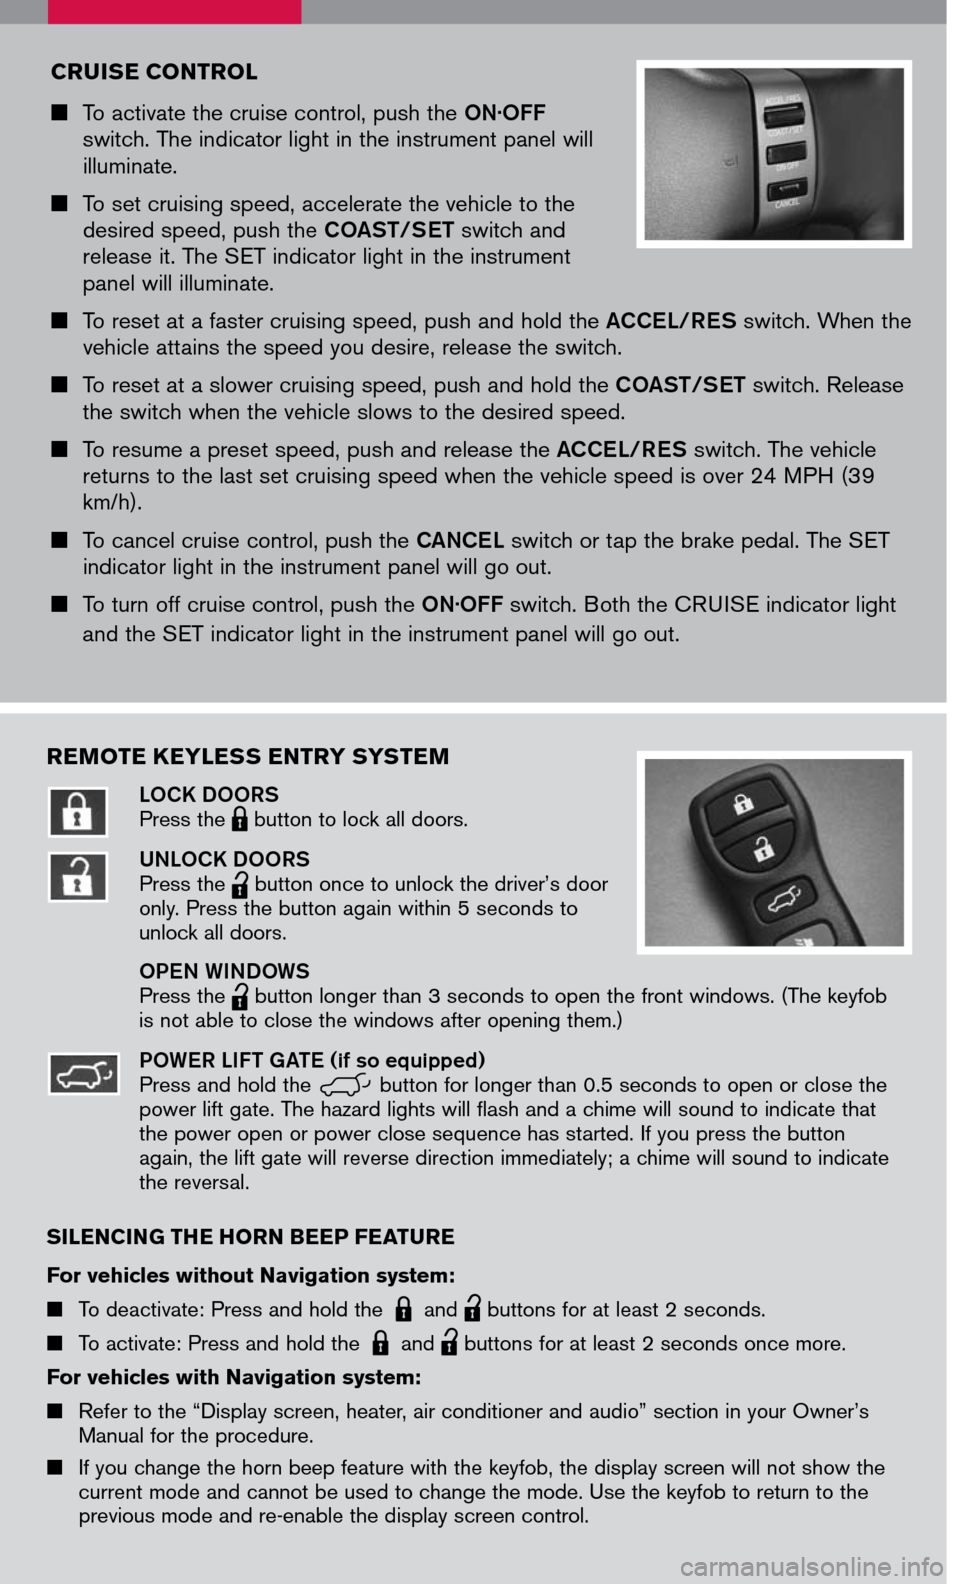
CRUISE CONTROL
To activate the cruise control, push the ON.OFF switch. The indicator light in the instrument panel will illuminate.
To set cruising speed, accelerate the vehicle to the desired speed, push the COAST/SET switch and release it. The SET indicator light in the instrument panel will illuminate.
To reset at a faster cruising speed, push and hold the ACCEL/RES switch. When the vehicle attains the speed you desire, release the switch.
To reset at a slower cruising speed, push and hold the COAST/SET switch. Release the switch when the vehicle slows to the desired speed.
To resume a preset speed, push and release the ACCEL/RES switch. The vehicle returns to the last set cruising speed when the vehicle speed is over 24 MPH (39 km/h).
To cancel cruise control, push the CANCEL switch or tap the brake pedal. The SET indicator light in the instrument panel will go out.
To turn off cruise control, push the ON.OFF switch. Both the CRUISE indicator light
and the SET indicator light in the instrument panel will go out.
REMOTE KEYLESS ENTRY SYSTEM
LOCK DOORSPress the LPD0150 button to lock all doors.
UNLOCK DOORSPress the
lpd0151
button once to unlock the driver’s door only. Press the button again within 5 seconds to unlock all doors.
OPEN WINDOWS Press the
lpd0151
button longer than 3 seconds to open the front windows. (The keyfob is not able to close the windows after opening them.)
POWER LIFT GATE (if so equipped)Press and hold the
WPD0337
1A
button for longer than 0.5 seconds to open or close the power lift gate. The hazard lights will flash and a chime will sound to indicate that the power open or power close sequence has started. If you press the button again, the lift gate will reverse direction immediately; a chime will sound to indicate the reversal.
SILENCING THE HORN BEEP FEATURE
For vehicles without Navigation system:
To deactivate: Press and hold the LPD0150 and
lpd0151
buttons for at least 2 seconds.
To activate: Press and hold the LPD0150 and
lpd0151
buttons for at least 2 seconds once more.
For vehicles with Navigation system:
Refer to the “Display screen, heater, air conditioner and audio” section in your Owner’s Manual for the procedure.
If you change the horn beep feature with the keyfob, the display screen will not show the
current mode and cannot be used to change the mode. Use the keyfob to return to the
previous mode and re-enable the display screen control.
Page 10 of 14
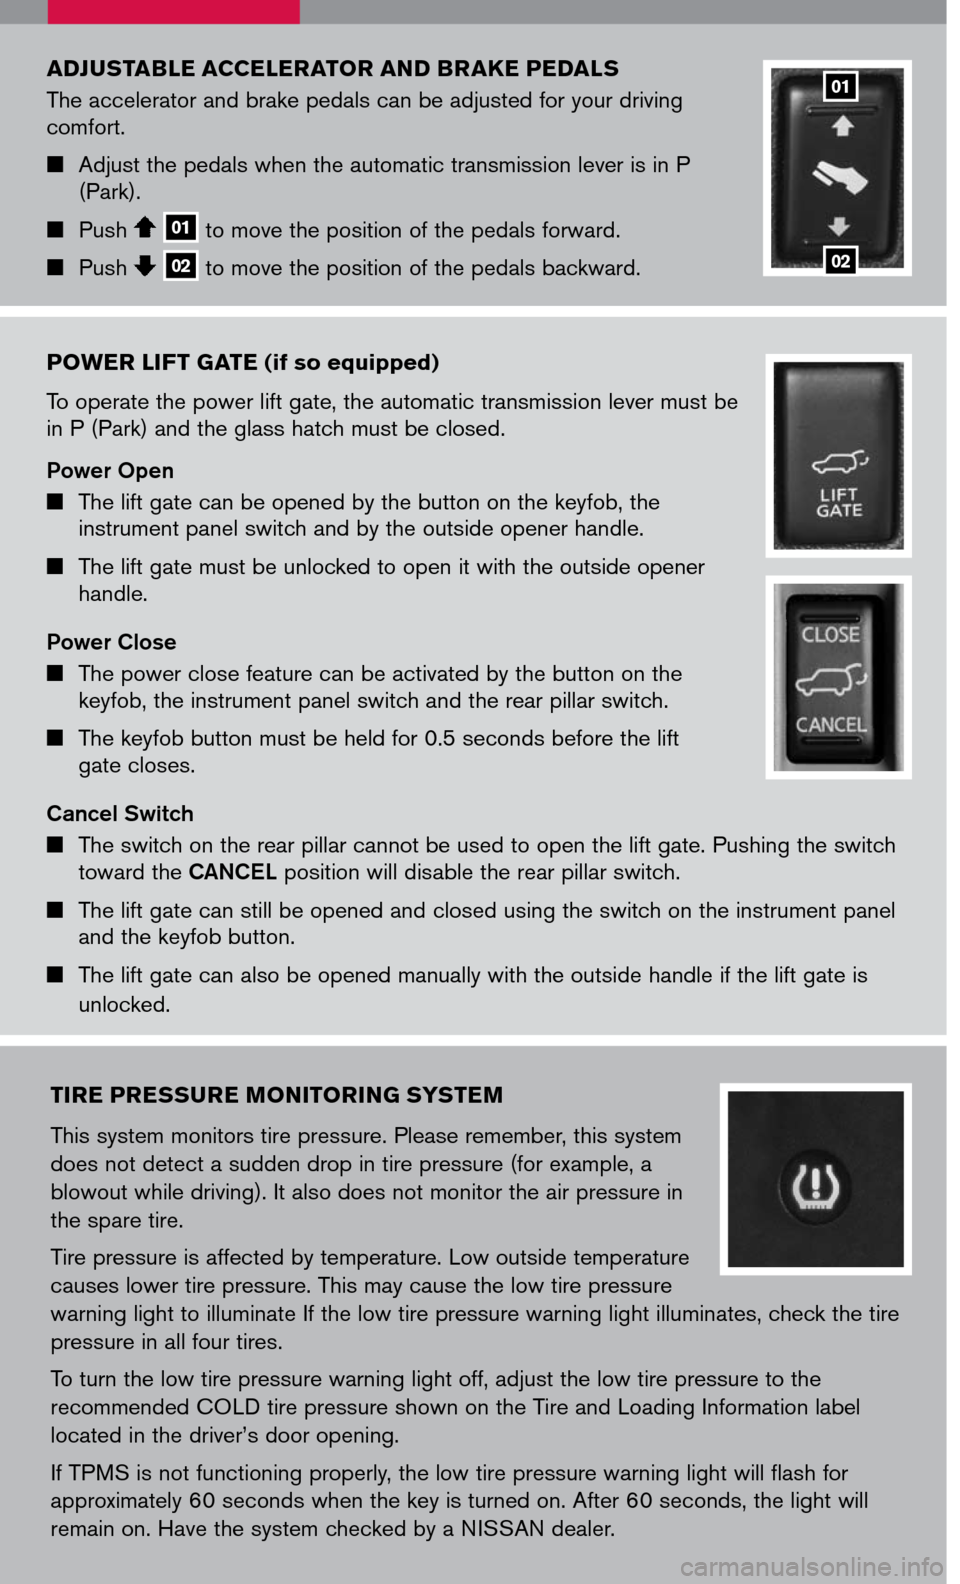
POWER LIFT GATE (if so equipped)
To operate the power lift gate, the automatic transmission lever must be in P (Park) and the glass hatch must be closed.
Power Open
The lift gate can be opened by the button on the keyfob, the instrument panel switch and by the outside opener handle.
The lift gate must be unlocked to open it with the outside opener handle.
Power Close
The power close feature can be activated by the button on the keyfob, the instrument panel switch and the rear pillar switch.
The keyfob button must be held for 0.5 seconds before the lift gate closes.
Cancel Switch
The switch on the rear pillar cannot be used to open the lift gate. Pushing the switch toward the CANCEL position will disable the rear pillar switch.
The lift gate can still be opened and closed using the switch on the instrument panel and the keyfob button.
The lift gate can also be opened manually with the outside handle if the lift gate is
unlocked.
ADJUSTABLE ACCELERATOR AND BRAKE PEDALS
The accelerator and brake pedals can be adjusted for your driving comfort.
Adjust the pedals when the automatic transmission lever is in P (Park).
Push 01 to move the position of the pedals forward.
Push 02 to move the position of the pedals backward.
01
02
TIRE PRESSURE MONITORING SYSTEM
This system monitors tire pressure. Please remember, this system
does not detect a sudden drop in tire pressure (for example, a
blowout while driving). It also does not monitor the air pressure in
the spare tire.
Tire pressure is affected by temperature. Low outside temperature
causes lower tire pressure. This may cause the low tire pressure
warning light to illuminate If the low tire pressure warning light illuminates, check the tire
pressure in all four tires.
To turn the low tire pressure warning light off, adjust the low tire pressure to the
recommended COLD tire pressure shown on the Tire and Loading Information label
located in the driver’s door opening.
If TPMS is not functioning properly, the low tire pressure warning light will flash for
approximately 60 seconds when the key is turned on. After 60 seconds, the light will
remain on. Have the system checked by a NISSAN dealer.
Page 11 of 14
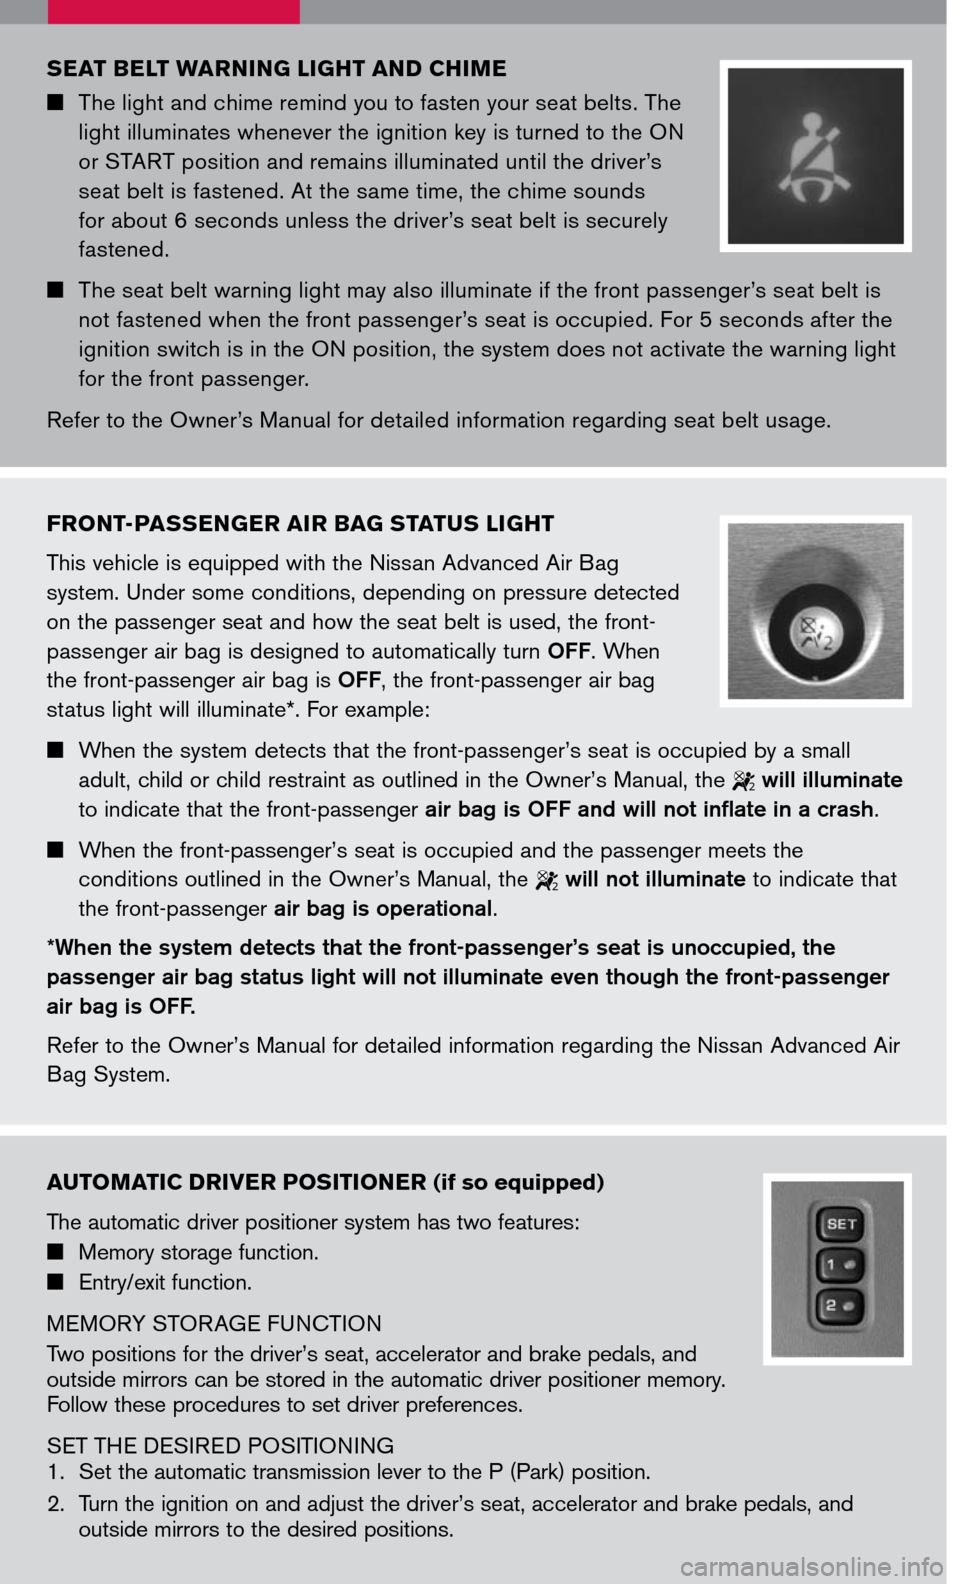
AUTOMATIC DRIVER POSITIONER (if so equipped)
The automatic driver positioner system has two features:
Memory storage function.
Entry/exit function.
MEMORY STORAGE FUNCTION
Two positions for the driver’s seat, accelerator and brake pedals, and outside mirrors can be stored in the automatic driver positioner memory. Follow these procedures to set driver preferences.
SET THE DESIRED POSITIONING
1. Set the automatic transmission lever to the P (Park) position.
2. Turn the ignition on and adjust the driver’s seat, accelerator and brake pedals, and
outside mirrors to the desired positions.
SEAT BELT WARNING LIGHT AND CHIME
The light and chime remind you to fasten your seat belts. The
light illuminates whenever the ignition key is turned to the ON
or START position and remains illuminated until the driver’s
seat belt is fastened. At the same time, the chime sounds
for about 6 seconds unless the driver’s seat belt is securely
fastened.
The seat belt warning light may also illuminate if the front passenger’s seat belt is
not fastened when the front passenger’s seat is occupied. For 5 seconds after the
ignition switch is in the ON position, the system does not activate the warning light
for the front passenger.
Refer to the Owner’s Manual for detailed information regarding seat belt usage.
FRONT-PASSENGER AIR BAG STATUS LIGHT
This vehicle is equipped with the Nissan Advanced Air Bag
system. Under some conditions, depending on pressure detected
on the passenger seat and how the seat belt is used, the front-
passenger air bag is designed to automatically turn OFF. When
the front-passenger air bag is OFF, the front-passenger air bag
status light will illuminate*. For example:
When the system detects that the front-passenger’s seat is occupied by a small
adult, child or child restraint as outlined in the Owner’s Manual, the 2 will illuminate
to indicate that the front-passenger air bag is OFF and will not inflate in a crash.
When the front-passenger’s seat is occupied and the passenger meets the
conditions outlined in the Owner’s Manual, the 2 will not illuminate to indicate that
the front-passenger air bag is operational.
*When the system detects that the front-passenger’s seat is unoccupied, the
passenger air bag status light will not illuminate even though the front-passenger
air bag is OFF.
Refer to the Owner’s Manual for detailed information regarding the Nissan Advanced Air
Bag System.
Page 12 of 14

DRIVER FRONT SEAT ADJUSTMENTS
With manual seats (passenger’s side, if so equipped):
Pull up on the lever under the front of the seat and slide backward or forward; release.
Lift the lever 01 on the side of the seat to adjust your seatback backward or forward; release when you have found a comfortable angle and the seat belt fits properly.
With power seats (if so equipped):
Move the control 02 forward or backward to adjust the seat cushion forward or backward.
Pull up on the control 02 to raise the seat cushion; press down to lower the cushion.
Push the switch 03 forward to move the seatback forward; push it back to move the seatback backward.
LUMBAR SUPPORT (if so equipped) Your driver’s seat has a lumbar support; adjust it by
moving the lever 04 up or down.
04
0203
01
3. Press the SET (memory) button and within 5 seconds press the position button (1 or 2) for at least 1 second until the indicator light illuminates. The position is now stored in memory.
LINK TO KEYFOB Within 5 seconds of setting the memory position (indicator light is on and ignition is on), press the button on the remote. A keyfob can be linked to each memory button. If memory positioning is re-set to a new location, the keyfob automatically re-links.
RECALLING A MEMORY SETTING FROM THE MEMORY PAD Set the automatic transmission lever to the P (Park) position, then: Within 45 seconds of opening the driver’s door, push the memory switch (1 or 2) fully for at least 1 second, or Turn the ignition switch to the ON position and push the memory switch (1 or 2) fully for at least 1 second.
FROM THE KEYFOB
If properly linked, operation of the button will automatically return the driver’s seat, accelerator and brake pedals, and outside mirrors to the memorized position.
ENTRY/EXIT FUNCTION
The driver’s seat automatically moves to allow the driver to get into and out of the driver’s seat more easily. The driver’s seat slides backward when:
The driver’s door is opened with the key turned to LOCK. The key is turned from ACC to LOCK with the driver’s door open and the automatic transmission lever is in the P (Park) position.
The driver’s seat returns to the previous position when:
The key is inserted into the ignition switch. The driver’s door is closed with the key turned to LOCK. The key is turned from ACC to ON while the automatic transmission lever is in the P (Park) position.