USB NISSAN CUBE 2010 3.G Quick Reference Guide
[x] Cancel search | Manufacturer: NISSAN, Model Year: 2010, Model line: CUBE, Model: NISSAN CUBE 2010 3.GPages: 20, PDF Size: 2.55 MB
Page 10 of 20

8
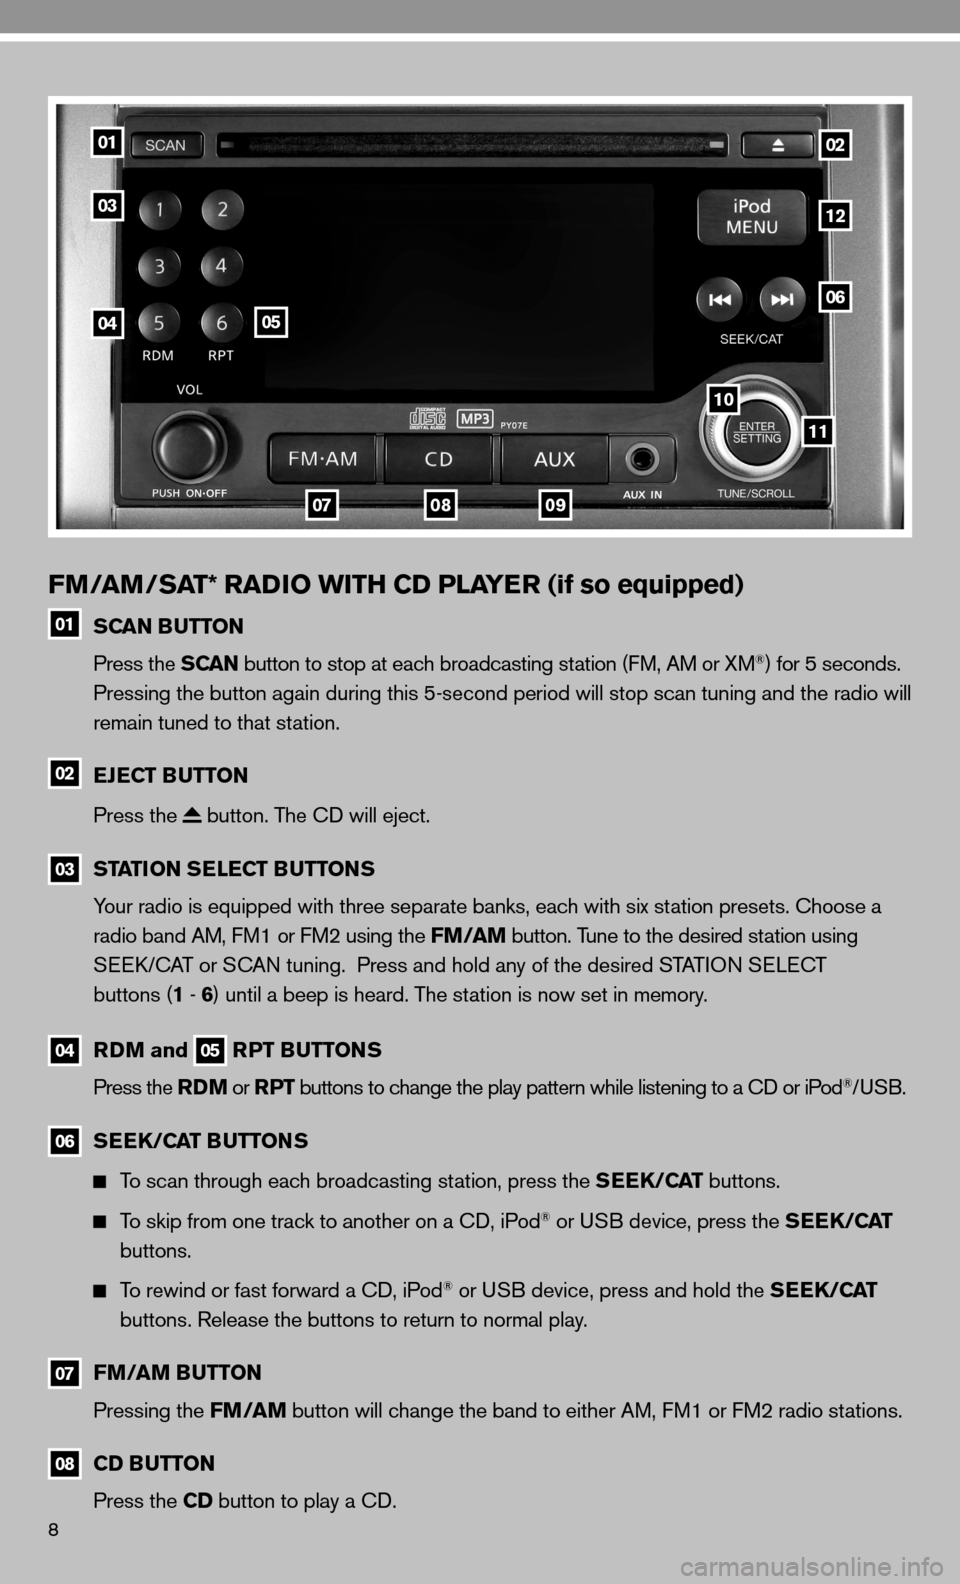
FM/AM/SAT* RADIO WITH CD PLAYER (if so equipped)
01 SCAN BUTTON
Press the SCAN button to stop at each broadcasting station (f M, AM or XM®) for 5 seconds.
Pressing the button again during this 5-second period will stop scan tuning and the radio will
remain tuned to that station.
02 EJECT BUTTON
Press the
button. The cd will eject.
03
STATION SELECT BUTTONS
Your radio is equipped with three separate banks, each with six station presets. choose a
radio band AM, f M1 or fM2 using the FM/AM button. Tune to the desired station using
Seek/c AT or S cAn tuning. Press and hold any of the desired STATi On S eLec T
buttons (1 - 6 ) until a beep is heard. The station is now set in memory.
04
RDM and 05 RPT BUTTONS
Press the RDM or RPT buttons to change the play pattern while listening to a cd or iPod®/uSB.
06
SEEK/CAT BUTTONS
To scan through each broadcasting station, press the SEEK/CAT buttons.
To skip from one track to another on a cd, iPod® or u SB device, press the SEEK/CAT
buttons.
To rewind or fast forward a cd, iPod® or u SB device, press and hold the SEEK/CAT
buttons. Release the buttons to return to normal play.
07
FM/AM BUTTON
Pressing the FM/AM button will change the band to either AM, f M1 or fM2 radio stations.
08
CD BUTTON
Press the CD button to play a cd.
01
03
0405
0709
11
10
06
12
02
08
Page 11 of 20

09 AUX BUTTON
Press the AUX button to play a compatible device such as an MP3 player when it is plugged
into the AUX (auxiliary) jack. The AUX button is also used to play a device plugged into the
USB jack. if there are devices plugged into both the AUX jack and the USB jack, pressing
the AUX button will toggle between the two functions. if so equipped, you can also press
the AUX button to access XM
® SAT1 and SAT2 preset banks.
n OTe: You may need to adjust the volume on any compatible device plugged into t\
he auxiliary
jack to find the most desired sound level of the audio system.
10 ENTER/SETTINGS BUTTON AND
11 TUNE/SCROLL CONTROL DIAL
To manually tune the radio, turn the TUNE/SCROLL dial. if playing a cd that is formatted
with MP3/WMA folders, turn the TUNE/SCROLL dial to scroll through the available folders.
To adjust the Bass, Treble, fade, Balance, Speed Sensitive Volume (SSV), Brightness,
contrast and clock (O n/O ff) press the ENTER/SETTINGS button until the desired
mode is displayed, then turn the TUNE/SCROLL dial to adjust to the desired level.
12
iPod® PLAYER OPERATION (if so equipped)
The USB jack is located in the lower center of the instrument panel. connect the cable that
is supplied with your iPod
® to the outlet, and then attach the other end of the cable to your
iPod®. if compatible, the battery of your iPod® will charge during the connection to the vehicle.
PLAYING AN iPod
®
The interface for iPod® operation shown on the vehicle center display is similar to the iPod®
interface. The iPod® can only be operated by the vehicle audio controls while connected.
Select the iPod
® by using one of the following methods:
Press the
12 iPod®/MENU
button.
Press the SOURCE select switch on the steering wheel.
SEEK/CAT BUTTONS AND TUNE/SCROLL DIAL
Press the SEEK/CAT buttons while a track is being played; the next track or the beginning
of the current track will be played.
Press and hold either SEEK/CAT (rewind or fast forward) button for more than approximately
1.5 seconds, the track will play while rewinding or fast forwarding. When the SEEK/CAT
(rewind or fast forward) button is released, the track will return to the normal playing speed.
Press the iPod MENU button, then use the TUNE/SCROLL dial to scroll through the
menu (Playlists, Artists, Albums, Songs, Podcasts, Genres, composers and Audiobooks)
and press ENTER to make a selection. The display will return to the previous menu or list
screen each time the iPod MENU button is pressed.
if the system is turned off while the iPod® is playing, the iPod® will start when the ON/OFF
or iPod MENU button is pressed. depending on the iPod® or software version, some
functions may not work as described.
*XM
® Satellite Radio is only available on vehicles equipped with optional XM® Satellite
subscription service.
Page 12 of 20

10
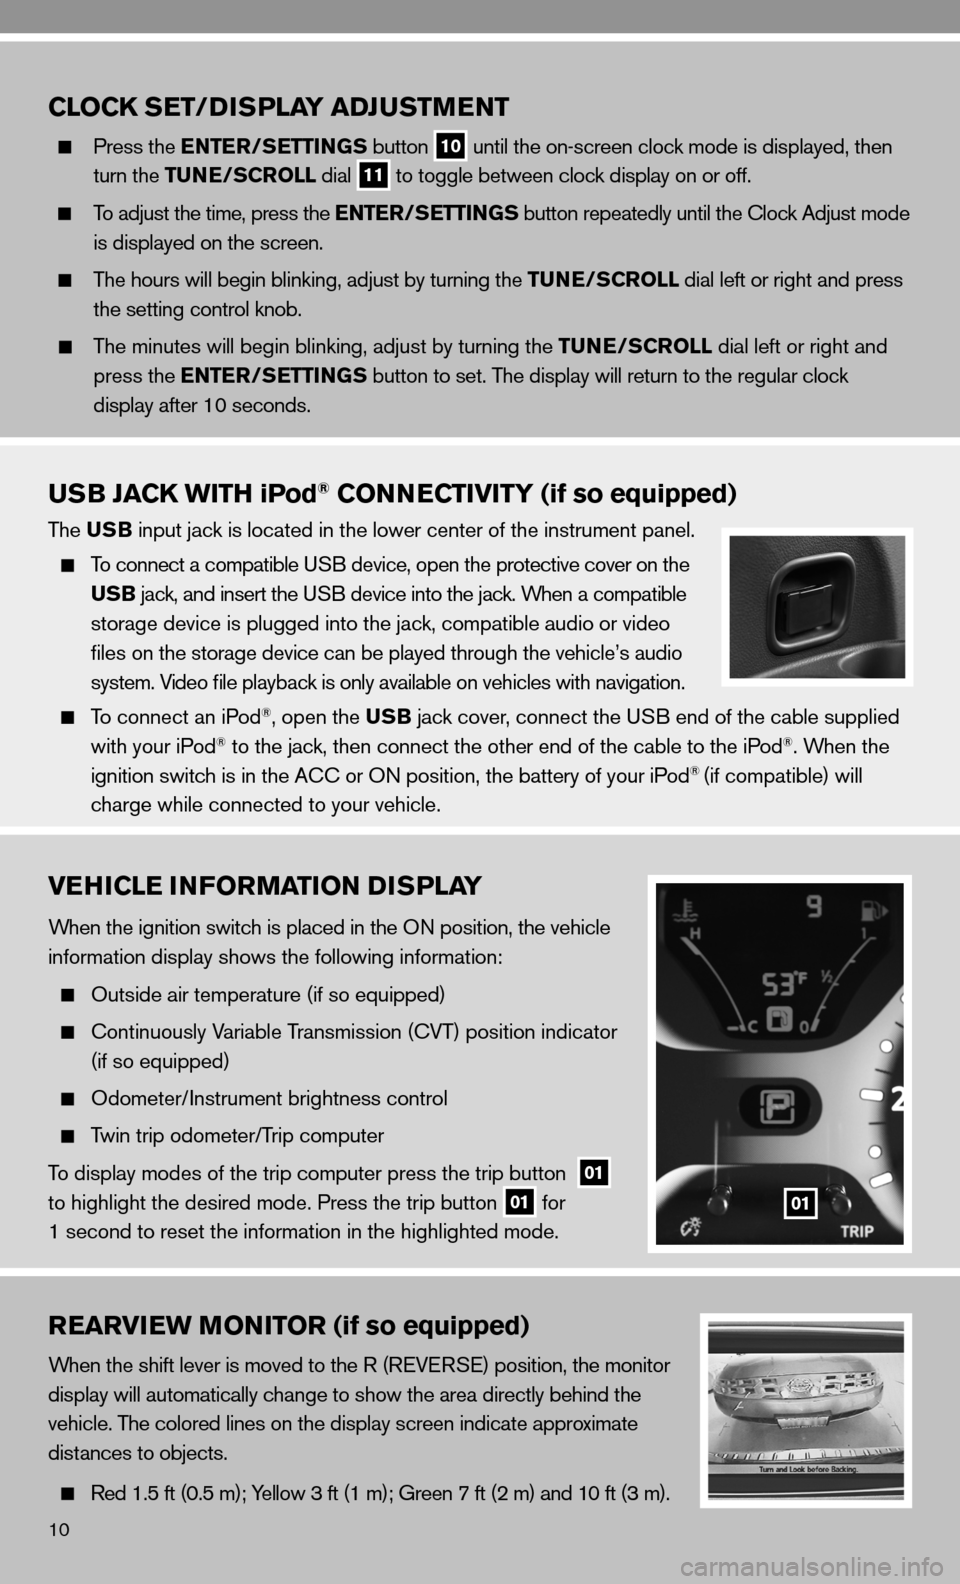
VEHICLE INFORMATION DISPLAY
When the ignition switch is placed in the On position, the vehicle
information display shows the following information:
Outside air temperature (if so equipped)
c ontinuously Variable Transmission ( cVT) position indicator
(if so equipped)
Odometer/ instrument brightness control
Twin trip odometer/Trip computer
To display modes of the trip computer press the trip button
01
to highlight the desired mode. Press the trip button 01 for
1 second to reset the information in the highlighted mode.01
REARVIEW MONITOR (if so equipped)
When the shift lever is moved to the R (R eVe RS e) position, the monitor
display will automatically change to show the area directly behind the
vehicle. The colored lines on the display screen indicate approximate
distances to objects.
Red 1.5 ft (0.5 m); Yellow 3 ft (1 m); Green 7 ft (2 m) and 10 ft (3 m).
CLOCK SET/D ISPLAY ADJUSTMENT
Press the ENTER/SETTINGS button
10 until the on-screen clock mode is displayed, then
turn the TUNE/SCROLL dial
11 to toggle between clock display on or off.
To adjust the time, press the ENTER/SETTINGS button repeatedly until the clock Adjust mode
is displayed on the screen.
The hours will begin blinking, adjust by turning the TUNE/SCROLL dial left or right and press
the setting control knob.
The minutes will begin blinking, adjust by turning the TUNE/SCROLL dial left or right and
press the ENTER/SETTINGS button to set. The display will return to the regular clock
display after 10 seconds.
USB JACK WITH iPod® CONNECTIVITY (if so equipped)
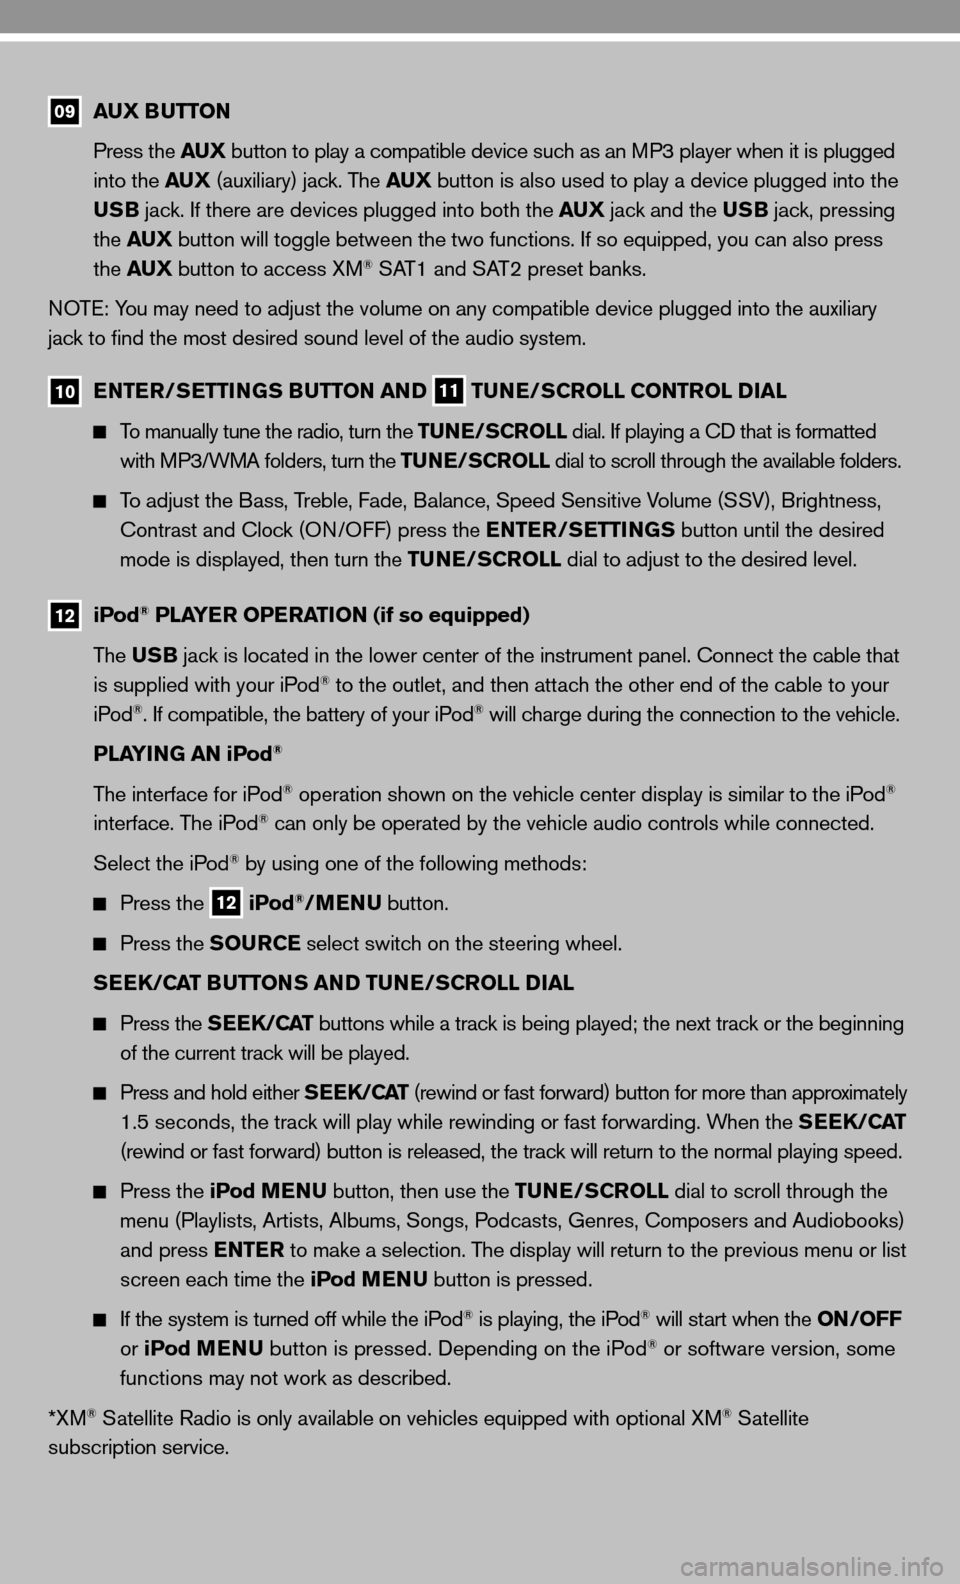
The USB input jack is located in the lower center of the instrument panel.
To connect a compatible u SB device, open the protective cover on the
USB jack, and insert the uSB device into the jack. When a compatible
storage device is plugged into the jack, compatible audio or video
files on the storage device can be played through the vehicle’s audio
system. Video file playback is only available on vehicles with navigation.
To connect an iPod®, open the USB jack cover, connect the u SB end of the cable supplied
with your iPod® to the jack, then connect the other end of the cable to the iPod®. When the
ignition switch is in the A cc or On position, the battery of your iPod® (if compatible) will
charge while connected to your vehicle.