reset NISSAN CUBE 2013 3.G Quick Reference Guide
[x] Cancel search | Manufacturer: NISSAN, Model Year: 2013, Model line: CUBE, Model: NISSAN CUBE 2013 3.GPages: 20, PDF Size: 1.9 MB
Page 5 of 20

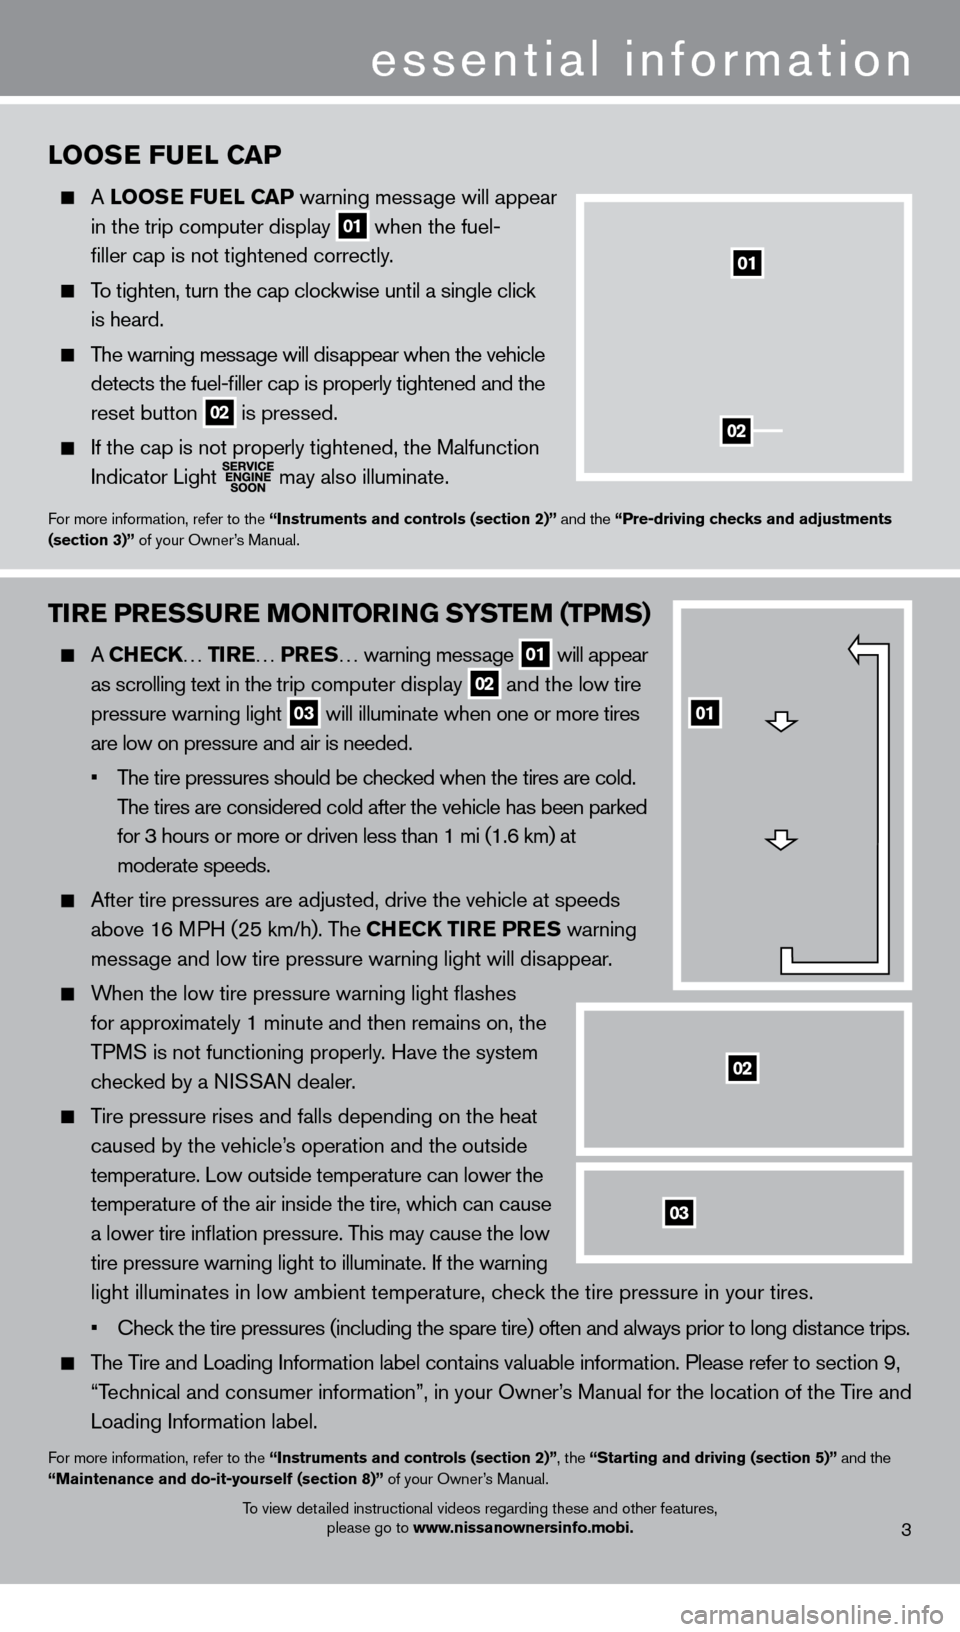
LOOSe FueL CaP
A LOOSe Fu eL CaP warning message will appear
in the trip computer display
01 when the fuel- filler cap is not tightened correctly.
To tighten, turn the cap clockwise until a single click
is heard.
The warning message will disappear when the vehicle
detects the fuel-filler cap is properly tightened and the
reset button
02 is pressed. If the cap is not properly tightened, the Malfunction
Indicator Light
may also illuminate.
For more information, refer to the “Instruments and controls (section 2)” and the “Pre-driving checks and adjustments
(section 3)” of your Owner’s Manual.
3
essential information
01
02
To view detailed instructional videos regarding these and other features,
please go to www.nissanownersinfo.mobi.
TIre PreSSur e M ONITOrIN G SYSTeM (TPMS)
A CHeCK… T Ire… PreS… warning mess age 01 will appear
as scrolling text in the tr
ip computer display 02 and the low tire
pressure warning light
03 will illuminate when one or more tires
are low on pressure and air is needed.
•
The tire pressures should be c
hecked when the tires are cold.
The tires are considered cold after the vehicle has been parked
for 3 hours or more or driven less than 1 mi (1.6 km) at
moderate speeds.
After tire pressures are adjusted, drive the vehicle at speeds
above 1 6 MPH (25 km/h). The CH
eCK TIre Pr
e
S warning
message and low tire pressure warning light will disappear.
When the low tire pressure warning light flashes
for approximately 1 minute and then remains on, the
TPM
S is not functioning properly. Have the system
chec
ked by a NISSAN dealer.
Tire pressure rises and falls depending on the heat
caused by the vehicle’s operation and the outside
temperature. Low outside temperature can lower the
temperature of the air inside the tire, which can cause
a lower tire inflation pressure. This may cause the low
tire pressure warning light to illuminate. If the warning
light illuminates in low ambient temperature, chec
k the tire pressure in your tires.
• Check the tire pressures (including the spare tire) often and alway
s prior to long distance trips.
The Tire and Loading Information label contains valuable information. Please refer to section 9,
“Tec
hnical and consumer information”, in your Owner’s Manual for the location of the Tire and
Loading Information label.
For more information, refer to the “Instruments and controls (section 2)”, the “Starting and driving (section 5)” and the
“Maintenance and do-it-yourself (section 8)” of your Owner’s Manual.
03
01
02
1221378_13a_Cube_QRG_092112.indd 710/2/12 9:25 AM
Page 13 of 20

To view detailed instructional videos regarding these and other features, please go to www.nissanownersinfo.mobi.11
0506
03
0102
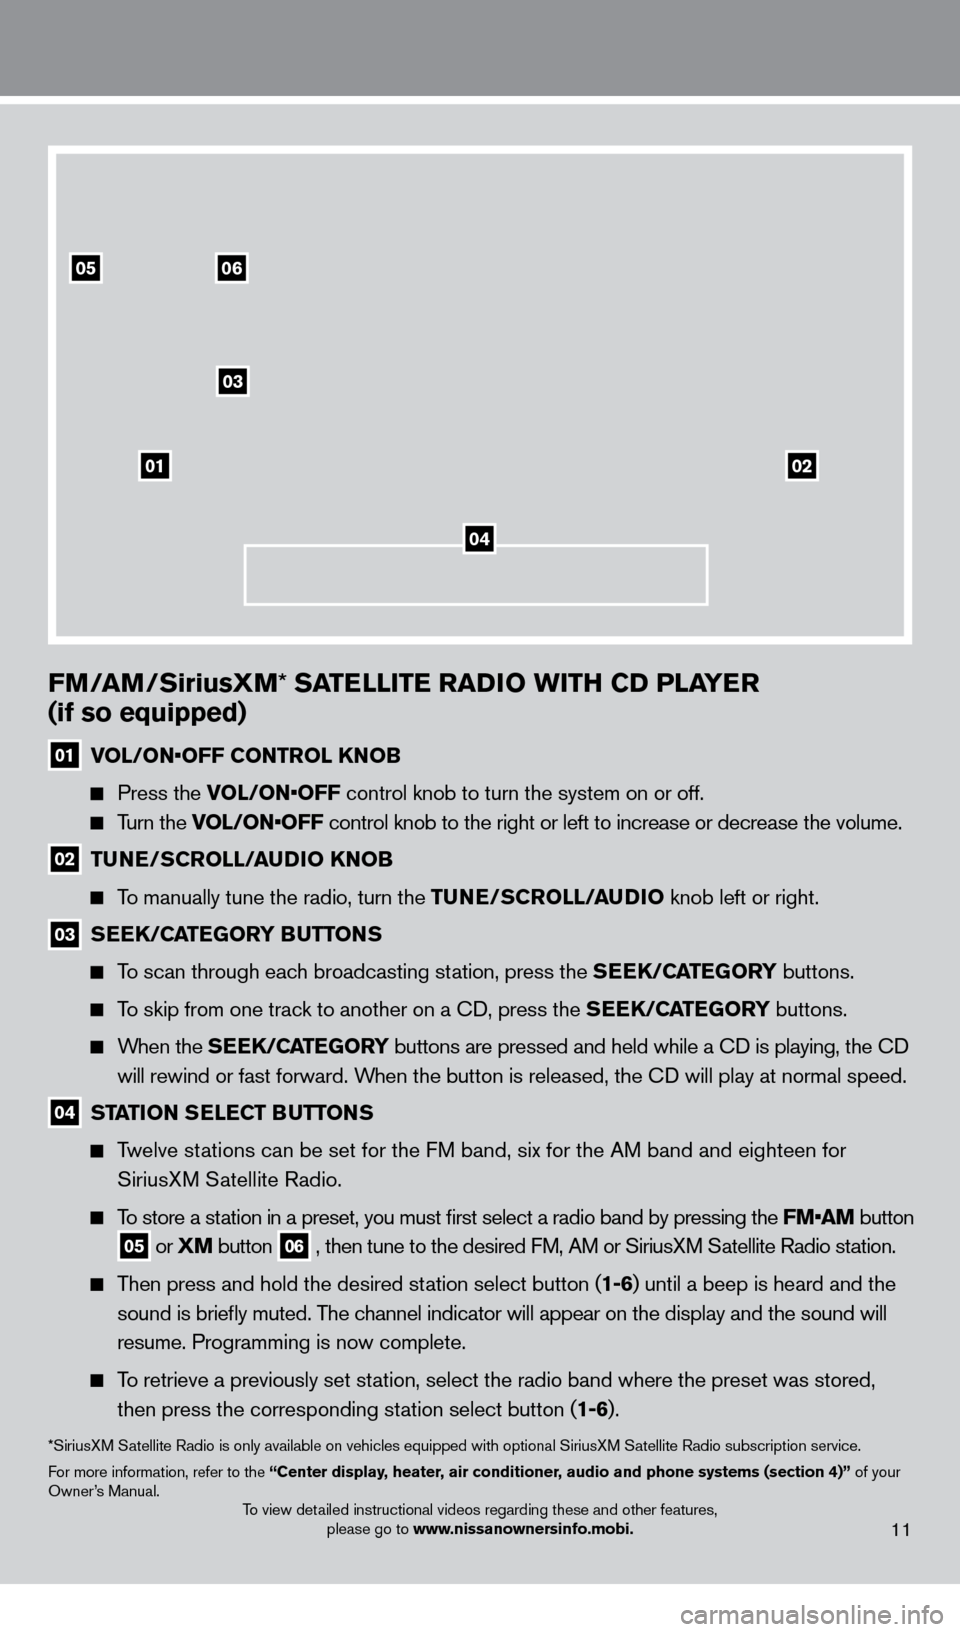
FM/aM/SiriusXM* SaTeLLITe raD IO wITH CD PLaYe r
(if so equipped)
01 VOL/ON•OFF CONTR OL KNOB
Press the V
OL/ON•OFF control knob to turn the system on or off.
Turn the VOL/ON•OFF control knob to the right or left to increase or decrease the volume.
02 TuNe/SCrOLL/auDI O KNOB
To manually tune the radio, turn the TuNe/S
CrOLL/auDI O knob left or right.
03 SeeK/CaTeGOrY BuTT ONS
To scan through each broadcasting station, press the SeeK/CaTeGOrY buttons.
To skip from one track to another on a cD, press the SeeK/CaTeGOrY buttons.
When the SeeK/CaTeGOrY buttons are pressed and held while a cD is playing, the cD
w ill rewind or fast forward. When the button is released, the
cD will play at normal speed.
04 STaTION SeLeCT BuTT ONS
Twelve stations can be set for the FM band, six for the AM band and eighteen for
SiriusX
M Satellite Radio.
To store a station in a preset, you must first select a radio band by pressing the \
FM•AM button
05 or XM button
06 , then tune to the desired FM, AM or SiriusXM Satellite Radio station.
Then press and hold the desired station select button (1-6) until a beep is heard and the
sound is briefly muted. T
he channel indicator will appear on the display and the sound will
resume. Programming is now complete.
To retrieve a previously set station, select the radio band where the preset was stored,
then press the corresponding st ation select button (1-6).
*SiriusXM Satellite Radio is only available on vehicles equipped with optional Siri\
usXM Satellite Radio subscription service.
For more information, refer to the “Center display, heater, air conditioner, audio and phone systems (section 4)” of your
Owner’s Manual.
04
1221378_13a_Cube_QRG_092112.indd 1910/2/12 9:26 AM
Page 14 of 20

CruISe CONTrOL
The cruise control system enables you to set a constant
cruising speed once the vehicle has reached 25
MPH (40 km/h).
The system will automatically maintain the set speed
until you t ap the brake pedal, accelerate, cancel or
turn the system off.
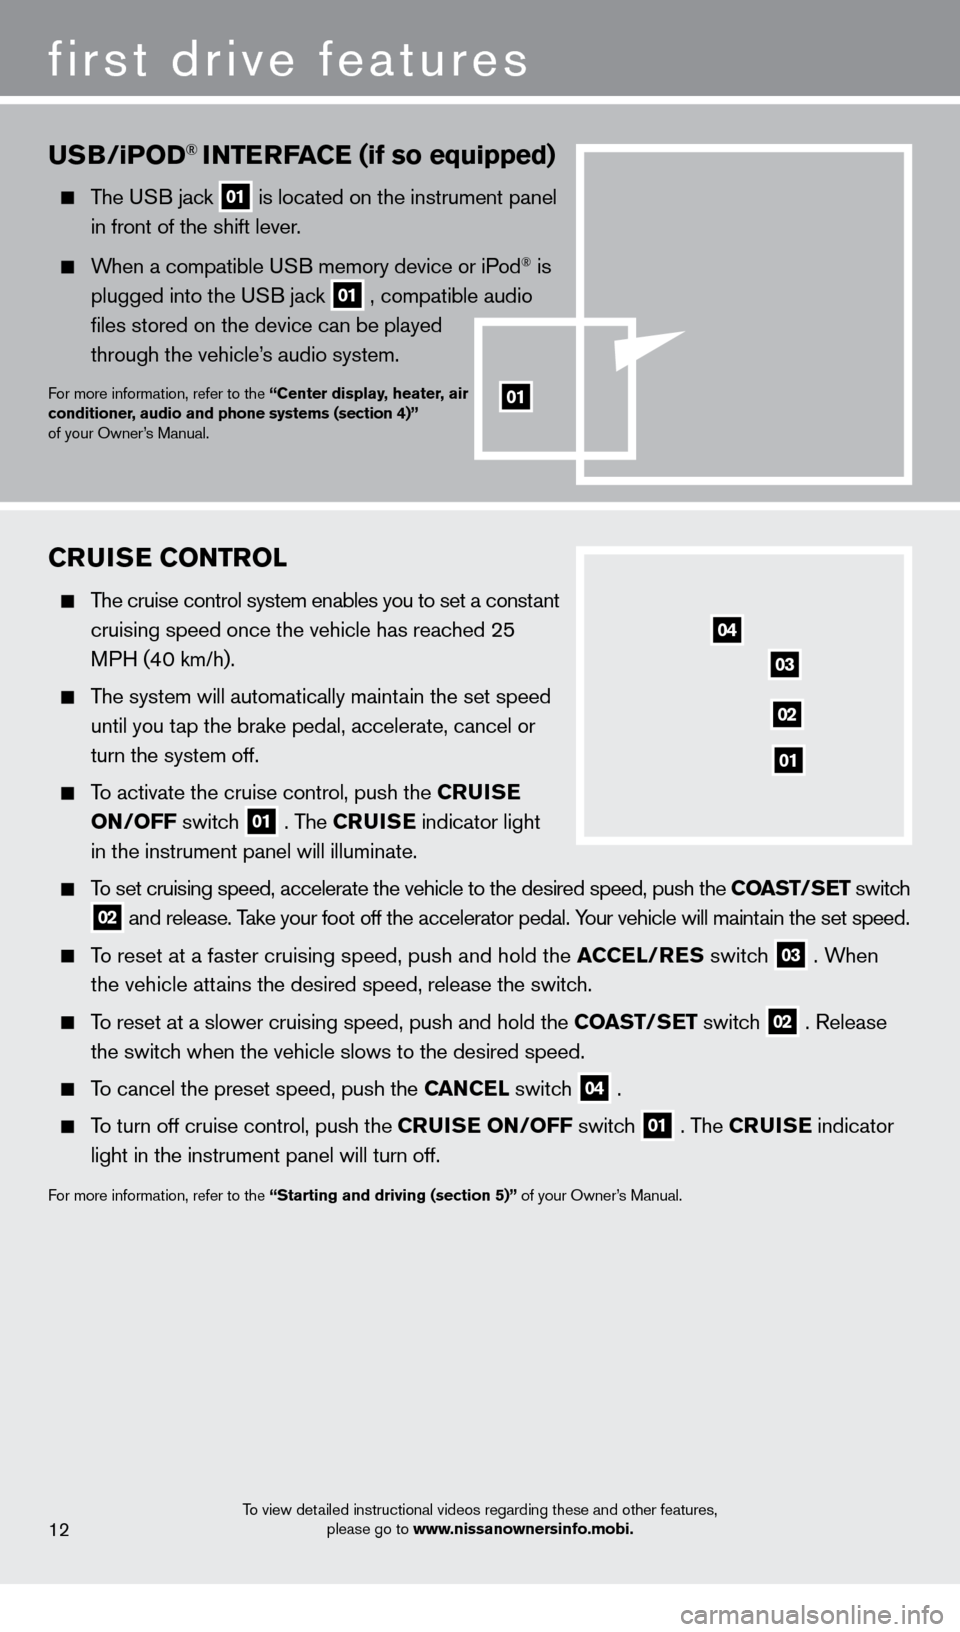
To activate the cruise control, push the CruISe
ON/OFF switch
01 . The CruISe indicator light
in the instrument panel will illuminate.
To set cruising speed, accelerate the vehicle to the desired speed, push \
the COaST/ SeT switch
02 and release. Take your foot off the accelerator pedal. Your vehicle will maintain the set speed.
To reset at a faster cruising speed, push and hold the aCCeL
/reS switc h
03 . When
the vehicle attains the desired speed, release the switch.
To reset at a slower cruising speed, push and hold the COaST/ SeT switch
02 . Release
the switch when the vehicle slows to the desired speed.
To cancel the preset speed, push the CaN CeL switc h
04 .
To turn off cruise control, push the Cr uISe ON /OFF switch
01 . The CruISe indicator
light in the instrument panel will turn off.
For more information, refer to the “Starting and driving (section 5)” of your Owner’s Manual.
uSB/iPOD® INTerFaCe (if so equipped)
The USB jack 01 is located on the instrument panel in front of the shift lever.
When a compatible USB memory device or iPod® is
plugged into the US
B jack
01 , compatible audio files stored on the device can be played
through the vehicle’s audio system.
For more information, refer to the “Center display, heater, air
conditioner, audio and phone systems (section 4)”
of your Owner’s Manual.
04
03
02
01
To view detailed instructional videos regarding these and other features, please go to www.nissanownersinfo.mobi.12
first drive features
01
1221378_13a_Cube_QRG_092112.indd 2010/2/12 9:26 AM
Page 16 of 20

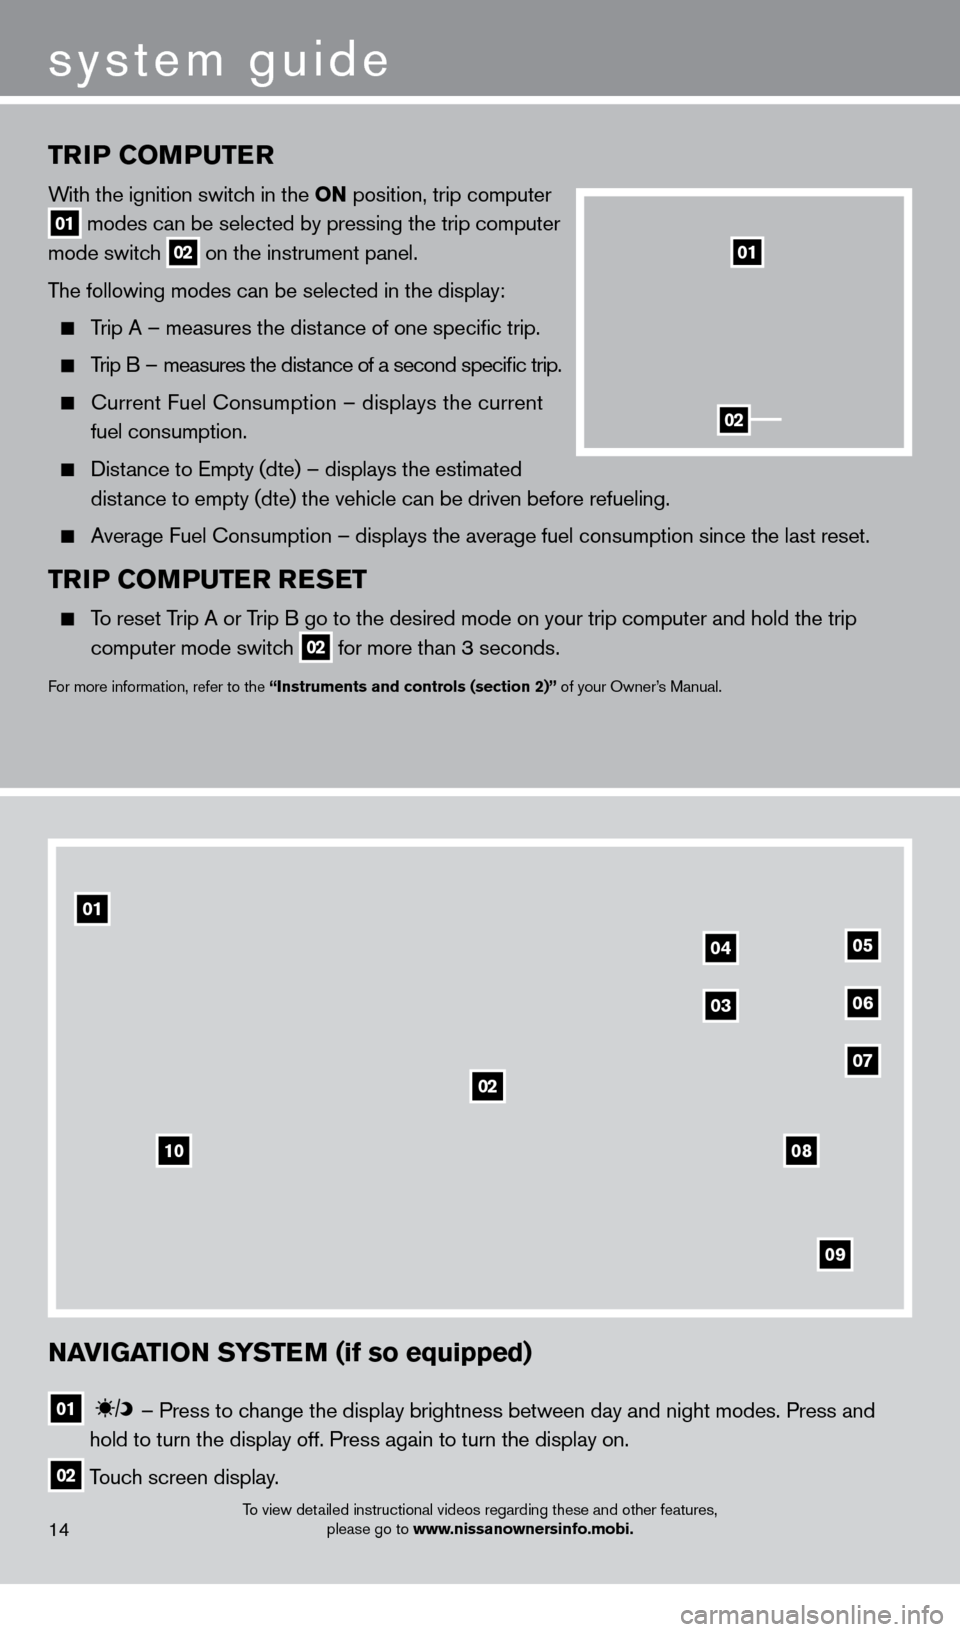
TrIP COMPuTer
With the ignition switch in the ON position, trip computer
01 modes can be selected by pressing the trip computer
mode switch 02 on the instrument panel.
The following modes can be selected in the display:
Trip A – measures the distance of one specific trip.
Trip B – measures the distance of a second specific trip.
current Fuel consumption – displays the current
fuel consumption.
Distance to Empty (dte) – displays the estimated
dist ance to empty (dte) the vehicle can be driven before refueling.
Average Fuel consumption – displays the average fuel consumption since the last res\
et.
TrIP COMPuTer r eSeT
To reset Trip A or Trip B go to the desired mode on your trip computer and hold the trip
computer mode switc
h
02 for more than 3 seconds.
For more information, refer to the “Instruments and controls (section 2)” of your Owner’s Manual.
01
02
To view detailed instructional videos regarding these and other features, please go to www.nissanownersinfo.mobi.14
system guide
NaVIGaTION SYSTeM (if so equipped)
01 –
Press to change the display brightness between day and night modes. Press and
hold to turn the display off. Press again to turn the display on.
02 Touch screen display.
10
02
0405
0306
07
09
08
01
1221378_13a_Cube_QRG_092112.indd 2210/2/12 9:26 AM