battery NISSAN FRONTIER 2004 D22 / 1.G Owners Manual
[x] Cancel search | Manufacturer: NISSAN, Model Year: 2004, Model line: FRONTIER, Model: NISSAN FRONTIER 2004 D22 / 1.GPages: 296, PDF Size: 4.48 MB
Page 13 of 296

KA24DE engine
1. Power steering fluid reservoir (P. 8-16)
2. Automatic transmission fluid dipstick
(A/T model) (P. 8-14)
3. Air cleaner (P. 8-23)
4. Engine oil filler cap (P. 8-10)
5. Engine oil dipstick (P. 8-10)
6. Brake fluid reservoir (P. 8-17)
7. Clutch fluid reservoir (M/T model)
(P.8-16)
8. Windshield washer fluid reservoir
(P. 8-18)
9. Radiator cap (P. 8-9)
10. Coolant reservoir (P. 8-9)
11. Battery (P. 8-18)
See the page number indicated in paren-
theses for operating details.
WDI0087
ENGINE COMPARTMENT LOCATIONS
Illustrated table of contents0-7
ZREVIEW COPY:Ð2004 Truck/Frontier(d22)
Owners Manual(owners)ÐUSA English(nna)
11/21/03Ðdebbie
X
Page 14 of 296

VG33E engine
1. Fuse/fusible link holder (P. 8-29)
2. Power steering fluid reservoir (P. 8-16)
3. Automatic transmission fluid dipstick
(A/T model) (P. 8-14)
4. Brake fluid reservoir (P. 8-17)
5. Clutch fluid reservoir (M/T model)
(P.8-17)
6. Air cleaner (P. 8-23)
7. Windshield washer fluid reservoir
(P. 8-18)
8. Engine oil dipstick (P. 8-10)
9. Radiator cap (P. 8-9)
10. Engine oil filler cap (P. 8-10)
11. Coolant reservoir (P. 8-9)
12. Battery (P. 8-18)
WDI0269
0-8Illustrated table of contents
ZREVIEW COPY:Ð2004 Truck/Frontier(d22)
Owners Manual(owners)ÐUSA English(nna)
11/21/03Ðdebbie
X
Page 15 of 296

VG33ER engine
1. Fuse/fusible link holder (P. 8-29)
2. Power steering fluid reservoir (P. 8-16)
3. Automatic transmission fluid dipstick
(A/T model) (P. 8-14)
4. Supercharger
5. Brake fluid reservoir (P. 8-17)
6. Air cleaner (P. 8-23)
7. Windshield washer fluid reservoir
(P. 8-18)
8. Engine oil dipstick (P. 8-10)
9. Radiator cap (P. 8-9)
10. Engine oil filler cap (P. 8-10)
11. Coolant reservoir (P. 8-9)
12. Battery (P. 8-18)
WDI0270
Illustrated table of contents0-9
ZREVIEW COPY:Ð2004 Truck/Frontier(d22)
Owners Manual(owners)ÐUSA English(nna)
11/21/03Ðdebbie
X
Page 93 of 296

cDo not use with accessories that ex-
ceed a 12 volt, 120W (10A) power draw.
Do not use double adapters or more
than one electrical accessory.
cUse power outlets with the engine run-
ning to avoid discharging the vehicle
battery.
cAvoid using power outlets when the air
conditioner, headlights or rear window
defroster is on.cBefore inserting or disconnecting a
plug, be sure the electrical accessory
being used is turned OFF.
cPush the plug in as far as it will go. If
good contact is not made, the plug may
overheat or the internal temperature
fuse may blow.
cWhen not in use, be sure to close the
cap. Do not allow water to contact the
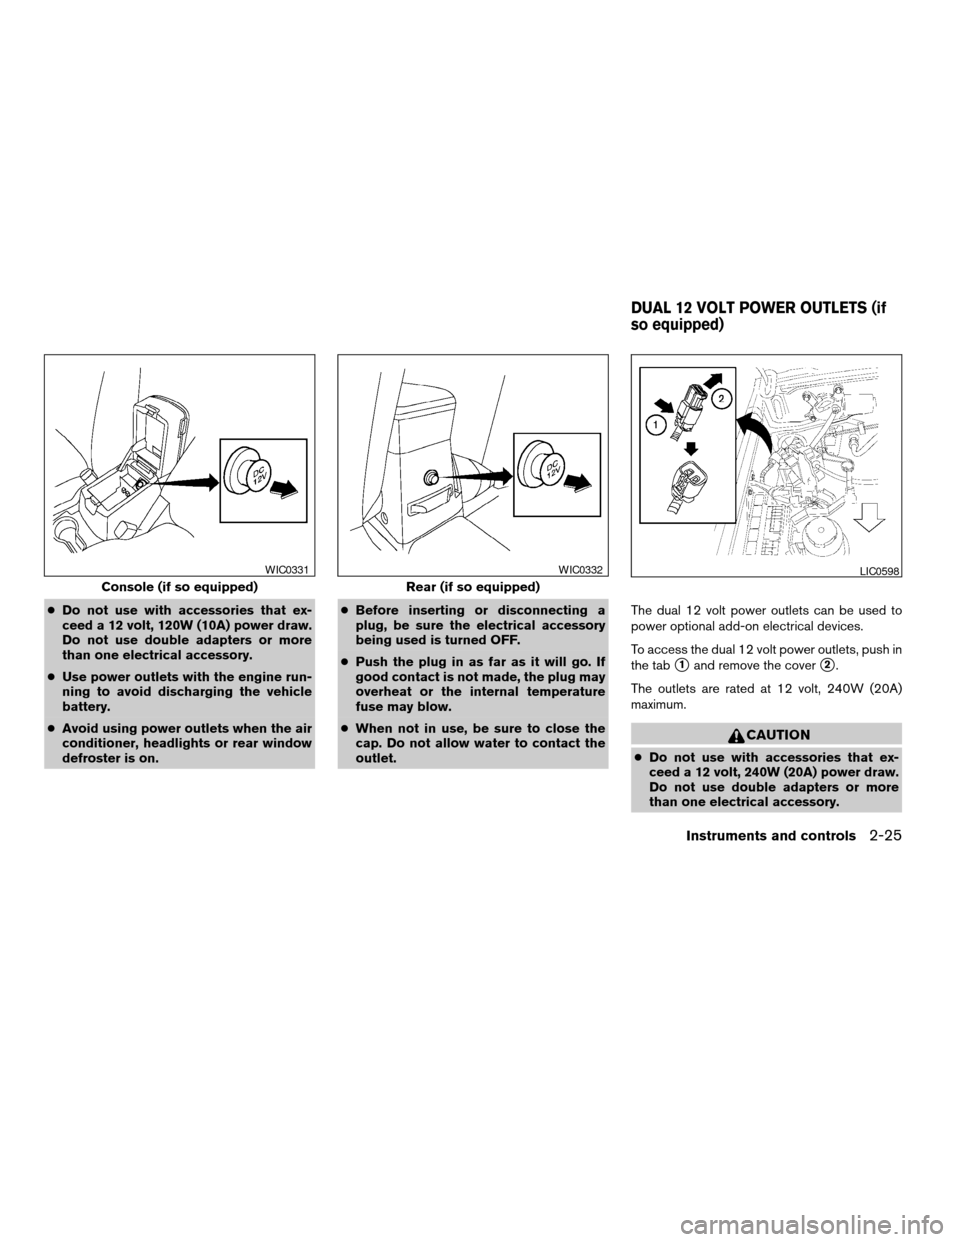
outlet.The dual 12 volt power outlets can be used to
power optional add-on electrical devices.
To access the dual 12 volt power outlets, push in
the tab
s1and remove the covers2.
The outlets are rated at 12 volt, 240W (20A)
maximum.
CAUTION
cDo not use with accessories that ex-
ceed a 12 volt, 240W (20A) power draw.
Do not use double adapters or more
than one electrical accessory.
Console (if so equipped)
WIC0331
Rear (if so equipped)
WIC0332LIC0598
DUAL 12 VOLT POWER OUTLETS (if
so equipped)
Instruments and controls2-25
ZREVIEW COPY:Ð2004 Truck/Frontier(d22)
Owners Manual(owners)ÐUSA English(nna)
11/21/03Ðdebbie
X
Page 94 of 296

cUse power outlets with the engine run-
ning to avoid discharging the vehicle
battery.
cAvoid using power outlets when the air
conditioner, headlights or rear window
defroster is on.
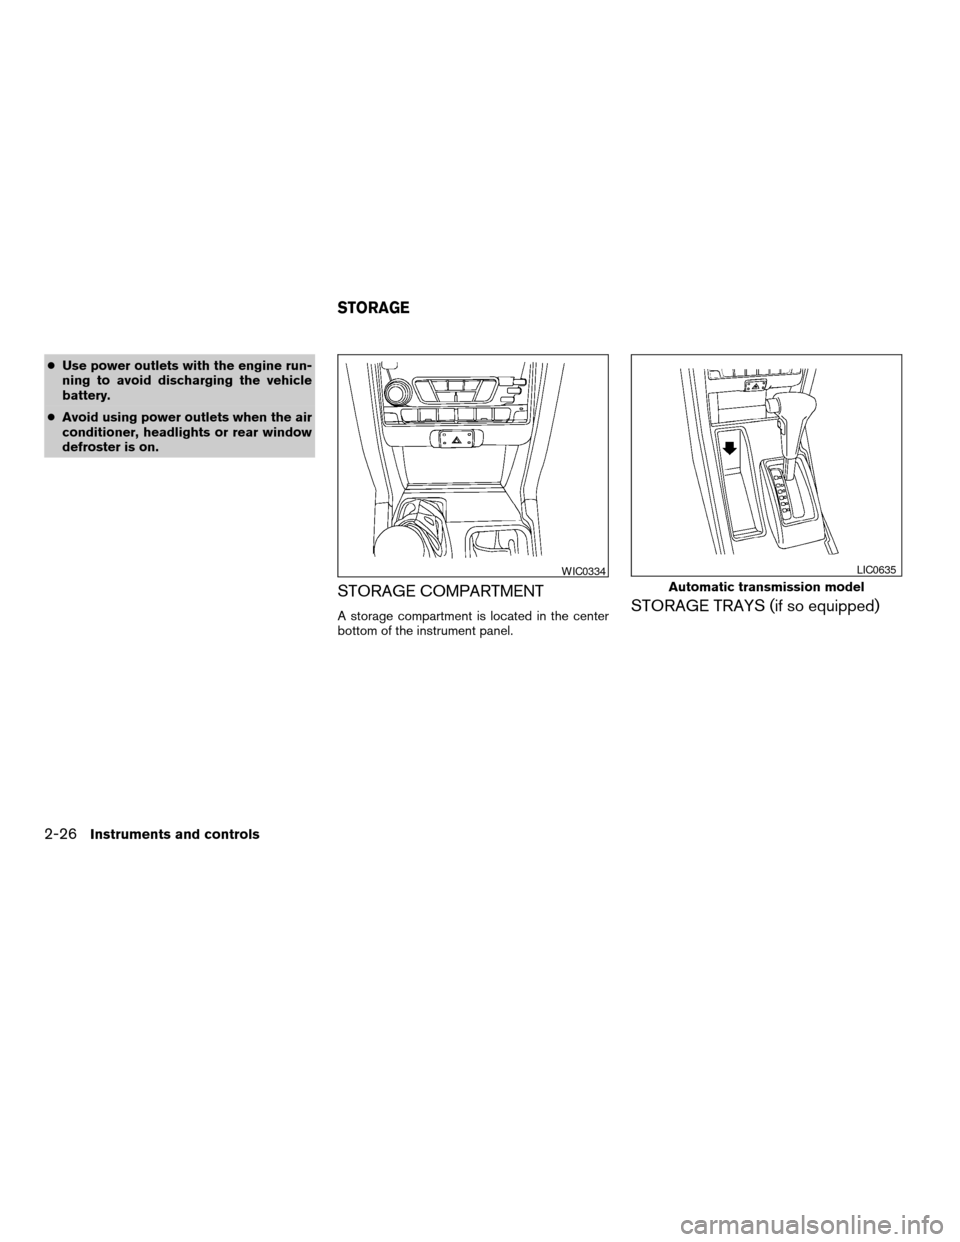
STORAGE COMPARTMENT
A storage compartment is located in the center
bottom of the instrument panel.STORAGE TRAYS (if so equipped)
WIC0334
Automatic transmission model
LIC0635
STORAGE
2-26Instruments and controls
ZREVIEW COPY:Ð2004 Truck/Frontier(d22)
Owners Manual(owners)ÐUSA English(nna)
11/21/03Ðdebbie
X
Page 103 of 296

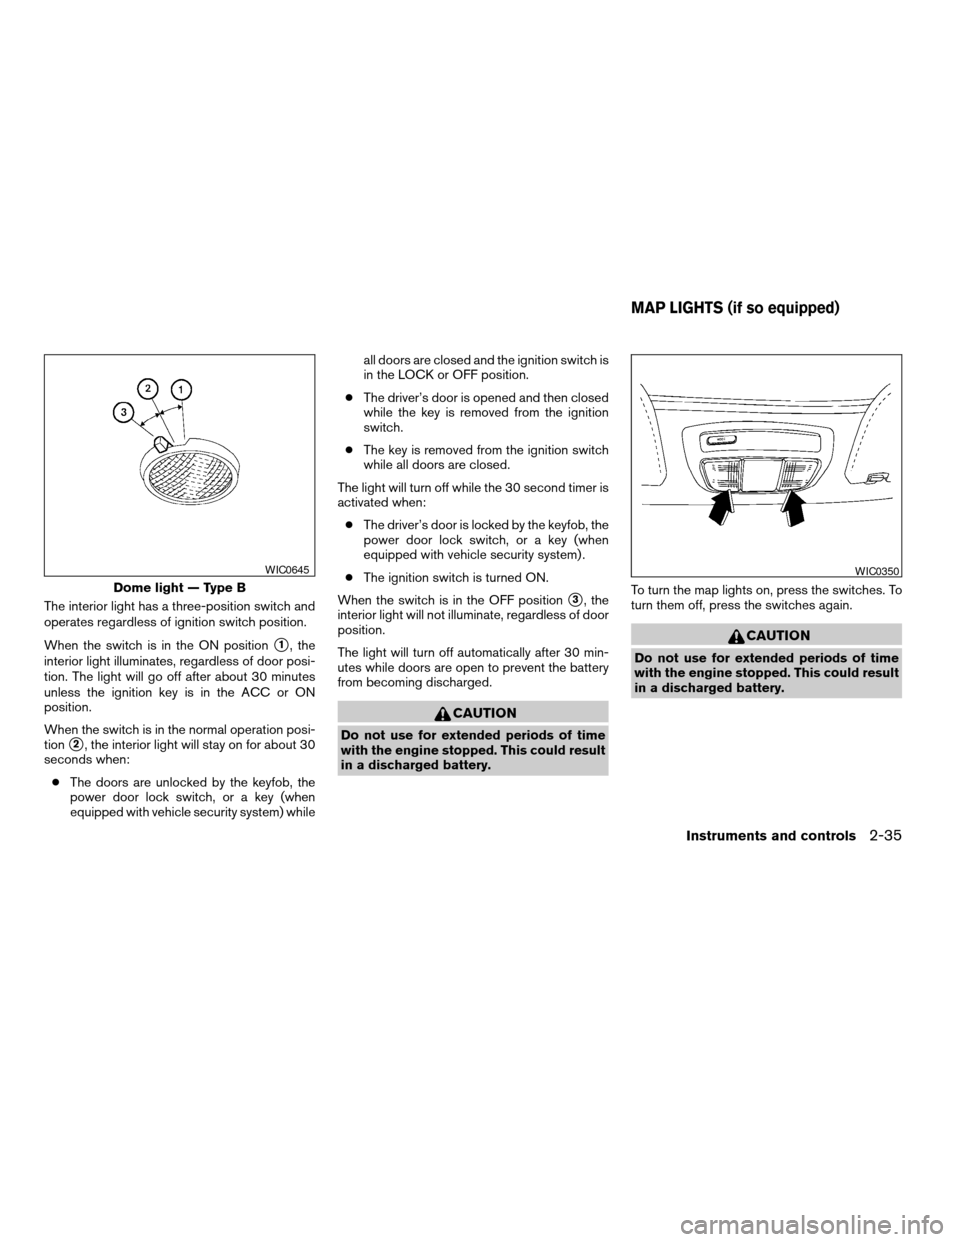
The interior light has a three-position switch and
operates regardless of ignition switch position.
When the switch is in the ON position
s1, the
interior light illuminates, regardless of door posi-
tion. The light will go off after about 30 minutes
unless the ignition key is in the ACC or ON
position.
When the switch is in the normal operation posi-
tion
s2, the interior light will stay on for about 30
seconds when:
cThe doors are unlocked by the keyfob, the
power door lock switch, or a key (when
equipped with vehicle security system) whileall doors are closed and the ignition switch is
in the LOCK or OFF position.
cThe driver’s door is opened and then closed
while the key is removed from the ignition
switch.
cThe key is removed from the ignition switch
while all doors are closed.
The light will turn off while the 30 second timer is
activated when:
cThe driver’s door is locked by the keyfob, the
power door lock switch, or a key (when
equipped with vehicle security system) .
cThe ignition switch is turned ON.
When the switch is in the OFF position
s3, the
interior light will not illuminate, regardless of door
position.
The light will turn off automatically after 30 min-
utes while doors are open to prevent the battery
from becoming discharged.
CAUTION
Do not use for extended periods of time
with the engine stopped. This could result
in a discharged battery.To turn the map lights on, press the switches. To
turn them off, press the switches again.
CAUTION
Do not use for extended periods of time
with the engine stopped. This could result
in a discharged battery.
Dome light — Type B
WIC0645WIC0350
MAP LIGHTS (if so equipped)
Instruments and controls2-35
ZREVIEW COPY:Ð2004 Truck/Frontier(d22)
Owners Manual(owners)ÐUSA English(nna)
11/21/03Ðdebbie
X
Page 105 of 296

3 Pre-driving checks and adjustments
Keys .............................................3-2
Doors............................................3-2
Locking with key................................3-2
Locking with inside lock knob....................3-3
Locking with power door lock switch
(if so equipped)................................3-3
Child safety rear door lock
(Crew Cab models only)........................3-4
Remote keyless entry system (if so equipped).........3-4
How to use remote keyless entry system..........3-5
Battery replacement............................3-8
Hood............................................3-9
Tubular step rail (if so equipped)...................3-10
Fuel filler lid......................................3-11Fuel filler cap..................................3-11
Steering wheel...................................3-12
Tilt operation (if so equipped)...................3-12
Sun visors.......................................3-13
Vanity mirror (if so equipped)....................3-13
Mirrors..........................................3-13
Inside mirror..................................3-13
Outside mirrors...............................3-13
Outside mirror remote control
(if so equipped)...............................3-14
Truck box........................................3-15
Tailgate.......................................3-15
Tie down hooks...............................3-17
ZREVIEW COPY:Ð2004 Truck/Frontier(d22)
Owners Manual(owners)ÐUSA English(nna)
11/21/03Ðdebbie
X
Page 108 of 296

Lockout protection
When the power door lock switch (driver or front
passenger) is moved to the lock position with the
key in the ignition and any door open, all doors
will lock and unlock automatically. This helps to
prevent the keys from being accidently locked
inside the vehicle.
CHILD SAFETY REAR DOOR LOCK
(Crew Cab models only)
Child safety locks help prevent the rear doors
from being opened accidentally, especially when
small children are in the vehicle.
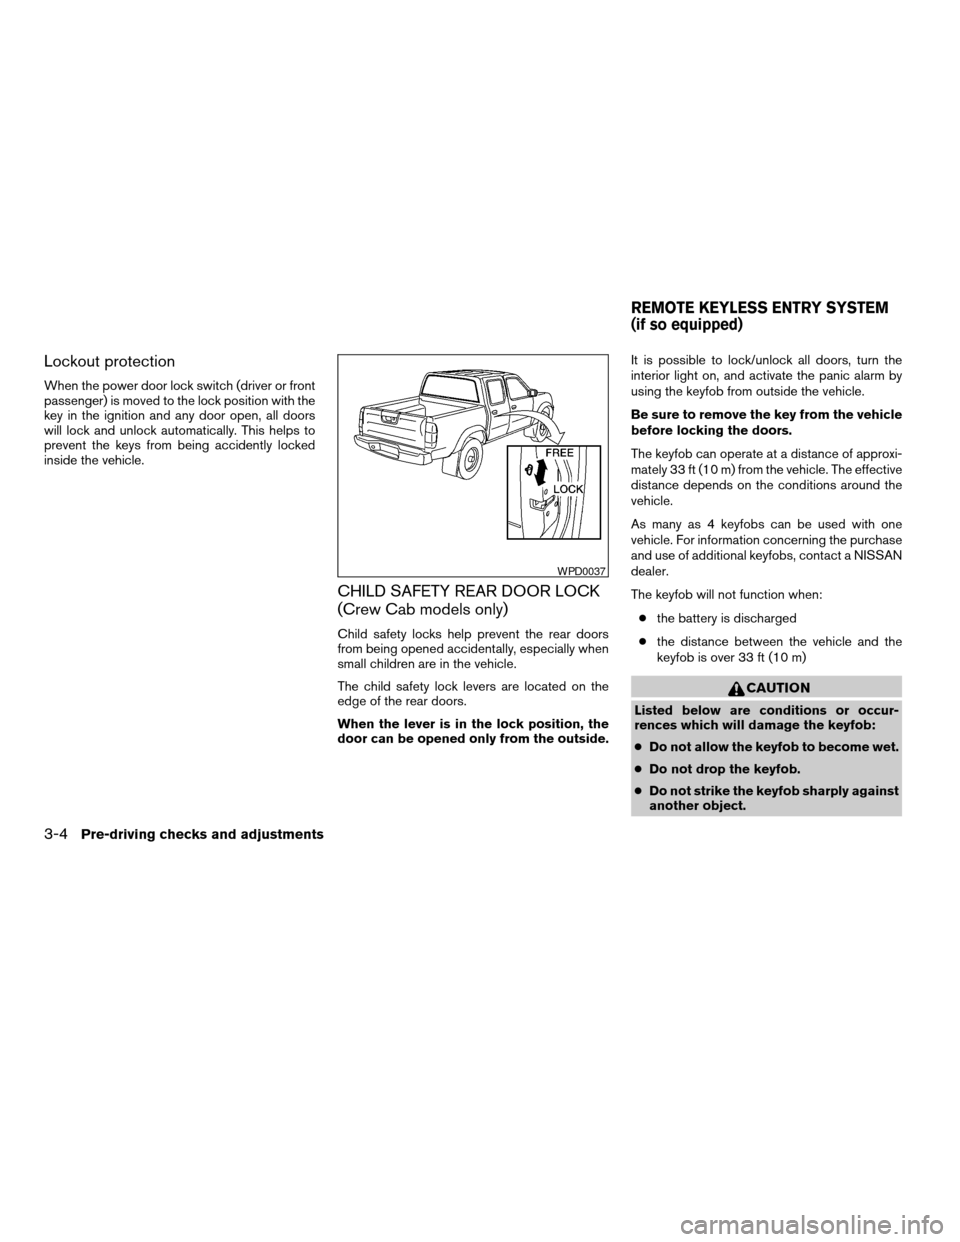
The child safety lock levers are located on the
edge of the rear doors.
When the lever is in the lock position, the
door can be opened only from the outside.It is possible to lock/unlock all doors, turn the
interior light on, and activate the panic alarm by
using the keyfob from outside the vehicle.
Be sure to remove the key from the vehicle
before locking the doors.
The keyfob can operate at a distance of approxi-
mately 33 ft (10 m) from the vehicle. The effective
distance depends on the conditions around the
vehicle.
As many as 4 keyfobs can be used with one
vehicle. For information concerning the purchase
and use of additional keyfobs, contact a NISSAN
dealer.
The keyfob will not function when:
cthe battery is discharged
cthe distance between the vehicle and the
keyfob is over 33 ft (10 m)
CAUTION
Listed below are conditions or occur-
rences which will damage the keyfob:
cDo not allow the keyfob to become wet.
cDo not drop the keyfob.
cDo not strike the keyfob sharply against
another object.
WPD0037
REMOTE KEYLESS ENTRY SYSTEM
(if so equipped)
3-4Pre-driving checks and adjustments
ZREVIEW COPY:Ð2004 Truck/Frontier(d22)
Owners Manual(owners)ÐUSA English(nna)
11/21/03Ðdebbie
X
Page 112 of 296

BATTERY REPLACEMENT
Replace the battery in the keyfob as follows:
s1Open the lid using a coin.
s2Remove the battery.
s3Install a new battery with the “+” facing
down.
Recommended battery: Toshiba CR2025 or
equivalent.
s4Close the lid securely.5. Press the
button, then thebutton two or three times to check the key-
fob operation.
If the battery is removed for any reason
other than replacement, perform step 5.
cAn improperly disposed battery can
hurt the environment. Always confirm
local regulations for battery disposal.
cThe keyfob is water-resistant; how-
ever, if it does get wet, immediately
wipe completely dry.
cThe operational range of the keyfob
extends to approximately 33 ft (10 m)
from the vehicle. This range may vary
with conditions.
FCC Notice:
Changes or modifications not expressly ap-
proved by the manufacturer for compliance
could void the user’s authority to operate
the equipment.
This device complies with Part 15 of the FCC
Rules and RSS-210 of Industry Canada.
Operation is subject to the following two
conditions: (1) This device may not cause
harmful interference, and (2) this device
must accept any interference received, in-
cluding interference that may cause undes-
ired operation of the device.
WPD0160
3-8Pre-driving checks and adjustments
ZREVIEW COPY:Ð2004 Truck/Frontier(d22)
Owners Manual(owners)ÐUSA English(nna)
11/21/03Ðdebbie
X
Page 136 of 296

pressed, and stops at the next broadcasting sta-
tion. If using thebutton, once the highest
broadcasting station is reached, the radio contin-
ues in the SEEK mode at the lowest broadcasting
station. If using the
button, once the lowest
broadcasting station is reached, the radio contin-
ues in the SEEK mode at the highest broadcast-
ing station.
Manual tuning
Use the
andbuttons for manual
tuning. To move quickly through the channels,
hold either of the tuning buttons down.
SCAN tuning
Push and hold the SEEK/TRACK tuning button
(
or) for more than 1.5 seconds.
SCAN illuminates in the display window, and the
radio station blinks. SCAN tuning begins from
low to high frequencies or high to low frequen-
cies, depending on which button is pressed.
SCAN tuning stops at each broadcasting station
for 5 seconds. When scanning, SCAN is solid
and the radio station blinks. When temporarily
stopped on a station, SCAN blinks and the sta-
tion display is solid. Pushing the button again
during this 5 second period stops SCAN tuning
and the radio remains tuned to that station.Station memory operations
Each preset mode (A, B or C) has 6 presets,
capable of storing any combination of AM and FM
stations.Press the PRESET ABC button to change be-
tween the presets:
A!B!C
The radio displays icon A, B or C to indicate
which set of presets is active.
To store a radio station in a preset:
1. Select the desired preset by pressing PRE-
SET ABC.
2. Tune to the desired station.
3. Press the desired station select button for
more than 3 seconds. For example, in the
illustrations, ch2 is to be memorized. The
radio mutes when the select button is
pushed.
4. When the indicator illuminates in the display
and the sound resumes, memorizing is com-
plete.
5. Other station select buttons can be set in
the same manner.
If the battery cable is disconnected, or if the radio
fuse opens, the radio memory is canceled. In that
case, reset the desired stations.
Compact disc (CD) player operation
Turn the ignition key to the ACC or ON position,
and carefully insert the compact disc into the slot
LHA0119
4-14Heater, air conditioner and audio systems
ZREVIEW COPY:Ð2004 Truck/Frontier(d22)
Owners Manual(owners)ÐUSA English(nna)
11/21/03Ðdebbie
X