ECO mode NISSAN FRONTIER 2005 D22 / 1.G Owners Manual
[x] Cancel search | Manufacturer: NISSAN, Model Year: 2005, Model line: FRONTIER, Model: NISSAN FRONTIER 2005 D22 / 1.GPages: 336, PDF Size: 7.24 MB
Page 2 of 336
This manual includes information for all options
available on this model. Therefore, you may find
some information that does not apply to your
vehicle.
All information, specifications and illustrations in
this manual are those in effect at the time of
printing. NISSAN reserves the right to change
specifications or design without notice and with-
out obligation.
IMPORTANT INFORMATION ABOUT
THIS MANUAL
You will see various symbols in this manual. They
are used in the following ways:
WARNING
This is used to indicate the presence of a
hazard that could cause death or serious
personal injury. To avoid or reduce the
risk, the procedures must be followed
precisely.
CAUTION
This is used to indicate the presence of a
hazard that could cause minor or moder-
ate personal injury or damage to your ve-
hicle. To avoid or reduce the risk, the pro-
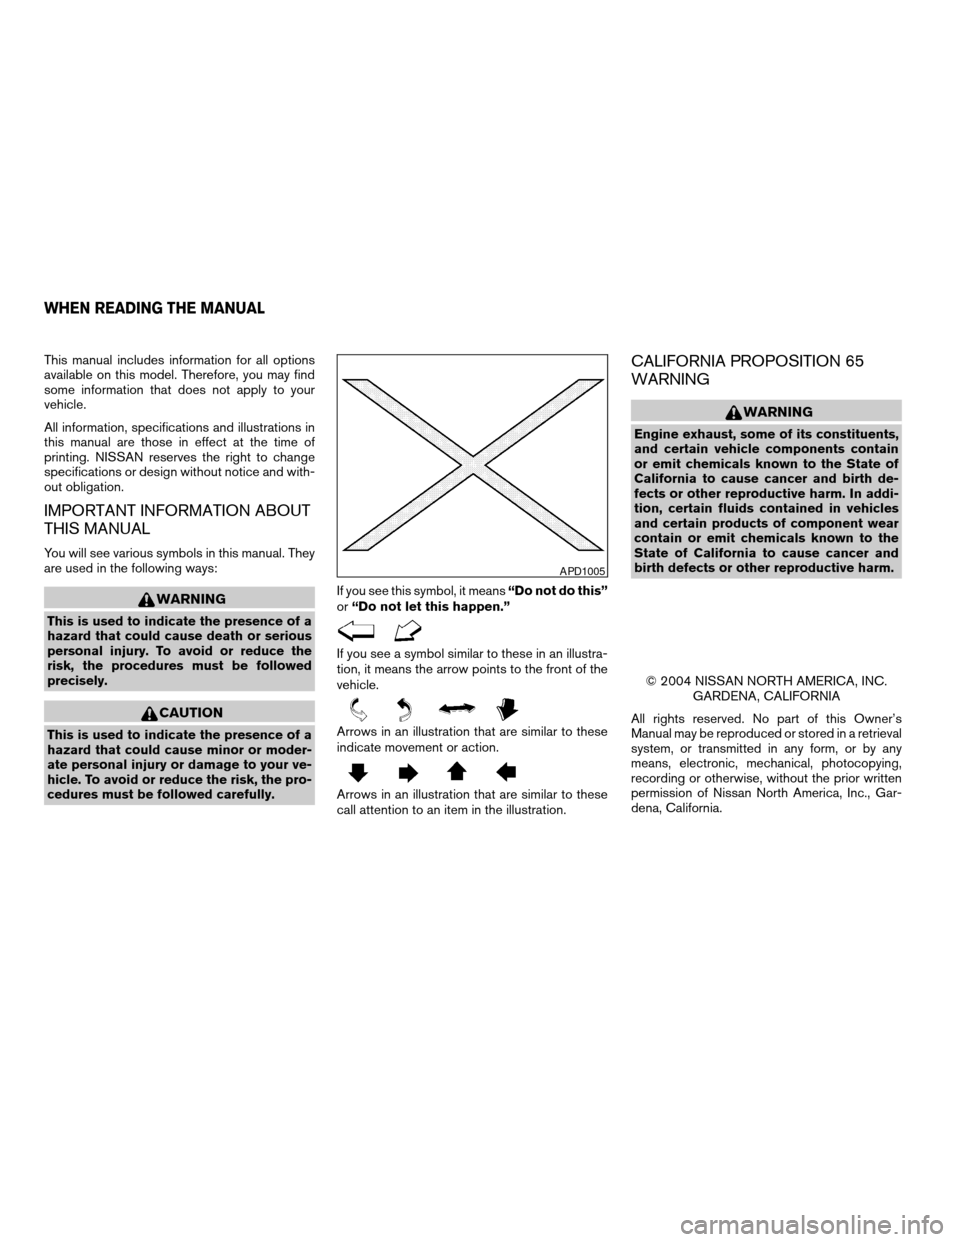
cedures must be followed carefully.If you see this symbol, it means“Do not do this”
or“Do not let this happen.”
If you see a symbol similar to these in an illustra-
tion, it means the arrow points to the front of the
vehicle.
Arrows in an illustration that are similar to these
indicate movement or action.
Arrows in an illustration that are similar to these
call attention to an item in the illustration.
CALIFORNIA PROPOSITION 65
WARNING
WARNING
Engine exhaust, some of its constituents,
and certain vehicle components contain
or emit chemicals known to the State of
California to cause cancer and birth de-
fects or other reproductive harm. In addi-
tion, certain fluids contained in vehicles
and certain products of component wear
contain or emit chemicals known to the
State of California to cause cancer and
birth defects or other reproductive harm.
© 2004 NISSAN NORTH AMERICA, INC.
GARDENA, CALIFORNIA
All rights reserved. No part of this Owner’s
Manual may be reproduced or stored in a retrieval
system, or transmitted in any form, or by any
means, electronic, mechanical, photocopying,
recording or otherwise, without the prior written
permission of Nissan North America, Inc., Gar-
dena, California.
APD1005
WHEN READING THE MANUAL
ZREVIEW COPYÐ2005 Truck/Frontier(d22)
Owners ManualÐUSA_English(nna)
11/30/04Ðdebbie
X
Page 33 of 336
There are three basic types of child restraint
systems:
cRear facing child restraint
cFront facing child restraint
cBooster seat
The proper restraint depends on the child’s size.
Generally, infants up to about 1 year and less
than 20 pounds (9 kg) should be placed in rear
facing child restraints. Front facing child re-
straints are available for children who outgrow
rear facing child restraints and are at least one
year old. Booster seats are used to help position
a vehicle lap/shoulder belt on a child who can no
longer use a front facing child restraint.
WARNING
cNever install a rear facing child restraint
in the front passenger’s seat. An inflat-
ing supplemental air bag could seri-
ously injure or kill your child. A rear
facing child restraint must only be used
in the rear seat.cInfants and children need special pro-
tection. The vehicle’s seat belts may not
fit them properly. The shoulder belt may
come too close to the face or neck. The
lap belt may not fit over their small hip
bones. In an accident, an improperly
fitting seat belt could cause serious or
fatal injury. Always use appropriate
child restraints.
All U.S. states and Canadian provinces or terri-
tories require the use of approved child restraints
for infants and small children. See “Child Re-
straints” later in this section.
Also, there are other types of child restraints
available for larger children for additional protec-
tion.
NISSAN recommends that all pre-teens
and children be restrained in the rear seat if
available (Crew Cab models) . According to
accident statistics, children are safer when
properly restrained in the rear seat than in
the front seat.
This is especially important because your
vehicle has a supplemental restraint sys-
tem (Air bag system) for the front passen-
ger. See “Supplemental restraint system”
later in this section.
Infants
Infants up to at least 1 year old should be placed
in a rear facing child restraint. NISSAN recom-
mends that infants be placed in child restraints
that comply with Federal Motor Vehicle Safety
Standards or Canadian Motor Vehicle Safety
Standards. You should choose a child restraint
that fits your vehicle and always follow the manu-
facturer’s instructions for installation and use.
Small Children
Children that are over one year old and weigh
between 20 lbs (9 kg) and 40 lbs (18 kgs) can be
placed in a forward facing child restraint. Refer to
the manufacturer’s instructions for minimum and
maximum weight and height recommendations.
NISSAN recommends that small children be
placed in child restraints that comply with Federal
Motor Vehicle Safety Standards or Canadian Mo-
tor Vehicle Safety Standards. You should choose
a child restraint that fits your vehicle and always
follow the manufacturer’s instructions for instal-
lation and use.
Larger children
Children who are too large for child restraints
should be seated and restrained by the seat belts
which are provided. The seat belt may not fit
properly if the child is less than 4 feet 9 inches
(142.5 cm) tall and weighs between 40 lbs (18
Safety—Seats, seat belts and supplemental restraint system1-15
ZREVIEW COPYÐ2005 Truck/Frontier(d22)
Owners ManualÐUSA_English(nna)
11/30/04Ðdebbie
X
Page 40 of 336
WARNING
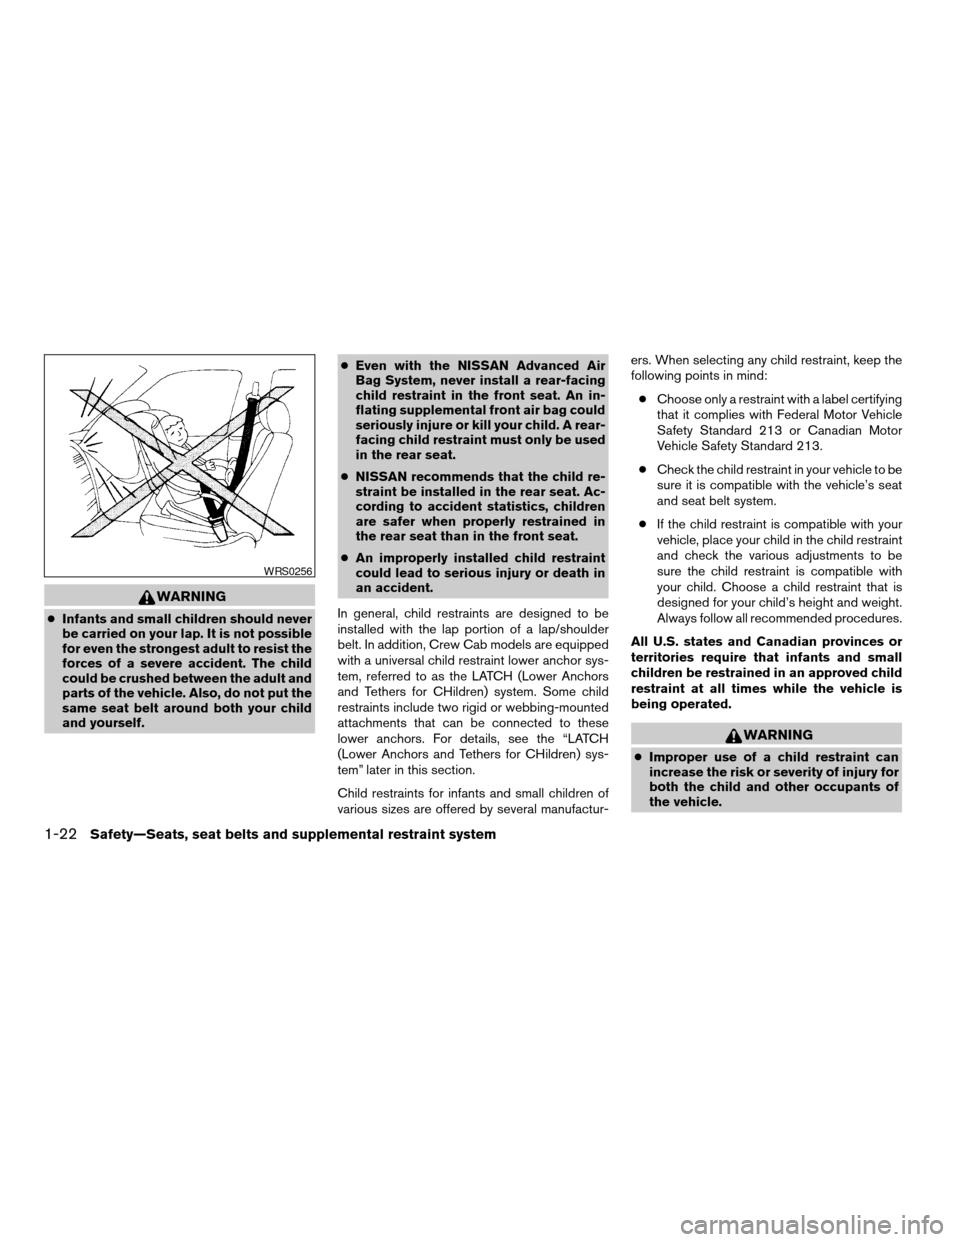
cInfants and small children should never
be carried on your lap. It is not possible
for even the strongest adult to resist the
forces of a severe accident. The child
could be crushed between the adult and
parts of the vehicle. Also, do not put the
same seat belt around both your child
and yourself.cEven with the NISSAN Advanced Air
Bag System, never install a rear-facing
child restraint in the front seat. An in-
flating supplemental front air bag could
seriously injure or kill your child. A rear-
facing child restraint must only be used
in the rear seat.
cNISSAN recommends that the child re-
straint be installed in the rear seat. Ac-
cording to accident statistics, children
are safer when properly restrained in
the rear seat than in the front seat.
cAn improperly installed child restraint
could lead to serious injury or death in
an accident.
In general, child restraints are designed to be
installed with the lap portion of a lap/shoulder
belt. In addition, Crew Cab models are equipped
with a universal child restraint lower anchor sys-
tem, referred to as the LATCH (Lower Anchors
and Tethers for CHildren) system. Some child
restraints include two rigid or webbing-mounted
attachments that can be connected to these
lower anchors. For details, see the “LATCH
(Lower Anchors and Tethers for CHildren) sys-
tem” later in this section.
Child restraints for infants and small children of
various sizes are offered by several manufactur-ers. When selecting any child restraint, keep the
following points in mind:
cChoose only a restraint with a label certifying
that it complies with Federal Motor Vehicle
Safety Standard 213 or Canadian Motor
Vehicle Safety Standard 213.
cCheck the child restraint in your vehicle to be
sure it is compatible with the vehicle’s seat
and seat belt system.
cIf the child restraint is compatible with your
vehicle, place your child in the child restraint
and check the various adjustments to be
sure the child restraint is compatible with
your child. Choose a child restraint that is
designed for your child’s height and weight.
Always follow all recommended procedures.
All U.S. states and Canadian provinces or
territories require that infants and small
children be restrained in an approved child
restraint at all times while the vehicle is
being operated.
WARNING
cImproper use of a child restraint can
increase the risk or severity of injury for
both the child and other occupants of
the vehicle.
WRS0256
1-22Safety—Seats, seat belts and supplemental restraint system
ZREVIEW COPYÐ2005 Truck/Frontier(d22)
Owners ManualÐUSA_English(nna)
11/30/04Ðdebbie
X
Page 41 of 336
cFollow all of the child restraint manu-
facturer’s instructions for installation
and use. When purchasing a child re-
straint, be sure to select one which will
fit your child and vehicle. It may not be
possible to properly install some types
of child restraints in your vehicle.
cIf the child restraint is not anchored
properly, the risk of a child being in-
jured in a collision or a sudden stop
greatly increases.
cAdjustable seatbacks should be posi-
tioned to fit the child restraint, but as
upright as possible.
cAfter attaching the child restraint, test it
before you place the child in it. Push it
from side to side. Try to tug it forward
and check to see if the belt holds the
restraint in place. The child restraint
should not move more than 1 inch (25
mm) . If the restraint is not secure,
tighten the belt as necessary, or put the
restraint in another seat and test it
again.
cIf you must install a front facing child
restraint in the front seat, see “Child
restraint installation on front passenger
seat” later in this section.cWhen your child restraint is not in use,
keep it secured with a seat belt to pre-
vent it from being thrown around in
case of a sudden stop or accident.
CAUTION
Remember that a child restraint left in a
closed vehicle can become very hot.
Check the seating surface and buckles
before placing your child in the child
restraint.
CHILD RESTRAINT INSTALLATION
ON PASSENGER’S SIDE JUMP
SEAT (King cab models only)
WARNING
cThe three-point seat belt in your vehicle
is equipped with an automatic locking
mode retractor which must be used
when installing a child restraint.
cFailure to use the retractor’s locking
mode will result in the child restraint
not being properly secured. The re-
straint could tip over or otherwise be
unsecured and cause injury to the child
in a sudden stop or collision.
WARNING
cWhen installing a child restraint system
in the passenger’s side jump seat posi-
tion be sure to unfold the seat exten-
sion on the jump seat. If the jump seat
extension is not properly used, the child
restraint will not be installed correctly
and the child could be injured in a col-
lision or sudden stop.
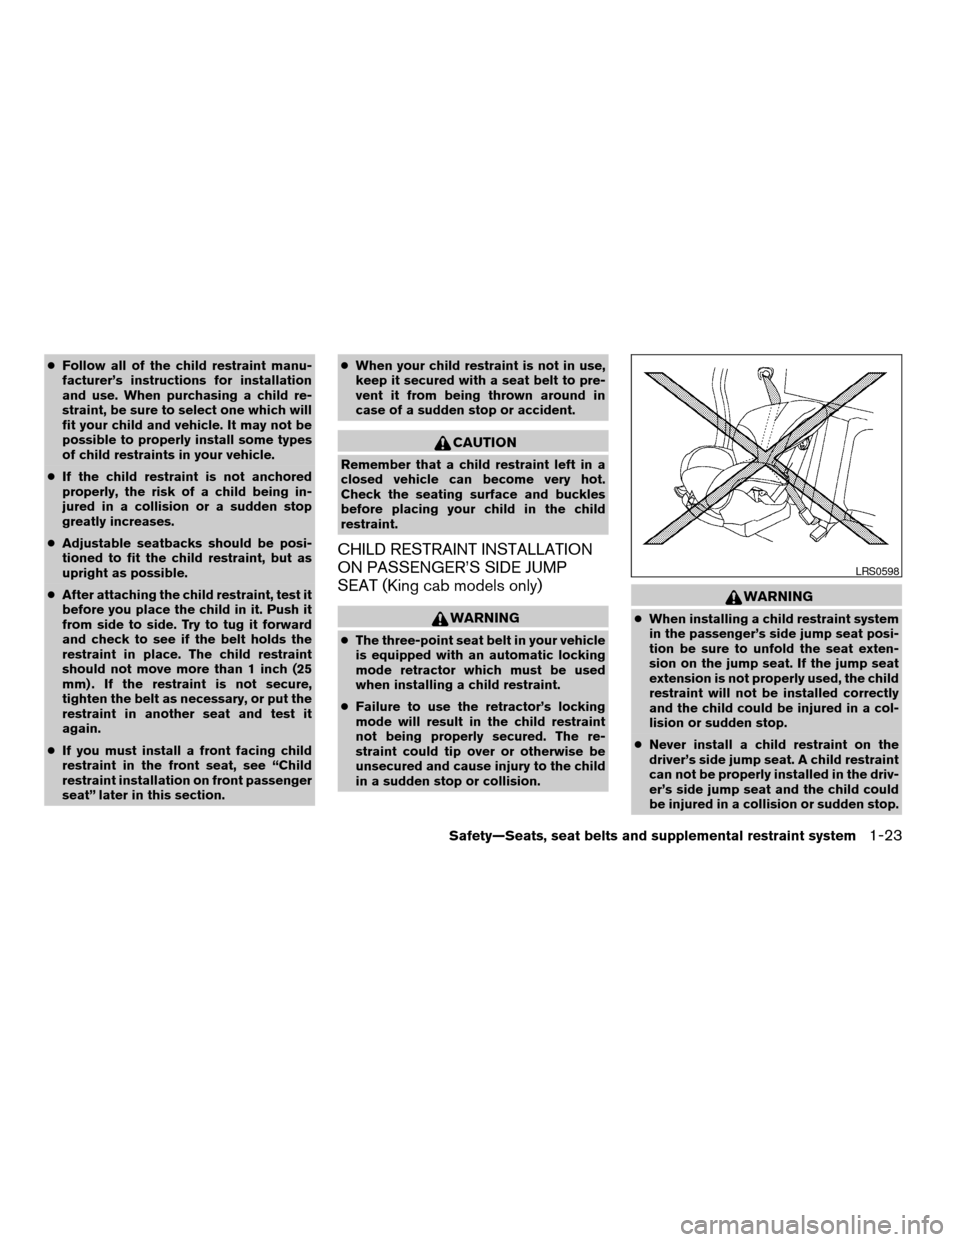
cNever install a child restraint on the
driver’s side jump seat. A child restraint
can not be properly installed in the driv-
er’s side jump seat and the child could
be injured in a collision or sudden stop.
LRS0598
Safety—Seats, seat belts and supplemental restraint system1-23
ZREVIEW COPYÐ2005 Truck/Frontier(d22)
Owners ManualÐUSA_English(nna)
11/30/04Ðdebbie
X
Page 60 of 336
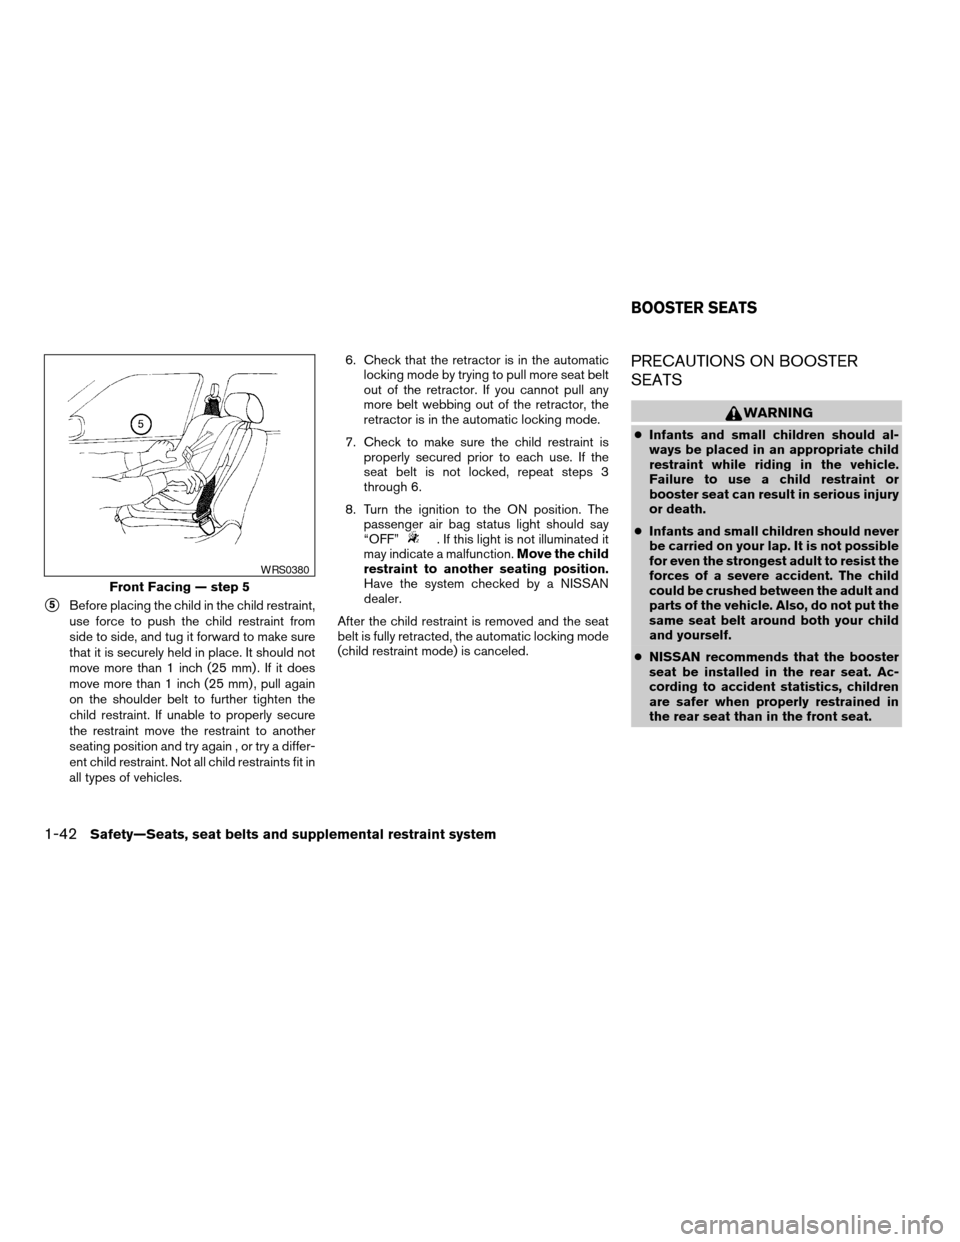
s5Before placing the child in the child restraint,
use force to push the child restraint from
side to side, and tug it forward to make sure
that it is securely held in place. It should not
move more than 1 inch (25 mm) . If it does
move more than 1 inch (25 mm) , pull again
on the shoulder belt to further tighten the
child restraint. If unable to properly secure
the restraint move the restraint to another
seating position and try again , or try a differ-
ent child restraint. Not all child restraints fit in
all types of vehicles.6. Check that the retractor is in the automatic
locking mode by trying to pull more seat belt
out of the retractor. If you cannot pull any
more belt webbing out of the retractor, the
retractor is in the automatic locking mode.
7. Check to make sure the child restraint is
properly secured prior to each use. If the
seat belt is not locked, repeat steps 3
through 6.
8. Turn the ignition to the ON position. The
passenger air bag status light should say
“OFF”
. If this light is not illuminated it
may indicate a malfunction.Move the child
restraint to another seating position.
Have the system checked by a NISSAN
dealer.
After the child restraint is removed and the seat
belt is fully retracted, the automatic locking mode
(child restraint mode) is canceled.
PRECAUTIONS ON BOOSTER
SEATS
WARNING
cInfants and small children should al-
ways be placed in an appropriate child
restraint while riding in the vehicle.
Failure to use a child restraint or
booster seat can result in serious injury
or death.
cInfants and small children should never
be carried on your lap. It is not possible
for even the strongest adult to resist the
forces of a severe accident. The child
could be crushed between the adult and
parts of the vehicle. Also, do not put the
same seat belt around both your child
and yourself.
cNISSAN recommends that the booster
seat be installed in the rear seat. Ac-
cording to accident statistics, children
are safer when properly restrained in
the rear seat than in the front seat.
Front Facing — step 5
WRS0380
BOOSTER SEATS
1-42Safety—Seats, seat belts and supplemental restraint system
ZREVIEW COPYÐ2005 Truck/Frontier(d22)
Owners ManualÐUSA_English(nna)
11/30/04Ðdebbie
X
Page 77 of 336
occupant takes his/her weight off the seat cush-
ion (for example, by not sitting upright, by sitting
on an edge of the seat, or by otherwise being out
of position) , this could cause the sensor to turn
the air bag OFF. In addition, if the occupant
improperly uses the seat belt in the automatic
locking mode (child restraint mode) , this could
cause the air bag to be turned OFF. Always be
sure to be seated and wearing the seat belt
properly for the most effective protection by the
seat belt and supplemental air bag.
NISSAN recommends that pre-teens and chil-
dren be properly restrained in a rear seat.
NISSAN also recommends that appropriate child
restraints and booster seats be properly installed
in a rear seat. If this is not possible, the weight
sensor and seat belt sensors are designed to
operate as described above to turn the front
passenger air bag OFF for specified child re-
straints as required by the regulations. Failing to
properly secure child restraints and to use the
automatic locking mode (child restraint mode)
may allow the restraint to tip or move in an acci-
dent or sudden stop. This can also result in the
passenger air bag inflating in a crash instead of
being OFF. See “Child restraints” earlier in this
section for proper use and installation.
If the front passenger seat is not occupied and
the seat belt is not buckled, the passenger air bag
is designed not to inflate in a crash. However,heavy objects placed on the seat could result in
air bag inflation, because of the object’s weight
detected by the weight sensor. Other conditions
could also result in air bag inflation, such as if a
child is standing on the seat, or if two children are
on the seat, contrary to the instructions in this
manual. Always be sure that you and all vehicle
occupants are seated and restrained properly.
Using the passenger air bag status light, you can
monitor when the front passenger air bag is au-
tomatically turned OFF. The light will illuminate
(indicating the air bag is OFF and will not inflate)
when the front passenger seat is not occupied.
If an adult occupant is in the seat and the pas-
senger air bag status light is illuminated (indicat-
ing that the air bag is OFF) , it could be that the
person is a small adult, or is not sitting on the seat
or not using the seat belt properly. If a child
restraint must be used in the front seat, but the
status light is not lit (indicating that the air bag
might inflate in a crash) , it could be that the child
restraint or seat belt is not being used properly. If
such situations happen, properly position and
restrain the occupant or child restraint. Other-
wise reposition the occupant or child restraint in
a rear seat.
If a malfunction occurs in the front passenger air
bag system, the supplemental air bag warning
light
, located in the meter and gauges areain the center of the instrument panel, will blink.
Have the system checked by a NISSAN dealer.
Other supplemental front air bag precau-
tions
WARNING
cDo not place any objects on the steer-
ing wheel pad or on the instrument
panel. Also, do not place any objects
between any occupant and the steering
wheel or instrument panel. Such ob-
jects may become dangerous projec-
tiles and cause injury if the supplemen-
tal front air bag inflates.
cImmediately after inflation, several
front air bag system components will be
hot. Do not touch them; you may se-
verely burn yourself.
cNo unauthorized changes should be
made to any components or wiring of
the supplemental air bag system. This is
to prevent accidental inflation of the
supplemental air bag or damage to the
supplemental air bag system.
Safety—Seats, seat belts and supplemental restraint system1-59
ZREVIEW COPYÐ2005 Truck/Frontier(d22)
Owners ManualÐUSA_English(nna)
11/30/04Ðdebbie
X
Page 89 of 336

For vehicles equipped with trip computer, push-
ing the change button changes the display as
follows:
Trip
!Trip!Distance to Empty!
Average speed!Average fuel consumption!
Journey time!Trip
For additional information, refer to “Trip com-
puter” later in this section.
Resetting the trip odometer:
Pushing the change button for more than 1 sec-
ond resets the trip odometer to zero.
TRIP COMPUTER (if so equipped)
The display of the trip computer is situated in the
speedometer display. When the ignition is turned
to ON, the display scrolls all the modes of the trip
computer and then shows the mode chosen be-
fore the ignition switch was turned OFF.
When the ignition switch is turned to ON, modes
of the trip computer can be selected by pushing
the trip computer change button. The following
modes can be selected:
Distance to empty (dte—mile or km)
The distance to empty (dte) mode provides you
with an estimation of the distance that can be
driven before refueling. The dte is constantly be-
ing calculated, based on the amount of fuel in the
fuel tank and the actual fuel consumption.
The display is updated every 30 seconds.
The dte mode includes a low range warning
feature: when the fuel level is low, the dte mode is
automatically selected and the digits blink in or-
der to draw the driver’s attention. Press the
change button if you wish to return to the mode
that was selected before the warning occurred.
The dte mark (dte) will remain blinking until the
vehicle is refueled.
When the fuel level drops even lower, the dte
display will change to (----) .NOTE:
cIf the amount of fuel added while the
ignition switch is OFF is small, the dis-
play just before the ignition switch is
turned OFF may continue to be dis-
played.
cWhen driving uphill or rounding curves,
the fuel in the tank shifts, which may
momentarily change the display.
Average speed (MPH or km/h)
The average speed mode shows the average
vehicle speed since last reset. Resetting is done
by pressing the change button for more than
approximately 1 second. The display is updated
every 30 seconds. The first 30 seconds after a
reset, the display shows (----) .
Average fuel consumption (Mpg or
l/100km)
The average fuel consumption mode shows the
average fuel consumption since the last reset.
Resetting is done by pressing the change button
for more than approximately 1 second. The dis-
play is updated every 30 seconds. At about the
first 1/3 miles (500 m) after a reset, the display
shows (----) .
With trip computer
LIC0781
Instruments and controls2-5
ZREVIEW COPYÐ2005 Truck/Frontier(d22)
Owners ManualÐUSA_English(nna)
11/30/04Ðdebbie
X
Page 90 of 336
Journey time
The journey time mode shows the time since the
last reset. The displayed time can be reset by
pressing the change button for more than ap-
proximately 1 second.
Trip computer reset
Pushing the change button for more than 3 sec-
onds will reset all modes except Trip A and dis-
tance to empty (dte) .
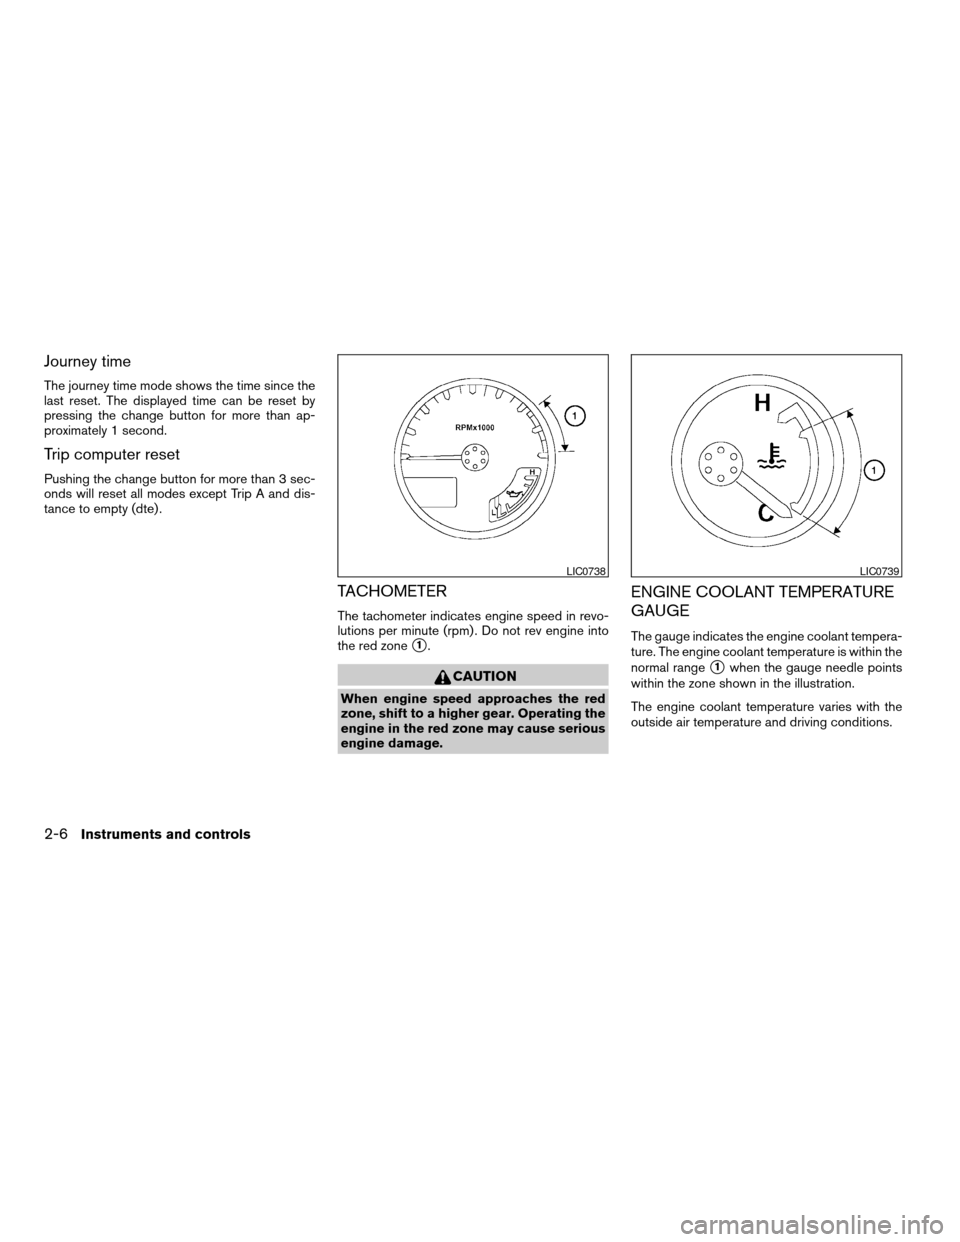
TACHOMETER
The tachometer indicates engine speed in revo-
lutions per minute (rpm) . Do not rev engine into
the red zone
s1.
CAUTION
When engine speed approaches the red
zone, shift to a higher gear. Operating the
engine in the red zone may cause serious
engine damage.
ENGINE COOLANT TEMPERATURE
GAUGE
The gauge indicates the engine coolant tempera-
ture. The engine coolant temperature is within the
normal range
s1when the gauge needle points
within the zone shown in the illustration.
The engine coolant temperature varies with the
outside air temperature and driving conditions.
LIC0738LIC0739
2-6Instruments and controls
ZREVIEW COPYÐ2005 Truck/Frontier(d22)
Owners ManualÐUSA_English(nna)
11/30/04Ðdebbie
X
Page 95 of 336
Zone variation change procedure
The difference between magnetic north and geo-
graphical north is known as variance. In some
areas, this difference can sometimes be great
enough to cause false compass readings. Follow
these instructions to set the variance for your
particular location if this happens:
1. Press and hold the
button for about 8
seconds. The current zone number will ap-
pear in the display.
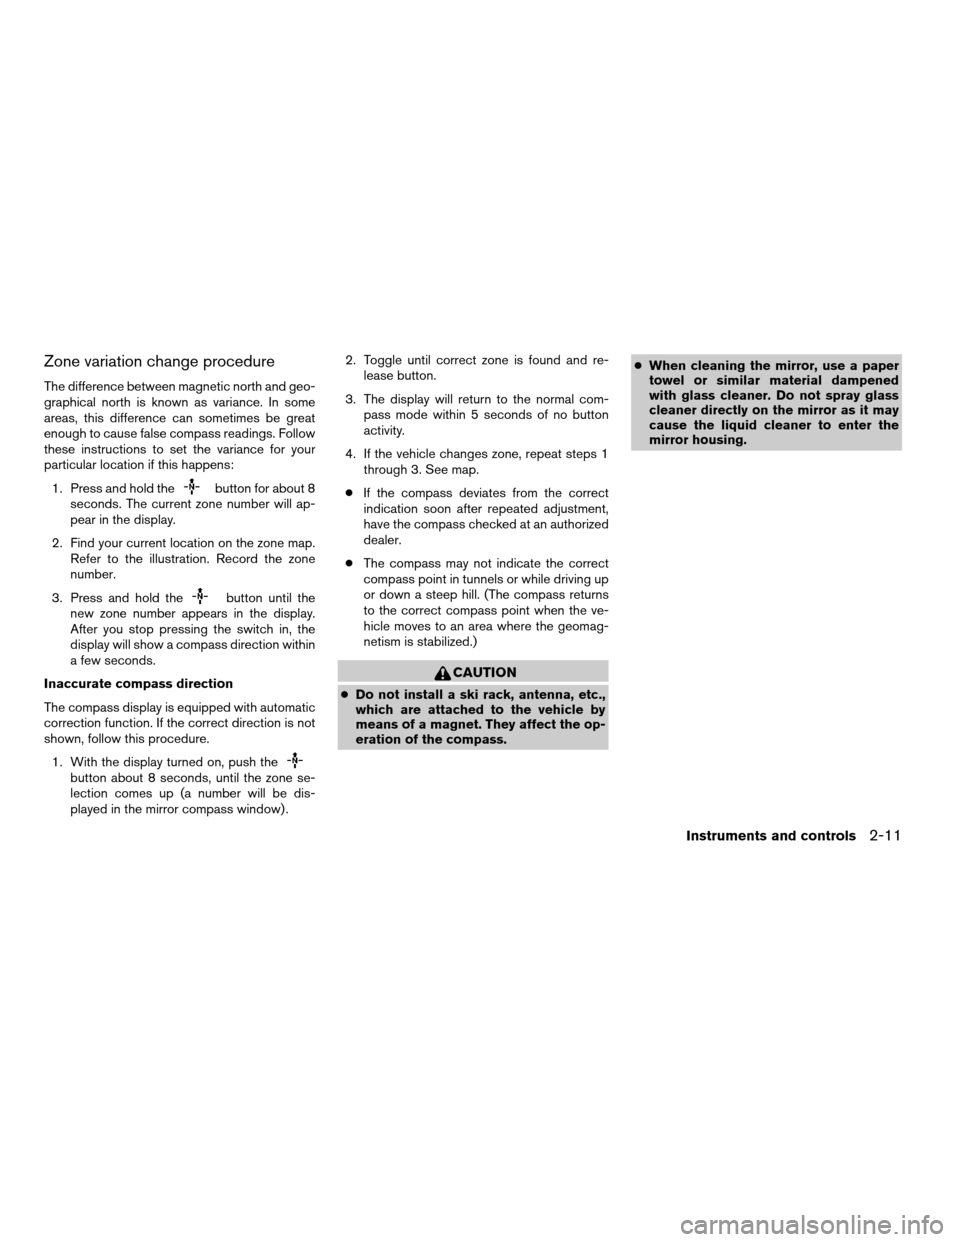
2. Find your current location on the zone map.
Refer to the illustration. Record the zone
number.
3. Press and hold the
button until the
new zone number appears in the display.
After you stop pressing the switch in, the
display will show a compass direction within
a few seconds.
Inaccurate compass direction
The compass display is equipped with automatic
correction function. If the correct direction is not
shown, follow this procedure.
1. With the display turned on, push the
button about 8 seconds, until the zone se-
lection comes up (a number will be dis-
played in the mirror compass window) .2. Toggle until correct zone is found and re-
lease button.
3. The display will return to the normal com-
pass mode within 5 seconds of no button
activity.
4. If the vehicle changes zone, repeat steps 1
through 3. See map.
cIf the compass deviates from the correct
indication soon after repeated adjustment,
have the compass checked at an authorized
dealer.
cThe compass may not indicate the correct
compass point in tunnels or while driving up
or down a steep hill. (The compass returns
to the correct compass point when the ve-
hicle moves to an area where the geomag-
netism is stabilized.)
CAUTION
cDo not install a ski rack, antenna, etc.,
which are attached to the vehicle by
means of a magnet. They affect the op-
eration of the compass.cWhen cleaning the mirror, use a paper
towel or similar material dampened
with glass cleaner. Do not spray glass
cleaner directly on the mirror as it may
cause the liquid cleaner to enter the
mirror housing.
Instruments and controls2-11
ZREVIEW COPYÐ2005 Truck/Frontier(d22)
Owners ManualÐUSA_English(nna)
11/30/04Ðdebbie
X
Page 99 of 336
dipstick to check the oil level. See “Engine oil” in
the “Maintenance and do-it-yourself” section of
this manual.
CAUTION
Running the engine with the engine oil
pressure warning light on could cause se-
rious damage to the engine almost imme-
diately. Such damage is not covered by
warranty. Turn off the engine as soon as it
is safe to do so.
4WD warning light (
model)
The 4WD warning light comes on when the key
switch is turned to ON. It turns off soon after the
engine is started.
If the engine or vehicle is not functioning properly,
the warning light will either remain illuminated or
blink. See “4WD warning light” in the “Starting
and driving” section.
CAUTION
cIf the warning light comes on or blinks
during operation, have your vehicle
checked by a NISSAN dealer as soon as
possible.cDo not drive on dry hard surface roads
in the 4H or 4LO position. If the 4WD
warning light turns on when you are
driving on dry hard surface roads:
– in the 4H position, shift the 4WD shift
switch to 2WD.
– in the 4LO position for automatic
transmission models, stop the ve-
hicle and shift the transmission se-
lector lever to the N position with the
brake pedal depressed and shift the
4WD shift switch to 2WD.
– in the 4LO position for manual trans-
mission models, stop the vehicle and
shift the transmission shift lever to
the N position with the clutch pedal
depressed and shift the 4WD shift
switch to 2WD.
cIf the warning light is still on after the
above operation, have your vehicle
checked by a NISSAN dealer as soon as
possible.Low fuel warning light
This light comes on when the fuel level in the fuel
tank is getting low. Refuel as soon as it is conve-
nient, preferably before the fuel gauge reaches E(Empty) .There will be a small reserve of fuel
in the tank when the fuel gauge needle
reaches E (Empty) .
Low tire pressure warning
light
After the ignition switch is turned ON, this light
comes on for about 1 second and turns off.
This light warns of low tire pressure.
NISSAN’s low tire pressure warning system is a
tire pressure monitoring system. It monitors tire
pressure of all tires except the spare. When the
tire pressure monitoring system warning light is
lit, one or more of your tires is significantly under-
inflated. You should stop and check your tires as
soon as possible, and inflate them to the proper
pressure as indicated on the vehicle’s tire infor-
mation placard. Driving on a significantly under-
inflated tire causes the tire to overheat and can
lead to tire failure. Under-inflation also reduces
fuel efficiency and tire tread life, and may affect
the vehicle’s handling and stopping ability. Each
tire, including the spare, should be checked
monthly when cold and set to the recommended
inflation pressure as specified in the vehicle plac-
ard and owner’s manual.
The recommended inflation pressure may also be
found on the Tire and Loading Information Label.
Instruments and controls2-15
ZREVIEW COPYÐ2005 Truck/Frontier(d22)
Owners ManualÐUSA_English(nna)
11/30/04Ðdebbie
X