set clock NISSAN GT-R 2013 R35 Quick Reference Guide
[x] Cancel search | Manufacturer: NISSAN, Model Year: 2013, Model line: GT-R, Model: NISSAN GT-R 2013 R35Pages: 24, PDF Size: 1.92 MB
Page 3 of 24

TABLE OF CONTENTS
Additional Information about your vehicle is also available in your Owner’s Manual, Multi Function Display Owner’s Manual and at www.nissanusa.com.
New SYSTe M FeaTureS
RearView Monitor ............................................... 2
USB/iPod
® Interface ............................................ 2
DVD Player .................................................... 2
XM NavTraffic
® and XM NavWeather™ (if so equipped) ............... 3
eSS eNTial iNF orMa TioN
Fuel-Filler Cap ................................................. 4
Tire Pressure Monitoring System (TPMS) ...........................4
Unique Noises ................................................. 5
Vehicle Modifications ............................................ 5
Vehicle Dynamic Control (VDC) ................................... 5
Fir ST Drive Fea TureS
NISSAN Intelligent Key
® System .................................. 6
Trunk Lid Release ............................................... 7
Seat Adjustments .............................................. 7
Outside Mirror Control Switch .................................... 8
Starting/Stopping the Engine ..................................... 8
Headlight Control Switch ........................................ 8
Windshield Wiper/Washer Switch ................................. 9
Automatic Climate Controls ..................................... 10
FM/AM/XM
® Satellite Radio with CD/DVD Player ...................11
Clock Set/Adjustment .......................................... 12
Cruise Control ................................................ 13
Fuel-Filler Door ................................................ 13
S YST eM GuiDe
Drive Computer ............................................... 14
Bluetooth
® Hands-free Phone System ............................. 14
Navigation System ............................................. 17
HomeLink
® Universal Transceiver ................................. 20
• A cellular telephone should not be used for any purpose while
driving so full attention may be given to vehicle operation.
• Always wear your seat belt.
• Supplemental air bags do not replace proper seat belt usage.
• Children 12 and under should always ride in the rear seat
properly secured in child restraints or seat belts according to
their age and weight.
• Do not drink and drive.
For more information, refer to the “Safety –– Seats, seat belts and
supplemental restraint system (section 1)” and the “Starting and
driving (section 5)” of your Owner’s Manual and the “ audio System
(section 3)” of your Multi Function Display Owner’s Manual.
To view detailed
instructional videos, go to
www.nissanownersinfo.mobi/2013/gtr or snap this barcode with an appropriate barcode reader.
Page 14 of 24

first drive features
To view detailed instructional videos regarding these and other features, please go to www.nissanownersinfo.mobi.12
04 ST
aTioN Pre SeT B uTToNS
Twelve stations can be set for the FM band, six for the AM band and eighteen for XM
satellite radio.
To store a station in a preset, you must first select a radio band by pressing the \
FM•AM
button
05 or
SaT button
06 , then tune to the desired AM, FM or XM satellite station.
Then press and hold the desired station preset button (1-6) until the sound is briefly
muted. The station indicator will then display and the sound will resume. Programming\
is
now complete.
To retrieve a previously set station, select the radio band where the preset was stored
then press the corresponding station select button (1-6).
For more information, refer to the “ audio system (section 3)” of your Multi Function Display Owner’s Manual.
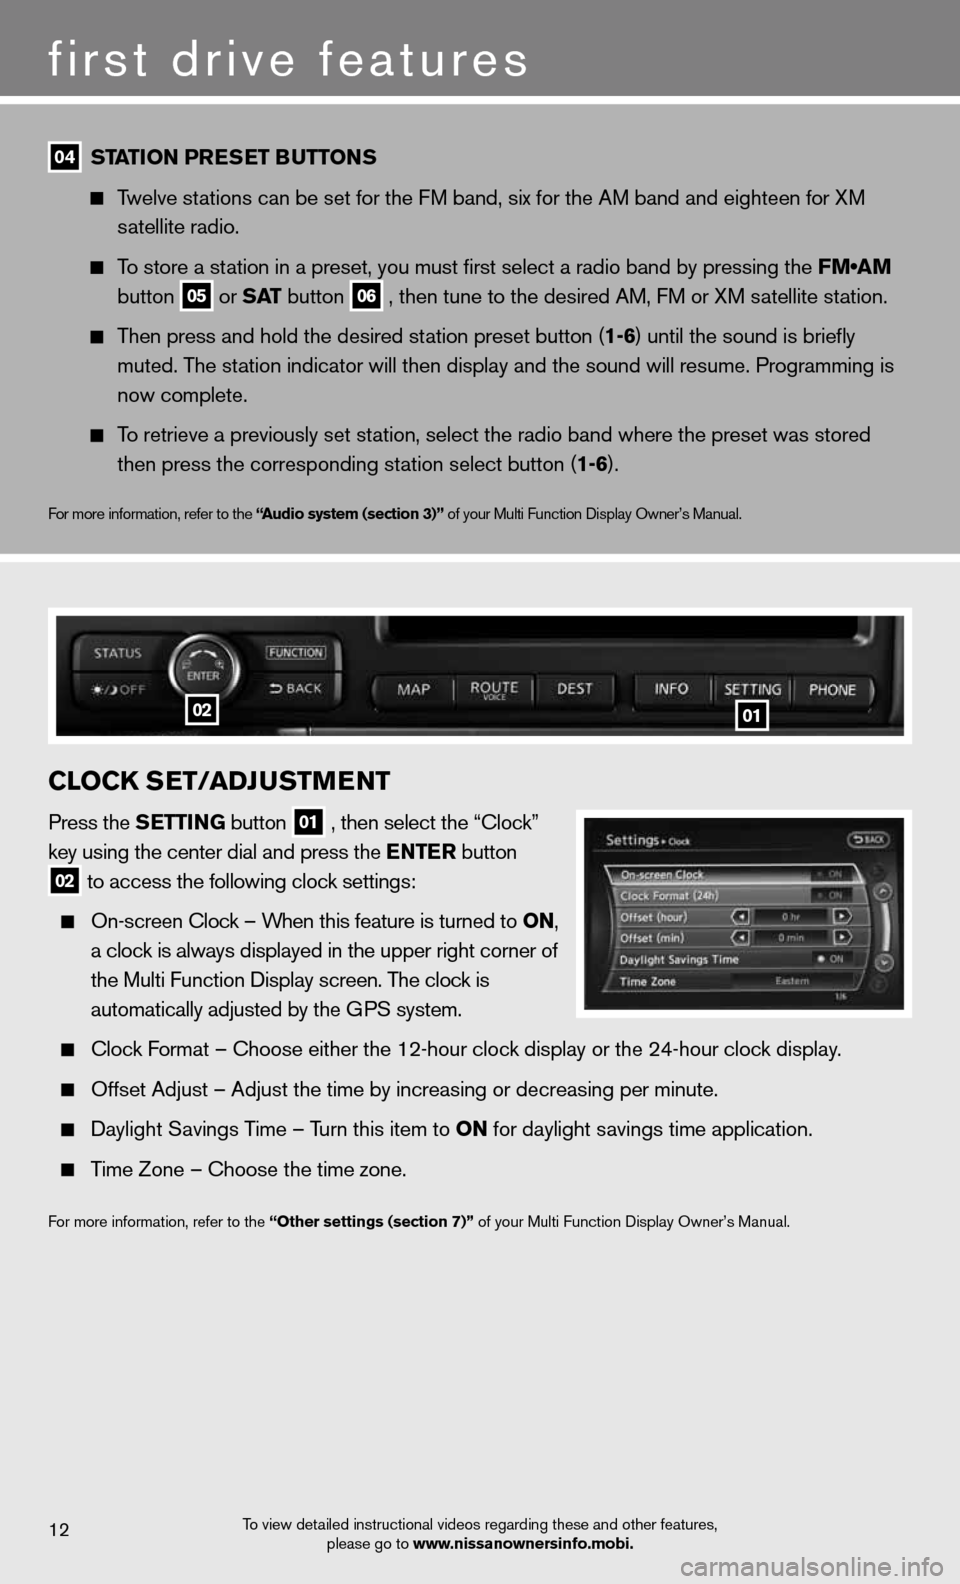
clocK S eT/aDJ uSTM eNT
Press the S eTTiNG button
01 , then select the “Clock”
key using the center dial and press the e NTer button
02 to access the following clock settings:
On-screen Clock – When this feature is turned to oN,
a clock is always displayed in the upper right corner of
the Multi Function Display screen. The clock is
automatically adjusted by the GPS system.
Clock Format – Choose either the 12-hour clock display or the 24-hour clock display.
Offset Adjust – Adjust the time by increasing or decreasing per minut\
e.
Daylight Savings Time – Turn this item to oN for daylight savings time application.
Time Zone – Choose the time zone.
For more information, refer to the “other settings (section 7)” of your Multi Function Display Owner’s Manual.
0102