brake NISSAN GT-R 2015 R35 Multi Function Display Owners Manual
[x] Cancel search | Manufacturer: NISSAN, Model Year: 2015, Model line: GT-R, Model: NISSAN GT-R 2015 R35Pages: 298, PDF Size: 11.39 MB
Page 5 of 298
0-2Introduction
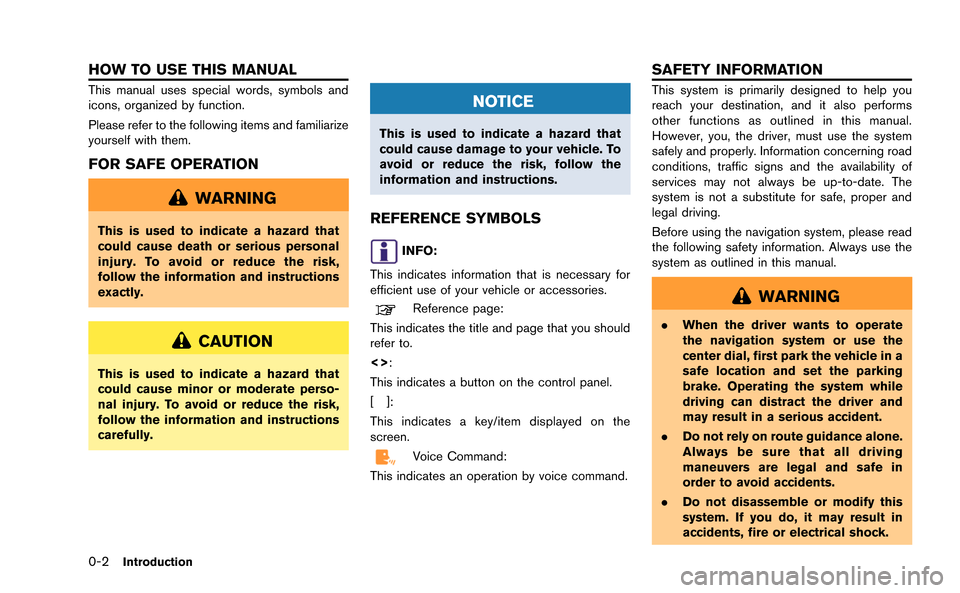
This manual uses special words, symbols and
icons, organized by function.
Please refer to the following items and familiarize
yourself with them.
FOR SAFE OPERATION
WARNING
This is used to indicate a hazard that
could cause death or serious personal
injury. To avoid or reduce the risk,
follow the information and instructions
exactly.
CAUTION
This is used to indicate a hazard that
could cause minor or moderate perso-
nal injury. To avoid or reduce the risk,
follow the information and instructions
carefully.
NOTICE
This is used to indicate a hazard that
could cause damage to your vehicle. To
avoid or reduce the risk, follow the
information and instructions.
REFERENCE SYMBOLS
INFO:
This indicates information that is necessary for
efficient use of your vehicle or accessories.
Reference page:
This indicates the title and page that you should
refer to.
<>:
This indicates a button on the control panel.
[]:
This indicates a key/item displayed on the
screen.
Voice Command:
This indicates an operation by voice command.
This system is primarily designed to help you
reach your destination, and it also performs
other functions as outlined in this manual.
However, you, the driver, must use the system
safely and properly. Information concerning road
conditions, traffic signs and the availability of
services may not always be up-to-date. The
system is not a substitute for safe, proper and
legal driving.
Before using the navigation system, please read
the following safety information. Always use the
system as outlined in this manual.
WARNING
. When the driver wants to operate
the navigation system or use the
center dial, first park the vehicle in a
safe location and set the parking
brake. Operating the system while
driving can distract the driver and
may result in a serious accident.
. Do not rely on route guidance alone.
Always be sure that all driving
maneuvers are legal and safe in
order to avoid accidents.
. Do not disassemble or modify this
system. If you do, it may result in
accidents, fire or electrical shock.
HOW TO USE THIS MANUAL SAFETY INFORMATION
Page 136 of 298
DVD (Digital Versatile Disc) PLAYER
OPERATION
Precautions
Start the engine when using the DVD entertain-
ment system.
Movies will not be shown on the front display
while the vehicle is in any drive position to
reduce driver distraction. Audio is available
when a movie is played. To view movies in the
front display, stop the vehicle in a safe location,
move the shift lever to the P (Park) position and
apply the parking brake.
WARNING
.The driver must not attempt to
operate the DVD system or wear
the headphones while the vehicle is
in motion so that full attention may
be given to vehicle operation.
. Do not attempt to modify the system
to display a movie on the front
screen while the vehicle is being
driven. Doing so may distract the
driver and may cause a collision and
serious personal injury or death.
CAUTION
.Only operate the DVD while the
vehicle engine is running. Operating
the DVD for extended periods of
time with the engine OFF can dis-
charge the vehicle battery.
. Do not allow the system to get wet.
Excessive moisture such as spilled
liquids may cause the system to
malfunction.
. While playing VIDEO-CD media, this
DVD player does not guarantee
complete functionality of all VI-
DEO-CD formats.
Display settings
To adjust the front display mode, push
select [Others] and then select [Display].
To adjust the display ON/OFF, brightness, tint,
color and contrast, select [Display Adjustment]
and then select each key.
Then you can adjust each item using the center
dial. After changes have been made push
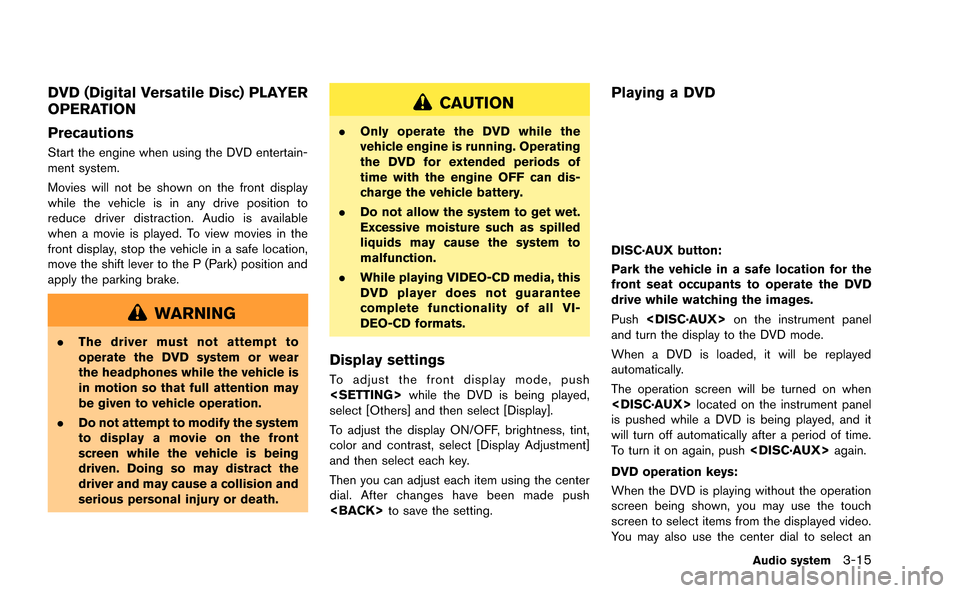
Playing a DVD
DISC·AUX button:
Park the vehicle in a safe location for the
front seat occupants to operate the DVD
drive while watching the images.
Push
and turn the display to the DVD mode.
When a DVD is loaded, it will be replayed
automatically.
The operation screen will be turned on when
is pushed while a DVD is being played, and it
will turn off automatically after a period of time.
To turn it on again, push
DVD operation keys:
When the DVD is playing without the operation
screen being shown, you may use the touch
screen to select items from the displayed video.
You may also use the center dial to select an
Audio system3-15
Page 234 of 298
5. When the vehicle is parked in the spacecompletely, move the shift lever to the
“P”(Park) position and apply the parking
brake
OPERATING TIPS
.When the shift lever is shifted to the “R”
(Reverse) position, the monitor screen auto-
matically changes to the RearView Monitor
mode. However, the radio can be heard.
. It may take some time until the RearView
Monitor is displayed after the shift lever has
been shifted to “R” from another position or
to another position from “R”. Objects may be
distorted momentarily until the RearView
Monitor screen is displayed completely.
. When the temperature is extremely high or
low, the screen may not clearly display
objects. This is not a malfunction.
. When strong light directly enters the cam-
era, objects may not be displayed clearly.
This is not a malfunction.
. The screen may flicker under fluorescent
light. This is not a malfunction.
. The colors of objects on the RearView
Monitor may differ somewhat from those of
the actual object. .
Objects on the monitor may not be clear in a
dark place or at night. This is not a
malfunction.
. If dirt, rain or snow attaches to the camera,
the RearView Monitor may not clearly dis-
play objects. Clean the camera.
. Do not use alcohol, benzine or thinner to
clean the camera. This will cause discolora-
tion. To clean the camera, wipe with a cloth
dampened with diluted mild cleaning agent
and then wipe with a dry cloth.
. Do not damage the camera as the monitor
screen may be adversely affected.
. Do not use wax on the camera window.
Wipe off any wax with a clean cloth
dampened with mild detergent diluted with
water.
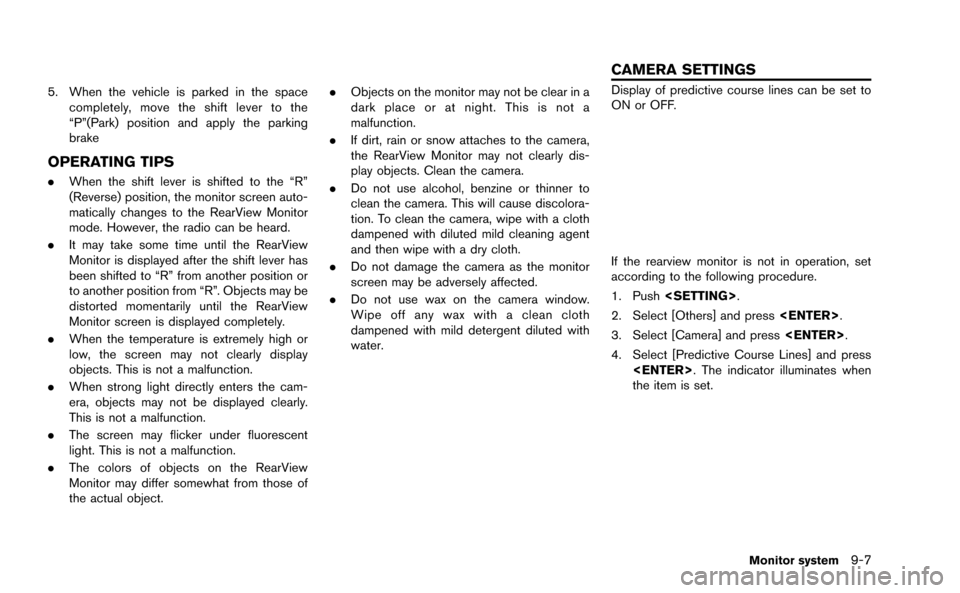
Display of predictive course lines can be set to
ON or OFF.
If the rearview monitor is not in operation, set
according to the following procedure.
1. Push
2. Select [Others] and press
3. Select [Camera] and press
4. Select [Predictive Course Lines] and press
the item is set.
Monitor system9-7
CAMERA SETTINGS
Page 243 of 298
10-8Multi function meter
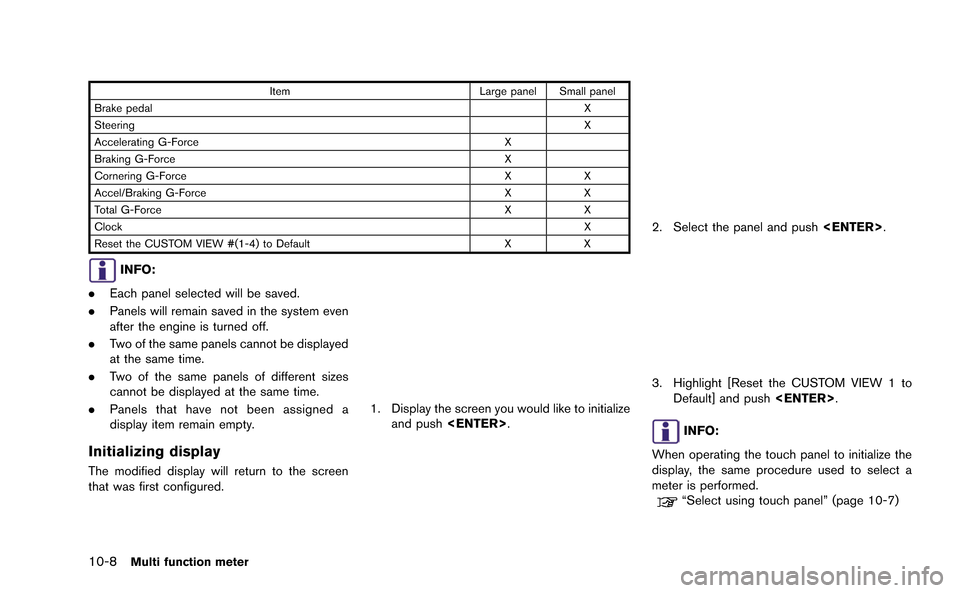
ItemLarge panel Small panel
Brake pedal X
Steering X
Accelerating G-Force X
Braking G-Force X
Cornering G-Force XX
Accel/Braking G-Force XX
Total G-Force XX
Clock X
Reset the CUSTOM VIEW #(1-4) to Default XX
INFO:
. Each panel selected will be saved.
. Panels will remain saved in the system even
after the engine is turned off.
. Two of the same panels cannot be displayed
at the same time.
. Two of the same panels of different sizes
cannot be displayed at the same time.
. Panels that have not been assigned a
display item remain empty.
Initializing display
The modified display will return to the screen
that was first configured.
1. Display the screen you would like to initialize
and push
2. Select the panel and push
3. Highlight [Reset the CUSTOM VIEW 1 to
Default] and push
INFO:
When operating the touch panel to initialize the
display, the same procedure used to select a
meter is performed.
“Select using touch panel” (page 10-7)
Page 247 of 298
10-12Multi function meter
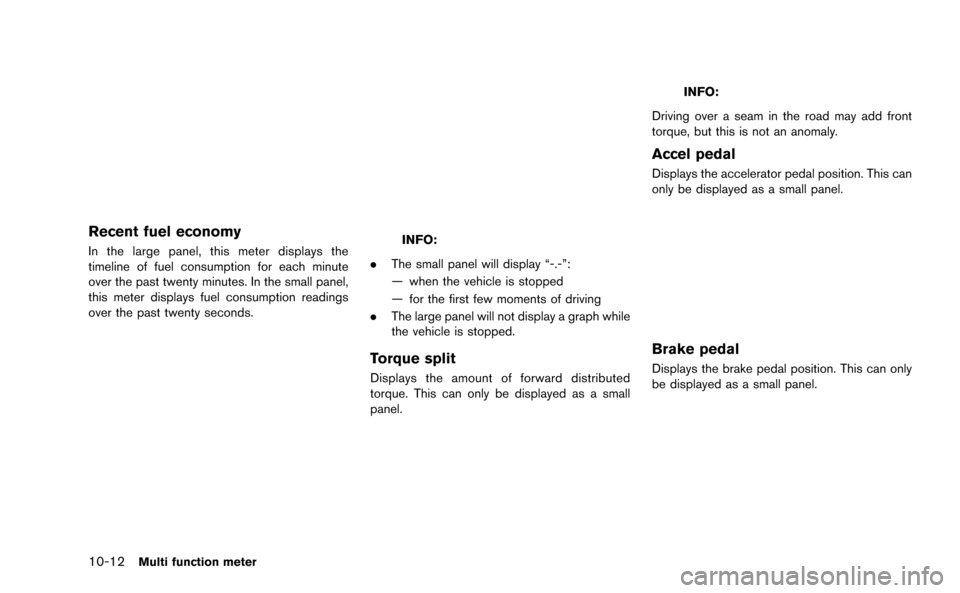
Recent fuel economy
In the large panel, this meter displays the
timeline of fuel consumption for each minute
over the past twenty minutes. In the small panel,
this meter displays fuel consumption readings
over the past twenty seconds.INFO:
. The small panel will display “-.-”:
— when the vehicle is stopped
— for the first few moments of driving
. The large panel will not display a graph while
the vehicle is stopped.
Torque split
Displays the amount of forward distributed
torque. This can only be displayed as a small
panel.
INFO:
Driving over a seam in the road may add front
torque, but this is not an anomaly.
Accel pedal
Displays the accelerator pedal position. This can
only be displayed as a small panel.
Brake pedal
Displays the brake pedal position. This can only
be displayed as a small panel.
Page 248 of 298
INFO:
The reading that the brake meter displays when
the pedal is being depressed may vary, depend-
ing on the vehicle speed and road conditions.
The brake meter may not display a reading of
“100%” even when the brake is being fully
depressed. This is not a malfunction.
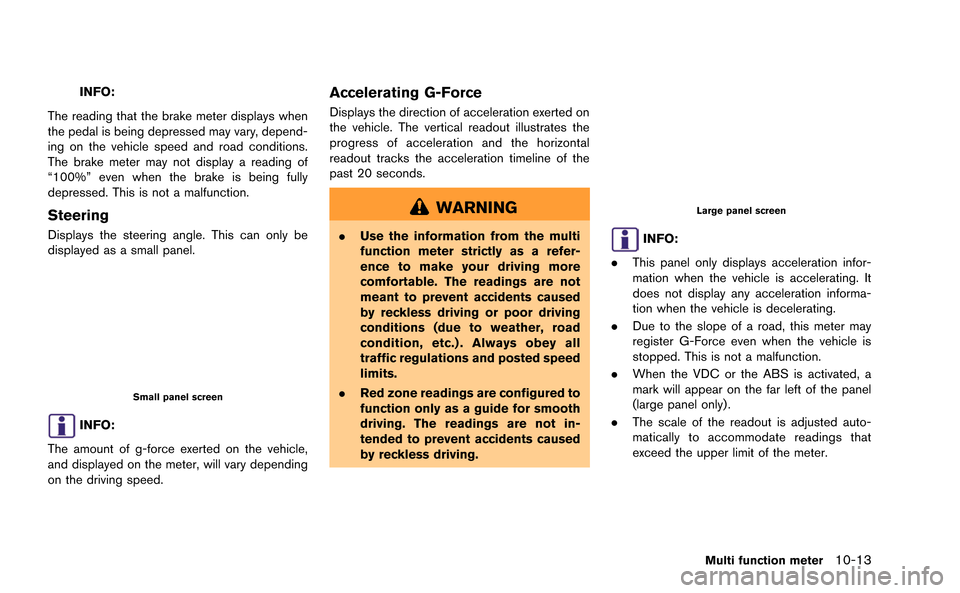
Steering
Displays the steering angle. This can only be
displayed as a small panel.
Small panel screen
INFO:
The amount of g-force exerted on the vehicle,
and displayed on the meter, will vary depending
on the driving speed.
Accelerating G-Force
Displays the direction of acceleration exerted on
the vehicle. The vertical readout illustrates the
progress of acceleration and the horizontal
readout tracks the acceleration timeline of the
past 20 seconds.
WARNING
. Use the information from the multi
function meter strictly as a refer-
ence to make your driving more
comfortable. The readings are not
meant to prevent accidents caused
by reckless driving or poor driving
conditions (due to weather, road
condition, etc.) . Always obey all
traffic regulations and posted speed
limits.
. Red zone readings are configured to
function only as a guide for smooth
driving. The readings are not in-
tended to prevent accidents caused
by reckless driving.
Large panel screen
INFO:
. This panel only displays acceleration infor-
mation when the vehicle is accelerating. It
does not display any acceleration informa-
tion when the vehicle is decelerating.
. Due to the slope of a road, this meter may
register G-Force even when the vehicle is
stopped. This is not a malfunction.
. When the VDC or the ABS is activated, a
mark will appear on the far left of the panel
(large panel only).
. The scale of the readout is adjusted auto-
matically to accommodate readings that
exceed the upper limit of the meter.
Multi function meter10-13
Page 254 of 298
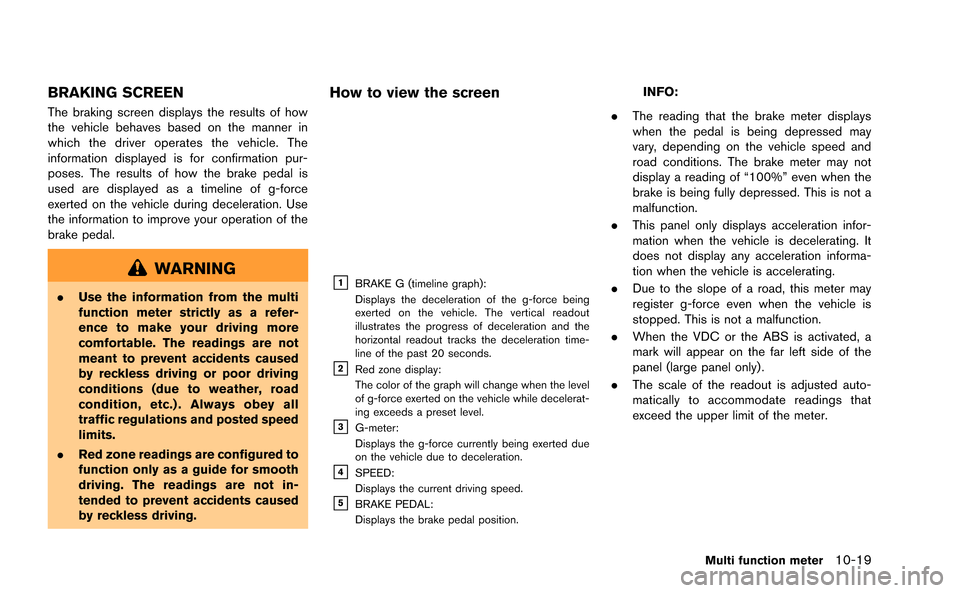
BRAKING SCREEN
The braking screen displays the results of how
the vehicle behaves based on the manner in
which the driver operates the vehicle. The
information displayed is for confirmation pur-
poses. The results of how the brake pedal is
used are displayed as a timeline of g-force
exerted on the vehicle during deceleration. Use
the information to improve your operation of the
brake pedal.
WARNING
.Use the information from the multi
function meter strictly as a refer-
ence to make your driving more
comfortable. The readings are not
meant to prevent accidents caused
by reckless driving or poor driving
conditions (due to weather, road
condition, etc.) . Always obey all
traffic regulations and posted speed
limits.
. Red zone readings are configured to
function only as a guide for smooth
driving. The readings are not in-
tended to prevent accidents caused
by reckless driving.
How to view the screen
&1BRAKE G (timeline graph):
Displays the deceleration of the g-force being
exerted on the vehicle. The vertical readout
illustrates the progress of deceleration and the
horizontal readout tracks the deceleration time-
line of the past 20 seconds.
&2Red zone display:
The color of the graph will change when the level
of g-force exerted on the vehicle while decelerat-
ing exceeds a preset level.
&3G-meter:
Displays the g-force currently being exerted due
on the vehicle due to deceleration.
&4SPEED:
Displays the current driving speed.
&5BRAKE PEDAL:
Displays the brake pedal position.
INFO:
. The reading that the brake meter displays
when the pedal is being depressed may
vary, depending on the vehicle speed and
road conditions. The brake meter may not
display a reading of “100%” even when the
brake is being fully depressed. This is not a
malfunction.
. This panel only displays acceleration infor-
mation when the vehicle is decelerating. It
does not display any acceleration informa-
tion when the vehicle is accelerating.
. Due to the slope of a road, this meter may
register g-force even when the vehicle is
stopped. This is not a malfunction.
. When the VDC or the ABS is activated, a
mark will appear on the far left side of the
panel (large panel only) .
. The scale of the readout is adjusted auto-
matically to accommodate readings that
exceed the upper limit of the meter.
Multi function meter10-19
Page 255 of 298
10-20Multi function meter
Using result screens to improve
driving
INFO:
This section explains how to use the driving
timeline screens. Use this information to make
your driving smoother.
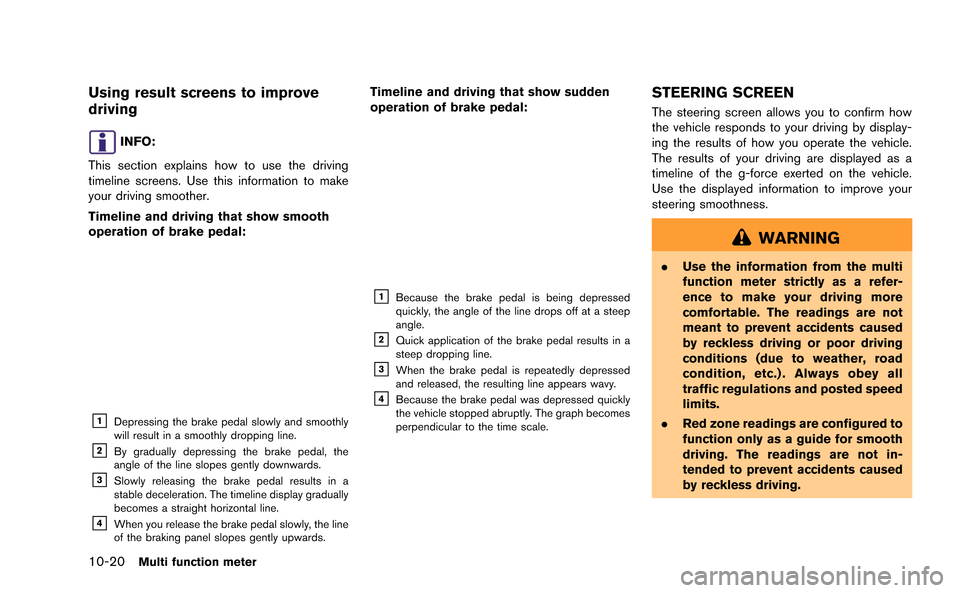
Timeline and driving that show smooth
operation of brake pedal:
&1Depressing the brake pedal slowly and smoothly
will result in a smoothly dropping line.
&2By gradually depressing the brake pedal, the
angle of the line slopes gently downwards.
&3Slowly releasing the brake pedal results in a
stable deceleration. The timeline display gradually
becomes a straight horizontal line.
&4When you release the brake pedal slowly, the line
of the braking panel slopes gently upwards.
Timeline and driving that show sudden
operation of brake pedal:
&1Because the brake pedal is being depressed
quickly, the angle of the line drops off at a steep
angle.
&2Quick application of the brake pedal results in a
steep dropping line.
&3When the brake pedal is repeatedly depressed
and released, the resulting line appears wavy.
&4Because the brake pedal was depressed quickly
the vehicle stopped abruptly. The graph becomes
perpendicular to the time scale.
STEERING SCREEN
The steering screen allows you to confirm how
the vehicle responds to your driving by display-
ing the results of how you operate the vehicle.
The results of your driving are displayed as a
timeline of the g-force exerted on the vehicle.
Use the displayed information to improve your
steering smoothness.
WARNING
. Use the information from the multi
function meter strictly as a refer-
ence to make your driving more
comfortable. The readings are not
meant to prevent accidents caused
by reckless driving or poor driving
conditions (due to weather, road
condition, etc.) . Always obey all
traffic regulations and posted speed
limits.
. Red zone readings are configured to
function only as a guide for smooth
driving. The readings are not in-
tended to prevent accidents caused
by reckless driving.
Page 275 of 298
11-14General system information
.As the driver, you alone are respon-
sible for your driving safety.
— In order to avoid a traffic acci-
dent, do not operate the system
while driving.
— In order to avoid a traffic acci- dent, operate the system only
when the vehicle is stopped at a
safe place and the parking
brake is on.
— In order to avoid a traffic acci- dent or traffic offence, remem-
ber that actual road conditions
and traffic regulations take pre-
cedence over the information
contained on the navigation sys-
tem.
— The Software may contain inac- curate or incomplete informa-
tion due to the passage of
time, changing circumstances,
and the sources of information
used. Please respect current
traffic conditions and regula-
tions at all times while driving. — Where actual road conditions
and highway regulations differ
from the information contained
on the navigation system, abide
by the highway regulations.
— Keep the amount of time spent viewing the screen while driving
to a strict minimum.
The navigation system does not provide,
nor represent in any way information on:
traffic and highway regulations; technical
aspects of the vehicle including weight,
height, width, load and speed limits; road
conditions including grade, percentage of
incline and surface conditions; obstacles
such as the height and width of bridges
and tunnels; and other current driving or
road conditions. Always rely on your own
judgement when driving a car, taking into
account current driving conditions.
The marks of companies displayed by this
product to indicate business locations are the
marks of their respective owners. The use of
such marks in this product does not imply any
sponsorship, approval, or endorsement by such
companies of this product.END-USER TERMS
The data (“Data”) is provided for your personal,
internal use only and not for resale. It is
protected by copyright, and is subject to the
following terms and conditions which are agreed
to by you, on the one hand, and HITACHI
(“HITACHI”) and its licensors (including their
licensors and suppliers) on the other hand.
*C1987-2012 HERE. All rights reserved.
The Data for areas of Canada includes informa-
tion taken with permission from Canadian
authorities, including:
*CHer Majesty the Queen
in Right of Canada,*CQueen’s Printer for
Ontario,*CCanada Post Corporation, Geo-
Base®.
HERE holds a non-exclusive license from the
United States Postal Service
®to publish and
sell ZIP+4®information.
*CUnited States Postal Service®2008. Prices
are not established, controlled or approved by
the United States Postal Service
®. The following
trademarks and registrations are owned by the
USPS: United States Postal Service, USPS, and
ZIP+4.