lock NISSAN GT-R 2015 R35 Quick Reference Guide
[x] Cancel search | Manufacturer: NISSAN, Model Year: 2015, Model line: GT-R, Model: NISSAN GT-R 2015 R35Pages: 23, PDF Size: 1.23 MB
Page 3 of 23

TAB LE OF CONTE NTS
Additional information about your vehicle is also available in your Owne\
r’s Manual, Multi Function Display
Owner’s Manual and at www.nissanusa.com.
NEW SYSTEM FEATURES
RearView Monitor ........................................................................\
...........................................................2
USB (Universal Serial Bus) Connection Port/iPod® Interface .................................................... 2
NavTraffic and NavWeather
........................................................................\
......................................... 2
ESSENTIAL INFORMATION
Tire Pressure Monitoring System (TPMS) ........................................................................\
...............3
Fuel-filler Door/Cap ........................................................................\
....................................................... 4
Unique Noises
........................................................................\
................................................................ 4
Vehicle Modifications
........................................................................\
.................................................... 4
Vehicle Dynamic Control (VDC)
........................................................................\
................................. 4
Matte Paint Care (if so equipped)
........................................................................\
.............................. 5
Carbon-based Parts (if so equipped)
........................................................................\
....................... 5
Clock Set/Adjustment
........................................................................\
................................................... 5
FIRST DRIVE FEATURES
NISSAN Intelligent Key® System ........................................................................\
...............................6
Trunk Lid Release
........................................................................\
........................................................... 7
Seat Adjustments
........................................................................\
........................................................... 7
Outside Mirror Control Switch
........................................................................\
.................................... 8
Starting/Stopping the Engine
........................................................................\
..................................... 8
Headlight Control Switch
........................................................................\
............................................. 8
Windshield Wiper and Washer Switch
........................................................................\
..................... 9
Automatic Climate Controls
........................................................................\
...................................... 10
AM/FM/SiriusXM
® Satellite Radio with CD Player ..................................................................... 11
Cruise Control
........................................................................\
.............................................................. 12
SYSTEM GUIDE
Drive Computer ........................................................................\
............................................................13
Bluetooth® Hands-free Phone System ........................................................................\
................... 14
• System Operating Tips
............................................................................................................... 14
Navigation System
........................................................................\
....................................................... 16
HomeLink
® Universal Transceiver ........................................................................\
............................ 18
Please see your Owner’s Manual for impor tant safety information and system operation limitations.
•
A c
ellular telephone should not be used for any purpose while driving so full attention may be
given to vehicle operation.
•
A
lways wear your seat belt.
•
S
upplemental air bags do not replace proper seat belt usage.
•
C
hildren 12 and under should always ride in the rear seat properly secured in child restraints
or seat belts according to their age and weight.
•
D
o not drink and drive.
For more information, refer to the “ Bluetooth
® Hands-Free Phone System (section 4) ” of the Multi Function
Display Owner’s Manual, the “ Safety — Seats, seat belts and supplemental restraint system (section 1) ” and
the “ Starting and driving (section 5) ” of your Owner’s Manual.
1655184_15b_GTR_QRGText-Insert_062414.indd 16/24/14 9:06 AM
Page 6 of 23

4
VEHICLE MODIFICATIONS
Do not modify the vehicle with aftermarket parts or accessories.
To maintain your vehicle’s performance, only use genuine GT-R specific components.
For more information, refer to the “GT-R Overview (section GTR)” of your Owner’s Manual.
VEHICLE DYNAMIC CONTROL (VDC)
Always make sure the VDC is ON before driving the vehicle.
The VDC OFF mode should ONLY be used briefly to help free the vehicle if it is stuck in
snow or mud.
For more information, refer to the “GT-R Overview (section GTR)”, the “Instruments and controls (section 2)” and
the “Starting and driving (section 5)” of your Owner’s Manual.
FUEL-FILLER DOOR/CAP
The fuel-filler door is located on the passenger
side, towards the rear of the vehicle.
When the doors of the vehicle are locked or unlocked, the fuel-filler door is automatically locked
or unlocked at the same time.
Push 1 of the power door loc k switches to unlock
the fuel-filler door from inside the vehicle or push the door handle request switch to unlock
the fuel-filler door from outside the vehicle.
To open the fuel-filler door, press the left side of the door to release the door lock then pull the door open.
To tighten, turn the fuel-filler cap clockwise until a single click is heard. If the cap is not fully
tightened, the Malfunction Indicator Light (MIL)
may illuminate.
If the
light illuminates because the fuel-filler
cap is loose or missing, tighten or reinstall the
cap. The
light should extinguish after a few driving trips.
For more information, refer to the “Instruments and controls (section 2)” and the
“Pre-driving checks and
adjustments (section 3)” of your Owner’s Manual.
UNIQUE NOISES
The GT-R is a high-performance vehicle that has unique operating characteristics.
You will hear more noises emitted from this vehicle than from a conventio\
nal
passenger car.
For more information, refer to the “GT-R Overview (section GTR)” and the “Starting and driving (section 5)” of
your Owner’s Manual.
ESSE NTIAL I N FOR MATION
1655184_15b_GTR_QRGText-Insert_062414.indd 46/24/14 9:06 AM
To view detailed instructional videos regarding these and other features, please go to www.nissanownersinfo.mobi.
Page 7 of 23

5
CARBON-BASED PARTS (if so equipped)
Do not wax carbon parts suc h as the rear diffuser or the optional dry carbon fiber
rear spoiler
Waxing speeds up deterioration by allowing water under the carbon layer.
For more information, refer to the “GT-R Overview (section GTR)” and the “Appearance and care (section 7)” of
your Owner’s Manual.
MATTE PAINT CARE (if so equipped)
Your vehicle is equipped with Matte paint and special care is necessary to maintain the appearance.
For more information on special care instructions, refer to the “Appearance and care (section 7)” of your
Owner’s Manual.
CLOCK SET/ADJUSTMENT
Press the SETTING button 1, select the “Clock”
key using the control knob
2 and press the ENTER
button to access the following clock settings:
On-screen Cloc
k – When this feature is turned to
ON, a clock is always displayed in the upper right
corner of the Multi Function Display screen. The
clock is automatically adjusted by the GPS system.
Clock Format – Choose either the 12-hour clock display or the 24-hour clock display.
Offset (hour) – T he time can be adjusted by increasing or decreasing per hour.
Offset (min) – The time can be adjusted by increasing or decreasing per minute.
Daylight Savings Time – Turn this item to ON for daylight savings time application.
Time Zone – Choose the time zone.
For more information, refer to the “Other settings (section 7)” of your Multi Function Display Owner’s Manual.
12
1655184_15b_GTR_QRGText-Insert_062414.indd 56/24/14 9:06 AM
To view detailed instructional videos regarding these and other features, please go to www.nissanownersinfo.mobi.
Page 8 of 23

6
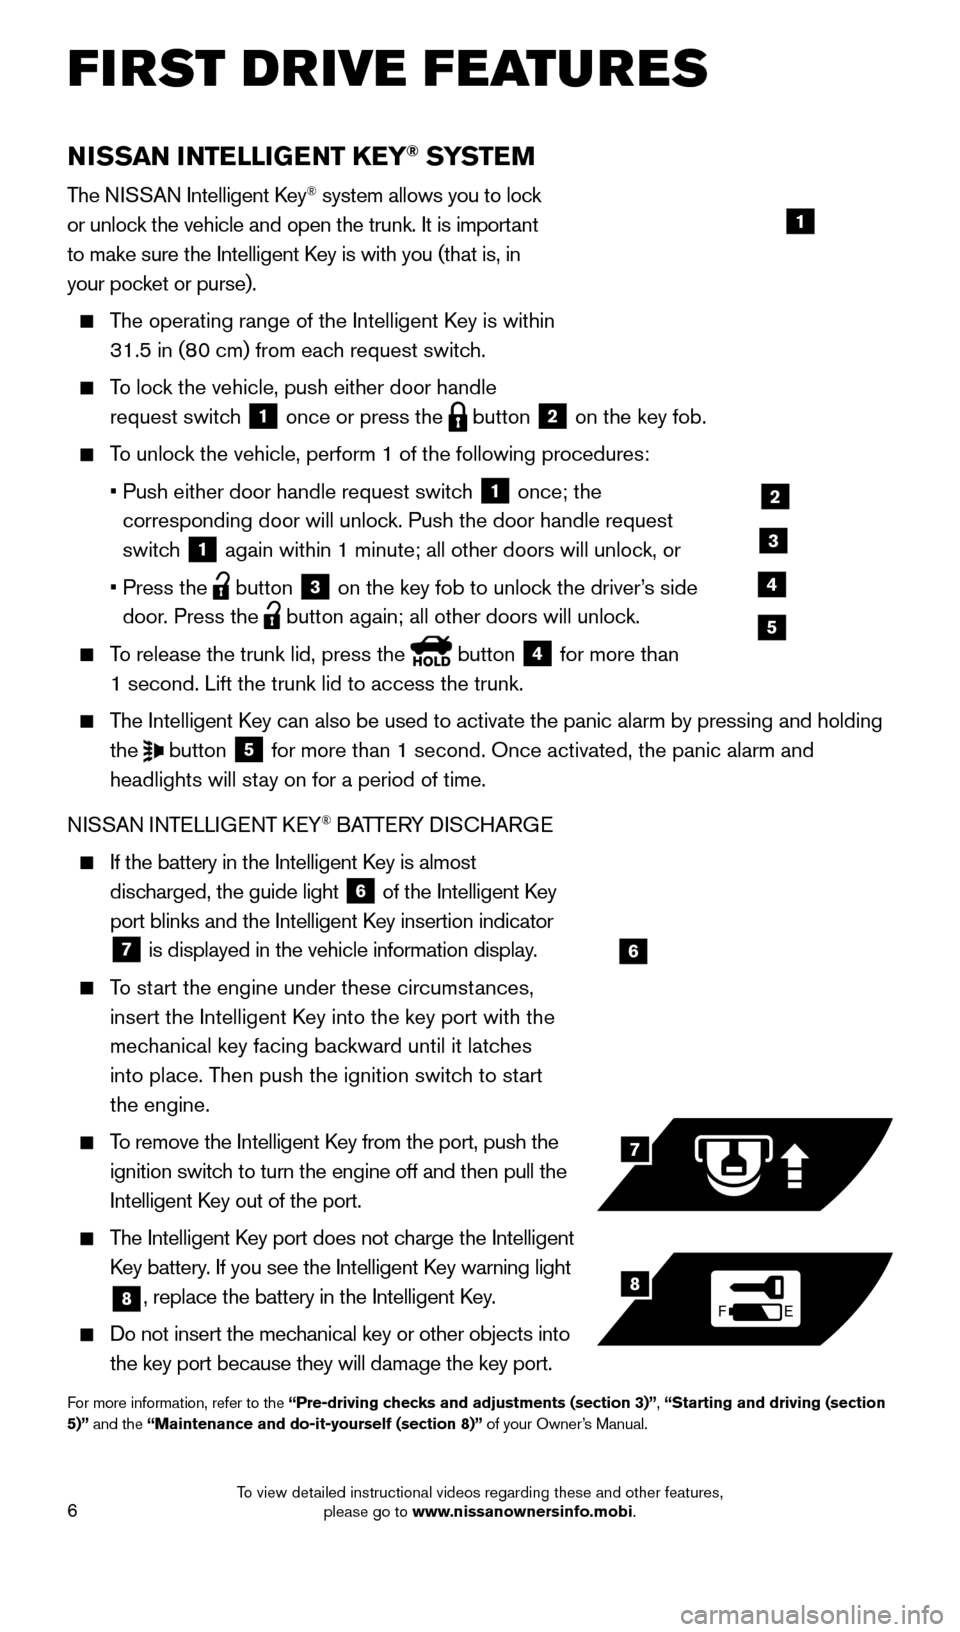
NISSAN INTELLIGENT KEY® SYSTE M
The NISSAN Intelligent Key® system allows you to lock
or unlock the vehicle and open the trunk. It is important
to make sure the Intelligent Key is with you (that is, in
your pocket or purse).
The operating range of the Intelligent Key is within
31.5 in (80 cm) from each request switch.
To lock the vehicle, push either door handle request switch
1 once or press the
button
2 on the key fob.
To unlock the vehicle, perform 1 of the following procedures:
•
Push either door handle request switc
h
1 once; the
corresponding door will unlock. Push the door handle request
switch
1 again within 1 minute; all other doors will unlock, or
•
Press the button
3 on the key fob to unlock the driver’s side
door. Press the button again; all other doors will unlock.
To release the trunk lid, press the button
4 for more than
1 second. Lift the trunk lid to access the trunk.
The Intelligent Key can also be used to activate the panic alarm by pressing and holding the
button
5 for more than 1 second. Once activated, the panic alarm and
headlights will stay on for a period of time.
NISSAN INTELLIGENT KEY
® BATTERY DISCHARGE
If the battery in the Intelligent K ey is almost
discharged, the guide light
6 of the Intelligent Key
port blinks and the Intelligent Key insertion indicator
7 is displayed in the vehicle information display.
To start the engine under these circumstances,
insert the Intelligent Key into the key port with the
mechanical key facing backward until it latches
into place. Then push the ignition switch to start
the engine.
To remove the Intelligent Key from the port, push the
ignition switch to turn the engine off and then pull the
Intelligent Key out of the port.
The Intelligent Key port does not charge the Intelligent
Key battery. If you see the Intelligent Key warning light
8, replace the battery in the Intelligent Key.
Do not insert the mechanical key or other objects into
the key port because they will damage the key port.
For more information, refer to the “Pre-driving checks and adjustments (section 3)”, “Starting and driving (section
5)” and the “Maintenance and do-it-yourself (section 8)” of your Owner’s Manual.
6
FE
7
8
FIRST DRIVE FEATURES
1
2
3
4
5
1655184_15b_GTR_QRGText-Insert_062414.indd 66/24/14 9:06 AM
To view detailed instructional videos regarding these and other features, please go to www.nissanownersinfo.mobi.