AUX NISSAN GT-R 2017 R35 Multi Function Display User Guide
[x] Cancel search | Manufacturer: NISSAN, Model Year: 2017, Model line: GT-R, Model: NISSAN GT-R 2017 R35Pages: 248, PDF Size: 1.72 MB
Page 92 of 248

5. Information
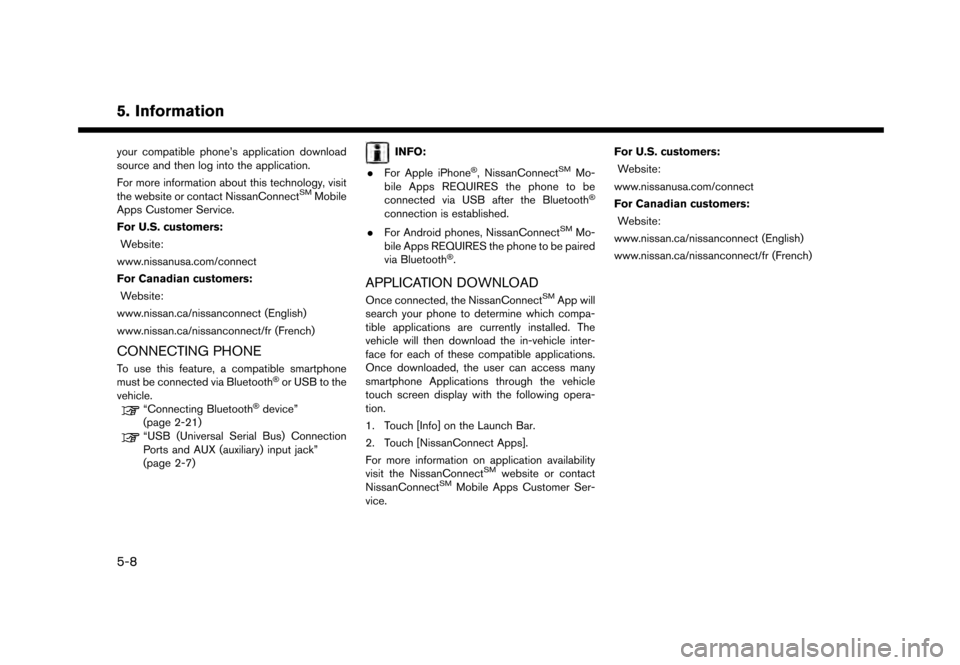
your compatible phone’s application download
source and then log into the application.
For more information about this technology, visit
the website or contact NissanConnect
SMMobile
Apps Customer Service.
For U.S. customers:
Website:
www.nissanusa.com/connect
For Canadian customers: Website:
www.nissan.ca/nissanconnect (English)
www.nissan.ca/nissanconnect/fr (French)
CONNECTING PHONE
To use this feature, a compatible smartphone
must be connected via Bluetooth�Šor USB to the
vehicle.
“Connecting Bluetooth�Šdevice”
(page 2-21)
“USB (Universal Serial Bus) Connection
Ports and AUX (auxiliary) input jack”
(page 2-7)
INFO:
. For Apple iPhone
�Š, NissanConnectSMMo-
bile Apps REQUIRES the phone to be
connected via USB after the Bluetooth
�Š
connection is established.
. For Android phones, NissanConnect
SMMo-
bile Apps REQUIRES the phone to be paired
via Bluetooth
�Š.
APPLICATION DOWNLOAD
Once connected, the NissanConnectSMApp will
search your phone to determine which compa-
tible applications are currently installed. The
vehicle will then download the in-vehicle inter-
face for each of these compatible applications.
Once downloaded, the user can access many
smartphone Applications through the vehicle
touch screen display with the following opera-
tion.
1. Touch [Info] on the Launch Bar.
2. Touch [NissanConnect Apps].
For more information on application availability
visit the NissanConnect
SMwebsite or contact
NissanConnectSMMobile Apps Customer Ser-
vice. For U.S. customers:
Website:
www.nissanusa.com/connect
For Canadian customers: Website:
www.nissan.ca/nissanconnect (English)
www.nissan.ca/nissanconnect/fr (French)
5-8
Page 158 of 248
![NISSAN GT-R 2017 R35 Multi Function Display User Guide 6. Navigation
Deleting stored item individually
1. Touch [Settings] on the Launch Bar.
2. Touch [Navigation] and touch [Address Book].
3. Touch [Delete Stored Items].Select the preferred item and touc NISSAN GT-R 2017 R35 Multi Function Display User Guide 6. Navigation
Deleting stored item individually
1. Touch [Settings] on the Launch Bar.
2. Touch [Navigation] and touch [Address Book].
3. Touch [Delete Stored Items].Select the preferred item and touc](/img/5/524/w960_524-157.png)
6. Navigation
Deleting stored item individually
1. Touch [Settings] on the Launch Bar.
2. Touch [Navigation] and touch [Address Book].
3. Touch [Delete Stored Items].Select the preferred item and touch [Yes] to complete the deleting operation.
Step 1 Step2 Action
[Delete Home Location] Deletes home location.
[Delete Address
Book] [Delete All]
Deletes all stored locations.
[Delete One] Deletes a selected stored location.
[Delete Stored
Routes] [Delete All]
Deletes all stored routes.
[Delete One] Deletes selected stored routes.
[Delete Avoid
Areas] [Delete All]
Deletes all Avoid Areas.
[Delete One] Deletes a selected Avoid Area.
[Delete Pre-
vious Destina-
tions] [Delete All Previous Destinations] Deletes all of the previous destinations.
[Delete Previous Destination] Deletes a selected previous destination.
[Delete Previous Start Point] Deletes a previous start point.
[Delete Learned Routes] Deletes all system learned routes.
Deleting individual item on map
1. Align the cross pointer over the preferred
stored location for deletion by moving on the
map, and then touch [
].
2. Touch [Delete].
3. A confirmation message is displayed. Con-firm the contents of the message and touch
[Yes].
The stored item is deleted from the Address
Book.
TRANSFERRING INFORMATION TO/
FROM ADDRESS BOOK
The information of the stored home and ad-
dresses can be exported and imported using a
USB memory device.
“USB (Universal Serial Bus) Connection
Ports and AUX (auxiliary) input jack”
(page 2-7)
6-52
Page 187 of 248

Audio Command
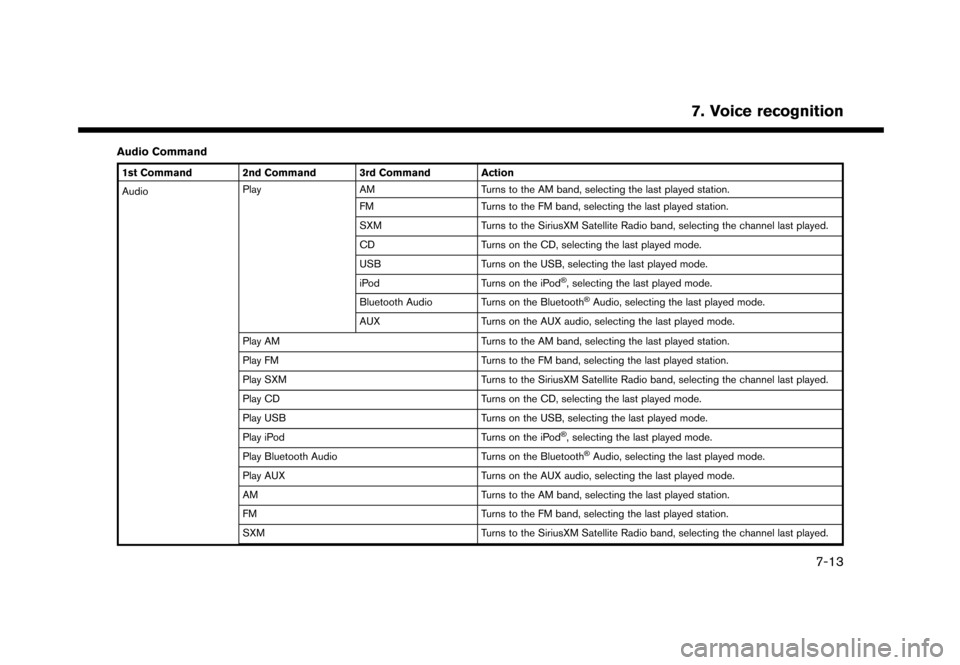
1st Command 2nd Command 3rd Command Action
AudioPlay
AM Turns to the AM band, selecting the last played station.
FM Turns to the FM band, selecting the last played station.
SXM Turns to the SiriusXM Satellite Radio band, selecting the channel last played.
CD Turns on the CD, selecting the last played mode.
USB Turns on the USB, selecting the last played mode.
iPod Turns on the iPod
�Š, selecting the last played mode.
Bluetooth Audio Turns on the Bluetooth
�ŠAudio, selecting the last played mode.
AUX Turns on the AUX audio, selecting the last played mode.
Play AM Turns to the AM band, selecting the last played station.
Play FM Turns to the FM band, selecting the last played station.
Play SXM Turns to the SiriusXM Satellite Radio band, selecting the channel last played.
Play CD Turns on the CD, selecting the last played mode.
Play USB Turns on the USB, selecting the last played mode.
Play iPod Turns on the iPod
�Š, selecting the last played mode.
Play Bluetooth Audio Turns on the Bluetooth
�ŠAudio, selecting the last played mode.
Play AUX Turns on the AUX audio, selecting the last played mode.
AM Turns to the AM band, selecting the last played station.
FM Turns to the FM band, selecting the last played station.
SXM Turns to the SiriusXM Satellite Radio band, selecting the channel last played.
7. Voice recognition
7-13
Page 188 of 248

7. Voice recognition
1st Command 2nd Command 3rd Command ActionCD Turns on the CD, selecting the last played mode.
USB Turns on the USB, selecting the last played mode.
iPod Turns on the iPod
�Š, selecting the last played mode.
Bluetooth Audio Turns on the Bluetooth
�ŠAudio, selecting the last played mode.
AUX Turns on the AUX audio, selecting the last played mode.
AM
AM Preset <1-6> Plays the spoken AM preset station.
FM
FM Preset <1-12> Plays the spoken FM preset station.
SXM
SXM
SXM Preset <1-18> Plays the spoken SXM preset channel.
USB Show Folders Displays folders in the USB memory device.
USB Play Folder
USB Play File
iPod Play Artist
�Š, selecting the artist.
iPod Play Album
�Š, selecting the album.
iPod Play Song
�Š, selecting the track. You can speak the commands
successively.
iPod Play Playlist
�Š, playing the playlist that you spoke.
7-14
Page 243 of 248

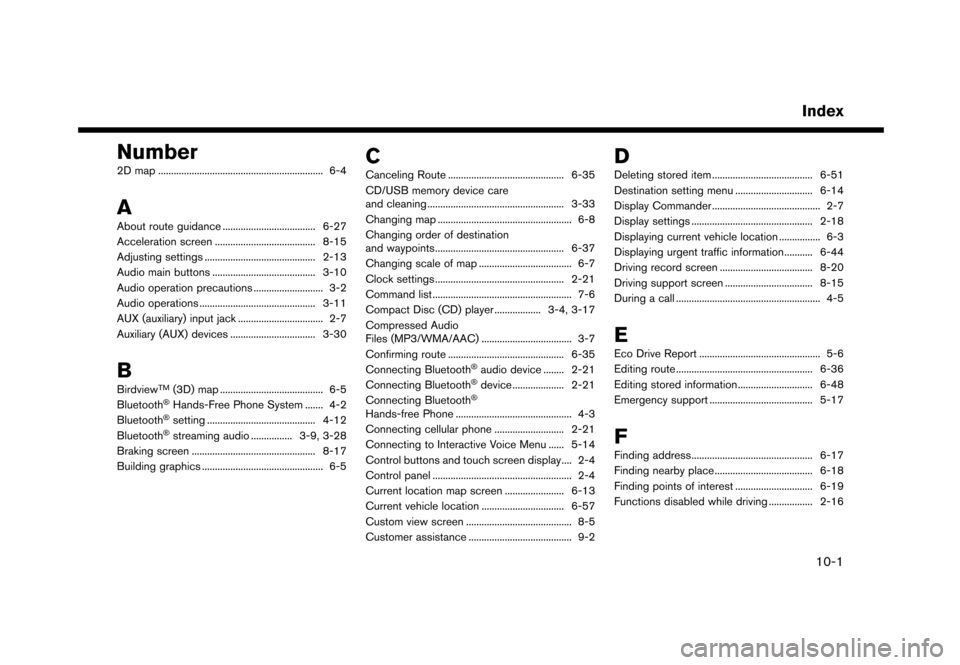
Number
2D map ................................................................ 6-4
A
About route guidance .................................... 6-27
Acceleration screen ....................................... 8-15
Adjusting settings ........................................... 2-13
Audio main buttons ........................................ 3-10
Audio operation precautions ........................... 3-2
Audio operations ............................................. 3-11AUX (auxiliary) input jack ................................. 2-7
Auxiliary (AUX) devices ................................. 3-30
B
BirdviewTM(3D) map ........................................ 6-5
Bluetooth�ŠHands-Free Phone System ....... 4-2
Bluetooth�Šsetting .......................................... 4-12
Bluetooth�Šstreaming audio ................ 3-9, 3-28
Braking screen ................................................ 8-17
Building graphics ............................................... 6-5
C
Canceling Route ............................................. 6-35
CD/USB memory device care
and cleaning ..................................................... 3-33
Changing map .................................................... 6-8
Changing order of destination
and waypoints.................................................. 6-37
Changing scale of map .................................... 6-7
Clock settings .................................................. 2-21
Command list ...................................................... 7-6
Compact Disc (CD) player .................. 3-4, 3-17 Compressed Audio
Files (MP3/WMA/AAC) ................................... 3-7
Confirming route ............................................. 6-35
Connecting Bluetooth
�Šaudio device ........ 2-21
Connecting Bluetooth�Šdevice .................... 2-21
Connecting Bluetooth�Š
Hands-free Phone ............................................. 4-3
Connecting cellular phone ........................... 2-21 Connecting to Interactive Voice Menu ...... 5-14
Control buttons and touch screen display.... 2-4
Control panel ...................................................... 2-4
Current location map screen ....................... 6-13
Current vehicle location ................................ 6-57
Custom view screen ......................................... 8-5
Customer assistance ........................................ 9-2
D
Deleting stored item ....................................... 6-51
Destination setting menu .............................. 6-14
Display Commander .......................................... 2-7
Display settings ............................................... 2-18 Displaying current vehicle location ................ 6-3Displaying urgent traffic information........... 6-44Driving record screen .................................... 8-20
Driving support screen .................................. 8-15
During a call ........................................................ 4-5
E
Eco Drive Report ............................................... 5-6Editing route ..................................................... 6-36
Editing stored information ............................. 6-48
Emergency support ........................................ 5-17
F
Finding address............................................... 6-17
Finding nearby place...................................... 6-18
Finding points of interest .............................. 6-19
Functions disabled while driving ................. 2-16
Index
10-1