display NISSAN LEAF 2013 1.G Quick Reference Guide
[x] Cancel search | Manufacturer: NISSAN, Model Year: 2013, Model line: LEAF, Model: NISSAN LEAF 2013 1.GPages: 28, PDF Size: 2.13 MB
Page 2 of 28
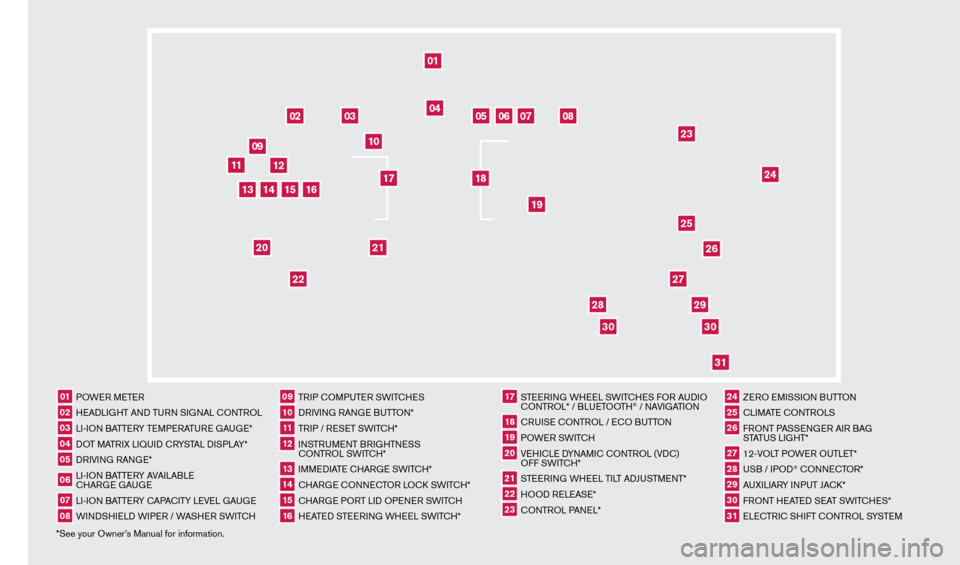
*See your Owner’s Manual for information.01 POWER METER02 HEADLIGHT AND TURN SIGNAL c
O
NTROL03 LI-ION BATTERY TEMPERATURE GAUGE*04 DOT MATRIX LIQUID c
R
YSTAL DISPLAY*05 DRIVING RANGE*06 LI-ION BATTERY AVAILABLE cHAR
GE GAUGE07 LI-ION BATTERY c
AP
A
cITY LEVE
L GAUGE08 WINDSHIELD WIPER / WASHER SWIT
cH
09 TRIP c
O
MPUTER SWIT
cH
ES10 DRIVING RANGE BUTTON*11 TRIP / RESET SWIT
cH*
12 INSTRUMENT BRIGHTNESS c
ONTROL SWIT
c
H*13 IMMEDIATE c
HAR
GE SWIT
cH*
14 cHARGE
cONNE
cT
OR LO ck
S
WIT
c
H*15 cHARGE PORT LID OPENER SWIT
cH
16 HEATED STEERING WHEEL SWIT
cH*
17 STEERING WHEEL SWIT
cHE
S FOR AUDIO cO
NTROL* / BLUETOOTH
® / NAVIGATION
18 cRUISE
cONTROL / E
cO BUTTON
19 POWER SWIT
c
H20 VEHI
cLE D
YNAMI
c
c
O
NTROL (VD
c
)
OFF SWIT
c
H*21 STEERING WHEEL TILT ADJUSTMENT*22 HOOD RELEASE*23 cONTROL PANEL*
24 ZERO EMISSION BUTTON25 cLIMATE c
O
NTROLS26 FRONT PASSENGER AIR BAG
STATUS LIGHT*27 12-VOLT POWER OUTLET*28 USB / IPOD
® cONNE
cT
OR*
29 AUXILIARY INPUT JA
c
k *30 FRONT HEATED SEAT SWIT
cH
ES*31 ELE
cTR
I
c
SHIFT c
O
NTROL SYSTEM
01
03
04
02
05
13
15
10
11
06
07
23
2629
27
3031
24
25
22
09
12
08
20
21
14
16
19
17
18
2830
1275820_13_Leaf_QRG_Cover_121912.indd 312/19/12 9:38 AM
Page 4 of 28
arOuND VIew® MONITOr
(if so equipped)
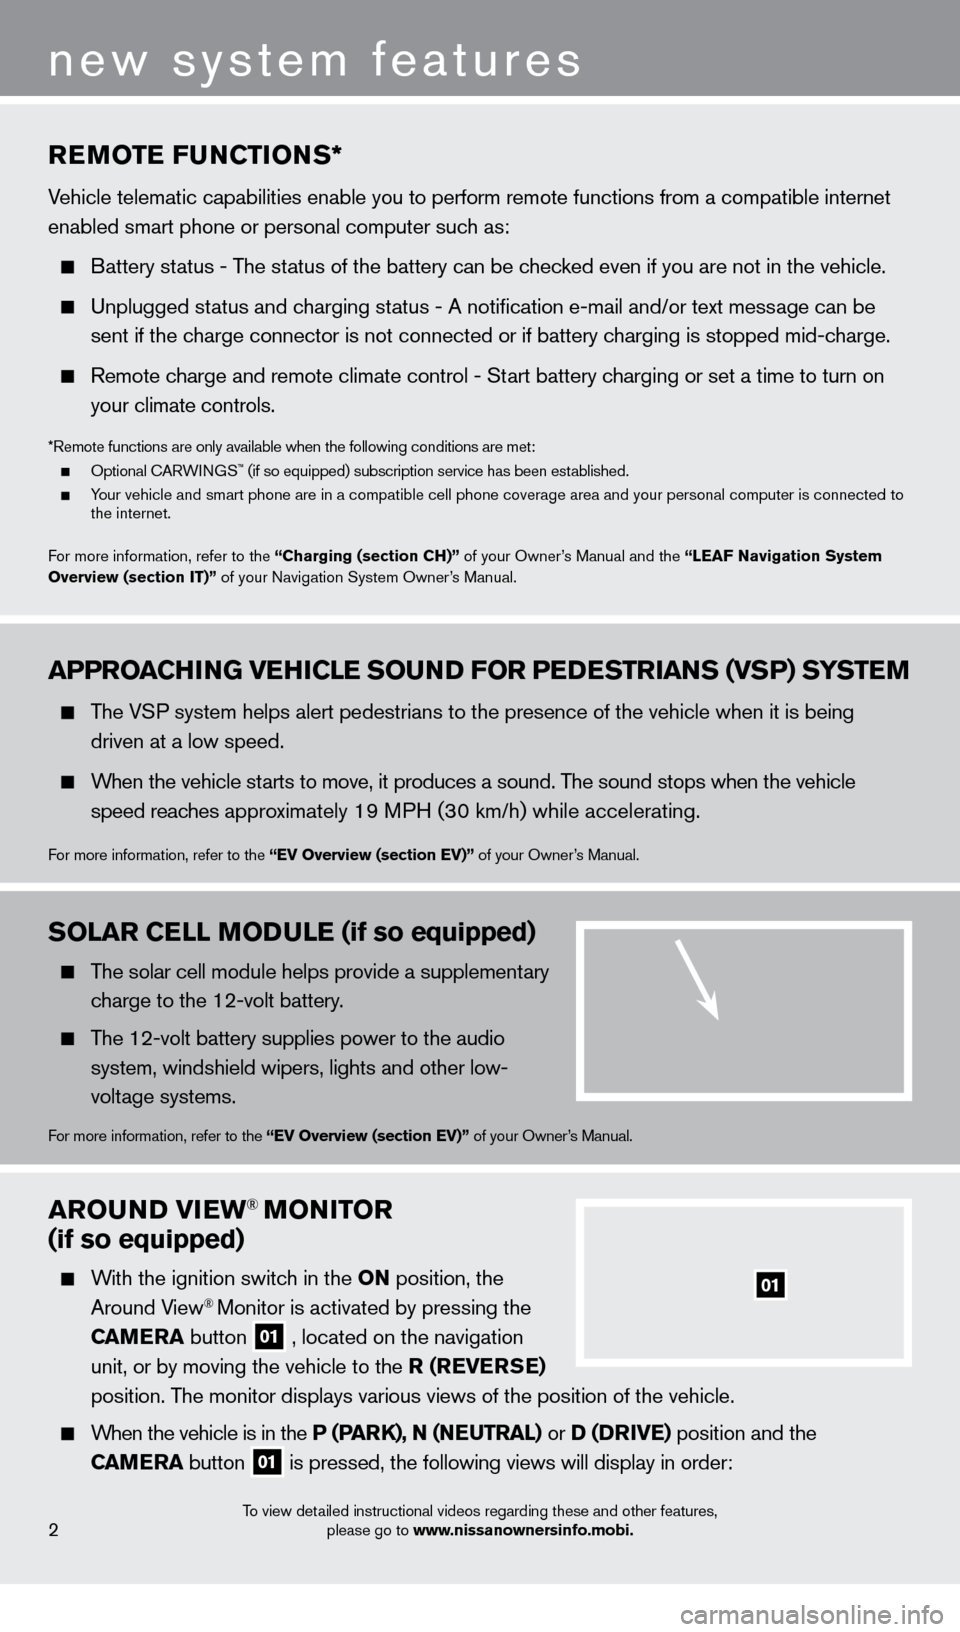
With the ignition switch in the ON position, the
Around View® Monitor is activated by pressing the
C
a
M
e
ra
button
01 , located on the navigation
unit, or by moving the vehicle to the r ( re V erSe )
position
.
The monitor displays various views of the position of the vehicle .
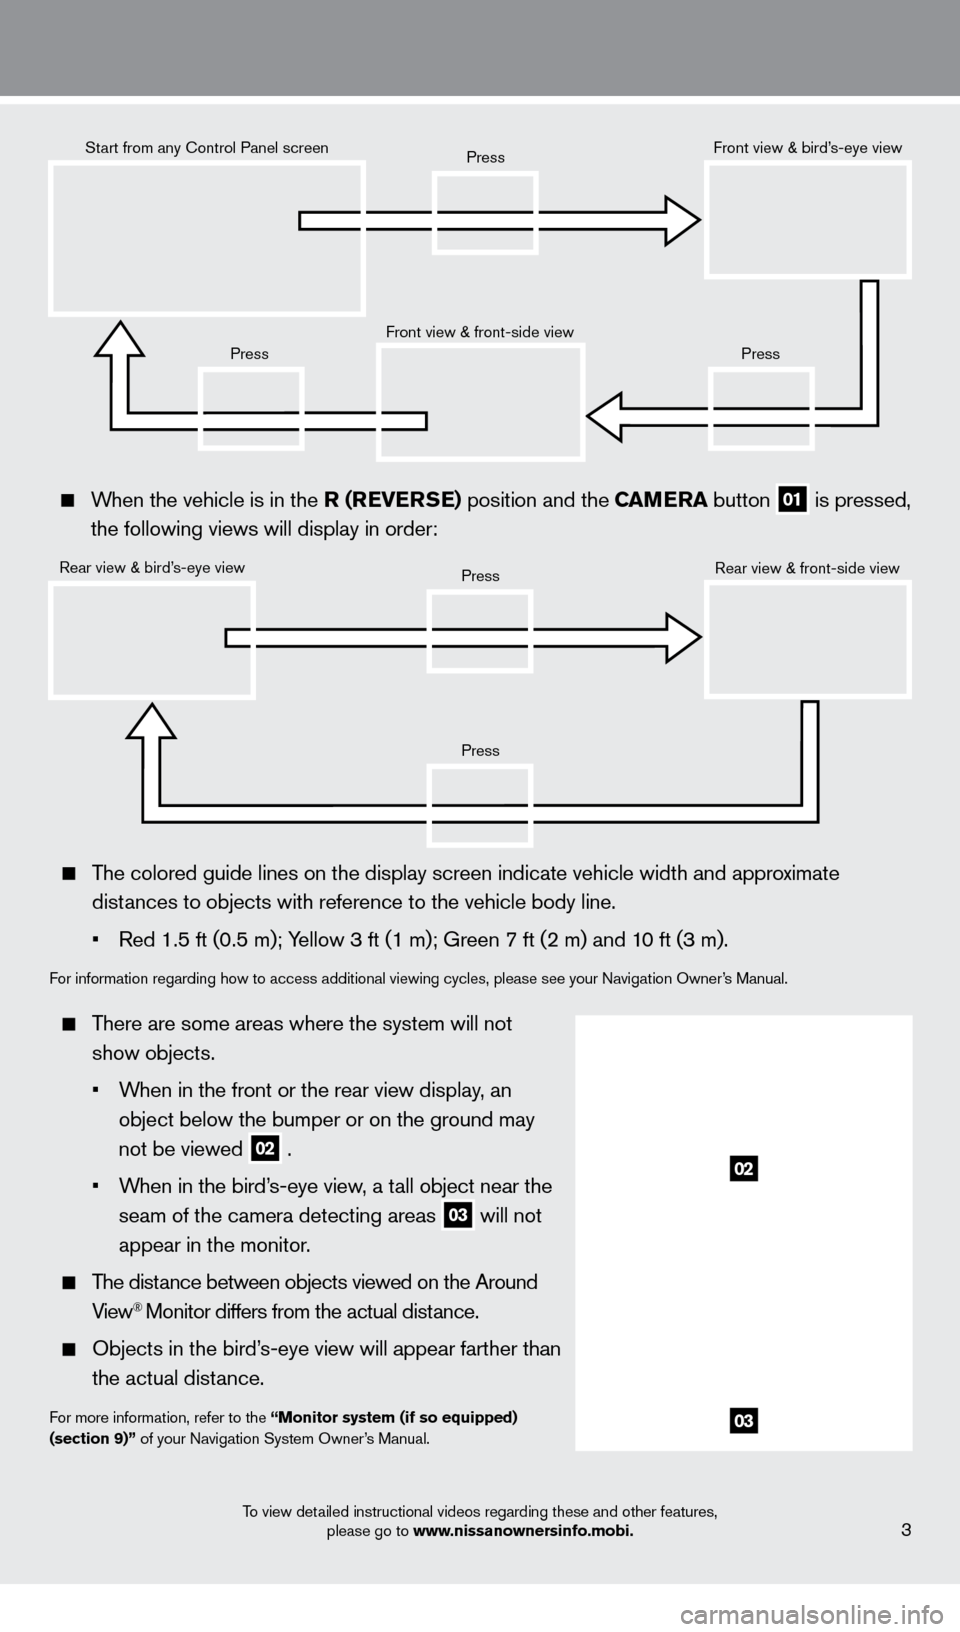
When the vehicle is in the P (ParK), N (Ne u T ra L) or D (DrIV e ) position and the
C
a
M
e
ra button
01 is pressed, the following views will display in order:
01
To view detailed instructional videos regarding these and other features,
please go to www.nissanownersinfo.mobi.2
new system features
aPPrOaCH ING V eH ICL e SO uN D FO r P eDeST rI a NS (VSP) SYST eM
The VSP system helps alert pedestrians to the presence of the vehicle when it is being
driven at a low speed
.
When the vehicle starts to move, it produces a sound . The sound stops when the vehicle
s
peed reaches approximately 19 MPH (30 km/h) while accelerating .
For more information, refer to the “eV Overview (section eV)” of your Owner’s Manual .
reMOTe F uN CTIONS*
Vehicle telematic capabilities enable you to perform remote functions from a compatible internet
enabled smart phone or personal computer such as:
Battery status - The status of the battery can be checked even if you are not in the vehicle.
Unplugged status and charging status - A notification e-mail and/or text message can be
sent if the c
harge connector is not connected or if battery charging is stopped mid-charge.
Remote charge and remote climate control - Start battery charging or set a time to turn on
y
our climate controls .
*Remote functions are only available when the following conditions are met: Optional CARWINGS™ (if so equipped) subscription service has been established. Your vehicle and smart phone are in a compatible cell phone coverage area and your personal computer is connected to
the internet .
F
or more information, refer to the “Charging (section CH)” of your Owner’s Manual and the “ Lea
F
Navigation System
Overview (section IT)”
of your Navigation System Owner’s Manual .
SOLar CeLL MODuL e (if so equipped)
The solar cell module helps provide a supplementary
charge to the 12-volt battery.
The 12-volt battery supplies power to the audio system, windshield wipers, lights and other low-
voltage systems
.
For more information, refer to the “eV Overview (section eV)” of your Owner’s Manual .
1275820_13_Leaf_QRG_Text-Insert_121912.indd 212/19/12 10:10 AM
Page 5 of 28
To view detailed instructional videos regarding these and other features, please go to www.nissanownersinfo.mobi.3
When the vehicle is in the r ( re V erSe ) position and the Ca Me ra button
01 is pressed,
the following views will display in order:
Start from any Control Panel screen
Rear view & bird’s-eye view Front view & front-side view
Press
Press
Press
Press
Press
Front view & bird’s-eye view
Rear view & front-side view
The colored guide lines on the display screen indicate vehicle width and \
approximate distances to objects with reference to the vehicle body line.
•
Red 1.5 ft (0.5 m); Y
ellow 3 ft (1 m); Green 7 ft (2 m) and 10 ft (3 m).
For information regarding how to access additional viewing cycles, please\
see your Navigation Owner’s Manual .
There are some areas where the system will not show objects.
•
W
hen in the front or the rear view display, an
object below the bumper or on the ground may
not be viewed
02 .
•
W
hen in the bird’s-eye view, a tall object near the
seam of the camera detecting areas
03 will not
appear in the monitor
.
The distance between objects viewed on the Around View® Monitor differs from the actual distance .
Objects in the bird’ s-eye view will appear farther than
the actual distance .
For more information, refer to the “Monitor system (if so equipped)
(section 9)” of your Navigation System Owner’s Manual
.
02
03
1275820_13_Leaf_QRG_Text-Insert_121912.indd 312/19/12 10:10 AM
Page 8 of 28
LI-ION BaTTerY T eM P eraT ure G auGe
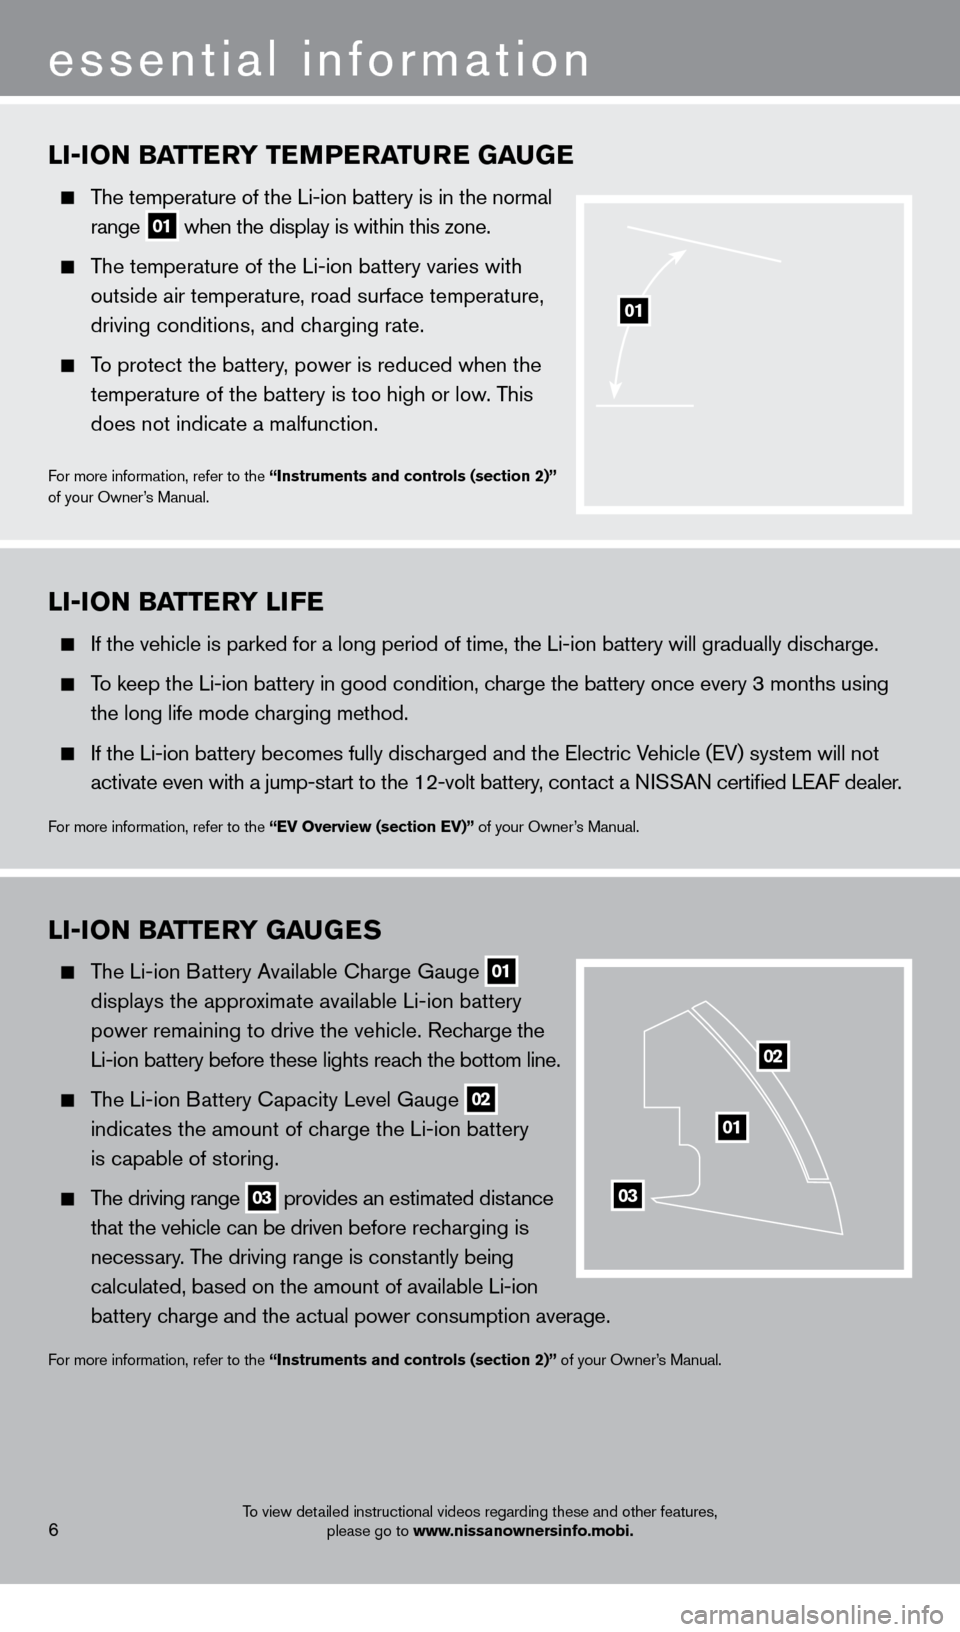
The temperature of the Li-ion battery is in the normal
range
01 when the display is within this zone.
The temperature of the Li-ion battery varies with
outside air temperature, road surface temperature,
driving conditions, and c
harging rate .
To protect the battery, power is reduced when the
temperature of the battery is too high or low
. This
does not indicate a malfunction
.
For more information, refer to the “Instruments and controls (section 2)”
of your Owner’s Manual .
01
LI-ION BaTTerY G auGeS
The Li-ion Battery Available Charge Gauge
01
displays the appro
ximate available Li-ion battery
power remaining to drive the vehicle
.
Recharge the
Li-ion battery before these lights reac
h the bottom line.
The Li-ion Battery Capacity Level Gauge
02
indicates the amount of c
harge the Li-ion battery
is capable of storing.
The driving range 03 provides an estimated distance
that the vehicle can be driven b efore recharging is
necess
ary. The driving range is constantly being
calculated, based on the amount of available Li-ion
battery c
harge and the actual power consumption average.
For more information, refer to the “Instruments and controls (section 2)” of your Owner’s Manual .
01
02
03
LI-ION BaTT erY LI F e
If the vehicle is parked for a long period of time, the Li-ion battery will gradually discharge.
To keep the Li-ion battery in good condition, charge the battery once every 3 months using
the long life mode c
harging method .
If the Li-ion battery becomes fully disc harged and the Electric Vehicle (EV) system will not
activate even with a jump-st
art to the 12-volt battery, contact a NISSAN certified LEAF dealer.
For more information, refer to the “eV Overview (section eV)” of your Owner’s Manual .
6
essential information
To view detailed instructional videos regarding these and other features, please go to www.nissanownersinfo.mobi.
1275820_13_Leaf_QRG_Text-Insert_121912.indd 612/19/12 10:10 AM
Page 9 of 28
TIre P reS Su re MONITO rI NG SYST eM (TPM S)
w
ITH ea SY FILL TI
r
e a L er T
A CHECK TIRE PRESSURE warning message will
appear in the dot matrix liquid cryst
al display
01 and
the low tire pressure warning light 02 will illuminate
when one or more tires are low on pressure a nd air
is needed
.
When adding air to an under-inflated tire, the TPMS
with Easy Fill T
ire Alert system provides visual and
audible signals to help you inflate the tires to the
recommended C
OLD tire pressure .
To use the Easy Fill Tire Alert system:
1.
Apply the parking brake and press the
P (P
arK)
button on the shift lever
.
2
.
Place the power switc
h in the ON position . Do not
place in the
rea DY to drive mode .
3
.
Add air to the underinflated tire and within a few
seconds, the hazard warning lights will flash.
4.
W
hen the designated tire pressure is reached, the horn will beep once and the hazard
warning lights will stop flashing
.
5
.
Repeat this procedure for any additional underinflated tires
.
After tire pressures are adjusted, drive the vehicle at s peeds above 16 MPH (25km/h) and the
w
arning and indicator light will disappear
.
POwer LIMITaTI ON INDICaT O r LIGHT
When the power limitation indicator light illuminates,
power provided to the traction motor is reduced .
This light illuminates in the following conditions:
• T
he Li-ion battery available charge is extremely low.
• T
he Li-ion battery temperature is very low.
•
T
he temperature of the Electric Vehicle (EV)
system is high (motor, inverter, coolant system,
Li -ion battery, etc.).
• T
he EV system has a malfunction.
If the power limit ation indicator light is illuminated, follow the instructions provided o\
n the
navigation display
.
For more information, refer to the “Instruments and Controls (section 2)” of your Owner’s Manual .
01
02
To view detailed instructional videos regarding these and other features, please go to www.nissanownersinfo.mobi.7
1275820_13_Leaf_QRG_Text-Insert_121912.indd 712/19/12 10:10 AM
Page 10 of 28
8To view detailed instructional videos regarding these and other features, please go to www.nissanownersinfo.mobi.
INSTruMeNT Pa NeL CL OCK
To adjust the instrument panel clock
01 , use
the Settings menu in the dot matrix liquid crystal
display
02 .
The Settings menu is accessed by pressing
the
button
03 on the left side of the
instrument panel
.
Press the button
04 to cycle through the
various Settings modes .
This clock is linked to GPS (if so equipped) through the center display clock .
•
W
ithout any adjustments the correct time will be
displayed based on the vehicle’s current location.
•
T
here are also controls in the center display to
compensate for daylight savings time
.
For more information, refer to the “Instruments and Controls (section
2)” of your Owner’s Manual .
0403
02
01
When the low tire pressure warning light flashes for approximately 1 minute and then remains
on, the TPMS is not functioning properly. Have the system checked by a NISSAN certified
LEAF dealer
.
Tire pressure rises and falls depending on the heat caused by the vehicle’s operation and the
o
utside temperature . Low outside temperature can lower the temperature of the air inside the\
tire, whic
h can cause a lower tire inflation pressure . This may cause the low tire pressure
warning light to illuminate
. If the warning light illuminates, check the tire pressure in your tires
.
For more information, refer to the “Instruments and controls (section 2)” and the “Starting and driving (section 5)” of your
Owner’s Manual .
essential information
1275820_13_Leaf_QRG_Text-Insert_121912.indd 812/19/12 10:10 AM
Page 13 of 28
To view detailed instructional videos regarding these and other features, please go to www.nissanownersinfo.mobi.
POwer Me T er
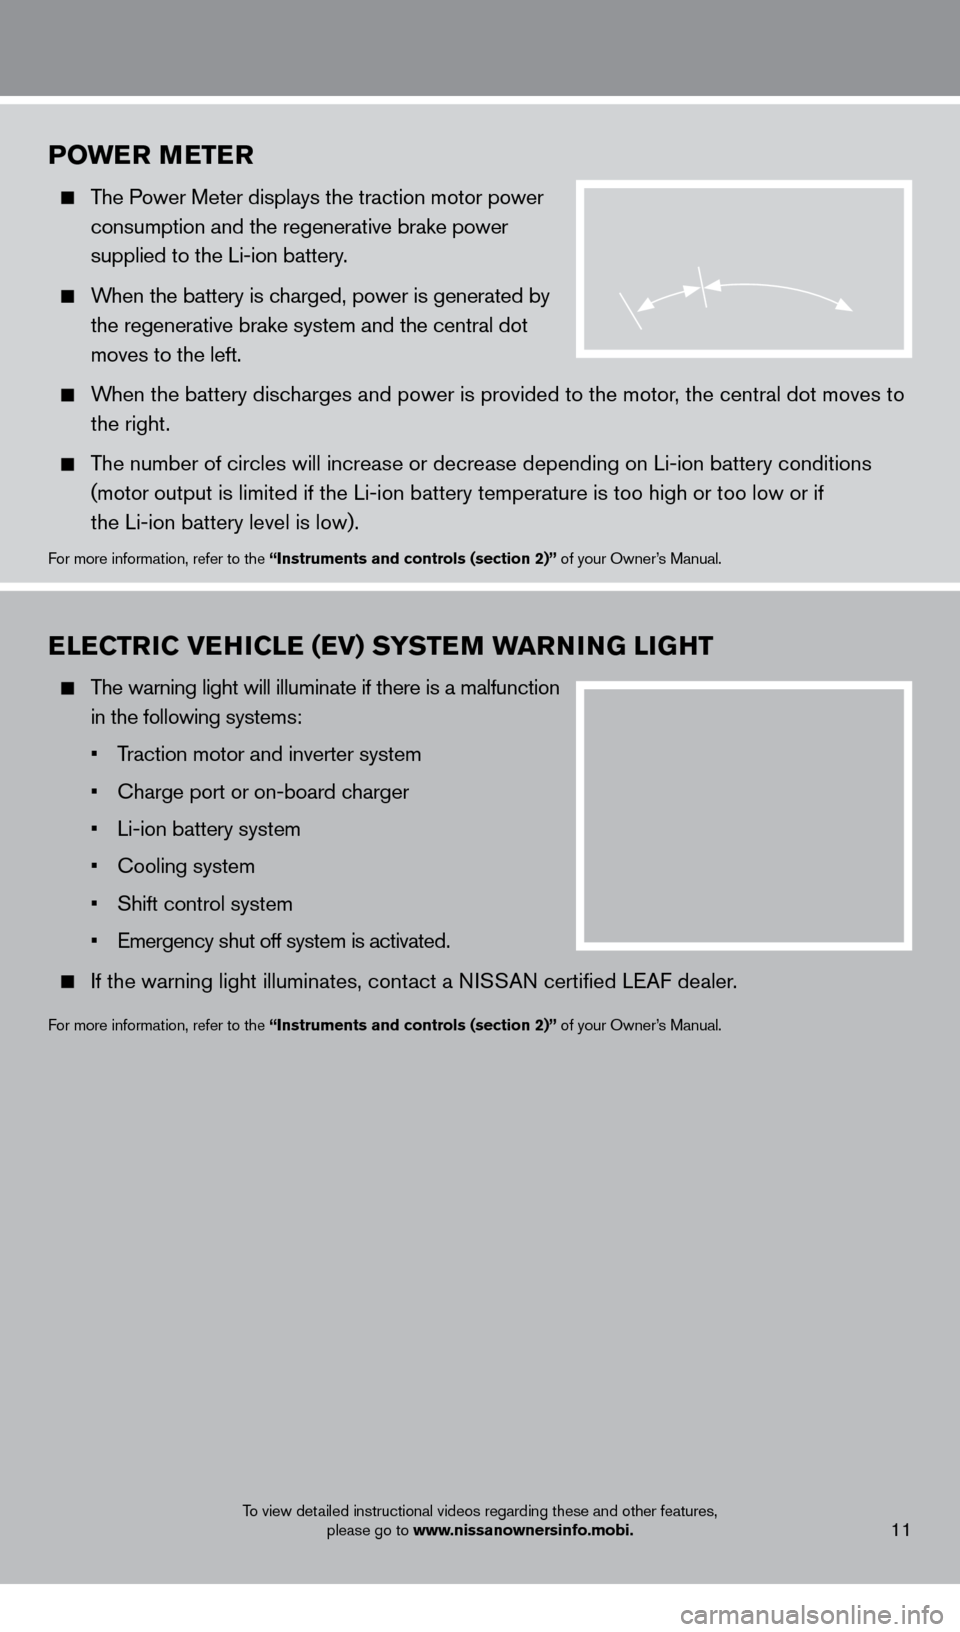
The Power Meter displays the traction motor power
consumption and the regenerative brake power
supplied to the Li-ion battery
.
When the battery is charged, power is generated by
the regenerative brake system and the central dot
moves to the left
.
When the battery discharges and power is provided to the motor, the central dot moves to
the right
.
The number of circles will increase or decrease depending on Li-ion battery conditions
(
motor output is limited if the Li-ion battery temperature is too high or too low or if
the Li-ion battery level is low).
For more information, refer to the “Instruments and controls (section 2)” of your Owner’s Manual .
eL eCT rIC V eH ICL e ( e V) SYST eM warN ING LIGHT
The warning light will illuminate if there is a malfunction
in the following systems:
•
T
raction motor and inverter system
•
Charge port or on-board c
harger
•
Li-ion battery system
•
Cooling system
•
Shift control system
•
Emergency shut off system is activated.
If the warning light illuminates, cont act a NISSAN certified LEAF dealer .
For more information, refer to the “Instruments and controls (section 2)” of your Owner’s Manual .
11
1275820_13_Leaf_QRG_Text-Insert_121912.indd 1112/19/12 10:10 AM
Page 16 of 28
03
01
11
02
05
04
14
first drive features
To view detailed instructional videos regarding these and other features, please go to www.nissanownersinfo.mobi.
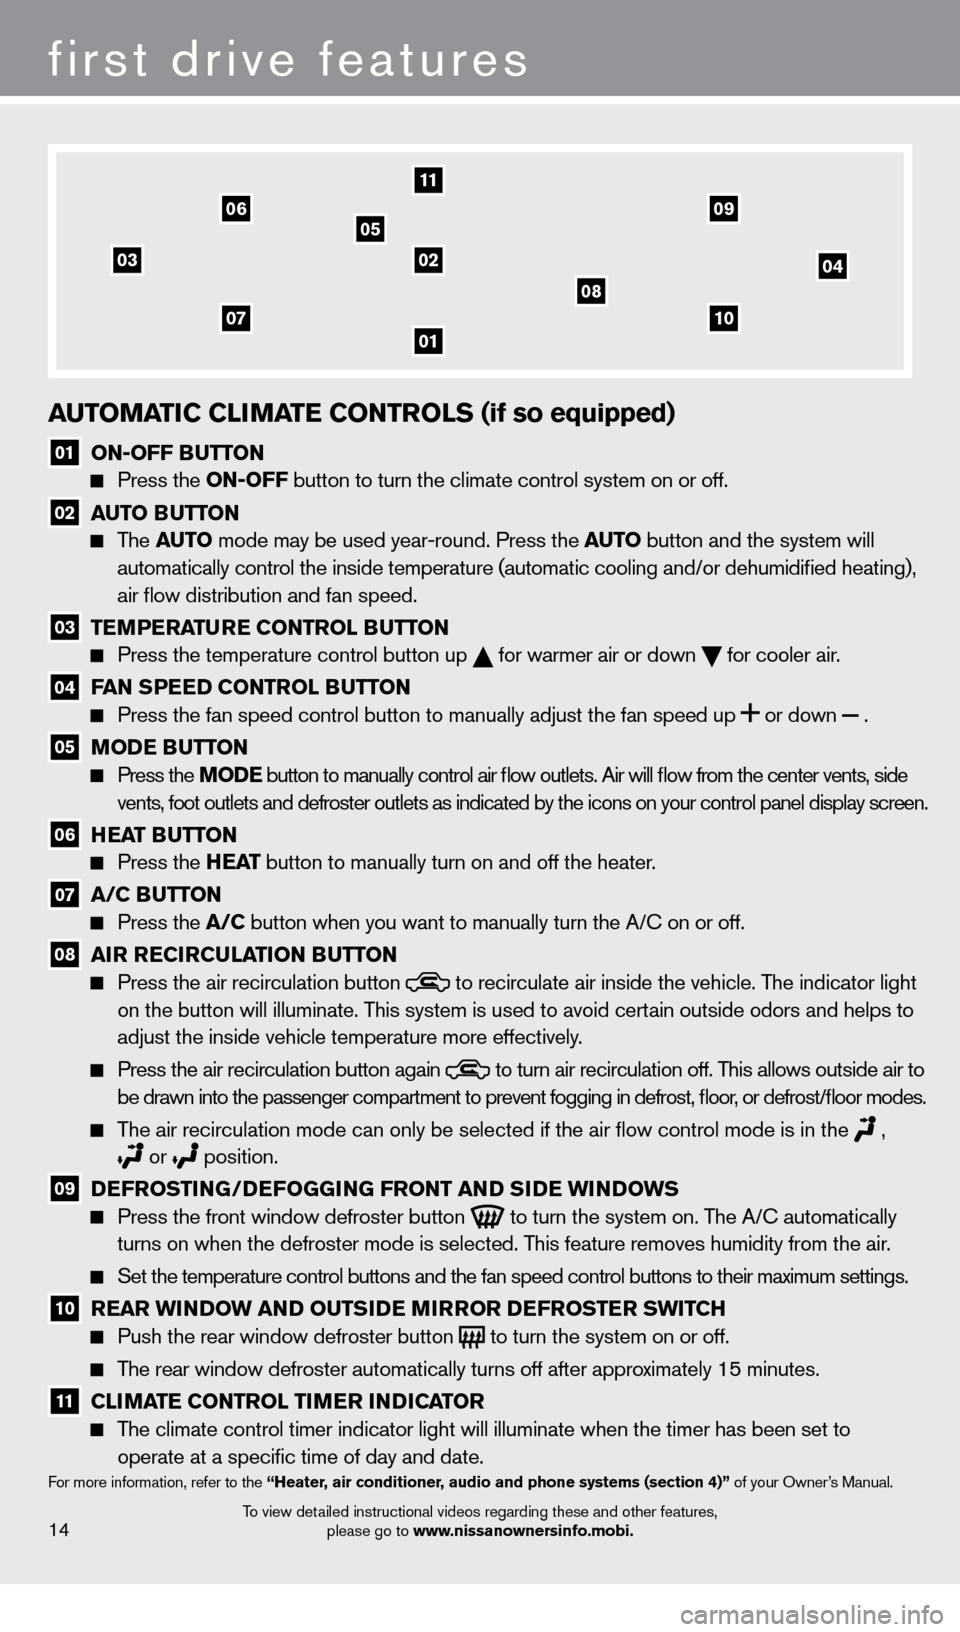
auTOMaTIC CLIM aT e CONT rOLS (if so equipped)
01 ON-OFF BuTTON Press the
ON-OFF button to turn the climate control system on or off.
02 au TO Bu TTON The
auTO mode may be used year-round. Press the auT O button and the system will
automatically control the inside temperature (automatic cooling and/or \
dehumidified heating),
air flow distribution and fan speed.
03 T eM P eraT ure CONT rOL Bu TTON Press the temperature control button up
for warmer air or down
for cooler air .
04 Fa N SP eeD CONT rOL Bu TTON Press the fan speed control button to manually adjust the fan s
peed
up
or
down
.
05 MODe Bu TTON Press the MODe
button to manually control air flow outlets. Air will flow from the center vents, side
vents, foot outlets and defroster outlets as indicated by the icons on your control panel display screen.
06 HeaT Bu TTON Press the
He a T button to manually turn on and off the heater.
07 a /C Bu TTON Press the
a /C button when you want to manually turn the A/C on or off.
08 a Ir reCIrC uL aTI ON Bu TTON Press the air recirculation button to recirculate air inside the vehicle . The indicator light
on the button will illuminate. T
his system is used to avoid certain outside odors and helps to
adjust the inside vehicle temperature more effectively
.
Press the air recirculation button again to turn air recirculation off . This allows outside air to
be drawn into the passenger compartment to prevent fogging in d efrost, floor, or defrost/floor modes.
The air recirculation mode can only be selected if the air flow control mode is in the ,
or position .
09 DeF rOSTI NG/DeF OGGING F rONT a ND SIDe w INDOw S Press the front window defroster button
to turn the system on . The A/C automatically
turns on when the defroster mode is selected . This feature removes humidity from the air .
Set the temperature control buttons and the fan speed control b uttons to their maximum settings.
10 rear w INDOw a ND O u TSIDe MIr rO r DeF rOST er S w ITCH Push the rear window defroster button to turn the system on or off .
The rear window defroster automatically turns off after approximately 15 minutes .
11 CLIM aT e CONT rOL TI Me r INDICaT O r
The climate control timer indicator light will illuminate when the timer has been set to
operate at a specific time of day and date .
For more information, refer to the “Heater, air conditioner, audio and phone systems (section 4)” of your Owner’s Manual .
0710
08
0609
1275820_13_Leaf_QRG_Text-Insert_121912.indd 1412/19/12 10:11 AM
Page 17 of 28
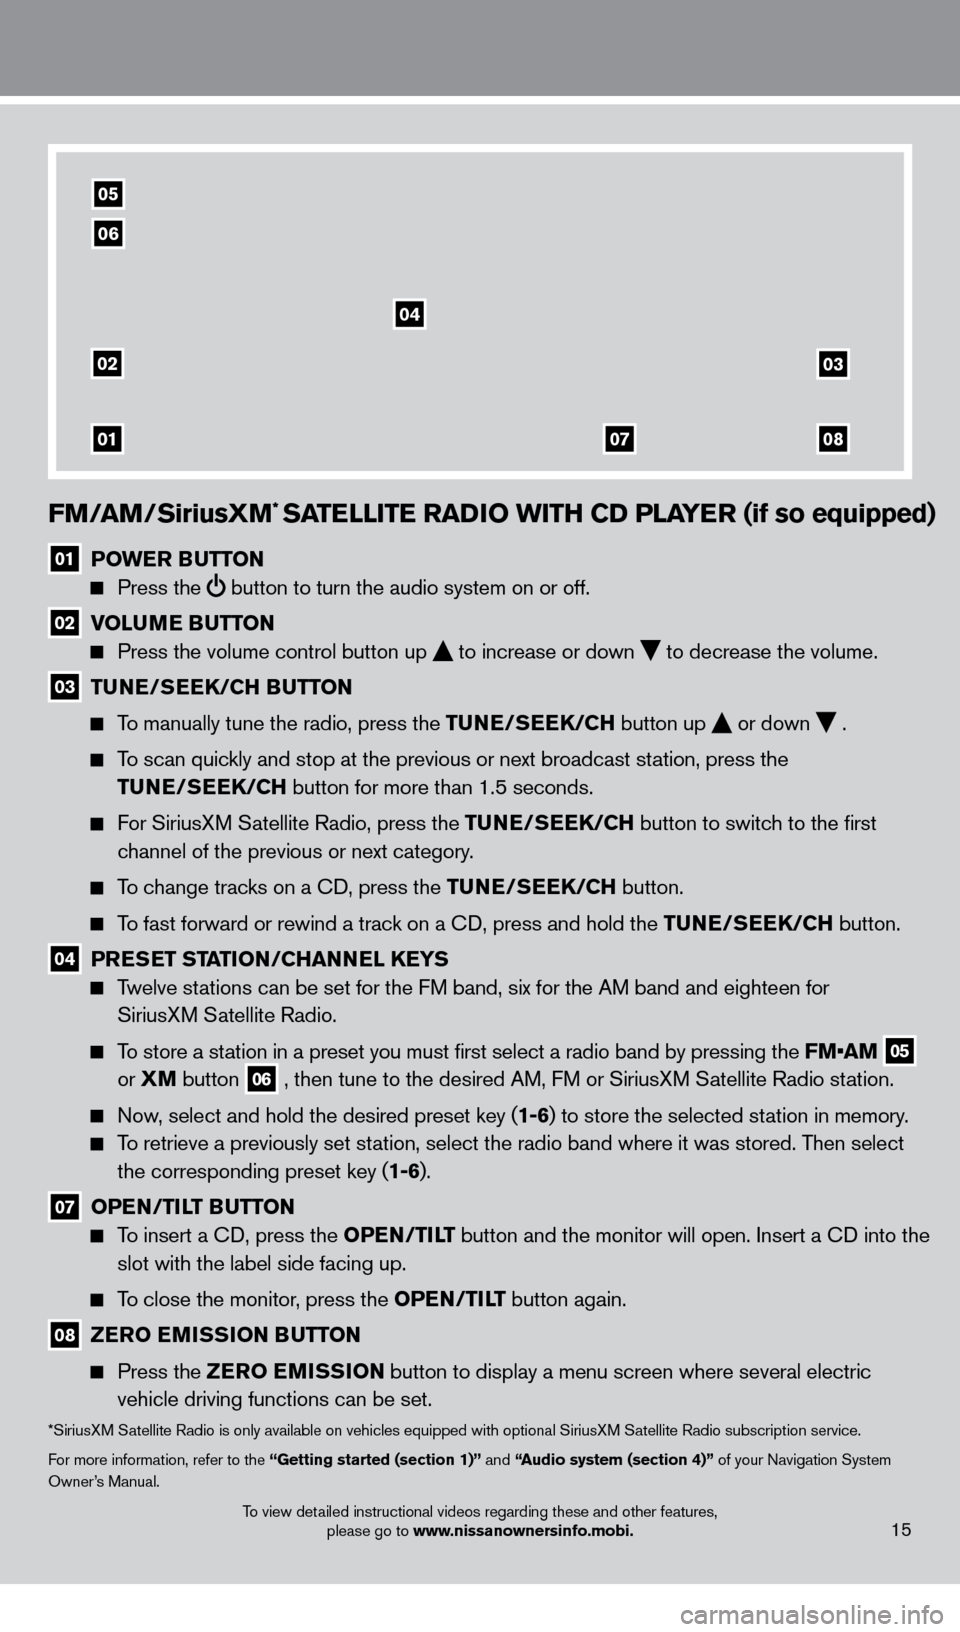
FM/aM/SiriusXM* SaTeLLIT e ra DIO w ITH CD PL aY er (if so equipped)
01 POwe r Bu TTON
Press the
button to turn the audio system on or off.
02 V OL uMe Bu TTON
Press the volume control button up
to increase or down
to decrease the volume .
03 TuNe/ Se eK/CH Bu TTON
To manually tune the radio, press the Tu
N e /S ee K/CH button up
or down
.
To scan quickly and stop at the previous or next broadcast station, press the
T
u
N e /S ee K/CH button for more than 1.5 seconds.
For SiriusXM Satellite Radio, press the Tu N e /S ee K/CH button to switch to the first
channel of the previous or next category
.
To change tracks on a CD, press the Tu N e /S ee K/CH button.
To fast forward or rewind a track on a CD, press and hold the Tu N e /S ee K/CH button.
04 PreSe T STaTI ON/CH a NNeL Ke YS
Twelve stations can be set for the FM band, six for the AM band and eighteen for
SiriusXM Satellite Radio .
To store a station in a preset you must first select a radio band by pressing the FM•AM 05
or XM
button
06 , then tune to the desired AM, FM or SiriusXM Satellite Radio station .
Now, select and hold the desired preset key (1-6) to store the selected station in memory .
To retrieve a previously set station, select the radio band where it was stored. Then select the corresponding preset key (1-6) .
07 OPeN /TILT Bu TTON
To insert a CD, press the OP eN /TILT button and the monitor will open. Insert a CD into the
slot with the label side facing up.
To close the monitor, press the OP eN /TILT button again.
08 ZerO e MISSION B uT TON
Press the
Z erO e MISSION button to display a menu screen where several electric
vehicle driving functions can be set.
*SiriusXM Satellite Radio is only available on vehicles equipped with optional SiriusXM Satellite Radio subscription service.
For more information, refer to the “Getting started (section 1)” and “
audio system (section 4)”
of your Navigation System
Owner’s Manual
.
02
01
03
0807
04
05
06
15To view detailed instructional videos regarding these and other features, please go to www.nissanownersinfo.mobi.
1275820_13_Leaf_QRG_Text-Insert_121912.indd 1512/19/12 10:11 AM
Page 21 of 28
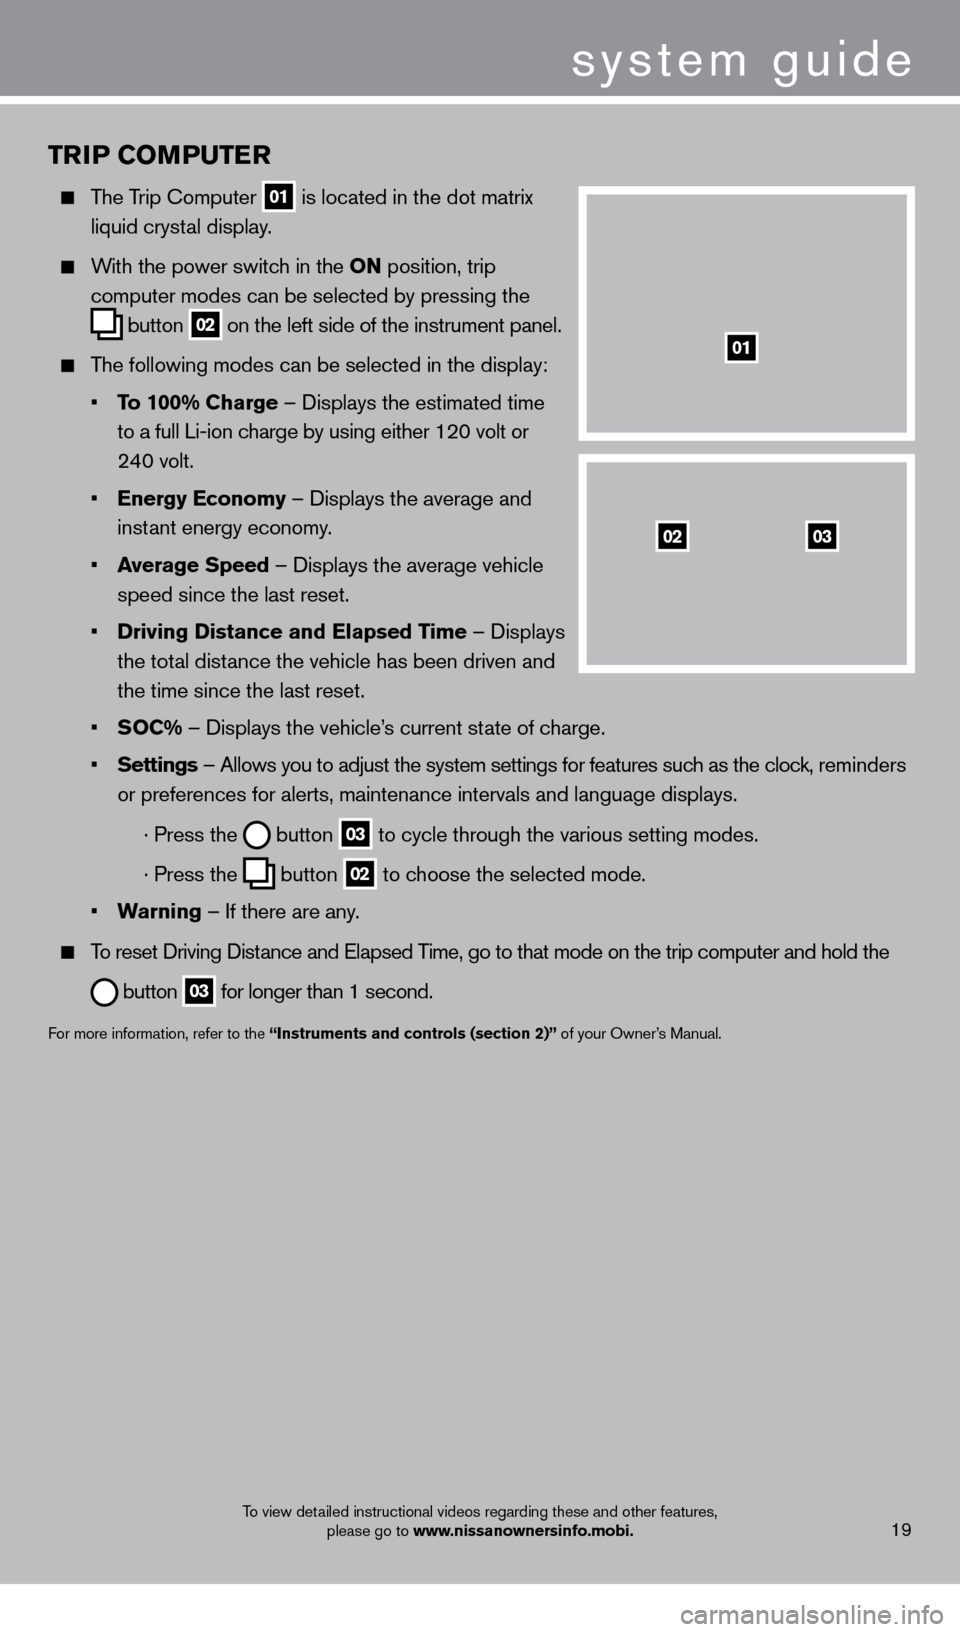
TrIP COMPu T er
The Trip Computer
01 is located in the dot matrix
liquid cryst
al display .
With the power switch in the ON position, trip
computer modes can be selected by pressing the
button
02 on the left side of the instrument panel .
The following modes can be selected in the display:
•
T
o 100% Charge – Displays the estimated time
to a full Li-ion c
harge by using either 120 volt or
24
0 volt .
•
e
nergy e conomy – Displays the average and
inst
ant energy economy
.
•
a
verage Speed
– Displays the average vehicle
speed since the last reset
.
•
Driving Distance and
e lapsed Time – Displays
the tot
al distance the vehicle has been driven and
the time since the last reset
.
•
S
OC% – Displays the vehicle’s current state of charge .
•
Settings
– Allows you to adjust the system settings for features such as the clock, reminders
or preferences for alerts, maintenance intervals and language displays
.
· Press the button
03 to cycle through the various setting modes .
· Press the button
02 to choose the selected mode .
•
w
arning
– If there are any
.
To reset Driving Distance and Elapsed Time, go to that mode on the trip computer and hold the
button 03 for longer than 1 second .
For more information, refer to the “Instruments and controls (section 2)” of your Owner’s Manual .
0302
01
system guide
To view detailed instructional videos regarding these and other features,
please go to www.nissanownersinfo.mobi.19
1275820_13_Leaf_QRG_Text-Insert_121912.indd 1912/19/12 10:11 AM