low beam NISSAN MAXIMA 2003 A33 / 5.G Owners Manual
[x] Cancel search | Manufacturer: NISSAN, Model Year: 2003, Model line: MAXIMA, Model: NISSAN MAXIMA 2003 A33 / 5.GPages: 247, PDF Size: 2.74 MB
Page 54 of 247

or
Anti-lock brake warning light
Low washer fluid warning light
High beam indicator light (Blue)
A/T check warning light (A/T models)
Seat belt warning light
Malfunction indicator lamp (MIL)
or
Brake warning light
Stop/tail warning light
Slip indicator light
Charge warning light
Supplemental air bag warning light
Traction control system indicator light
Door open warning light
Trunk lid open warning light
Turn signal/hazard indicator lights
Engine oil pressure warning light
Cruise main switch indicator light
Low fuel warning light
Cruise set indicator light
CHECKING BULBSApply the parking brake and turn the ignition
key to ON without starting the engine. The
following lights will come on:
,
or
,
,
The following lights come on briefly and then
go off:
,
or
,
,
,
If any light fails to come on, it may indicate a
burned-out bulb or an open circuit in the elec-trical system. Have the system repaired
promptly.
WARNING LIGHTS
or
Anti-lock brake
warning light
After turning the ignition key to the ON posi-
tion, the light will illuminate. The light will turn
off after about 2 seconds if the system is
operational.
If the light comes on while the engine isrunning, it may indicate that the anti-lock brake
system is not functioning properly. Have the
system checked by your NISSAN dealer.
If an abnormality occurs in the system, the
anti-lock function will cease but the ordinary
brakes will continue to operate normally.
If the light comes on while you are driving,
contact your NISSAN dealer for repair.
WARNING/INDICATOR LIGHTS
AND AUDIBLE REMINDERS
Instruments and controls
2-9
Z
02.7.12/A33-D/V5.0
X
Page 57 of 247

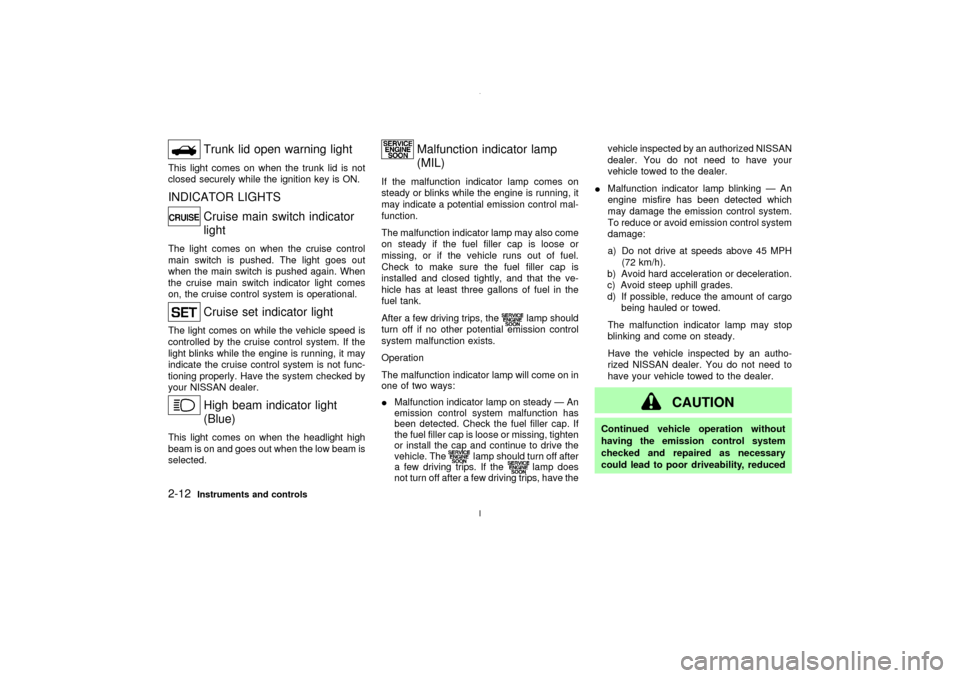
Trunk lid open warning light
This light comes on when the trunk lid is not
closed securely while the ignition key is ON.INDICATOR LIGHTS
Cruise main switch indicator
light
The light comes on when the cruise control
main switch is pushed. The light goes out
when the main switch is pushed again. When
the cruise main switch indicator light comes
on, the cruise control system is operational.
Cruise set indicator light
The light comes on while the vehicle speed is
controlled by the cruise control system. If the
light blinks while the engine is running, it may
indicate the cruise control system is not func-
tioning properly. Have the system checked by
your NISSAN dealer.
High beam indicator light
(Blue)
This light comes on when the headlight high
beam is on and goes out when the low beam is
selected.
Malfunction indicator lamp
(MIL)
If the malfunction indicator lamp comes on
steady or blinks while the engine is running, it
may indicate a potential emission control mal-
function.
The malfunction indicator lamp may also come
on steady if the fuel filler cap is loose or
missing, or if the vehicle runs out of fuel.
Check to make sure the fuel filler cap is
installed and closed tightly, and that the ve-
hicle has at least three gallons of fuel in the
fuel tank.
After a few driving trips, the
lamp should
turn off if no other potential emission control
system malfunction exists.
Operation
The malfunction indicator lamp will come on in
one of two ways:
IMalfunction indicator lamp on steady Ð An
emission control system malfunction has
been detected. Check the fuel filler cap. If
the fuel filler cap is loose or missing, tighten
or install the cap and continue to drive the
vehicle. The
lamp should turn off after
a few driving trips. If the
lamp does
not turn off after a few driving trips, have thevehicle inspected by an authorized NISSAN
dealer. You do not need to have your
vehicle towed to the dealer.
IMalfunction indicator lamp blinking Ð An
engine misfire has been detected which
may damage the emission control system.
To reduce or avoid emission control system
damage:
a) Do not drive at speeds above 45 MPH
(72 km/h).
b) Avoid hard acceleration or deceleration.
c) Avoid steep uphill grades.
d) If possible, reduce the amount of cargo
being hauled or towed.
The malfunction indicator lamp may stop
blinking and come on steady.
Have the vehicle inspected by an autho-
rized NISSAN dealer. You do not need to
have your vehicle towed to the dealer.
CAUTION
Continued vehicle operation without
having the emission control system
checked and repaired as necessary
could lead to poor driveability, reduced
2-12
Instruments and controls
Z
02.7.12/A33-D/V5.0
X
Page 64 of 247

XENON HEADLIGHTS
WARNINGHIGH VOLTAGE
IWhen xenon headlights are on, they
produce a high voltage. To prevent an
electric shock, never attempt to
modify or disassemble. Always have
your xenon headlights replaced at an
authorized NISSAN dealer.
IXenon headlights provide consider-
ably more light than conventional
headlights. If they are not correctly
aimed, they might temporarily blind
an oncoming driver or the driver
ahead of you and cause a serious
accident. If headlights are not aimed
correctly, immediately take your ve-
hicle to an authorized NISSAN dealer
and have the headlights adjusted cor-
rectly.
When the xenon headlight is initially turned on,
its brightness or color varies slightly. However,
the color and brightness will soon stabilize.IThe life of xenon headlights will be
shortened by frequent on-off operation.
It is generally desirable not to turn off
the headlights for short intervals, (for
example, when the vehicle stops at a
traffic signal). Even when the daytime
running lights are active (Canada only),
the xenon headlights do not turn on.
This way the life of the xenon headlights
is not reduced.
IIf the xenon headlight bulb is close to
burning out, the brightness will drasti-
cally decrease, the light will start blink-
ing, or the color of the light will become
reddish. If one or more of the above
signs appear, contact a NISSAN dealer.
HEADLIGHT SWITCH
LightingTurn the switch to the AUTO position:
When the ignition key is in the ON position, the
tail light, headlight, instrument light and other
lights turn on automatically, depending on the
brightness of the surroundings. The headlight
will automatically turn off 5 minutes after the
ignition switch is turned to the OFF position
and the driver's or front passenger's door is
opened.The headlight will also automatically turn off 45
seconds after a front door is opened and
closed.
When the light switch is turned to the
po-
sition, the headlight low or high beam will turn
off.
Turn the switch to the
position:
The front clearance, side marker, tail, license
plate and instrument lights will come on.
Turn the switch to theposition:
Headlights will come on and all the other lights
remain on.
Instruments and controls
2-19
Z
02.7.12/A33-D/V5.0
X
Page 66 of 247

Headlight beam selectTo select the high beam, push the lever for-
ward. Pull it back to select the low beam.Passing signalPulling the lever toward you will flash the
headlight high beam.Daytime running light system
(Canada only)The headlights automatically illuminate at a
reduced intensity when the engine is started
with the parking brake released. The daytime
running lights operate with the headlight switch
in the OFF position or in the
position.
Turn the headlight switch to theposition
for full illumination when driving at night.
If the parking brake is applied before the
engine is started, the daytime running lights do
not illuminate. The daytime running lights illu-
minate once the parking brake is released.
The daytime running lights will remain on until
the ignition switch is turned off.
WARNING
When the daytime running light system
is active, tail lights on your vehicle are
not on. It is necessary at dusk to turn on
your headlights. Failure to do so could
cause an accident injuring yourself and
others.TURN SIGNAL SWITCH
Turn signalMove the lever up or down to signal the turning
direction. When the turn is completed, the turn
signals cancel automatically.Lane change signalTo indicate a lane change, move the lever up
or down to the point where lights begin flash-
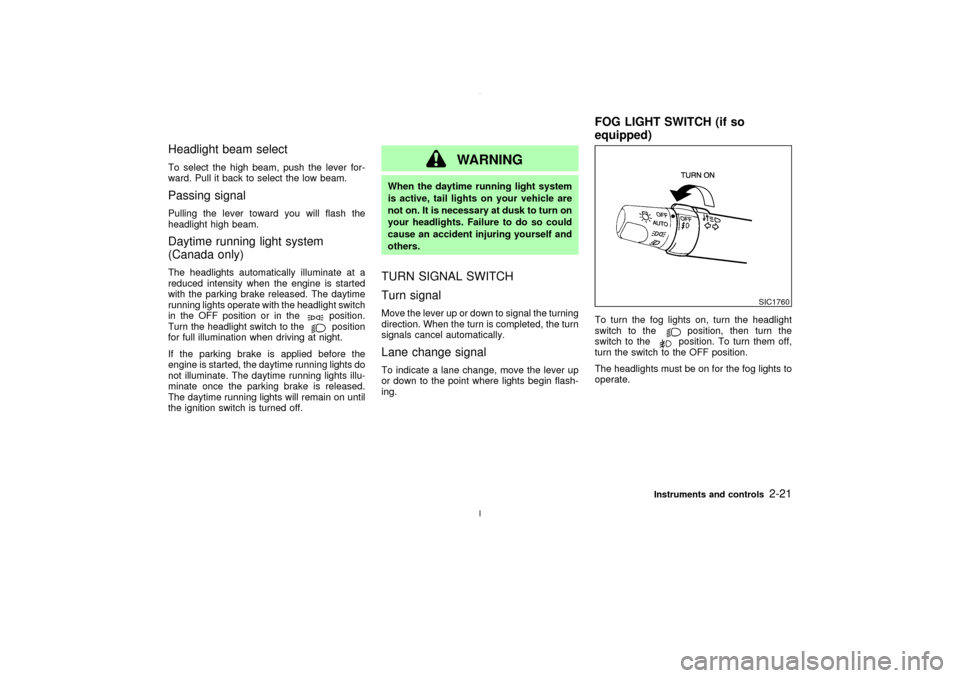
ing.To turn the fog lights on, turn the headlight
switch to the
position, then turn the
switch to theposition. To turn them off,
turn the switch to the OFF position.
The headlights must be on for the fog lights to
operate.
SIC1760
FOG LIGHT SWITCH (if so
equipped)
Instruments and controls
2-21
Z
02.7.12/A33-D/V5.0
X
Page 202 of 247

HEADLIGHTS
Replacing the xenon headlight bulb
Ð low beam
WARNINGHIGH VOLTAGE
When xenon headlights are on, they
produce a high voltage. To prevent an
electric shock, never attempt to modify
or disassemble. Always have your xe-
non headlights replaced at an autho-
rized NISSAN dealer. For additional in-
formation, see ªHeadlight and turn
signal switchº in the ª2. Instruments and
controlsº section.
Replacing the halogen headlight
bulb Ð high beamThe headlight is a semi-sealed beam type
which uses a replaceable headlight (halogen)
bulb. A bulb can be replaced from inside the
engine compartment without removing the
headlight assembly.
CAUTION
High pressure halogen gas is sealed
inside the halogen bulb. The bulb may
break if the glass envelope is scratched
or the bulb is dropped.
When handling the bulb, do not touch
the glass envelope.
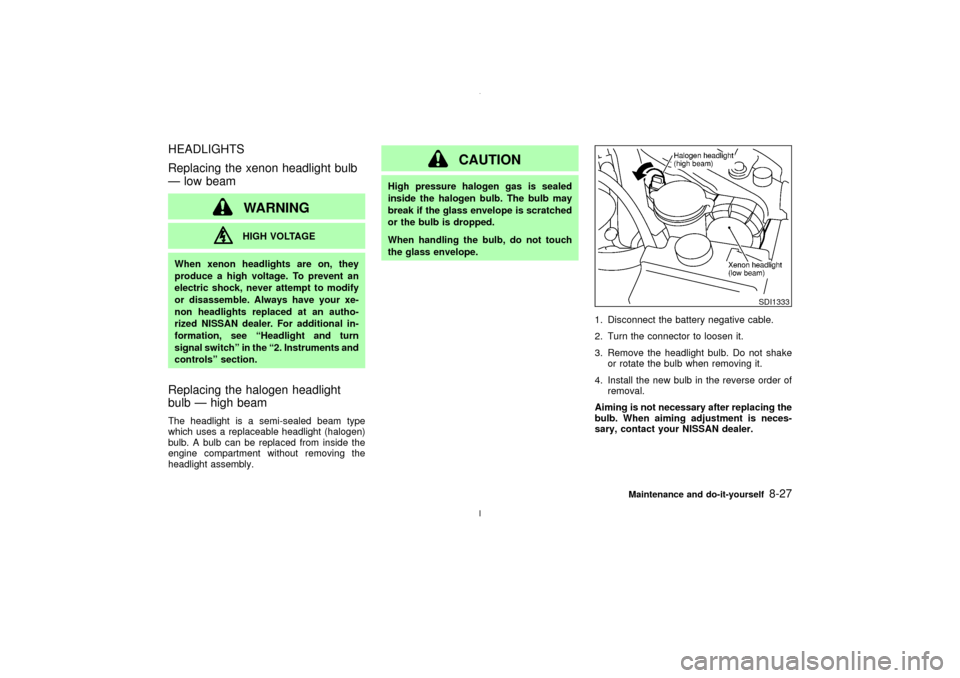
1. Disconnect the battery negative cable.
2. Turn the connector to loosen it.
3. Remove the headlight bulb. Do not shake
or rotate the bulb when removing it.
4. Install the new bulb in the reverse order of
removal.
Aiming is not necessary after replacing the
bulb. When aiming adjustment is neces-
sary, contact your NISSAN dealer.
SDI1333
Maintenance and do-it-yourself
8-27
Z
02.7.12/A33-D/V5.0
X