audio NISSAN MURANO 2015 3.G LC2 Kai Navigation Manual
[x] Cancel search | Manufacturer: NISSAN, Model Year: 2015, Model line: MURANO, Model: NISSAN MURANO 2015 3.GPages: 203, PDF Size: 1.12 MB
Page 2 of 203
FOREWORD
Thank you for purchasing a NISSAN vehicle.
This user’s manual is for NissanConnectSMwith
Navigation and Mobile Apps offered in your
NISSAN vehicle.
Operation instructions for the following systems
are included in this manual.
. Audio
. Hands-Free Phone
. NissanConnect
SMMobile Apps
. Navigation
. Voice recognition
. Information and settings viewable on Nis-
sanConnect
SM
Please read this manual carefully to ensure safe
operation of NissanConnectSMwith Navigation
and Mobile Apps.
. Because of possible specification changes
and optional equipment, some sections of
this manual may not apply to your vehicle.
. All information, specifications and illustra-
tions in this manual are those in effect at the
time of printing. NISSAN reserves the right to
change specifications or design at any time without notice.
. Do not remove this manual from the vehicle
when selling this vehicle. The next user of the
system may need the manual.
Page 5 of 203
Table of Contents
1Introduction
How to use this manual .......... 1-2
Safety information ..................... 1-3
Trademarks ................................. 1-4
Regulatory information ............ 1-5
2Getting started
Control buttons and touch
screen display ........................... 2-2
Starting system ......................... 2-6
Basic operation ......................... 2-7
System settings ...................... 2-14
3Audio system
Audio
operation precautions .............. 3-2
Names and functions of
audio control buttons ............ 3-10
Audio operations .................... 3-11
Audio settings ......................... 3-31CD/USB memory device
care and cleaning ................... 3-32
4Hands-Free Phone
Bluetooth�ŠHands-Free
Phone System ........................... 4-2
5Information
Information menu ...................... 5-2
NissanConnectSM
Mobile Apps .............................. 5-6
SiriusXM Travel Link ................ 5-7
Control panel and vehicle
information display
interaction ................................... 5-8
6Navigation
Safety information ..................... 6-3
Map operation ........................... 6-3
Setting destination ................. 6-13
Route guidance ....................... 6-25 Viewing traffic information .... 6-43
Storing a location/route ........ 6-46
Navigation settings ................. 6-54
General information for
navigation system ................... 6-57
7Voice recognition
Voice recognition ...................... 7-2
8Troubleshooting guide
Customer assistance ............... 8-2
System unit ................................ 8-3
Audio system ............................. 8-4
Bluetooth
�ŠHands-Free
Phone System ......................... 8-13
Navigation ................................. 8-16
Voice recognition .................... 8-22
Page 15 of 203
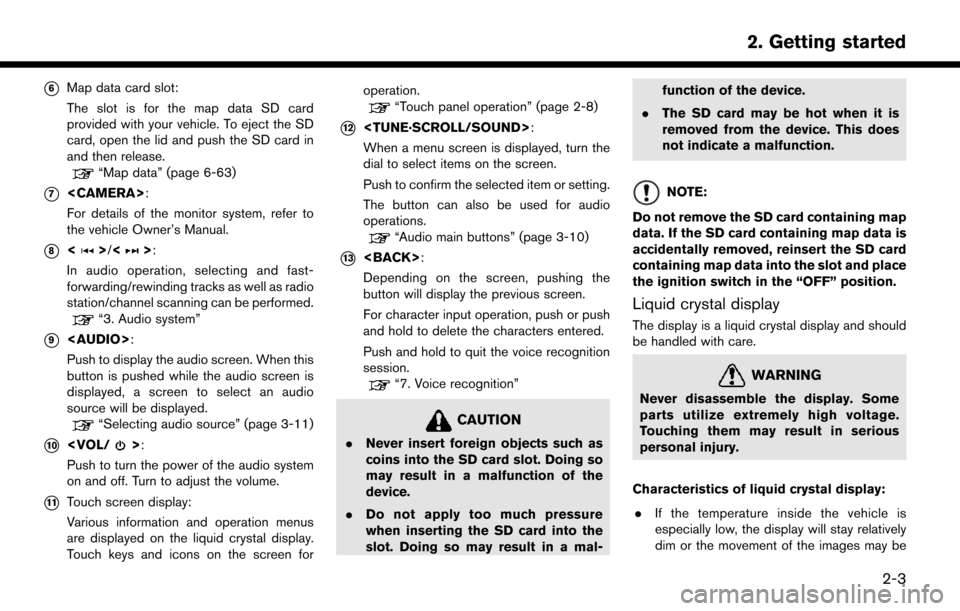
*6Map data card slot:
The slot is for the map data SD card
provided with your vehicle. To eject the SD
card, open the lid and push the SD card in
and then release.
“Map data” (page 6-63)
*7
For details of the monitor system, refer to
the vehicle Owner’s Manual.
*8<>/<>:
In audio operation, selecting and fast-
forwarding/rewinding tracks as well as radio
station/channel scanning can be performed.
“3. Audio system”
*9
Page 16 of 203
2. Getting started
slow. These conditions are normal. The
display will function normally when the
interior of the vehicle has warmed up.
. Some pixels in the display are darker or
brighter than others. This condition is an
inherent characteristic of liquid crystal dis-
plays, and it is not a malfunction.
. A remnant of the previous display image may
remain on the screen. This screen burn is
inherent in displays, and it is not a malfunc-
tion.
. The screen may become distorted by strong
magnetic fields.
Maintenance of display:
CAUTION
. To clean the display screen, use a dry,
soft cloth. If additional cleaning is
necessary, use a small amount of
neutral detergent with a soft cloth.
. Clean the display with the ignition
switch in the “OFF” position. If the
display is cleaned while the ignition
switch is placed in the “ON” position,
unintentional operation may occur. .
To clean the display, never use a
rough cloth, alcohol, benzine, thinner
or any kind of solvent or paper towel
with a chemical cleaning agent. They
will scratch or deteriorate the panel.
. Do not splash any liquid such as
water or car fragrance on the display.
Contact with liquid will cause the
system to malfunction.
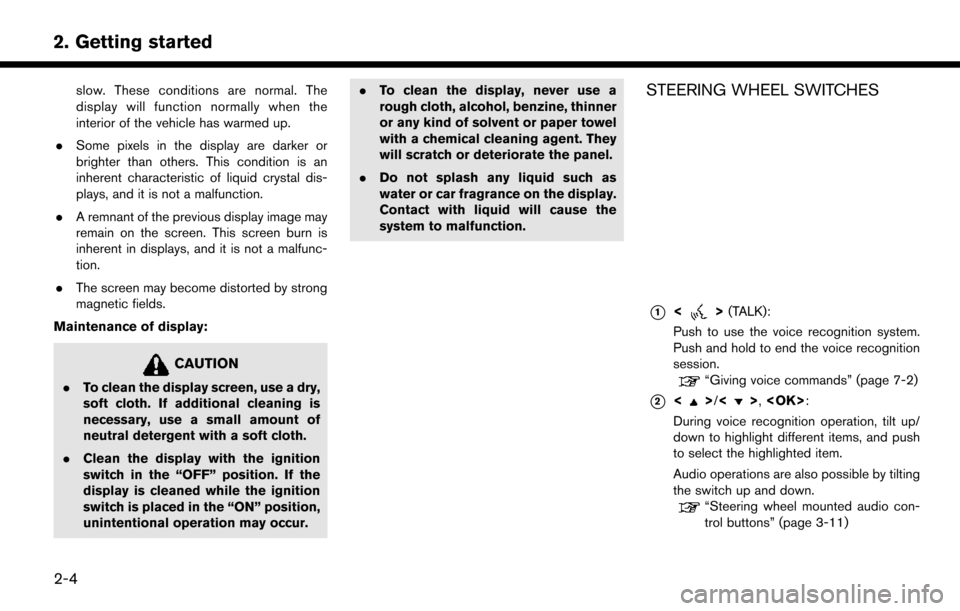
STEERING WHEEL SWITCHES
*1<>(TALK):
Push to use the voice recognition system.
Push and hold to end the voice recognition
session.
“Giving voice commands” (page 7-2)
*2<>/<>,
During voice recognition operation, tilt up/
down to highlight different items, and push
to select the highlighted item.
Audio operations are also possible by tilting
the switch up and down.
“Steering wheel mounted audio con-
trol buttons” (page 3-11)
2-4
Page 17 of 203
*3<>:
Push to display the hands-free phone
operation screen.
When you receive a phone call, push this
button to answer the call.
“4. Hands-Free Phone”
*4<>/<>:
The buttons are used mainly for the vehicle
information display operation. Refer to the
vehicle Owner’s Manual for details.
During voice recognition operation, <
>
can be used to return to the previous
screen.
*5
Push to change the audio source to the
available mode.
*6<+> /<->:
Push to adjust the volume.
INFO:
Steering wheel switches are mainly for the
vehicle information display control and may not
be able to operate the touch screen display
depending on the conditions. Follow the pop-up
guide messages and labels shown on the vehicle
information display.
Some of the information displayed on the vehicle information display are linked with the touch
screen display.
“Control panel and vehicle information
display interaction” (page 5-8)
For other details of the vehicle information
display, refer to the vehicle Owner’s Manual.
USB (Universal Serial Bus) CONNEC-
TION PORTS AND AUX (auxiliary)
INPUT JACK
WARNING
Do not connect, disconnect or operate
the USB device while driving. Doing so
can be a distraction. If distracted you
could lose control of your vehicle and
cause an accident or serious injury.
CAUTION
. Do not force the USB device into the
USB port. Inserting the USB device
tilted or up-side-down into the port
may damage the port. Make sure that
the USB device is connected correctly
into the USB port.
. Do not grab the USB port cover (if so
equipped) when pulling the USB
device out of the port. This could damage the port and the cover.
. Do not leave the USB cable in a place
where it can be pulled unintention-
ally. Pulling the cable may damage
the port.
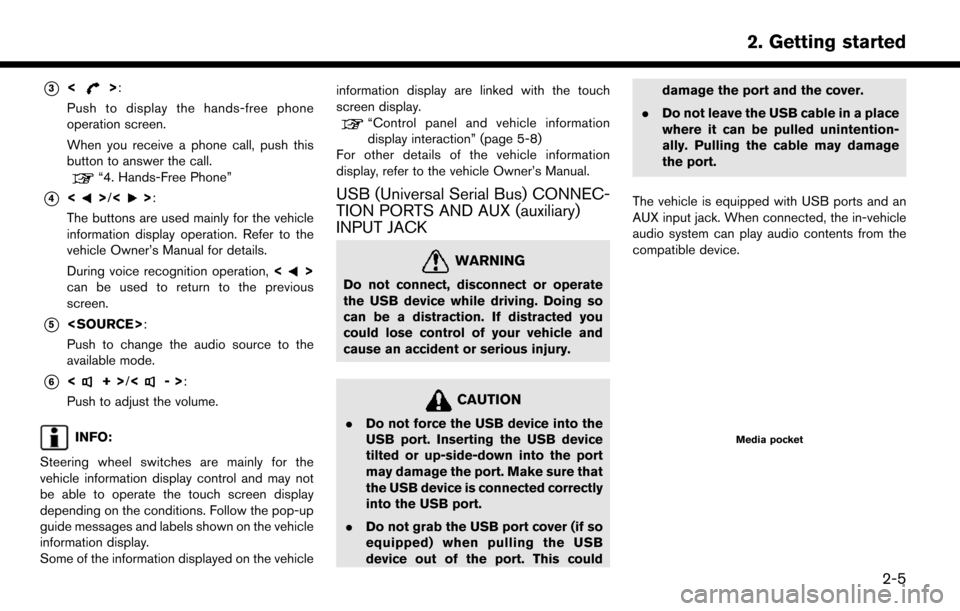
The vehicle is equipped with USB ports and an
AUX input jack. When connected, the in-vehicle
audio system can play audio contents from the
compatible device.Media pocket
2. Getting started
2-5
Page 18 of 203
2. Getting started
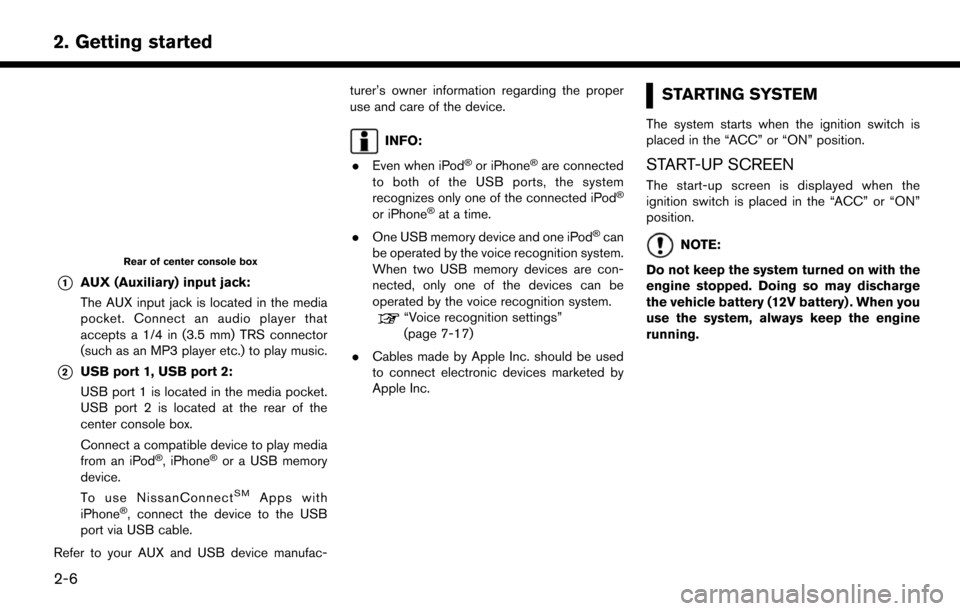
Rear of center console box
*1AUX (Auxiliary) input jack:
The AUX input jack is located in the media
pocket. Connect an audio player that
accepts a 1/4 in (3.5 mm) TRS connector
(such as an MP3 player etc.) to play music.
*2USB port 1, USB port 2:
USB port 1 is located in the media pocket.
USB port 2 is located at the rear of the
center console box.
Connect a compatible device to play media
from an iPod
�Š, iPhone�Šor a USB memory
device.
To use NissanConnect
SMApps with
iPhone�Š, connect the device to the USB
port via USB cable.
Refer to your AUX and USB device manufac- turer’s owner information regarding the proper
use and care of the device.
INFO:
. Even when iPod
�Šor iPhone�Šare connected
to both of the USB ports, the system
recognizes only one of the connected iPod
�Š
or iPhone�Šat a time.
. One USB memory device and one iPod
�Šcan
be operated by the voice recognition system.
When two USB memory devices are con-
nected, only one of the devices can be
operated by the voice recognition system.
“Voice recognition settings”
(page 7-17)
. Cables made by Apple Inc. should be used
to connect electronic devices marketed by
Apple Inc.
STARTING SYSTEM
The system starts when the ignition switch is
placed in the “ACC” or “ON” position.
START-UP SCREEN
The start-up screen is displayed when the
ignition switch is placed in the “ACC” or “ON”
position.
NOTE:
Do not keep the system turned on with the
engine stopped. Doing so may discharge
the vehicle battery (12V battery) . When you
use the system, always keep the engine
running.
2-6
Page 19 of 203
BASIC OPERATION
SELECTING MENU FROM LAUNCH
BAR
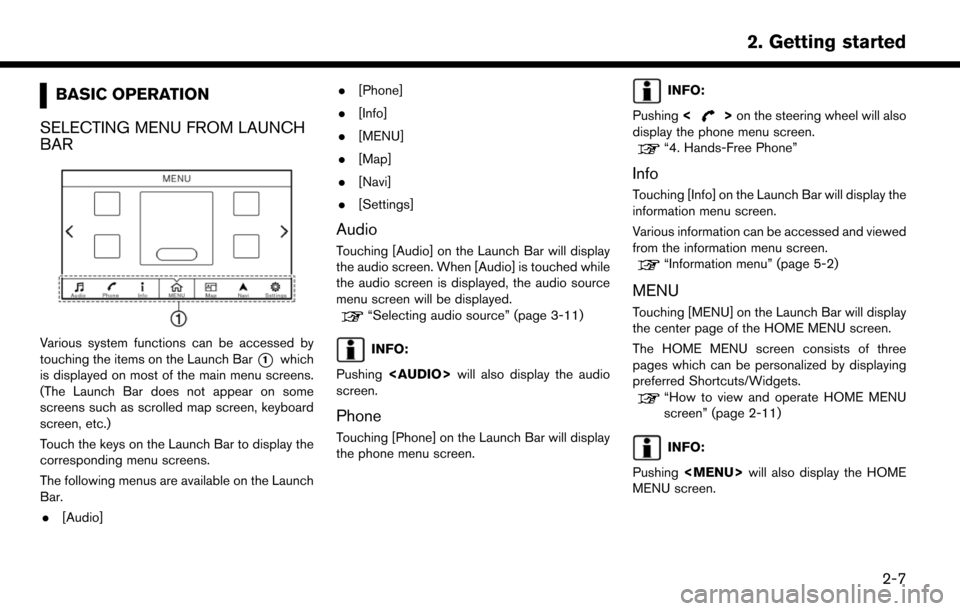
Various system functions can be accessed by
touching the items on the Launch Bar
*1which
is displayed on most of the main menu screens.
(The Launch Bar does not appear on some
screens such as scrolled map screen, keyboard
screen, etc.)
Touch the keys on the Launch Bar to display the
corresponding menu screens.
The following menus are available on the Launch
Bar.
. [Audio] .
[Phone]
. [Info]
. [MENU]
. [Map]
. [Navi]
. [Settings]
Audio
Touching [Audio] on the Launch Bar will display
the audio screen. When [Audio] is touched while
the audio screen is displayed, the audio source
menu screen will be displayed.
“Selecting audio source” (page 3-11)
INFO:
Pushing
Page 23 of 203
![NISSAN MURANO 2015 3.G LC2 Kai Navigation Manual HOW TO VIEW AND OPERATE
HOME MENU SCREEN
Push<MENU> or touch [MENU] on the Launch
Bar to display the HOME MENU screen.
On the HOME MENU screen which consists of
three pages, preferred Shortcuts and Wi NISSAN MURANO 2015 3.G LC2 Kai Navigation Manual HOW TO VIEW AND OPERATE
HOME MENU SCREEN
Push<MENU> or touch [MENU] on the Launch
Bar to display the HOME MENU screen.
On the HOME MENU screen which consists of
three pages, preferred Shortcuts and Wi](/img/5/436/w960_436-22.png)
HOW TO VIEW AND OPERATE
HOME MENU SCREEN
Push
Page 24 of 203
![NISSAN MURANO 2015 3.G LC2 Kai Navigation Manual 2. Getting started
1. Push and hold<MENU>or touch [MENU]
while the HOME MENU screen is displayed.
2. Edit the Shortcuts and the Widgets on the Edit Home Menu screen.
3. Touch [Save] to apply the chang NISSAN MURANO 2015 3.G LC2 Kai Navigation Manual 2. Getting started
1. Push and hold<MENU>or touch [MENU]
while the HOME MENU screen is displayed.
2. Edit the Shortcuts and the Widgets on the Edit Home Menu screen.
3. Touch [Save] to apply the chang](/img/5/436/w960_436-23.png)
2. Getting started
1. Push and hold
Page 26 of 203
2. Getting started
MPH (8 km/h) .
Some of the destination setting functions that
become unavailable while driving can be oper-
ated by voice recognition system. Available voice
commands may differ depending on the lan-
guage setting.SYSTEM SETTINGS
The system settings can be changed for
convenience.
SETTINGS MENU
Touch [Settings] on the Launch Bar and touch a
setting item you wish to adjust.Available setting items
Setting item Result
[Bluetooth] Displays the Bluetooth�Š
Audio and Phone setting
screen.
“Bluetooth�Šset-
tings” (page 2-17)
[Phone] Displays the Phone & Mail setting screen.
“Phone and text
message assistant
settings” (page 4-9)
[Navigation] Displays the navigation settings screen.
“Navigation set-
tings” (page 6-54)
[Sound] Displays the audio set- tings screen.
“Audio settings”
(page 3-31)
[Display] Displays the display set- tings screen.
“Display settings”
(page 2-15)
[Volume & Beeps] Displays the volume ad- justment screen.
“Volume and Beeps
settings”
(page 2-15)
2-14