manual radio set NISSAN PATHFINDER 2002 R50 / 2.G Owners Manual
[x] Cancel search | Manufacturer: NISSAN, Model Year: 2002, Model line: PATHFINDER, Model: NISSAN PATHFINDER 2002 R50 / 2.GPages: 288, PDF Size: 2.49 MB
Page 118 of 288

4 Heater, air conditioner and audio systemsVentilators ................................................................. 4-2
Heater and air conditioner (Manual) ......................... 4-2
Controls ................................................................ 4-3
Heater operation................................................... 4-4
Air conditioner operation ...................................... 4-5
Air flow charts....................................................... 4-5
Heater and air conditioner (Automatic) ..................... 4-8
Automatic operation ............................................. 4-9
Manual operation.................................................. 4-9
Operating tips ..................................................... 4-10
Ventilation air filter .............................................. 4-10
Servicing air conditioner .......................................... 4-10
Audio system........................................................... 4-11
FM radio reception ............................................. 4-11AM radio reception ............................................. 4-12
Audio operation precautions .............................. 4-12
FM-AM radio with cassette player and compact disc
(CD) player ......................................................... 4-14
FM-AM radio with cassette player and compact disc
(CD) player/cd changer ...................................... 4-21
CD care and cleaning ........................................ 4-26
FM-AM radio with cassette player Ð for navigation
system equipped models ................................... 4-26
Steering wheel switch for audio control
(if so equipped) ....................................................... 4-30
Antenna .............................................................. 4-31
Car phone or CB radio ........................................... 4-32
Z
01.9.21/R50-D/V5
X
Page 132 of 288

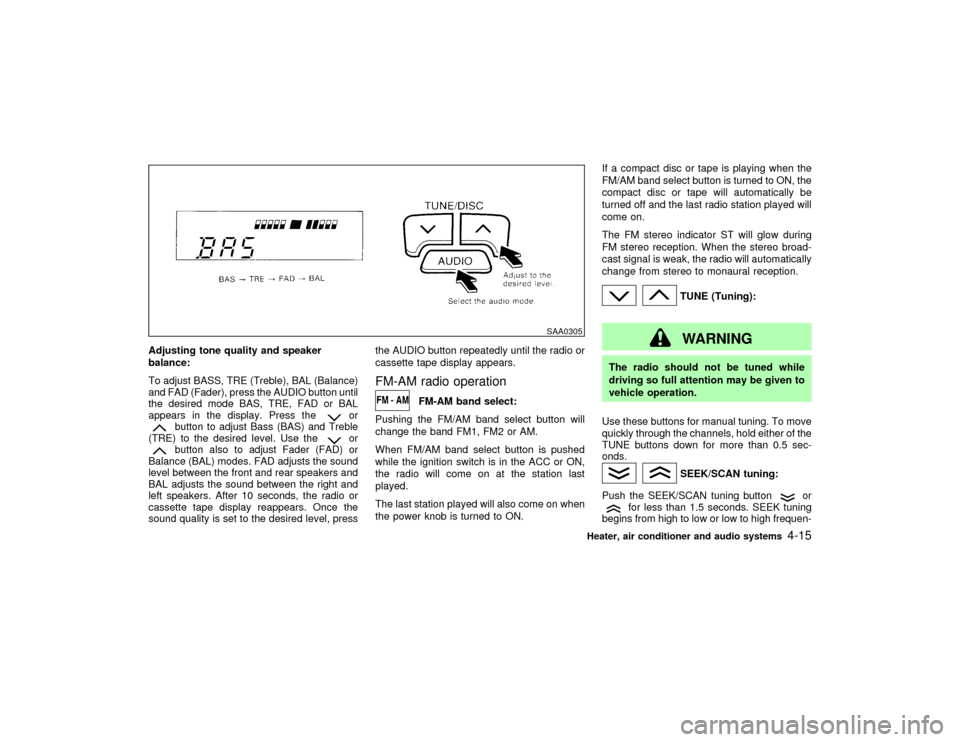
Adjusting tone quality and speaker
balance:
To adjust BASS, TRE (Treble), BAL (Balance)
and FAD (Fader), press the AUDIO button until
the desired mode BAS, TRE, FAD or BAL
appears in the display. Press the
or
button to adjust Bass (BAS) and Treble
(TRE) to the desired level. Use the
or
button also to adjust Fader (FAD) or
Balance (BAL) modes. FAD adjusts the sound
level between the front and rear speakers and
BAL adjusts the sound between the right and
left speakers. After 10 seconds, the radio or
cassette tape display reappears. Once the
sound quality is set to the desired level, pressthe AUDIO button repeatedly until the radio or
cassette tape display appears.
FM-AM radio operation
FM-AM band select:
Pushing the FM/AM band select button will
change the band FM1, FM2 or AM.
When FM/AM band select button is pushed
while the ignition switch is in the ACC or ON,
the radio will come on at the station last
played.
The last station played will also come on when
the power knob is turned to ON.If a compact disc or tape is playing when the
FM/AM band select button is turned to ON, the
compact disc or tape will automatically be
turned off and the last radio station played will
come on.
The FM stereo indicator ST will glow during
FM stereo reception. When the stereo broad-
cast signal is weak, the radio will automatically
change from stereo to monaural reception.
TUNE (Tuning):WARNING
The radio should not be tuned while
driving so full attention may be given to
vehicle operation.
Use these buttons for manual tuning. To move
quickly through the channels, hold either of the
TUNE buttons down for more than 0.5 sec-
onds.
SEEK/SCAN tuning:
Push the SEEK/SCAN tuning button
or
for less than 1.5 seconds. SEEK tuning
begins from high to low or low to high frequen-
SAA0305
Heater, air conditioner and audio systems
4-15
Z
01.9.21/R50-D/V5
X
Page 139 of 288

turned off and the last radio station played will
come on.
The FM stereo indicator ST will glow during
FM stereo reception. When the stereo broad-
cast signal is weak, the radio will automatically
change from stereo to monaural reception.
TUNE (Tuning):WARNING
The radio should not be tuned while
driving so full attention may be given to
vehicle operation.
Use these buttons for manual tuning. To move
quickly through the channels, hold either of the
TUNE buttons down for more than 0.5 sec-
onds.
SEEK tuning:
Push the SEEK button
or
, to tune
from high to low or low to high frequencies and
stops at the next broadcasting station.
SCAN tuning:
Push the SCAN tuning button to tune from low
to high frequencies and stops at each broad-casting station for 5 seconds. Pushing the
button again during this 5 seconds period will
stop SCAN tuning and the radio will remain
tuned to that station.
If the SCAN tuning button is not pushed within
5 seconds, SCAN tuning moves to the next
station.
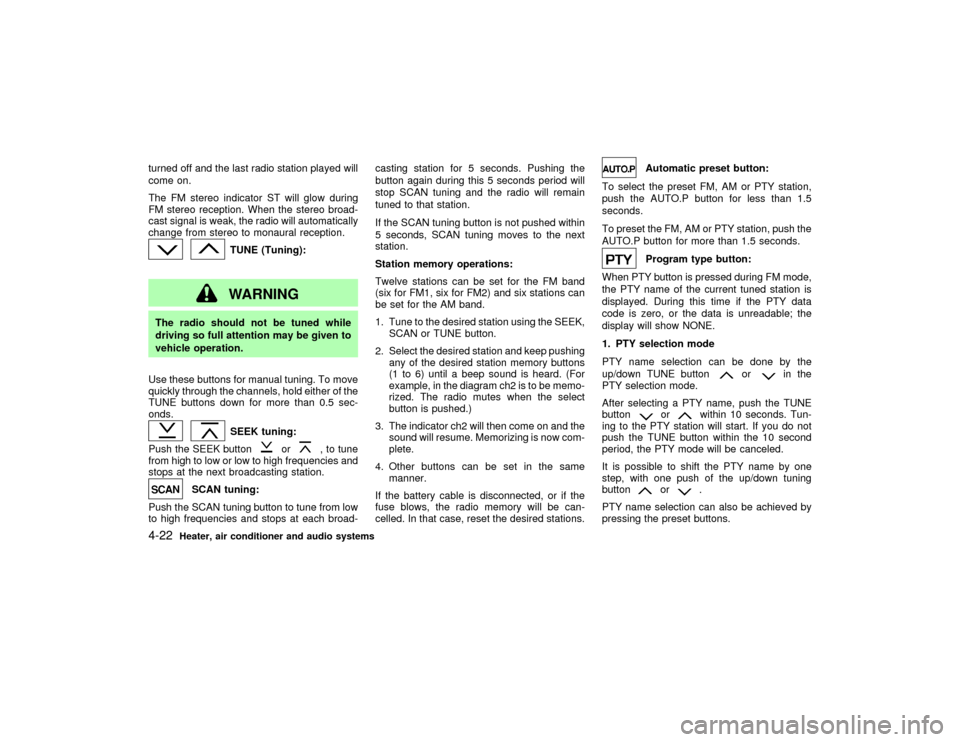
Station memory operations:
Twelve stations can be set for the FM band
(six for FM1, six for FM2) and six stations can
be set for the AM band.
1. Tune to the desired station using the SEEK,
SCAN or TUNE button.
2. Select the desired station and keep pushing
any of the desired station memory buttons
(1 to 6) until a beep sound is heard. (For
example, in the diagram ch2 is to be memo-
rized. The radio mutes when the select
button is pushed.)
3. The indicator ch2 will then come on and the
sound will resume. Memorizing is now com-
plete.
4. Other buttons can be set in the same
manner.
If the battery cable is disconnected, or if the
fuse blows, the radio memory will be can-
celled. In that case, reset the desired stations.
Automatic preset button:
To select the preset FM, AM or PTY station,
push the AUTO.P button for less than 1.5
seconds.
To preset the FM, AM or PTY station, push the
AUTO.P button for more than 1.5 seconds.Program type button:
When PTY button is pressed during FM mode,
the PTY name of the current tuned station is
displayed. During this time if the PTY data
code is zero, or the data is unreadable; the
display will show NONE.
1. PTY selection mode
PTY name selection can be done by the
up/down TUNE button
or
in the
PTY selection mode.
After selecting a PTY name, push the TUNE
button
or
within 10 seconds. Tun-
ing to the PTY station will start. If you do not
push the TUNE button within the 10 second
period, the PTY mode will be canceled.
It is possible to shift the PTY name by one
step, with one push of the up/down tuning
button
or
.
PTY name selection can also be achieved by
pressing the preset buttons.
4-22
Heater, air conditioner and audio systems
Z
01.9.21/R50-D/V5
X
Page 143 of 288

CD CARE AND CLEANINGIHandle a CD by its edges. Never touch the
surface of the disc. Do not bend the disc.
IAlways place the discs in the storage case
when they are not being used.
ITo clean a disc, wipe the surface from the
center to the outer edge using a clean, soft
cloth. Do not wipe the disc using a circular
motion.
Do not use a conventional record cleaner or
alcohol intended for industrial use.
IA new disc may be rough on its inner and
outer edges. Remove the rough edges us-
ing the side of a pen or pencil as illustrated.
FM-AM RADIO WITH CASSETTE
PLAYER Ð for navigation system
equipped modelsRefer to the separate Owner's Manual for
information about the navigation system.Audio main operationON×OFF/Volume control:
Turn the ignition key to ACC or ON, then push
the ON×OFF/Volume control dial. The mode
(radio or cassette) which was playing immedi-
ately before the system was turned off re-
sumes playing. When no cassette is loaded,the radio comes on. Pushing the
ON×OFF/Volume control dial again turns the
system off.
Turn the ON×OFF/Volume control dial to adjust
the volume.
SAA0451
SAA0546
4-26
Heater, air conditioner and audio systems
Z
01.9.21/R50-D/V5
X
Page 144 of 288

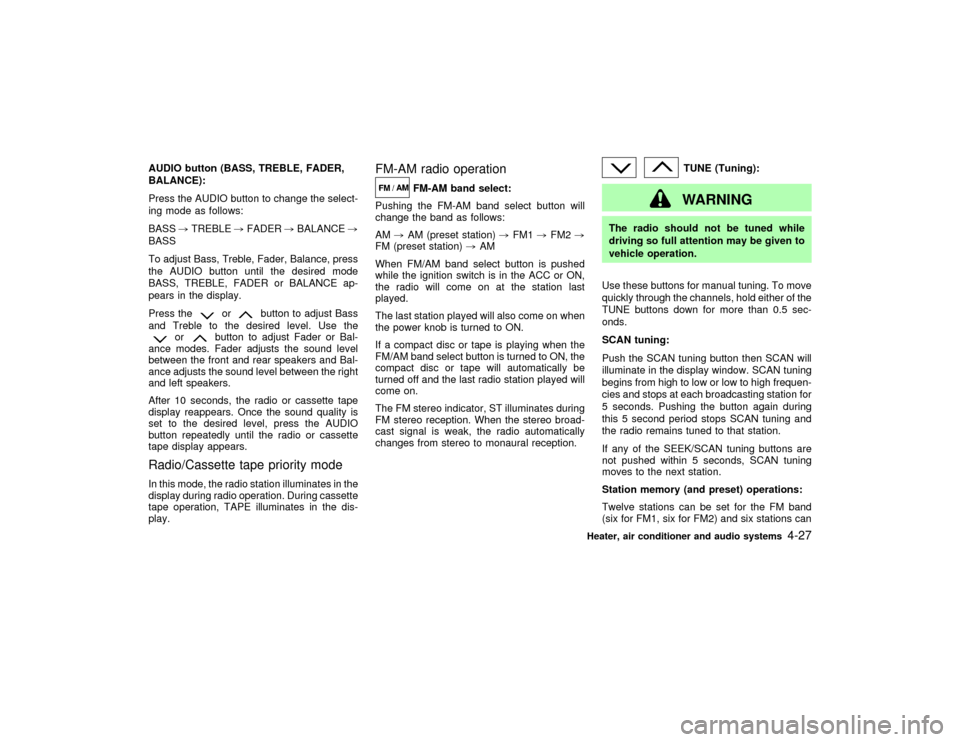
AUDIO button (BASS, TREBLE, FADER,
BALANCE):
Press the AUDIO button to change the select-
ing mode as follows:
BASS,TREBLE,FADER,BALANCE,
BASS
To adjust Bass, Treble, Fader, Balance, press
the AUDIO button until the desired mode
BASS, TREBLE, FADER or BALANCE ap-
pears in the display.
Press the
or
button to adjust Bass
and Treble to the desired level. Use the
or
button to adjust Fader or Bal-
ance modes. Fader adjusts the sound level
between the front and rear speakers and Bal-
ance adjusts the sound level between the right
and left speakers.
After 10 seconds, the radio or cassette tape
display reappears. Once the sound quality is
set to the desired level, press the AUDIO
button repeatedly until the radio or cassette
tape display appears.
Radio/Cassette tape priority modeIn this mode, the radio station illuminates in the
display during radio operation. During cassette
tape operation, TAPE illuminates in the dis-
play.
FM-AM radio operation
FM-AM band select:
Pushing the FM-AM band select button will
change the band as follows:
AM,AM (preset station),FM1,FM2,
FM (preset station),AM
When FM/AM band select button is pushed
while the ignition switch is in the ACC or ON,
the radio will come on at the station last
played.
The last station played will also come on when
the power knob is turned to ON.
If a compact disc or tape is playing when the
FM/AM band select button is turned to ON, the
compact disc or tape will automatically be
turned off and the last radio station played will
come on.
The FM stereo indicator, ST illuminates during
FM stereo reception. When the stereo broad-
cast signal is weak, the radio automatically
changes from stereo to monaural reception.
TUNE (Tuning):WARNING
The radio should not be tuned while
driving so full attention may be given to
vehicle operation.
Use these buttons for manual tuning. To move
quickly through the channels, hold either of the
TUNE buttons down for more than 0.5 sec-
onds.
SCAN tuning:
Push the SCAN tuning button then SCAN will
illuminate in the display window. SCAN tuning
begins from high to low or low to high frequen-
cies and stops at each broadcasting station for
5 seconds. Pushing the button again during
this 5 second period stops SCAN tuning and
the radio remains tuned to that station.
If any of the SEEK/SCAN tuning buttons are
not pushed within 5 seconds, SCAN tuning
moves to the next station.
Station memory (and preset) operations:
Twelve stations can be set for the FM band
(six for FM1, six for FM2) and six stations can
Heater, air conditioner and audio systems
4-27
Z
01.9.21/R50-D/V5
X
Page 282 of 288

FM-AM radio with cassette player and Compact
Disc (CD) player ............................................. 4-14
Fog light switch ............................................... 2-23
Four wheel drive (4WD) ........................ 5-20, 5-23
4WD shift switch operations ........................... 5-26
Front air bag system (See supplemental restraint
system) ........................................................... 1-16
Front fog light switch ...................................... 2-23
Front manual seat adjustment .......................... 1-2
Front power seat adjustment ............................ 1-4
Fuel
Capacities and recommended fuel/
lubricants ..................................................... 9-2
Filler cap .................................................... 3-12
Filler lid ...................................................... 3-12
Fuel economy ............................................ 5-19
Fuel octane rating ....................................... 9-4
Fuel recommendation.................................. 9-4
Gauge .......................................................... 2-5
Fuses .............................................................. 8-27
Fusible links .................................................... 8-28
G
Gas cap .......................................................... 3-12
Gauge ............................................................... 2-3
Engine coolant temperature gauge ............. 2-4
Fuel gauge .................................................. 2-5
Odometer..................................................... 2-3
Speedometer ............................................... 2-3
Tachometer ................................................. 2-4
General maintenance ....................................... 8-2
Glass hatch and outside mirror defogger
switch .............................................................. 2-19Glass hatch lock ............................................. 3-11
Glass hatch opener ........................................ 3-11
Glasses case .................................................. 2-28
Glove box........................................................ 2-29
Glove box lock ................................................ 2-29
H
Hazard warning flasher switch........................ 2-23
Head restraints ................................................. 1-9
Headlights
Bulb replacement ...................................... 8-31
Headlight switch ........................................ 2-20
Heated seats................................................... 2-24
Heater
Engine coolant heater ............................... 5-35
Heater and air conditioner (automatic) ....... 4-8
Heater and air conditioner controls ............. 4-2
Heater operation.......................................... 4-2
Heater operation, Semiautomatic air
conditioner ........................................................ 4-4
Hood, release ................................................... 3-9
Hook, Luggage hook ...................................... 2-32
Horn ................................................................ 2-24
How to stop alarm, Vehicle security ............... 2-16
I
Ignition switch ................................................... 5-6
Automatic transmission models ......... 5-6, 5-10
Key positions ............................................... 5-8
Manual transmission models ............. 5-7, 5-14
Immobilizer system ......................................... 2-17Indicator lights................................................. 2-13
Inside mirror .................................................... 3-15
Inspection/maintenance (I/M) test................... 9-23
Instrument panel ............................................... 2-2
Interior lights ................................................... 2-38
J
Jump starting .................................................... 6-9
K
Keys .................................................................. 3-2
L
Label, Air conditioner specification label ........ 9-14
Label, Emission control information label ....... 9-14
Label, F.M.V.S.S. certification label................ 9-13
Labels
Air bag warning labels............................... 1-20
Engine serial number ................................ 9-13
Vehicle identification number (VIN)........... 9-12
Light
Air bag warning light ................................. 1-21
Bulb replacement ...................................... 8-30
Fog light switch ......................................... 2-23
Front fog light switch ................................. 2-23
Headlight switch ........................................ 2-20
Headlights Bulb replacement .................... 8-31
Interior lights .............................................. 2-38
Personal lights ........................................... 2-39
Replacement ............................................. 8-30
Z
01.9.21/R50-D/V5
X
10-3