key NISSAN PATHFINDER 2006 R51 / 3.G Repair Manual
[x] Cancel search | Manufacturer: NISSAN, Model Year: 2006, Model line: PATHFINDER, Model: NISSAN PATHFINDER 2006 R51 / 3.GPages: 344, PDF Size: 5.63 MB
Page 204 of 344

programs. The DVD will advance the number of
times the button is pushed. When
the
(PREVIOUS CHAPTER) button is
pushed, the program being played returns to its
beginning. Push several times to skip back
through programs. The DVD will go back the
number of times the button is pushed.
orPAUSE:
When the PLAY/PAUSE button on the player or
the PAUSE button on the remote control is
pushed, the player will pause playing of the me-
dia. In pause mode, the player will show
on
the upper left corner of the display until the player
is changed to another mode.
STOP:
Push the STOP button once to stop playing the
media. The display will show
in the upper
left corner of the display for 4 seconds, and the
last disc position will be stored. When the PLAY
button is pushed again, it will resume at the
stored disc track and time position.
If the STOP button is pushed again when the
player is already in Stop mode, it will reinitialize
the pointer to the beginning of the disc. In effect it
will ignore the last stored disc position and upon
receipt of the next play message it will begin at
the Title Menu, or at “the beginning of the disc”.
EJECT:
When the EJECT button is pushed with the DVD
loaded, it will be ejected.
The display will show the EJECT symbol
in
the upper left corner of the display for 4 seconds
once the EJECT button is pushed.
If the DVD is not loaded, the display will show
“NO DISC”.
If the DVD comes out and is not removed within
25 seconds, it will be pulled back into the slot to
protect it.
DISPLAY:
If the DISPLAY control is pushed for less than 2
seconds, the display menu will appear on the
screen.
cThe display menu will remain on the screen
for 10 seconds if no subsequent control
activations occur.
cUse NAVIGATION KEYS to navigate within
the display menu, and use ENTER to select
the item.
cHolding the DISPLAY control on the face-
plate for longer than approximately 2 sec-
onds while in the display menu will reset the
display characteristics to their nominal val-
ues. (Faceplate feature only)If the DISPLAY control button on the faceplate is
pushed for more than 2 seconds, the media
track/time information will be displayed along the
bottom of the display. Pushing the DISPLAY con-
trol for more than 2 seconds will remove the
media track/time information from the display.
(Faceplate feature only)
NAVIGATION KEYS:
If media is in PLAY mode, activation of the NAVI-
GATION KEYS (Up, Down, Left, and Right) will
perform the following functions: next
chapter/track, previous chapter/track, fast re-
verse and fast forward, and the display will
show
,,andrespec-
tively in the upper left corner of the display for 4
seconds. (Faceplate feature only)
If media is in PAUSE mode, activation of the
NAVIGATION KEYS (Up, Down and Right) will
perform the following functions: next
chapter/track, previous chapter/track and slow
forward, and the display will show
,and a forward arrow symbol respectively in the
upper left corner of the display for 4 seconds.
(Faceplate feature only)
If media is in activated MENU mode, the NAVI-
GATION KEYS will be used to navigate Up,
Down, Left, and Right within the menu.
4-52Display screen, heater, air conditioner and audio systems
ZREVIEW COPYÐ2006 Pathfinder(pat)
Owners ManualÐUSA_English(nna)
07/29/05Ðcathy
X
Page 205 of 344

If display control menu is on, the NAVIGATION
KEYS will be used to navigate Up, Down, Left,
and Right within the menu.
ENTER:
In MENU mode, push the ENTER button to select
MENU items.
In the display menu, push the ENTER button to
select items for modification, as per the on-
screen instructions.
MENU:
If the media is in PLAY mode and the MENU
button is pressed, the DVD menu will appear on
the screen. Use Navigation Keys to navigate
within the menu, and use ENTER to select the
item.
Push the MENU button again to return to PLAY
mode.
TITLE (Remote control only):
Push TITLE button to return the DVD media to the
“title” of the DVD.
Push TITLE button again to return to the previous
stop point and play.
BACK (Remote control only):
Push the BACK button to exit the current active
menu and return to the previous menu.SUBTITLE (Remote control only):
Push the SUBTITLE button to call up subtitle
selection menu.
Repeatedly press the SUBTITLE button to cycle
through each available subtitle.
AUDIO (Remote control only):
Push the AUDIO button to call up audio menu.
Repeatedly press the AUDIO button to cycle
through each available audio track.
ANGLE (Remote control only):
Push the ANGLE button to call up camera angle
menu.
Repeatedly press the ANGLE button to cycle
through each available angle.
CLEAR (Remote control only):
Push the CLEAR button to clear all numeric in-
puts, if actuated prior to expiration of the
3-second timer.
NUMERIC KEYPAD (0–9 &¸10) (Remote
control only):
Push the NUMERIC KEYPAD to directly access
disc chapters, titles or tracks by inputting their
numeric value.The “¸10” button input numbers greater than or
equal to 10, allowing up three digits to be input
for selecting chapter/title/track number.
The subsequent actuation of numeric buttons will
continuously shift the previously input number to
the “left”.
The chapter/title/track number will be automati-
cally selected (if valid, based on media content) if
3 seconds expire without any keypad inputs.
The operator can cancel the input
chapter/title/track number by actuating the
CLEAR control prior to the expiration of the
3-second timer.
These functions can be used only for the DVD
discs which correspond to them.
Auxiliary input jacks
The auxiliary input jacks are located on the control
panel. Compatible devices such as video games
camcorders and portable video players can be
connected to the auxiliary jacks.
The auxiliary jacks are color coded for identifica-
tion purposes.
cYellow - video input
cWhite - left channel audio input
cRed - right channel audio input
Display screen, heater, air conditioner and audio systems4-53
ZREVIEW COPYÐ2006 Pathfinder(pat)
Owners ManualÐUSA_English(nna)
07/29/05Ðcathy
X
Page 211 of 344

5 Starting and driving
Precautions when starting and driving................5-2
Exhaust gas (carbon monoxide)..................5-2
Three-way catalyst..............................5-2
Tire pressure monitoring system (TPMS)..........5-3
On-pavement and off-road driving precau-
tions..........................................5-5
Avoiding collision and rollover....................5-5
Drinking alcohol/drugs and driving................5-5
Driving safety precautions.......................5-6
Ignition switch.....................................5-7
Automatic transmission..........................5-7
Key positions..................................5-8
Nissan vehicle immobilizer system................5-8
Before starting the engine..........................5-9
Starting the engine................................5-9
Driving the vehicle................................5-10
Automatic transmission.........................5-10
Parking brake....................................5-14
Cruise control....................................5-15
Precautions on cruise control...................5-15
Cruise control operations.......................5-15Break-in schedule................................5-16
Increasing fuel economy...........................5-17
Using four wheel drive (4WD).............5-17
Parking/parking on hills............................5-27
Power steering...................................5-28
Brake system....................................5-28
Brake precautions.............................5-28
Anti-lock brake system (ABS)...................5-29
Vehicle dynamic control (VDC) system (if so
equipped).......................................5-30
Hill descent control (HDC) system (if so equipped) . . . 5-32
Hill start assist (HSA) system (if so equipped).......5-32
Cold weather driving..............................5-33
Freeing a frozen door lock......................5-33
Anti-freeze....................................5-33
Battery.......................................5-33
Draining of coolant water.......................5-33
Tire equipment................................5-33
Special winter equipment.......................5-34
Driving on snow or ice.........................5-34
Engine block heater (if so equipped).............5-35
ZREVIEW COPYÐ2006 Pathfinder(pat)
Owners ManualÐUSA_English(nna)
07/29/05Ðcathy
X
Page 217 of 344
cLower your speed when encountering
strong crosswinds. With a higher center
of gravity, your NISSAN is more af-
fected by strong side winds. Slower
speeds ensure better vehicle control.
cDo not drive beyond the performance
capablity of the tires, even with 4WD
engaged.
cAccelerating quickly, sharp steering
maneuvers or sudden braking may
cause loss of control.
cIf at all possible, avoid sharp turning
maneuvers, particularly at high speeds.
Your NISSAN four-wheel drive vehicle
has a higher center of gravity than a
two-wheel drive vehicle. The vehicle is
not designed for cornering at the same
speeds as conventional two-wheel
drive vehicles. Failure to operate this
vehicle correctly could result in loss of
control and/or a rollover accident.
cAlways use tires of the same type, size,
brand, construction (bias, bias-belted,
or radial) , and tread pattern on all four
wheels. Install tire chains on the rear
wheels when driving on slippery roads
and drive carefully.cBe sure to check the brakes immedi-
ately after driving in mud or water. See
“Brake system” later in this section for
“Wet brakes”.
cAvoid parking your vehicle on steep
hills. If you get out of the vehicle and it
rolls forward, backward or sideways,
you could be injured.
cWhenever you drive off-road through
sand, mud or water as deep as the
wheel hub, more frequent maintenance
may be required. See “Periodic mainte-
nance” in the “NISSAN Service and
Maintenance Guide.”
AUTOMATIC TRANSMISSION
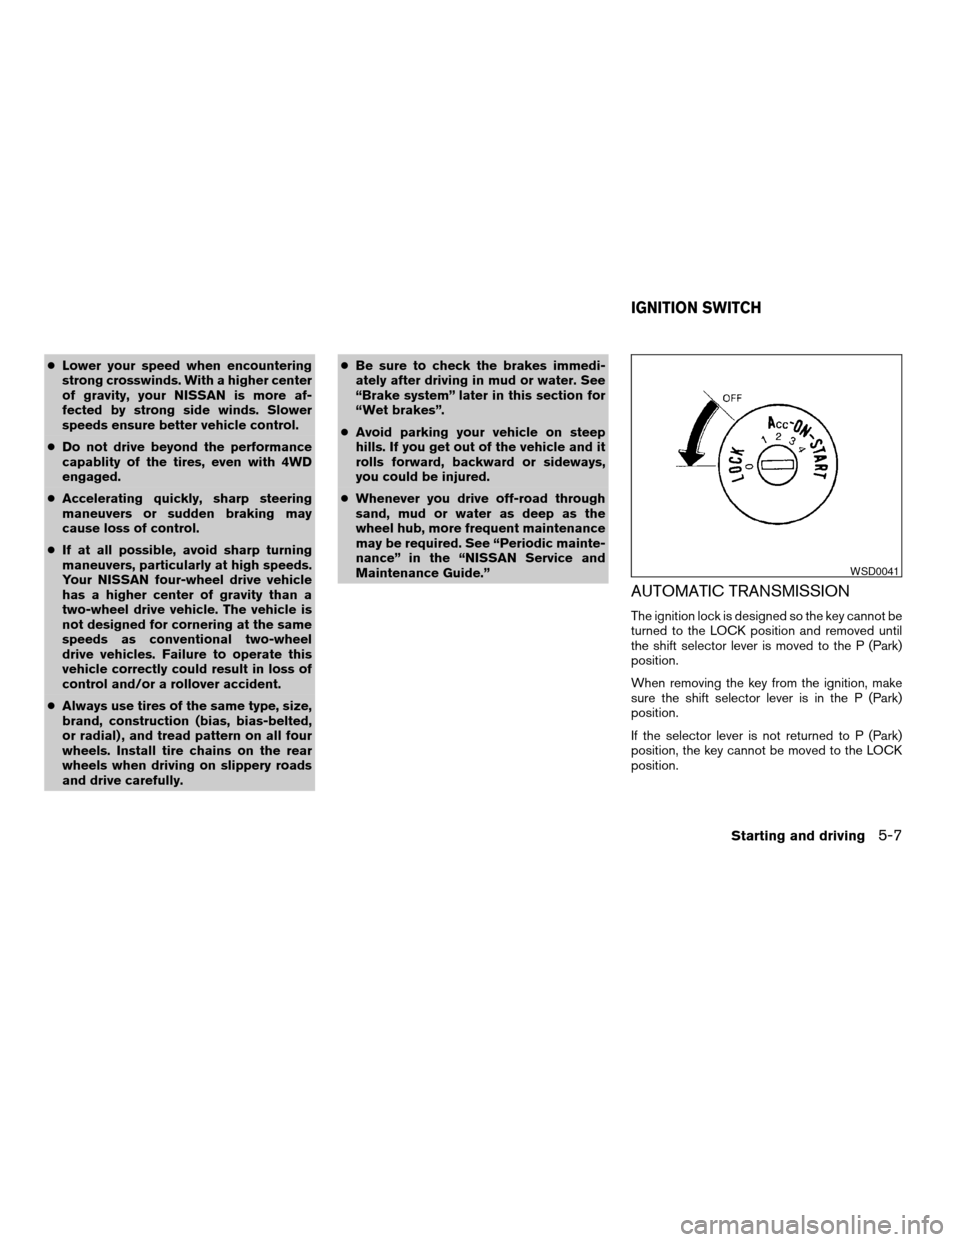
The ignition lock is designed so the key cannot be
turned to the LOCK position and removed until
the shift selector lever is moved to the P (Park)
position.
When removing the key from the ignition, make
sure the shift selector lever is in the P (Park)
position.
If the selector lever is not returned to P (Park)
position, the key cannot be moved to the LOCK
position.
WSD0041
IGNITION SWITCH
Starting and driving5-7
ZREVIEW COPYÐ2006 Pathfinder(pat)
Owners ManualÐUSA_English(nna)
07/29/05Ðcathy
X
Page 218 of 344
To remove the key from the ignition switch:
1. Shift the selector lever to the P (Park) posi-
tion with the key in the ON position.
2. Turn the key to the LOCK position.
3. Remove the key from the ignition.
If the selector lever is shifted to the P (Park)
position after the key is turned to the OFF position
or when the key cannot be turned to the LOCK
position, proceed as follows to remove the key.
1. Move the shift selector lever into the P (Park)
position.
2. Turn the ignition key slightly toward the ON
position.
3. Turn the key to the LOCK position.
4. Remove the key.
The shift selector lever is designed so it cannot
moved out of P (Park) and into any of the other
gear positions if the ignition key is turned to OFF
position or if the key is removed from the switch.
The shift selector lever can be moved if the
ignition switch is in the ON position and the
foot brake pedal is depressed.
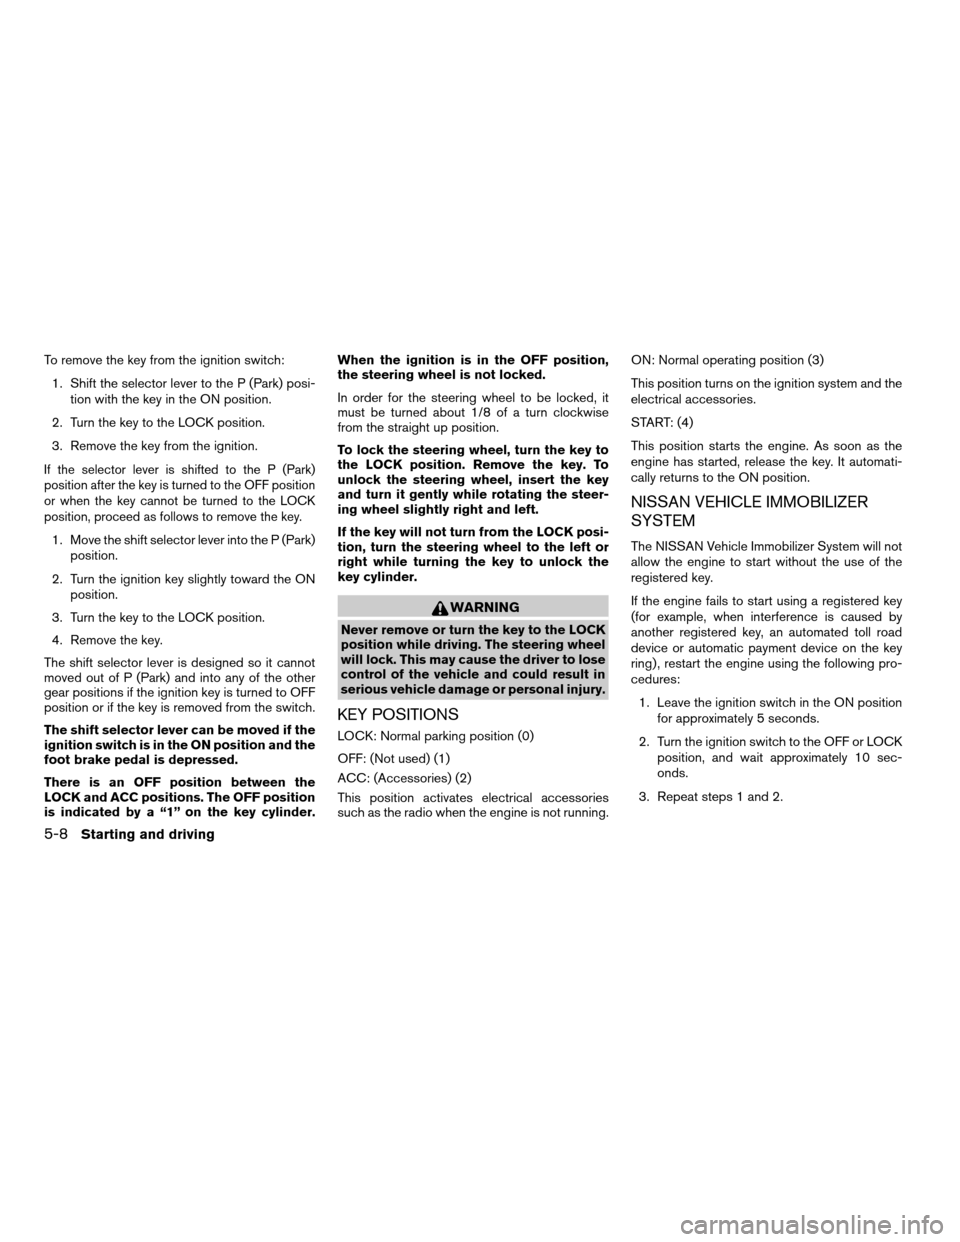
There is an OFF position between the
LOCK and ACC positions. The OFF position
is indicated by a “1” on the key cylinder.When the ignition is in the OFF position,
the steering wheel is not locked.
In order for the steering wheel to be locked, it
must be turned about 1/8 of a turn clockwise
from the straight up position.
To lock the steering wheel, turn the key to
the LOCK position. Remove the key. To
unlock the steering wheel, insert the key
and turn it gently while rotating the steer-
ing wheel slightly right and left.
If the key will not turn from the LOCK posi-
tion, turn the steering wheel to the left or
right while turning the key to unlock the
key cylinder.
WARNING
Never remove or turn the key to the LOCK
position while driving. The steering wheel
will lock. This may cause the driver to lose
control of the vehicle and could result in
serious vehicle damage or personal injury.
KEY POSITIONS
LOCK: Normal parking position (0)
OFF: (Not used) (1)
ACC: (Accessories) (2)
This position activates electrical accessories
such as the radio when the engine is not running.ON: Normal operating position (3)
This position turns on the ignition system and the
electrical accessories.
START: (4)
This position starts the engine. As soon as the
engine has started, release the key. It automati-
cally returns to the ON position.
NISSAN VEHICLE IMMOBILIZER
SYSTEM
The NISSAN Vehicle Immobilizer System will not
allow the engine to start without the use of the
registered key.
If the engine fails to start using a registered key
(for example, when interference is caused by
another registered key, an automated toll road
device or automatic payment device on the key
ring) , restart the engine using the following pro-
cedures:
1. Leave the ignition switch in the ON position
for approximately 5 seconds.
2. Turn the ignition switch to the OFF or LOCK
position, and wait approximately 10 sec-
onds.
3. Repeat steps 1 and 2.
5-8Starting and driving
ZREVIEW COPYÐ2006 Pathfinder(pat)
Owners ManualÐUSA_English(nna)
07/29/05Ðcathy
X
Page 219 of 344

4. Restart the engine while holding the device
(which may have caused the interference)
separate from the registered key.
If the no start condition re-occurs, NISSAN rec-
ommends placing the registered key on a sepa-
rate key ring to avoid interference from other
devices.cMake sure the area around the vehicle is
clear.
cCheck fluid levels such as engine oil, cool-
ant, brake fluid, and window washer fluid as
frequently as possible, or at least whenever
you refuel.
cCheck that all windows and lights are clean.
cVisually inspect tires for their appearance
and condition. Also check tires for proper
inflation.
cLock all doors.
cPosition seat and adjust head restraints.
cAdjust inside and outside mirrors.
cFasten seat belts and ask all passengers to
do likewise.
cCheck the operation of warning lights when
the key is turned to the ON (3) position. See
“Warning/indicator lights and audible re-
minders” in the “Instruments and controls”
section of this manual.1. Apply the parking brake.
2. Move the shift selector lever to P (Park) or N
(Neutral) . P (Park) is recommended.
The shift selector lever cannot be
moved out of P (Park) and into any of
the other gear positions if the ignition
key is turned to the OFF position or if
the key is removed from the ignition
switch.
The starter is designed not to operate if
the shift selector lever is in any of the
driving positions.
3. Crank the enginewith your foot off the
accelerator pedalby turning the ignition
key to START. Release the key when the
engine starts. If the engine starts, but fails to
run, repeat the above procedure.
cIf the engine is very hard to start in ex-
tremely cold weather or when restarting,
depress the accelerator pedal a little (ap-
proximately 1/3 to the floor) and hold it
and then crank the engine. Release the
key and the accelerator pedal when the
engine starts.
BEFORE STARTING THE ENGINE STARTING THE ENGINE
Starting and driving5-9
ZREVIEW COPYÐ2006 Pathfinder(pat)
Owners ManualÐUSA_English(nna)
07/29/05Ðcathy
X
Page 220 of 344
cIf the engine is very hard to start because
it is flooded, depress the accelerator
pedal all the way to the floor and hold it.
Crank the engine for 5-6 seconds. After
cranking the engine, release the accel-
erator pedal. Crank the enginewith your
foot off the accelerator pedalby turn-
ing the ignition key to START. Release the
key when the engine starts. If the engine
starts, but fails to run, repeat the above
procedure.
CAUTION
Do not operate the starter for more than
15 seconds at a time. If the engine does
not start, turn the key off and wait 10
seconds before cranking again, otherwise
the starter could be damaged.
4. Allow the engine to idle for at least 30 sec-
onds after starting. Do not race the engine
while warming it up. Drive at moderate
speed for a short distance first, especially in
cold weather.
In cold weather, keep the engine running for
a minimum of 2–3 minutes before shutting it
off. Starting and stopping the engine over a
short period of time may make the vehicle
more difficult to start.
AUTOMATIC TRANSMISSION
WARNING
cDo not depress the accelerator pedal
while shifting from P (Park) or N (Neu-
tral) to R (Reverse) , D (Drive) , 3, 2 or 1.
Always depress the brake pedal until
shifting is completed. Failure to do so
could cause you to lose control and
have an accident.
cCold engine idle speed is high, so use
caution when shifting into a forward or
reverse gear before the engine has
warmed up.
cNever shift to P (Park) or R (Reverse)
while the vehicle is moving. This could
cause an accident.
CAUTION
cWhen stopping the vehicle on an uphill
grade, do not hold the vehicle by de-
pressing the accelerator pedal. The foot
brake should be used for this purpose.
cDo not downshift abruptly on slippery
roads. This may cause a loss of control.
The automatic transmission in your vehicle is
electronically controlled to produce maximum
power and smooth operation.The recommended operating procedures for this
transmission are shown on the following pages.
Follow these procedures for maximum vehicle
performance and driving enjoyment.
Starting the vehicle
1. After starting the engine, fully depress the
foot brake pedal before attempting to move
the shift selector lever out of the P (Park)
position.
2. Keep the foot brake pedal depressed and
move the shift selector lever into a driving
gear.
3. Release the foot brake, then gradually start
the vehicle in motion.
The automatic transmission is designed so
the foot brake pedal MUST be depressed
before shifting from P (Park) to any drive
position while the ignition switch is in the
ON position.
The shift selector lever cannot be moved
out of P (Park) and into any of the other
gear positions if the ignition key is turned
to the LOCK, OFF or ACC position or if the
key is removed.
DRIVING THE VEHICLE
5-10Starting and driving
ZREVIEW COPYÐ2006 Pathfinder(pat)
Owners ManualÐUSA_English(nna)
07/29/05Ðcathy
X
Page 221 of 344
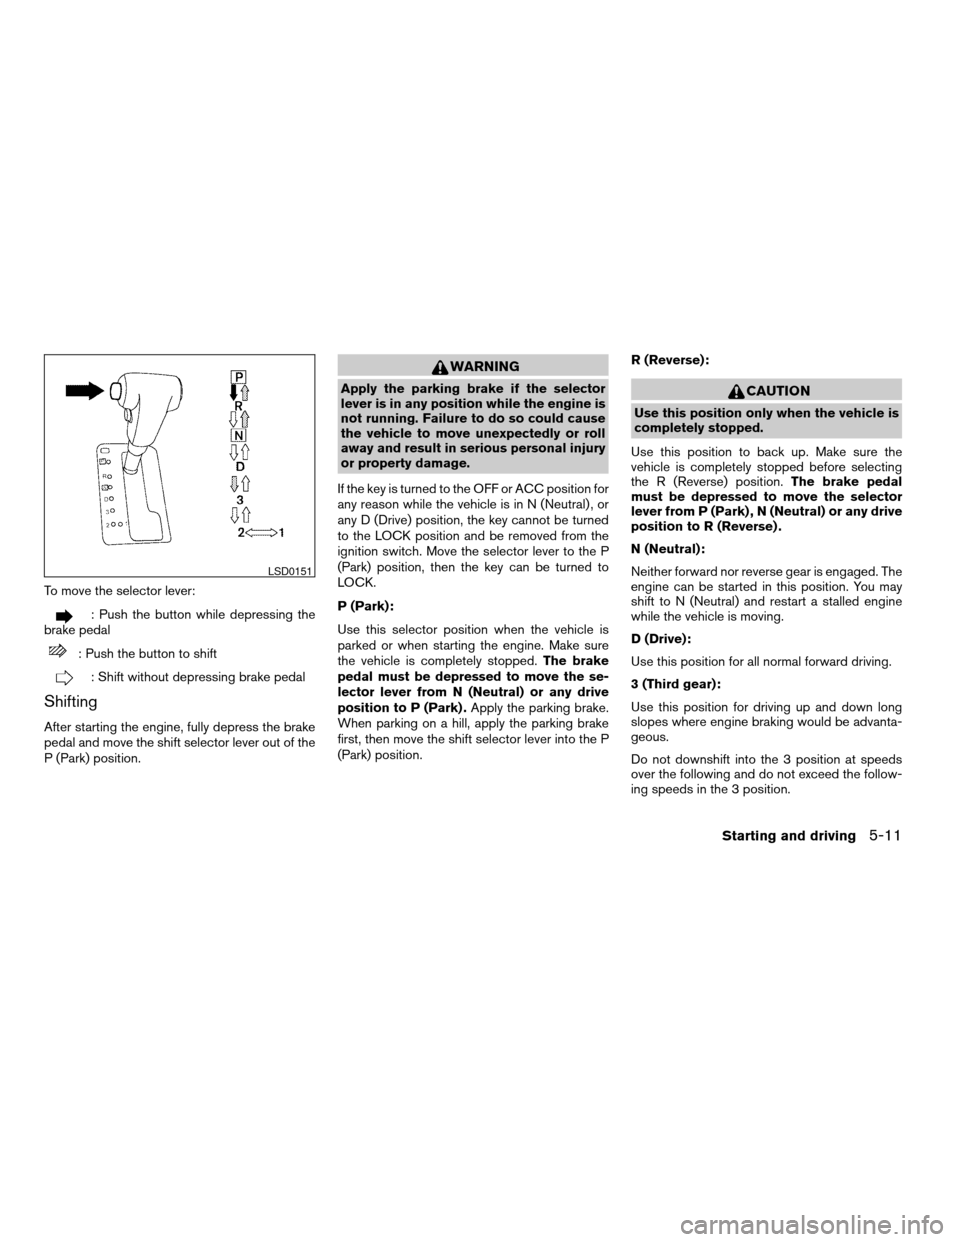
To move the selector lever:
: Push the button while depressing the
brake pedal
: Push the button to shift
: Shift without depressing brake pedal
Shifting
After starting the engine, fully depress the brake
pedal and move the shift selector lever out of the
P (Park) position.
WARNING
Apply the parking brake if the selector
lever is in any position while the engine is
not running. Failure to do so could cause
the vehicle to move unexpectedly or roll
away and result in serious personal injury
or property damage.
If the key is turned to the OFF or ACC position for
any reason while the vehicle is in N (Neutral) , or
any D (Drive) position, the key cannot be turned
to the LOCK position and be removed from the
ignition switch. Move the selector lever to the P
(Park) position, then the key can be turned to
LOCK.
P (Park):
Use this selector position when the vehicle is
parked or when starting the engine. Make sure
the vehicle is completely stopped.The brake
pedal must be depressed to move the se-
lector lever from N (Neutral) or any drive
position to P (Park) .Apply the parking brake.
When parking on a hill, apply the parking brake
first, then move the shift selector lever into the P
(Park) position.R (Reverse):CAUTION
Use this position only when the vehicle is
completely stopped.
Use this position to back up. Make sure the
vehicle is completely stopped before selecting
the R (Reverse) position.The brake pedal
must be depressed to move the selector
lever from P (Park) , N (Neutral) or any drive
position to R (Reverse) .
N (Neutral):
Neither forward nor reverse gear is engaged. The
engine can be started in this position. You may
shift to N (Neutral) and restart a stalled engine
while the vehicle is moving.
D (Drive):
Use this position for all normal forward driving.
3 (Third gear):
Use this position for driving up and down long
slopes where engine braking would be advanta-
geous.
Do not downshift into the 3 position at speeds
over the following and do not exceed the follow-
ing speeds in the 3 position.
LSD0151
Starting and driving5-11
ZREVIEW COPYÐ2006 Pathfinder(pat)
Owners ManualÐUSA_English(nna)
07/29/05Ðcathy
X
Page 223 of 344
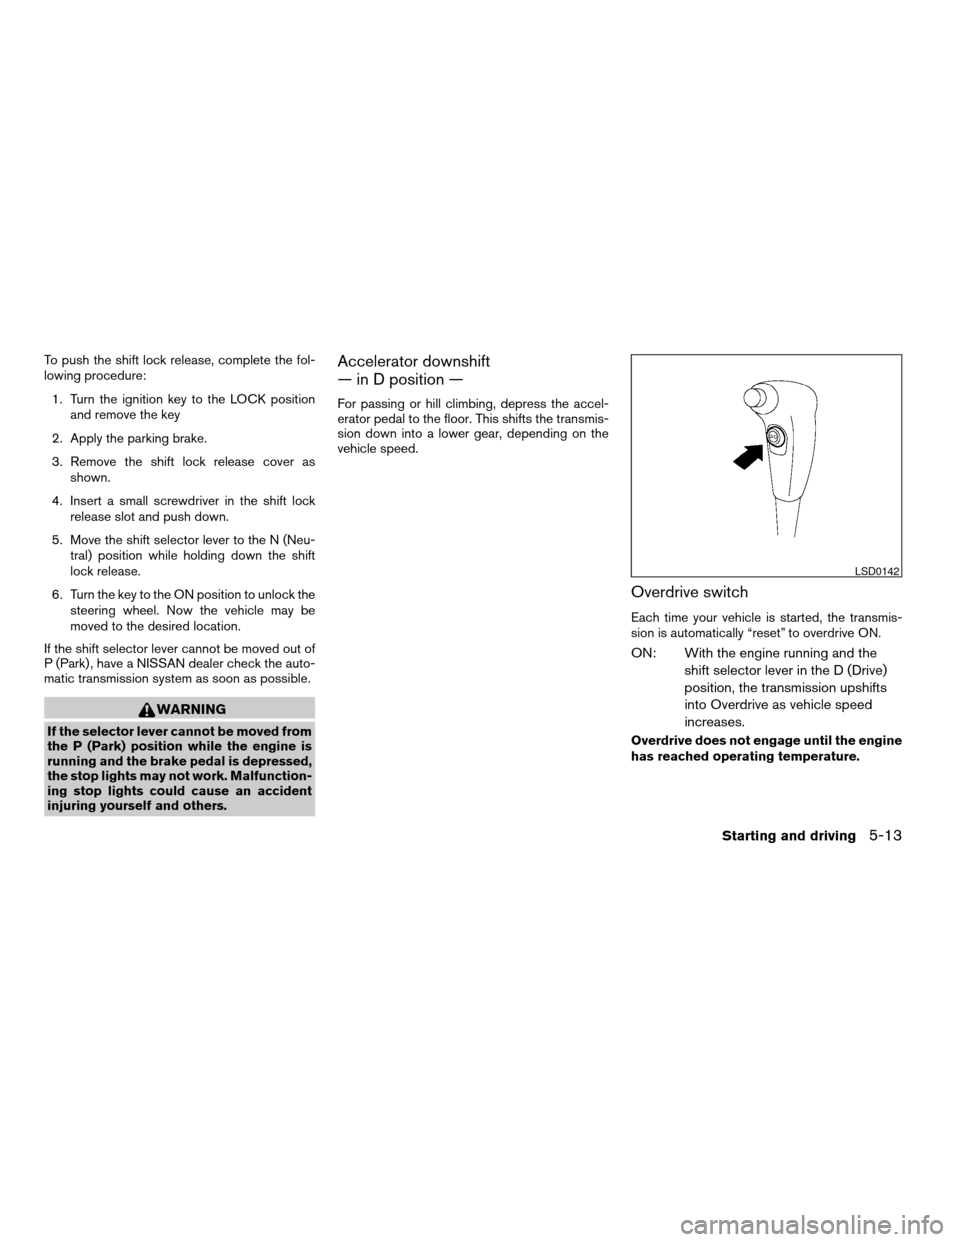
To push the shift lock release, complete the fol-
lowing procedure:
1. Turn the ignition key to the LOCK position
and remove the key
2. Apply the parking brake.
3. Remove the shift lock release cover as
shown.
4. Insert a small screwdriver in the shift lock
release slot and push down.
5. Move the shift selector lever to the N (Neu-
tral) position while holding down the shift
lock release.
6. Turn the key to the ON position to unlock the
steering wheel. Now the vehicle may be
moved to the desired location.
If the shift selector lever cannot be moved out of
P (Park) , have a NISSAN dealer check the auto-
matic transmission system as soon as possible.
WARNING
If the selector lever cannot be moved from
the P (Park) position while the engine is
running and the brake pedal is depressed,
the stop lights may not work. Malfunction-
ing stop lights could cause an accident
injuring yourself and others.
Accelerator downshift
— in D position —
For passing or hill climbing, depress the accel-
erator pedal to the floor. This shifts the transmis-
sion down into a lower gear, depending on the
vehicle speed.
Overdrive switch
Each time your vehicle is started, the transmis-
sion is automatically “reset” to overdrive ON.
ON: With the engine running and the
shift selector lever in the D (Drive)
position, the transmission upshifts
into Overdrive as vehicle speed
increases.
Overdrive does not engage until the engine
has reached operating temperature.
LSD0142
Starting and driving5-13
ZREVIEW COPYÐ2006 Pathfinder(pat)
Owners ManualÐUSA_English(nna)
07/29/05Ðcathy
X
Page 229 of 344

4WD
Shift
Switch
PositionWheels
DrivenIndicator Light
Use Conditions 4WD Shift Procedure
4WD shift Transfer
4LO posi-
tion
AUTORear
wheels or
4 wheels
For driving on paved or slippery roadsMove the 4WD switch.
2WD <—> AUTO <—> 4H
4WD shift indicator light will indicate transfer shift position en-
gaged.
IT IS NOT NECESSARY TO MOVE THE TRANSMISSION SE-
LECTOR TO THE (N) POSITION IN THIS OPERATION. PER-
FORM THIS OPERATION WHEN DRIVING STRAIGHT.
2WDRear
wheels
For driving on dry, paved roads (Economy drive) or
state dynamometer I/M testing
4H4 wheels
For driving on rocky, sandy or snow-covered roads
Neutral
*1
May blinkNeutral disengages the automatic transmission me-
chanical parking lock, which will allow the vehicle to
roll. Do not leave the transfer shift position in Neu-
tral.*21. Stop the vehicle.
2. Shift the transmission selector to the (N) position.
3. Depress and turn the 4WD shift switch to 4LO or 4H with
the brake pedal depressed.
YOU CANNOT MOVE THE TRANSFER 4WD SHIFT SWITCH
BETWEEN 4H AND 4LO (OR 4LO TO 4H) UNLESS YOU
FIRST STOP THE VEHICLE DEPRESS THE BRAKE AND SHIFT
THE TRANSMISSION SELECTOR LEVER TO THE NEUTRAL
(N) POSITION, THEN DEPRESS AND TURN THE 4WD SHIFT
SWITCH TO 4LO OR 4H. *3
4LO
4 wheelsIllumi-
natedFor use when maximum power and traction is re-
quired (for example: on steep grades or rocky,
sandy, muddy roads)
*1: The transfer 4LO position indicator light may blink. Stop the vehicle. Be sure to shift the 4WD shift switch after the transmission selector has been shifted to the N position. If the indicator light keeps blinking after the
4WD shift procedure in the previous page, drive slowly without abrupt maneuvers for a while. Then the light will turn on or off.
• Avoid making a turn or abrupt starts while shifting to 4LO. Otherwise gears may grind, damaging the drive system.
*2: While changing in and out of 4LO, the ignition key must be ON and the vehicle’s engine must be running for a shift to take place and for the indicator lights (4WD shift and 4LO position indicator) to be operable.
Otherwise, the shift will not take place and no indicator lights will be on or flashing.
*3: Make sure the transfer 4LO position indicator light turns on when you shift the 4WD shift switch to 4LO. The
indicator light (if so equipped) will also turn on when 4LO is selected. See “Vehicle dynamic control
system” later in this section.
Starting and driving5-19
ZREVIEW COPYÐ2006 Pathfinder(pat)
Owners ManualÐUSA_English(nna)
08/01/05Ðcathy
X