NISSAN QUEST 1999 V41 / 2.G Owners Manual
Manufacturer: NISSAN, Model Year: 1999, Model line: QUEST, Model: NISSAN QUEST 1999 V41 / 2.GPages: 286, PDF Size: 2.46 MB
Page 121 of 286

CHILD SAFETY SLIDING DOOR
LOCK
Child safety locking helps prevent doors
from being opened accidentally, especially
when small children are in the vehicle.When the lever is in the LOCK position,
the sliding doors can be opened only
from the outside.
APD1056
3-6Pre-driving checks and adjustments
ZX
Page 122 of 286

POWER DOOR LOCK
(if so equipped)
Operating the lock-unlock switch locks or
unlocks all doors.
If the power door lock switch is pressed
when a sliding door is open, the sliding door
automatically locks when it is closed.
APD1074APD1075
Pre-driving checks and adjustments3-7
ZX
Page 123 of 286

To lock all doors from inside the vehicle,
push the door lock knob in, then close the
door. When locking the doors this way, be
certain not to leave the key inside the ve-
hicle. All doors automatically unlock if the
key is in the ignition and a door is open.Selective unlock
Turning the door key one time to the rear of
the vehicle unlocks the corresponding door.
From that position, returning the key to
Neutral (where the key can only be removed
and inserted) and turning it to the rear again
within 5 seconds unlocks all doors. Turning
the door key to the front of the vehicle locks
all doors. The selective unlock function and
locking all doors can be operated from the
driver, passenger and rear door.
APD1054APD1057
3-8Pre-driving checks and adjustments
ZX
Page 124 of 286

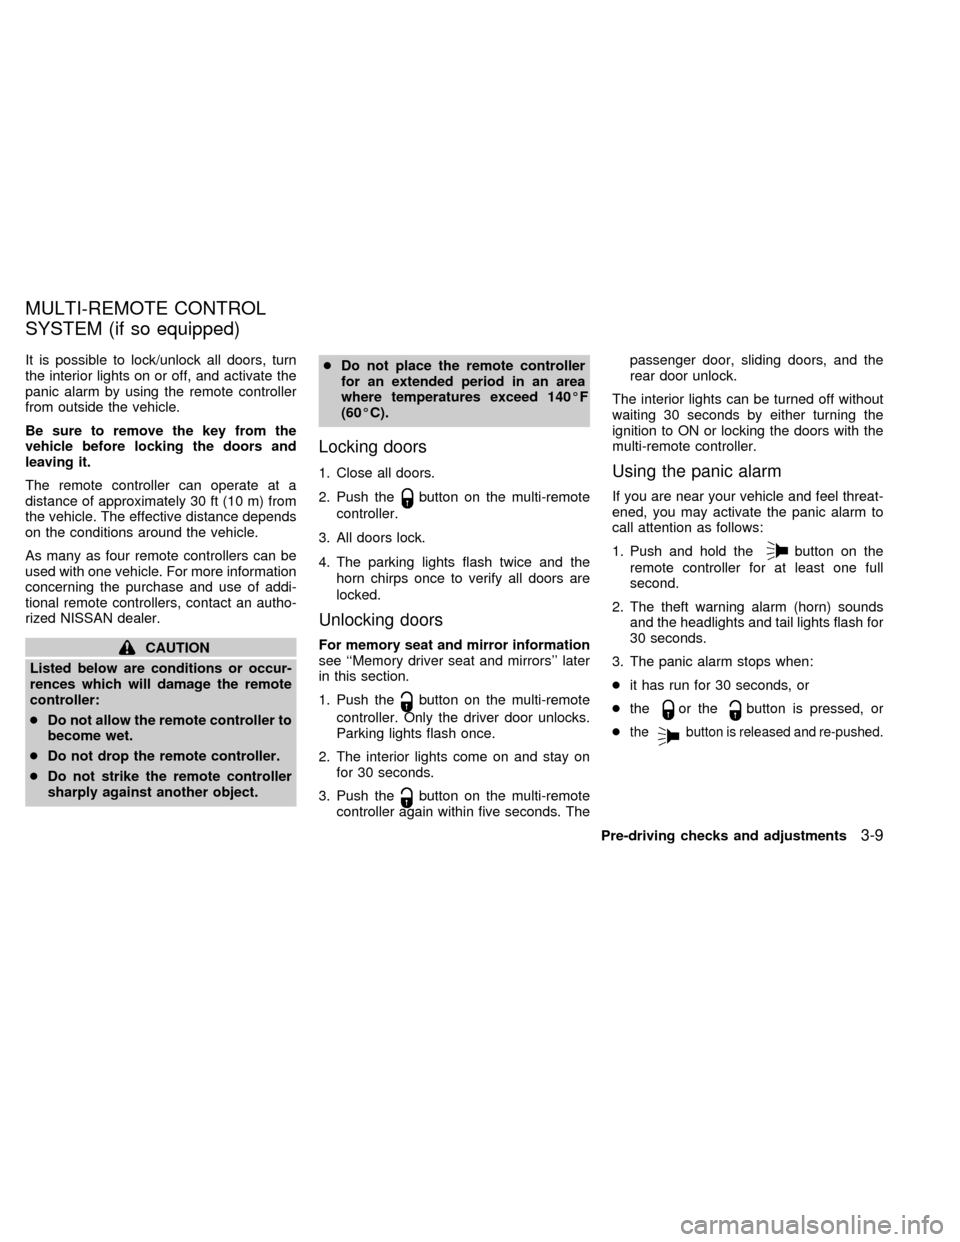
It is possible to lock/unlock all doors, turn
the interior lights on or off, and activate the
panic alarm by using the remote controller
from outside the vehicle.
Be sure to remove the key from the
vehicle before locking the doors and
leaving it.
The remote controller can operate at a
distance of approximately 30 ft (10 m) from
the vehicle. The effective distance depends
on the conditions around the vehicle.
As many as four remote controllers can be
used with one vehicle. For more information
concerning the purchase and use of addi-
tional remote controllers, contact an autho-
rized NISSAN dealer.
CAUTION
Listed below are conditions or occur-
rences which will damage the remote
controller:
cDo not allow the remote controller to
become wet.
cDo not drop the remote controller.
cDo not strike the remote controller
sharply against another object.cDo not place the remote controller
for an extended period in an area
where temperatures exceed 140ÉF
(60ÉC).
Locking doors
1. Close all doors.
2. Push the
button on the multi-remote
controller.
3. All doors lock.
4. The parking lights flash twice and the
horn chirps once to verify all doors are
locked.
Unlocking doors
For memory seat and mirror information
see ``Memory driver seat and mirrors'' later
in this section.
1. Push the
button on the multi-remote
controller. Only the driver door unlocks.
Parking lights flash once.
2. The interior lights come on and stay on
for 30 seconds.
3. Push the
button on the multi-remote
controller again within five seconds. Thepassenger door, sliding doors, and the
rear door unlock.
The interior lights can be turned off without
waiting 30 seconds by either turning the
ignition to ON or locking the doors with the
multi-remote controller.
Using the panic alarm
If you are near your vehicle and feel threat-
ened, you may activate the panic alarm to
call attention as follows:
1. Push and hold the
button on the
remote controller for at least one full
second.
2. The theft warning alarm (horn) sounds
and the headlights and tail lights flash for
30 seconds.
3. The panic alarm stops when:
cit has run for 30 seconds, or
cthe
or thebutton is pressed, or
c
thebutton is released and re-pushed.
MULTI-REMOTE CONTROL
SYSTEM (if so equipped)
Pre-driving checks and adjustments3-9
ZX
Page 125 of 286

Silencing the horn beep feature
If desired, the horn beep feature can be
deactivated using the multi-remote control-
ler. The instructions are on the back of the
multi-remote controller.
To deactivate:Press and hold the
andbuttonsfor at least two seconds.
The hazard lights will quickly flash three
times to confirm that the horn beep feature
has been deactivated.
To activate:Press and hold the
andbuttonsfor at least two seconds
once more.The hazard lights will quickly flash three
times to confirm that the horn beep feature
has been reactivated.
Deactivating the horn feature does not si-
lence the horn if the alarm is triggered.
AIC1037
3-10Pre-driving checks and adjustments
ZX
Page 126 of 286

Replace the battery as follows:
1. Open the lid using a coin.
2. Replace the battery with a new one.
Insert the batteries as illustrated above.
Recommended battery: Panasonic
CR2025, 3V or equivalent.
3. Close the lid securely.
4. Press the
button, then thebutton
two or three times to check the multi-
remote controller operation.If the batteries are removed for any rea-
son other than replacement, perform
step 4.
c
An improperly disposed battery can
hurt the environment. Always conform
to local regulations for battery disposal.
cThe multi-remote controller is water-
resistant; however, if it does get wet,
immediately wipe completely dry.
cThe operational range of the multi-
remote controller extends to approxi-
mately 30 ft (10 m) from the vehicle.
This range may vary with conditions.
FCC Notice:
Changes or modifications not expressly
approved by the manufacturer for com-
pliance could void the user's authority to
operate the equipment.
This device complies with part 15 of the
FCC Rules and RSS-210 of Industry
Canada.
Operation is subject to the following two
conditions: (1) This device may not
cause harmful interference, and (2) this
device must accept any interference re-
ceived, including interference that may
cause undesired operation of the device.
APD1087
BATTERY REPLACEMENT
Pre-driving checks and adjustments3-11
ZX
Page 127 of 286

The interior lights, the cargo light, the glove
box light, the stepwell lights near the sliding
doors and on the front doors, and the foot-
well lights near the driver's and front pas-
senger's feet illuminate when the front or
sliding doors are opened. Once the doors
are closed, these lights gradually dim to off
within 30 seconds or turn off immediately
when the key is turned to the ON position.
Battery saver
If the vehicle doors are not fully closed and
the interior lights remain illuminated, they
eventually turn off automatically to prevent
the battery from becoming discharged. If the
interior lights are left in the ON position, with
all doors closed, they will automatically turn
off after approximately 30 minutes. Lights
that illuminate when the front or sliding
doors are opened turn off after approxi-
mately 30 minutes. Lights that illuminate
when the back door is opened turn off after
approximately 60 minutes. Vanity mirror
lights are not part of the battery saver
system.
If the personal reading lights are left on after
the key is removed from the ignition, they
will automatically turn off after approxi-
mately 30 minutes.1. Pull the hood lock release handle
s1
located below the instrument panel; the
hood then springs up slightly.
2. Pull up on the lever
s2at the front of the
hood and raise the hood.3. Insert the support rod
s3into the slot on
the underside of the hood.
4. When closing the hood, reset the support
rod to its original position, lower the hood
to approximately 12 inches above the
latch and release it. This allows proper
engagement of the hood latch.
APD1064
ILLUMINATED ENTRY
SYSTEMHOOD RELEASE
3-12Pre-driving checks and adjustments
ZX
Page 128 of 286

WARNING
cMake sure the hood is completely
closed and latched before driving.
Failure to do so could cause the
hood to fly open and result in an
accident.
cIf you see steam or smoke coming
from the engine compartment, to
avoid injury do not open the hood.
Open the glove box by pulling the handle.
CAUTION
Keep glove box lid closed while driving
to prevent injury in an accident or a
sudden stop.
APD0601
GLOVE BOX
Pre-driving checks and adjustments3-13
ZX
Page 129 of 286

The front seat convenience net keeps small
packages in the front passenger compart-
ment from moving around while the vehicle
is in motion.
To install the convenience net, attach the
four hooks to the four slots in the base of the
front seats.
To remove the convenience net, detach the
four hooks from four slots in the base of the
front seats.When not in use, the convenience net can
be stored in the passenger side underseat
storage tray (if so equipped). See ``Under-
seat storage tray'' in the ``Seats, restraints
and supplemental air bag systems'' section.
APD1086
FRONT SEAT CONVENIENCE
NET
3-14Pre-driving checks and adjustments
ZX
Page 130 of 286

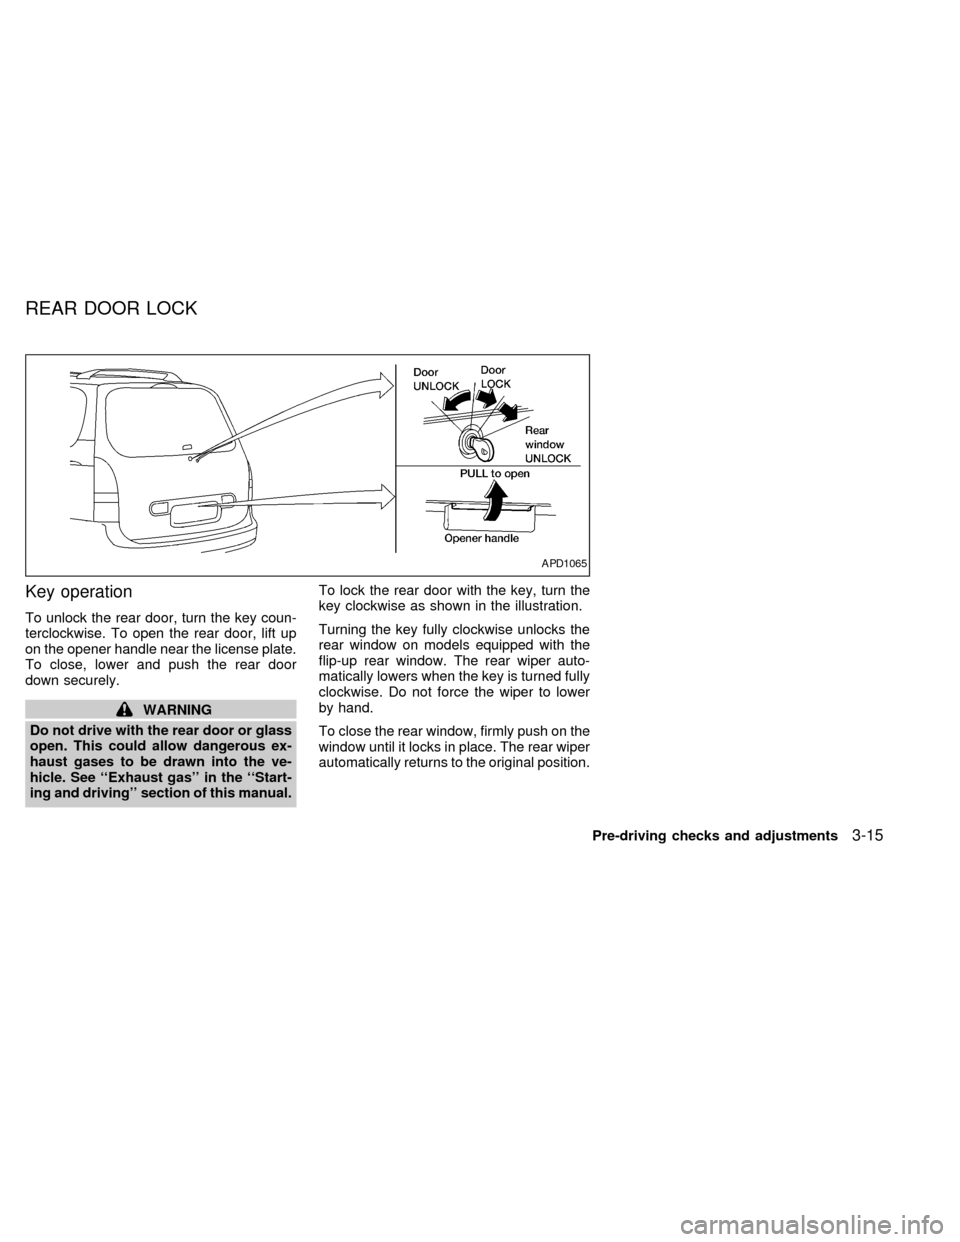
Key operation
To unlock the rear door, turn the key coun-
terclockwise. To open the rear door, lift up
on the opener handle near the license plate.
To close, lower and push the rear door
down securely.
WARNING
Do not drive with the rear door or glass
open. This could allow dangerous ex-
haust gases to be drawn into the ve-
hicle. See ``Exhaust gas'' in the ``Start-
ing and driving'' section of this manual.To lock the rear door with the key, turn the
key clockwise as shown in the illustration.
Turning the key fully clockwise unlocks the
rear window on models equipped with the
flip-up rear window. The rear wiper auto-
matically lowers when the key is turned fully
clockwise. Do not force the wiper to lower
by hand.
To close the rear window, firmly push on the
window until it locks in place. The rear wiper
automatically returns to the original position.
APD1065
REAR DOOR LOCK
Pre-driving checks and adjustments3-15
ZX