check NISSAN QUEST 2001 V41 / 2.G Owner's Manual
[x] Cancel search | Manufacturer: NISSAN, Model Year: 2001, Model line: QUEST, Model: NISSAN QUEST 2001 V41 / 2.GPages: 304, PDF Size: 2.54 MB
Page 75 of 304
The LATCH system anchors are located at
the rear of the seat cushion near the seat-
back. A label is attached to the seatback to
help you locate the LATCH system anchors.
Some child restraints may also require the
use of a top tether strap. See ``Top Tether
Strap Child Restraint'' later in this section
for installation instructions.
When installing a child restraint, carefully
read and follow the instructions in this
manual and those supplied with the child
restraint.
When you install a LATCH system compat-
ible child restraint with lower anchor attach-
ments in the rear seat, follow these steps:WARNING!
Inspect the lower anchors by inserting
your fingers into the lower anchor area
and feeling to make sure there are no
obstructions over the LATCH system
anchors, such as seat belt webbing or
seat cushion material. The child re-
straint will not be secured properly if
the LATCH system anchors are ob-
structed.
1. To install the LATCH system compatible
child restraint, insert the child restraint
LATCH system anchor attachments into
the anchor points on the rear seat. If the
child restraint is equipped with a top
tether, see ``Top Tether Strap Child Re-
straint'' later in this section for installation
instructions.
2. After attaching the child restraint and
before placing the child in it, use force to
tilt the child restraint from side to side and
tug it forward to make sure that the child
restraint is securely held in place.
3. Check to make sure that the child re-
straint is properly secured prior to each
use.A child restraint anchored with a top tether
strap can be installed on the second row
bench seat, a second row bucket seat, or
the three-passenger bench seat in the sec-
ond or third row. The chart indicates where
the tether strap must be attached and the
section of this manual that contains the
instructions for tethering.
CHILD RESTRAINT WITH TOP
TETHER STRAP
1-68Seats, restraints and supplemental air bag systems
ZX
Page 78 of 304

3. Tighten the tether strap to remove any
slack.
4. Before placing the child in the child re-
straint, use force to tilt the child restraint
from side to side, and tug it forward to
make sure it is securely held in place.
5. Check to make sure the child restraint is
properly secured prior to each use. If not
secure, repeat steps two through four.
ARS1193ARS1199ARS1192
Seats, restraints and supplemental air bag systems1-71
ZX
Page 80 of 304
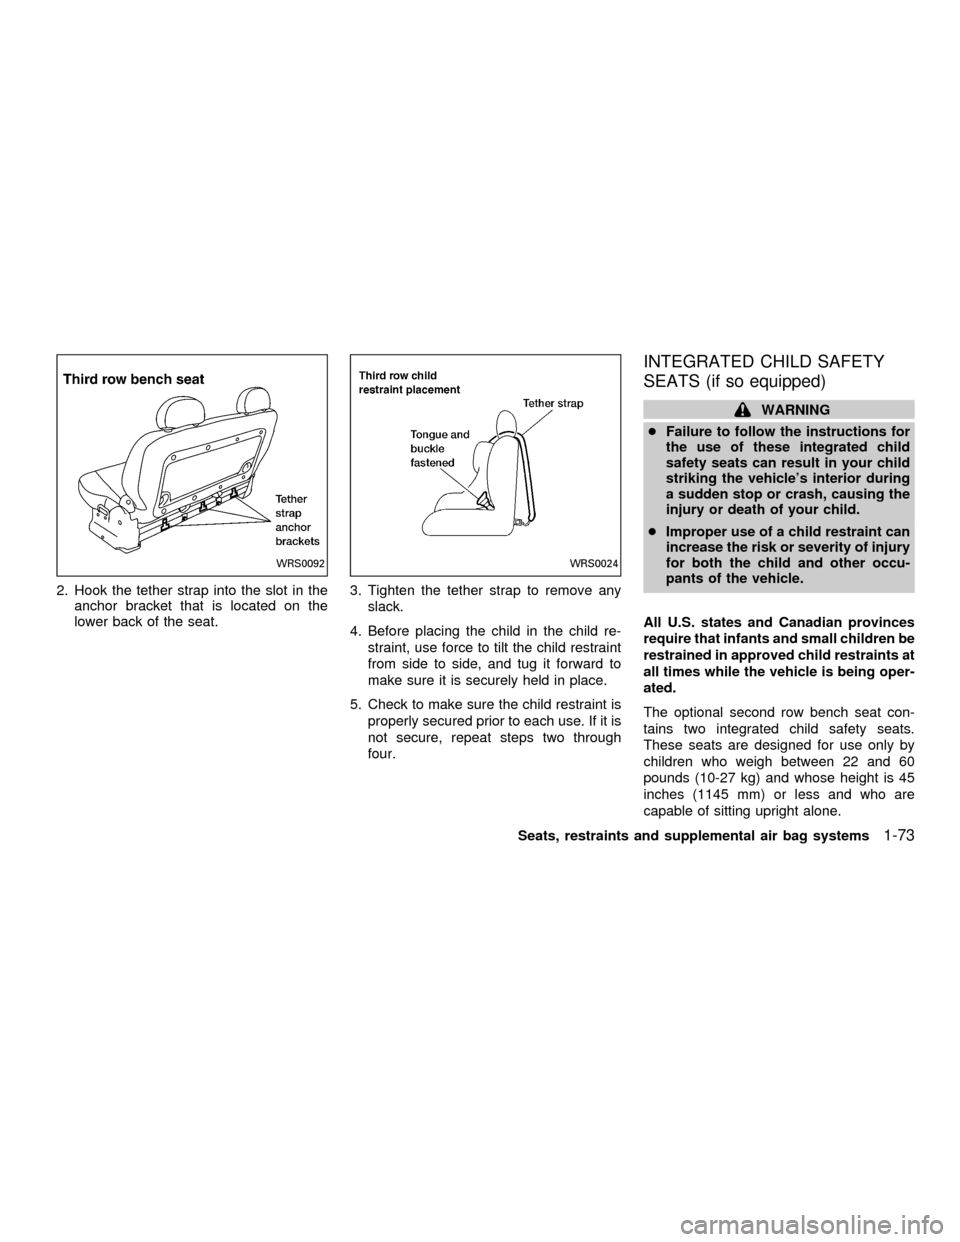
2. Hook the tether strap into the slot in the
anchor bracket that is located on the
lower back of the seat.3. Tighten the tether strap to remove any
slack.
4. Before placing the child in the child re-
straint, use force to tilt the child restraint
from side to side, and tug it forward to
make sure it is securely held in place.
5. Check to make sure the child restraint is
properly secured prior to each use. If it is
not secure, repeat steps two through
four.
INTEGRATED CHILD SAFETY
SEATS (if so equipped)
WARNING
cFailure to follow the instructions for
the use of these integrated child
safety seats can result in your child
striking the vehicle's interior during
a sudden stop or crash, causing the
injury or death of your child.
cImproper use of a child restraint can
increase the risk or severity of injury
for both the child and other occu-
pants of the vehicle.
All U.S. states and Canadian provinces
require that infants and small children be
restrained in approved child restraints at
all times while the vehicle is being oper-
ated.
The optional second row bench seat con-
tains two integrated child safety seats.
These seats are designed for use only by
children who weigh between 22 and 60
pounds (10-27 kg) and whose height is 45
inches (1145 mm) or less and who are
capable of sitting upright alone.
WRS0092WRS0024
Seats, restraints and supplemental air bag systems1-73
ZX
Page 82 of 304
cBefore placing the child in the inte-
grated child safety seat, confirm that
the bench seatback is securely
locked and the seatback release le-
ver is in full down position.
cAlways make sure the integrated
child safety seat belts are properly
positioned on your child. The child
should sit straight up and back
against the bench seat. The shoulder
harnesses should be centered over
the shoulders and fastened with the
chest clip. The belt buckle should be
between the legs and latched to the
shoulder belt tongue. Snugly adjust
the belts around your child. Failure
to properly position the child can
increase the risk or severity of injury
to the child in an accident.
CAUTION
Remember that a child restraint left in a
closed vehicle can become very hot.
Check the seating surface and buckles
before placing your child in the child
restraint.
Securing the child
Before using the integrated child safety
seats, carefully read the shoulder har-
ness, seatback release, and integrated
child safety seat cushion labels.
The following steps apply to both the left
and right integrated child safety seats.
1. Be sure your child meets all of the re-
quired age, weight and height require-
ments for the safe use of the integrated
child safety seat.
2. Be sure the second row bench seat is
securely latched to the floor of the ve-
hicle. Refer to ``Flexible seating'' in this
section for proper seat installation proce-
dures.
3. Be sure the second row bench seatback
is locked by grasping it and trying to rock
it back and forth. Also, check that the
seatback release lever is in the full down
position.
Seats, restraints and supplemental air bag systems
1-75
ZX
Page 85 of 304
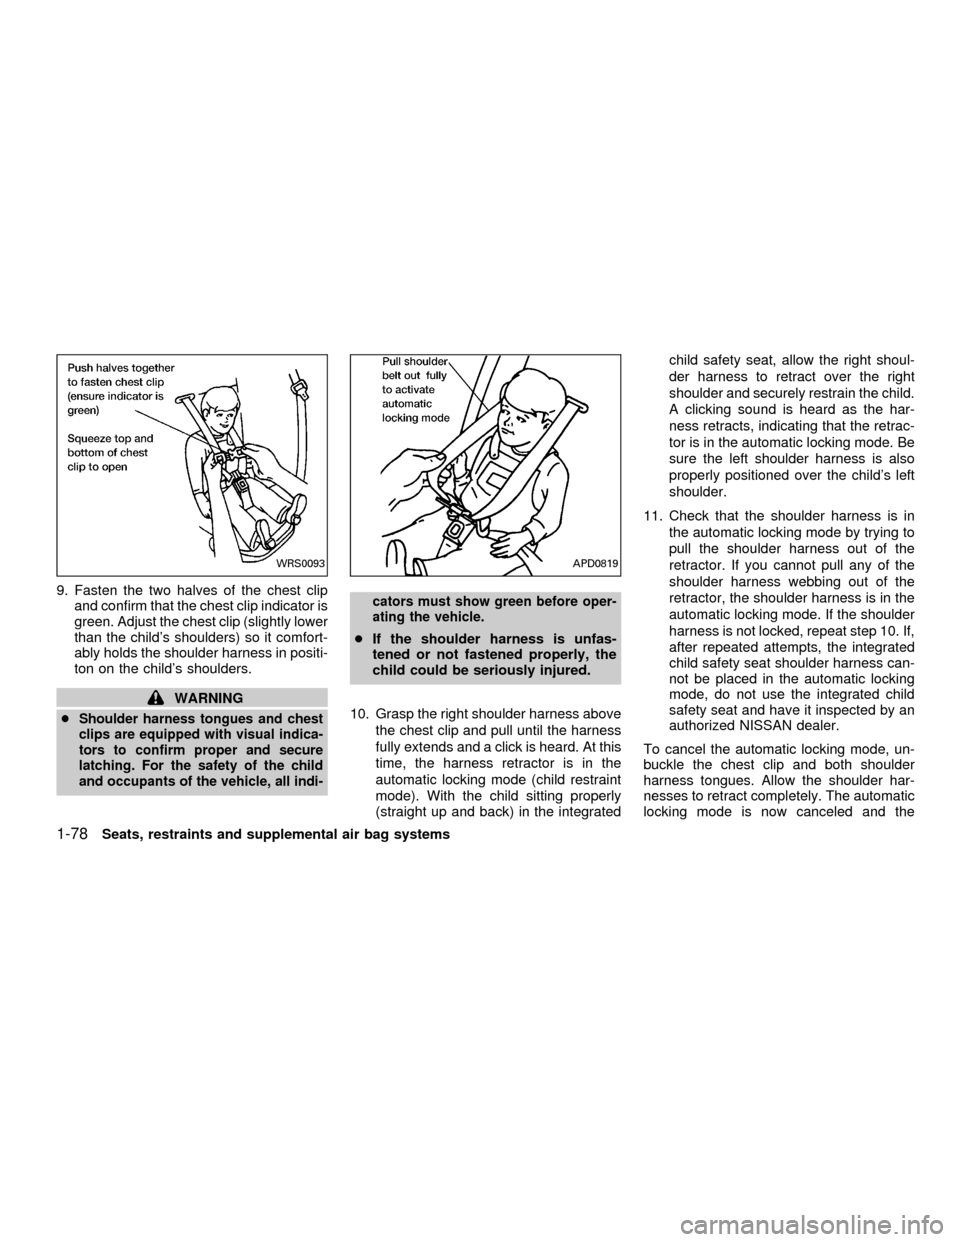
9. Fasten the two halves of the chest clip
and confirm that the chest clip indicator is
green. Adjust the chest clip (slightly lower
than the child's shoulders) so it comfort-
ably holds the shoulder harness in positi-
ton on the child's shoulders.
WARNING
cShoulder harness tongues and chest
clips are equipped with visual indica-
tors to confirm proper and secure
latching. For the safety of the child
and occupants of the vehicle, all indi-cators must show green before oper-
ating the vehicle.
cIf the shoulder harness is unfas-
tened or not fastened properly, the
child could be seriously injured.
10. Grasp the right shoulder harness above
the chest clip and pull until the harness
fully extends and a click is heard. At this
time, the harness retractor is in the
automatic locking mode (child restraint
mode). With the child sitting properly
(straight up and back) in the integratedchild safety seat, allow the right shoul-
der harness to retract over the right
shoulder and securely restrain the child.
A clicking sound is heard as the har-
ness retracts, indicating that the retrac-
tor is in the automatic locking mode. Be
sure the left shoulder harness is also
properly positioned over the child's left
shoulder.
11. Check that the shoulder harness is in
the automatic locking mode by trying to
pull the shoulder harness out of the
retractor. If you cannot pull any of the
shoulder harness webbing out of the
retractor, the shoulder harness is in the
automatic locking mode. If the shoulder
harness is not locked, repeat step 10. If,
after repeated attempts, the integrated
child safety seat shoulder harness can-
not be placed in the automatic locking
mode, do not use the integrated child
safety seat and have it inspected by an
authorized NISSAN dealer.
To cancel the automatic locking mode, un-
buckle the chest clip and both shoulder
harness tongues. Allow the shoulder har-
nesses to retract completely. The automatic
locking mode is now canceled and the
WRS0093APD0819
1-78Seats, restraints and supplemental air bag systems
ZX
Page 87 of 304

cPeriodically inspect the belt and metal
components of the integrated child safety
seats, such as the buckles, tongues,
shoulder harness webbings, and latching
indicators. Periodically check the func-
tion of the integrated child safety seat
shoulder harness retractor functions. If
loose parts, deterioration, cuts, frays,
malfunctions or other damage to the belt
webbings or metal parts are found, see
an authorized NISSAN dealer for repairs.
Inspection after an accident
If your vehicle was involved in an accident,
before using the integrated child safety
seats, all related components should be
inspected for damage by an authorized NIS-
SAN dealer. Damage to the integrated child
safety seat or related components must be
repaired.
1-80Seats, restraints and supplemental air bag systems
ZX
Page 89 of 304

2 Instruments and controls
Meters and gauges ................................................2-3
Speedometer and odometer .............................2-4
Tachometer........................................................2-4
Engine coolant temperature gauge ...................2-5
Fuel gauge ........................................................2-5
Message center (if so equipped) ...........................2-6
Warning/indicator lights and chimes ......................2-7
Checking bulbs ..................................................2-7
Warning lights ....................................................2-7
Indicator lights ...................................................2-9
Audible reminders............................................2-11
Vehicle security system (if so equipped) .............2-11
Windshield wiper and washer switch ...................2-14
Rear window wiper and washer switches ............2-15
Rear window defogger switch ..............................2-15
Headlight and turn signal switch ..........................2-15
Headlight control switch ..................................2-15
Autolamp switch (if so equipped) ....................2-17
Turn signal switch ........................................2-18
Cornering light .................................................2-18
Hazard warning flasher switch .............................2-18
Horn ......................................................................2-19Heated seats (if so equipped) ..............................2-19
Rear power socket ...............................................2-21
Cigarette lighter and ashtray (accessory) ............2-22
Storage .................................................................2-23
Map pockets ....................................................2-23
Conversation mirror .........................................2-23
Cup holders .....................................................2-24
Glove box ........................................................2-25
Cargo net .........................................................2-26
Parcel shelf (if so equipped) ...........................2-27
Luggage rack ...................................................2-29
Windows ...............................................................2-29
Power windows................................................2-29
Power vent windows (if so equipped) .............2-31
Manual vent windows ......................................2-31
Sunroof (if so equipped).......................................2-32
Interior lights .........................................................2-33
Luggage ...........................................................2-33
Personal reading light ..........................................2-33
Map lights .............................................................2-34
Illuminated entry system ......................................2-34
ZX
Page 96 of 304
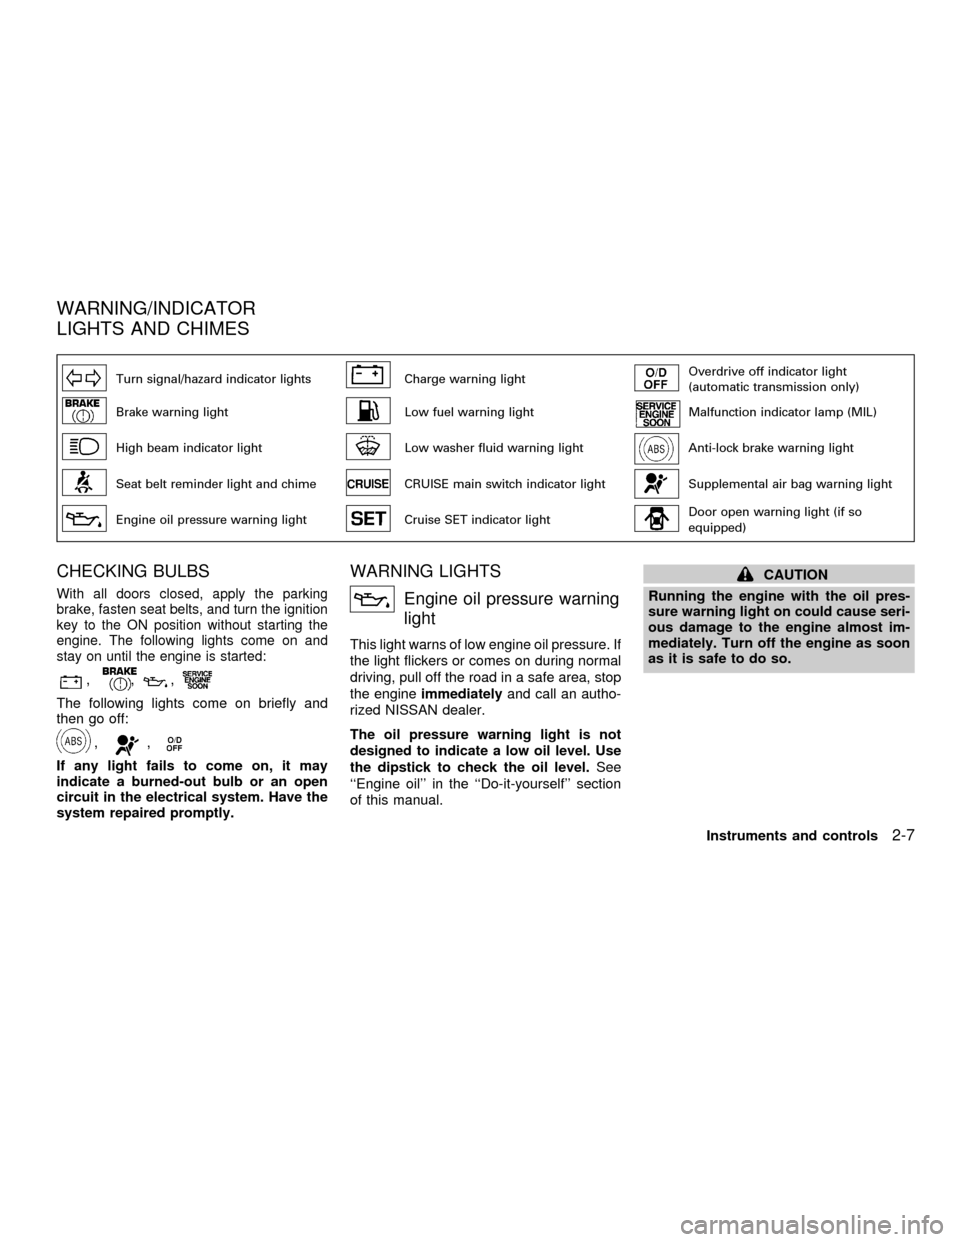
Turn signal/hazard indicator lightsCharge warning lightOverdrive off indicator light
(automatic transmission only)
Brake warning lightLow fuel warning lightMalfunction indicator lamp (MIL)
High beam indicator lightLow washer fluid warning lightAnti-lock brake warning light
Seat belt reminder light and chimeCRUISE main switch indicator lightSupplemental air bag warning light
Engine oil pressure warning lightCruise SET indicator lightDoor open warning light (if so
equipped)
CHECKING BULBS
With all doors closed, apply the parking
brake, fasten seat belts, and turn the ignition
key to the ON position without starting the
engine. The following lights come on and
stay on until the engine is started:
,,,
The following lights come on briefly and
then go off:
,,
If any light fails to come on, it may
indicate a burned-out bulb or an open
circuit in the electrical system. Have the
system repaired promptly.
WARNING LIGHTS
Engine oil pressure warning
light
This light warns of low engine oil pressure. If
the light flickers or comes on during normal
driving, pull off the road in a safe area, stop
the engineimmediatelyand call an autho-
rized NISSAN dealer.
The oil pressure warning light is not
designed to indicate a low oil level. Use
the dipstick to check the oil level.See
``Engine oil'' in the ``Do-it-yourself'' section
of this manual.
CAUTION
Running the engine with the oil pres-
sure warning light on could cause seri-
ous damage to the engine almost im-
mediately. Turn off the engine as soon
as it is safe to do so.
WARNING/INDICATOR
LIGHTS AND CHIMES
Instruments and controls2-7
ZX
Page 97 of 304
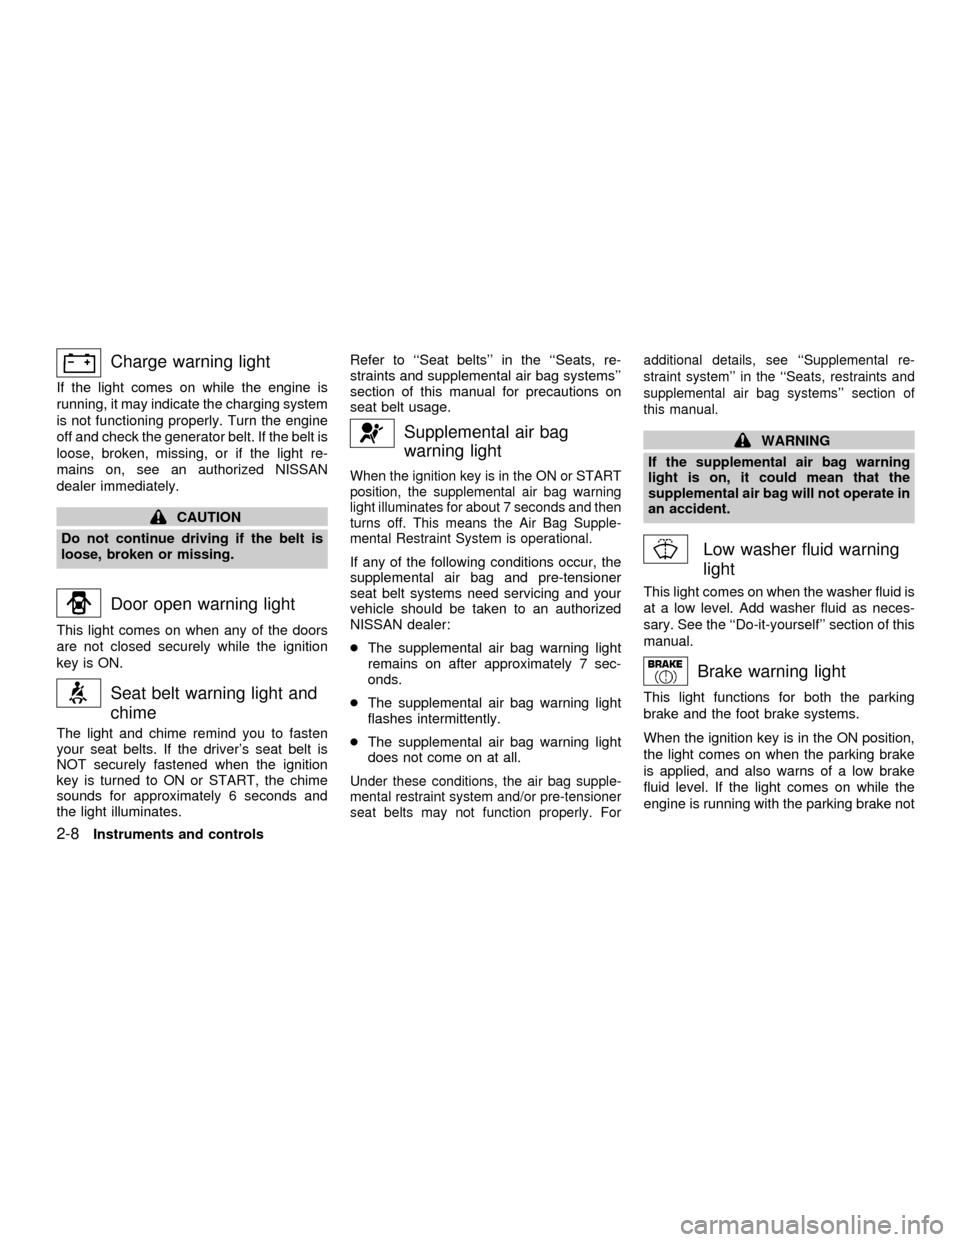
Charge warning light
If the light comes on while the engine is
running, it may indicate the charging system
is not functioning properly. Turn the engine
off and check the generator belt. If the belt is
loose, broken, missing, or if the light re-
mains on, see an authorized NISSAN
dealer immediately.
CAUTION
Do not continue driving if the belt is
loose, broken or missing.
Door open warning light
This light comes on when any of the doors
are not closed securely while the ignition
key is ON.
Seat belt warning light and
chime
The light and chime remind you to fasten
your seat belts. If the driver's seat belt is
NOT securely fastened when the ignition
key is turned to ON or START, the chime
sounds for approximately 6 seconds and
the light illuminates.Refer to ``Seat belts'' in the ``Seats, re-
straints and supplemental air bag systems''
section of this manual for precautions on
seat belt usage.
Supplemental air bag
warning light
When the ignition key is in the ON or START
position, the supplemental air bag warning
light illuminates for about 7 seconds and then
turns off. This means the Air Bag Supple-
mental Restraint System is operational.
If any of the following conditions occur, the
supplemental air bag and pre-tensioner
seat belt systems need servicing and your
vehicle should be taken to an authorized
NISSAN dealer:
cThe supplemental air bag warning light
remains on after approximately 7 sec-
onds.
cThe supplemental air bag warning light
flashes intermittently.
cThe supplemental air bag warning light
does not come on at all.
Under these conditions, the air bag supple-
mental restraint system and/or pre-tensioner
seat belts may not function properly. Foradditional details, see ``Supplemental re-
straint system'' in the ``Seats, restraints and
supplemental air bag systems'' section of
this manual.
WARNING
If the supplemental air bag warning
light is on, it could mean that the
supplemental air bag will not operate in
an accident.
Low washer fluid warning
light
This light comes on when the washer fluid is
at a low level. Add washer fluid as neces-
sary. See the ``Do-it-yourself'' section of this
manual.
Brake warning light
This light functions for both the parking
brake and the foot brake systems.
When the ignition key is in the ON position,
the light comes on when the parking brake
is applied, and also warns of a low brake
fluid level. If the light comes on while the
engine is running with the parking brake not
2-8Instruments and controls
ZX
Page 98 of 304
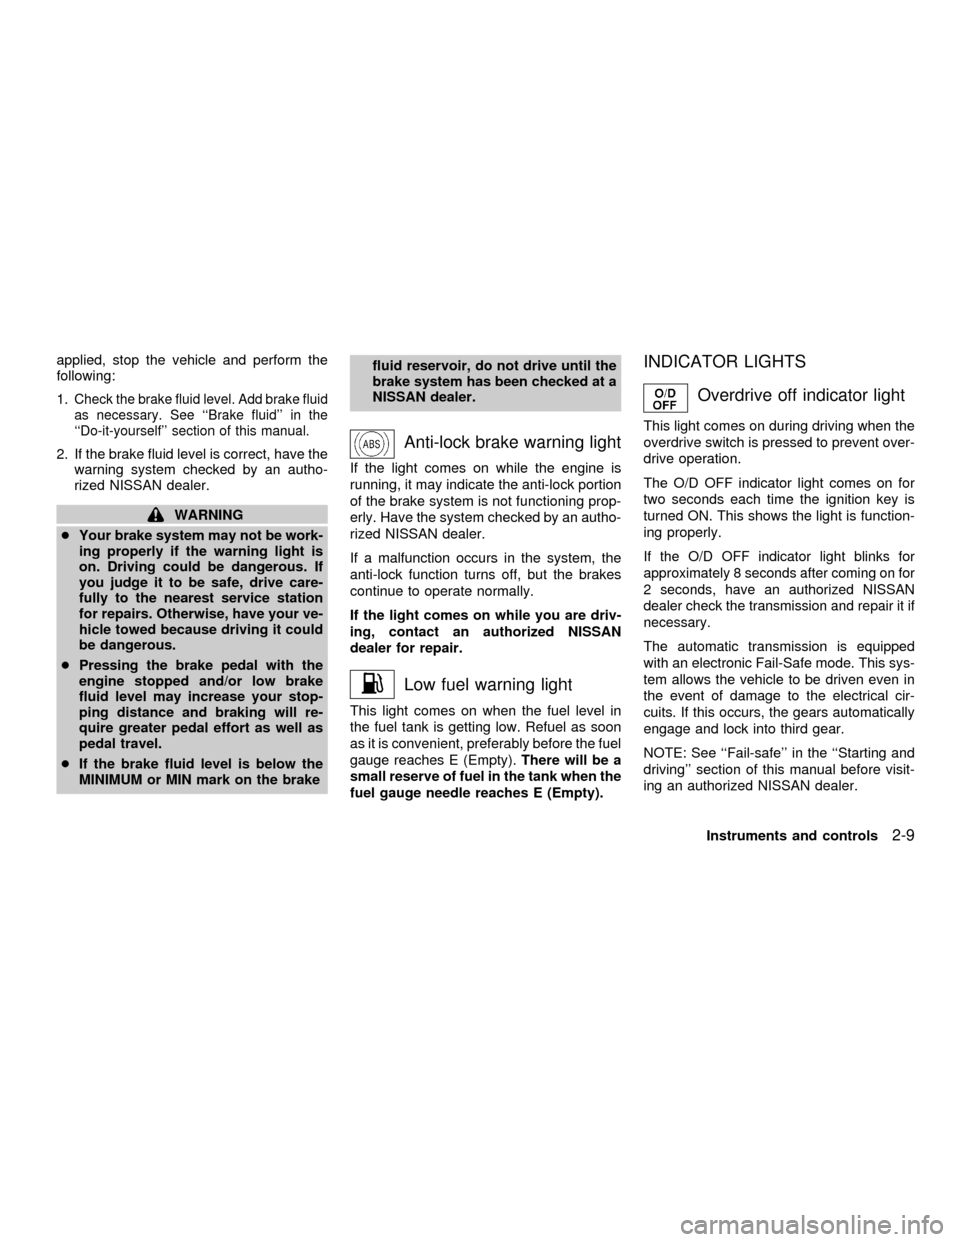
applied, stop the vehicle and perform the
following:
1.
Check the brake fluid level. Add brake fluid
as necessary. See ``Brake fluid'' in the
``Do-it-yourself'' section of this manual.
2. If the brake fluid level is correct, have the
warning system checked by an autho-
rized NISSAN dealer.
WARNING
cYour brake system may not be work-
ing properly if the warning light is
on. Driving could be dangerous. If
you judge it to be safe, drive care-
fully to the nearest service station
for repairs. Otherwise, have your ve-
hicle towed because driving it could
be dangerous.
cPressing the brake pedal with the
engine stopped and/or low brake
fluid level may increase your stop-
ping distance and braking will re-
quire greater pedal effort as well as
pedal travel.
cIf the brake fluid level is below the
MINIMUM or MIN mark on the brakefluid reservoir, do not drive until the
brake system has been checked at a
NISSAN dealer.
Anti-lock brake warning light
If the light comes on while the engine is
running, it may indicate the anti-lock portion
of the brake system is not functioning prop-
erly. Have the system checked by an autho-
rized NISSAN dealer.
If a malfunction occurs in the system, the
anti-lock function turns off, but the brakes
continue to operate normally.
If the light comes on while you are driv-
ing, contact an authorized NISSAN
dealer for repair.
Low fuel warning light
This light comes on when the fuel level in
the fuel tank is getting low. Refuel as soon
as it is convenient, preferably before the fuel
gauge reaches E (Empty).There will be a
small reserve of fuel in the tank when the
fuel gauge needle reaches E (Empty).
INDICATOR LIGHTS
Overdrive off indicator light
This light comes on during driving when the
overdrive switch is pressed to prevent over-
drive operation.
The O/D OFF indicator light comes on for
two seconds each time the ignition key is
turned ON. This shows the light is function-
ing properly.
If the O/D OFF indicator light blinks for
approximately 8 seconds after coming on for
2 seconds, have an authorized NISSAN
dealer check the transmission and repair it if
necessary.
The automatic transmission is equipped
with an electronic Fail-Safe mode. This sys-
tem allows the vehicle to be driven even in
the event of damage to the electrical cir-
cuits. If this occurs, the gears automatically
engage and lock into third gear.
NOTE: See ``Fail-safe'' in the ``Starting and
driving'' section of this manual before visit-
ing an authorized NISSAN dealer.
Instruments and controls
2-9
ZX